This guide covers how to perform a factory reset on the DroiX X3.
There are two ways to factory reset the DroiX X3. The first is a full reset via the Recovery Menu and the second is from within the operating system. We recommend doing a full reset via the Recovery Menu.
Both methods will wipe the contents of the device and reinstall the Operating System, you will need to install and/or set up any apps you had previously installed.
Recovery Menu Reset
Note: You will need a tooth pick, paperclip or similar item to press the reset switch.
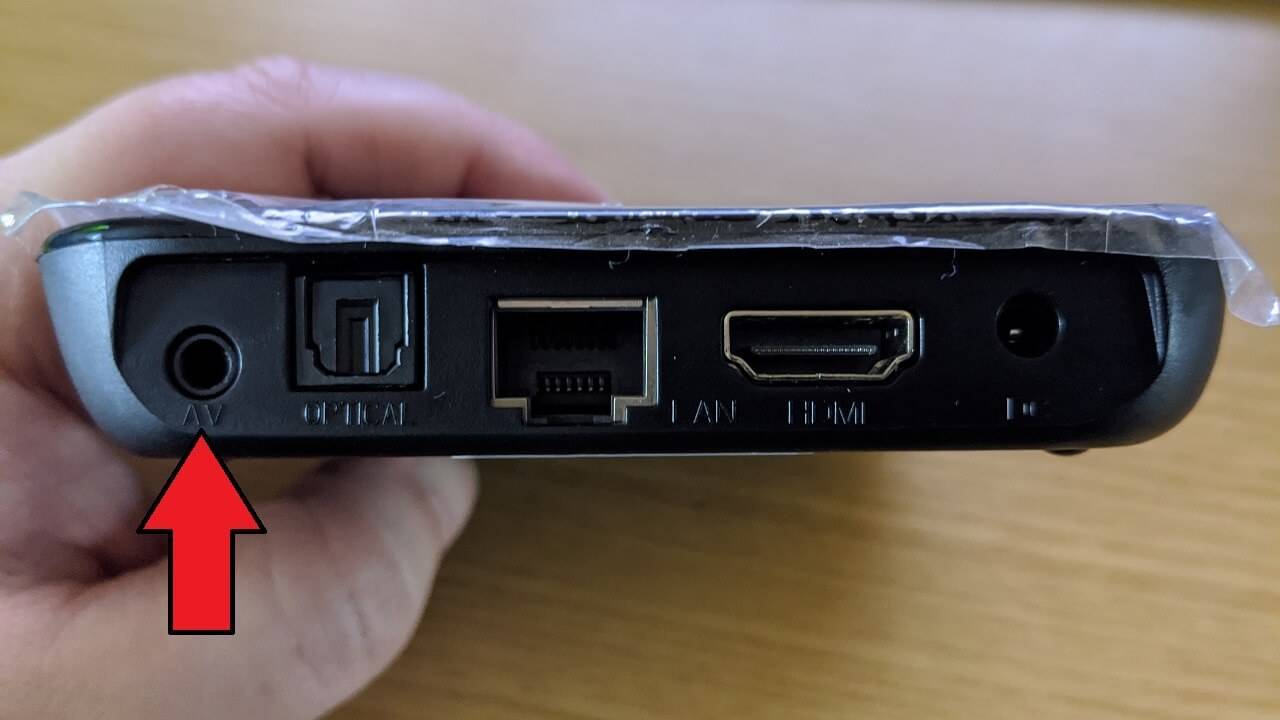
Disconnect the power supply from your DroiX X3. Using the tooth pick, locate the A/V port (as shown in the image below) on the DroiX X3 and gently insert the tooth pick. You will feel a button press, keep this button held down.
While the button is remained held down, connect the power supply and the blue LED will light up.
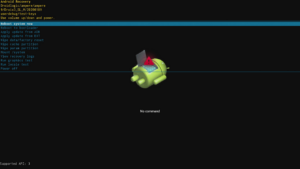
Keep the reset button held down until you see the Recovery Menu.
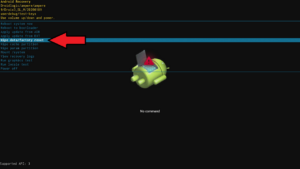
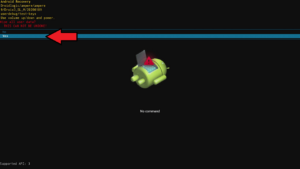
Using the remote control, press the Up/Down directional buttons on it to navigate the menu and highlight Wipe Data / Factory Reset, and press the OK button.
Press Down on the remote again and highlight Yes to confirm to wipe all user data. Press the OK button to proceed.
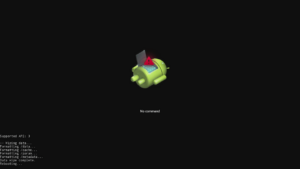
The reset process will now start. It may take up to a few minutes to complete. DO NOT switch off the device during this period.
Once the process has completed, you will be returned to the main Recovery Menu screen. Highlight Reboot System Now and press the OK button.
The device will now reboot.
During this first reboot, the process may take longer than usual to boot. This is perfectly normal as the device is installing the operating system.
Once the device is on the Welcome / Set up screen it is now ready to use.
Android OS Factory Reset
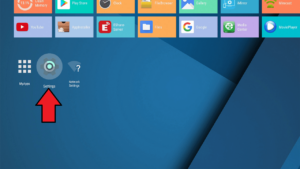
From the main menu, navigate to the Settings icon and press OK on the remote
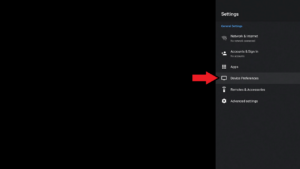
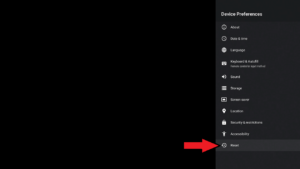
Highlight Device Preferences and press OK on the remote
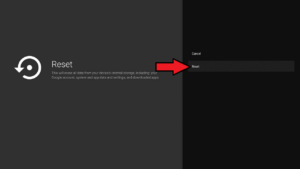
Highlight Reset and press OK on the remote.
Highlight Reset again and press OK on the remote.
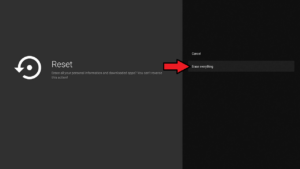
Highlight Erase Everything to confirm you wish to proceed, and press the OK button on the remote.
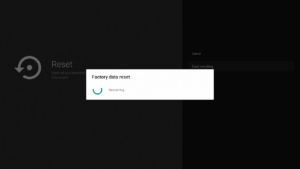
The device will now perform a reset and reboot.
Once the reboot process has completed you will see the Welcome / Set up screen and the device is now ready to use.


