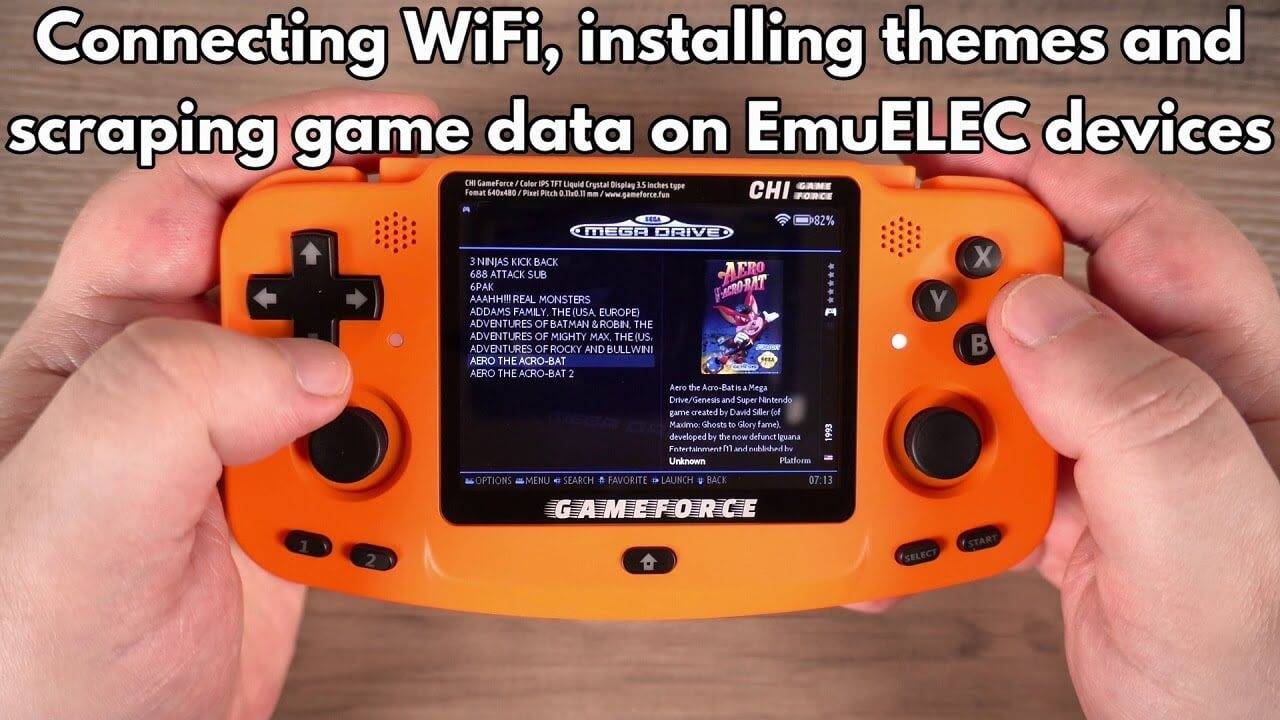
In this guide we are showing how to connect your retro console running EmuELEC to WiFi, how to download & install a new theme and scrape game data. While we are using a Gameforce Chi in this guide, this will work just fine with any EmuELEC based retro gaming handheld that has WiFi.
You can watch our video guide below, or if you prefer, scroll down a little to find our easy to follow text and image based guide.
Connecting to a WiFi Access Point on EmuELEC
First we will connect the device to a WiFi access point. Press START to bring up the Main Menu and scroll down to Network Settings and choose it.
Scroll down to Enable WiFi and select this option. After a few moments it will be enabled and options to select the WiFi SSID and WiFi KEY will appear. Select the WiFi SSID option and choose your WiFi access point.
Next, navigate to the WiFi Key option and enter your WiFi access point password. Once you have entered it, navigate to the BACK menu option and select it. After a few moments it will connect to the WiFi access point.
You can go back into the Network Settings to confirm everything is connected OK.
Downloading and Installing Themes on EmuELEC
Now that we have internet access, we can download and install a new theme. Navigate to Updates & Downloads and choose Themes.
It will connect online to download a list of available themes which may take a few moments to do. You can then choose a theme to download. For this demo we will download the popular Carbon theme. Once it has downloaded, go back to the Main Menu and choose UI Settings.
Choose Theme Set and you will see a list of installed themes. Select the theme you want and go back one menu. EmuELEC will briefly restart and change over to the newly selected theme.
Exit the Main Menu and the new theme will be displayed.
Scraping game data on EmuELEC
Now we need some game images and text to display on the theme as without them it looks very basic. Press START to open the Main Menu and choose the Scrape option.
Highlight Scrape From and choose THEGAMESDB This is a free to use game scraper that does not require an account to use.
Navigate to Scrape Now. You can choose to scrape specific video game consoles in the Systems menu. For now we will scrape all the games for all systems.
Choose START and the game scraping will begin. Depending on the number of games you are scraping, this can take some time. So if necessary, leave it on charge and check back in a while.
NOTE: If you are scanning ‘full sets’ of roms for multiple systems, this can take a very long time. We recommend changing the Systems to one or two systems at a time and do them in batches.
Once it has finished scraping you can check the game lists to see how it looks.
Configuring the Theme to display image and game text
Personally I prefer a text list with image and game description. This is very easy to change to, simply press START to access the Main Menu, navigate to UI Settings, then Theme Configuration.
Select the Gamelist View Style option and you can change it to another style. I like the aforementioned Detailed View as it provides an image and text descriptions for games.
Go back to the game list and it will now be updated to the new view showing a list of games on the side, with a box art image and text description if available.
You can change around the settings to show information such as game screen shots instead of box art for example. We hope you found this guide useful to get started with themes and scraping game data. We will let you explore the variety of themes and view options.


