Files used in this guide
Changelog
- Source guide: How to install EmuELEC and copy games to your Gameforce Chi
Older versions stay downloadable for rollbacks — every version keeps its own verified file.
As standard, the Gameforce Chi retro console does not come with a micro SD Card with the Operating System installed. But buying the Gameforce Chi from DroiX we provide a free 64GB card with it pre-installed. So whether you are looking to install it for the first time, or want to reinstall, our video and step by step text guide will show you how to install EmuELEC and copy over some games for your favourite video game consoles.
You can watch our video guide below, or scroll down a little further for the text guide.
Step by Step Text Guide
Downloading EmuELEC and Balena Etcher
First you will need to download the operating system which is called EmuELEC.
Go to https://github.com/EmuELEC/EmuELEC/releases and you will see the latest version available, at the time of writing it is version 4.2
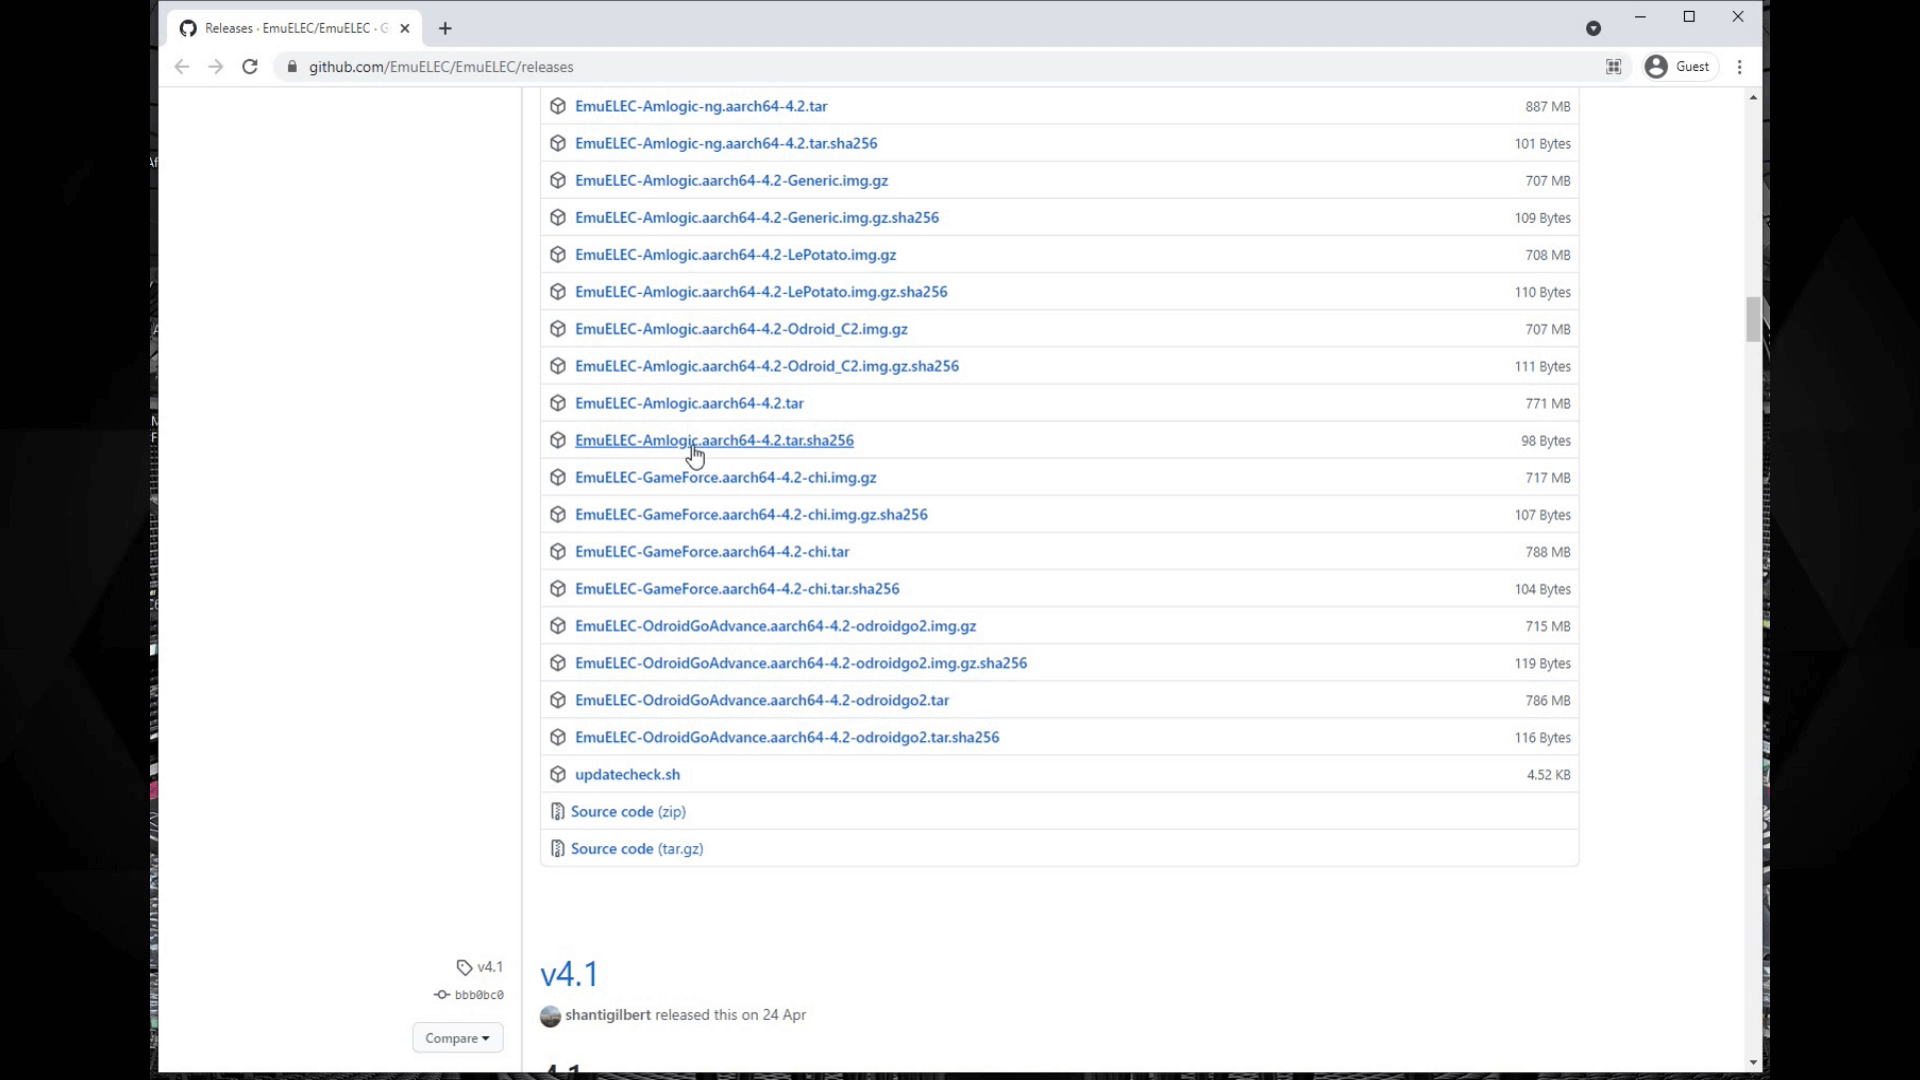
Scroll down the page to the downloads section. You are looking for the filename starting with EmuELEC-GameForce.aarch64 then the version number and ending with .img.gz. Click on that to download the file.
While that is downloading, you will also need software to write the image file to your Micro SD Card. Go to https://www.balena.io/etcher/ We recommend Balena Etcher as it is available on Windows, MAC and Linux. Download the version for your OS and install it.
Writing the EmuELEC image to your Micro SD Card
Once the image file has finished downloading. Insert the Micro SD Card you will be using into your PC, you can ignore any messages regarding unformatted drives.
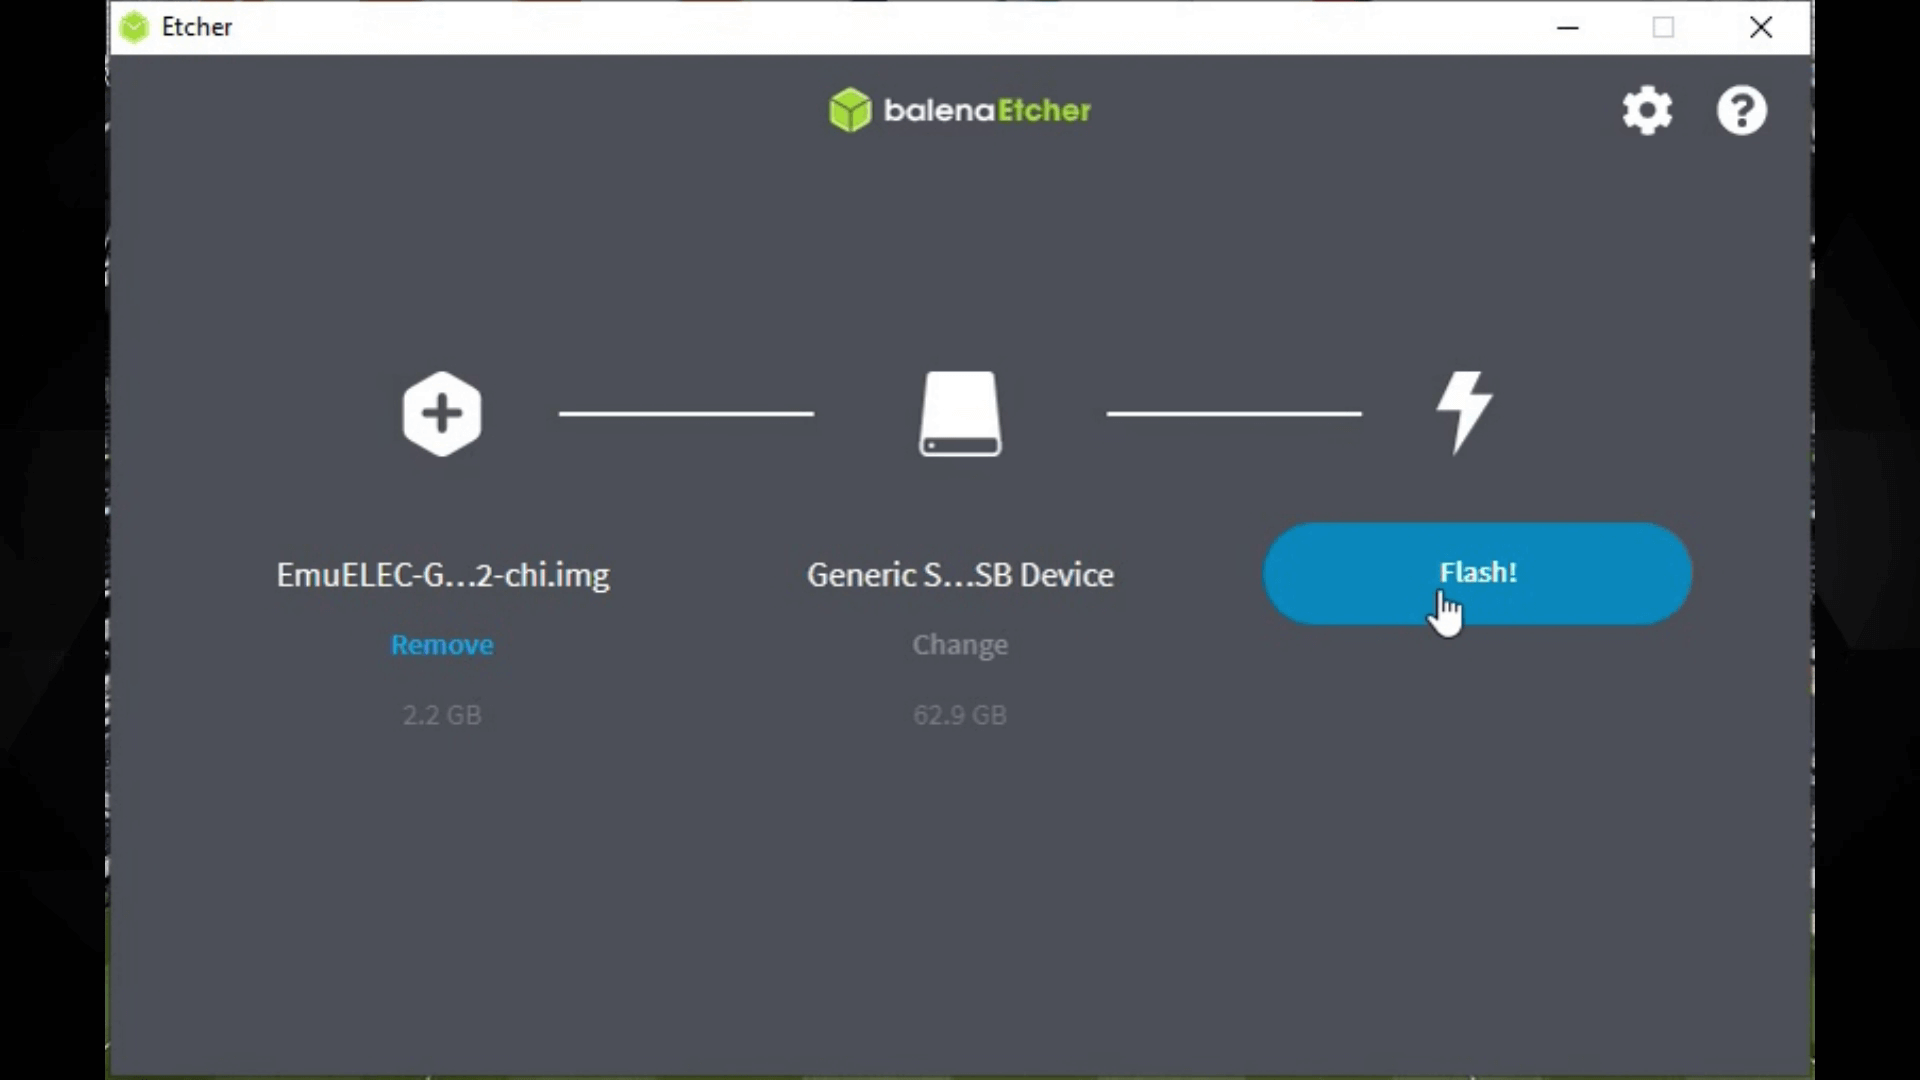
Open Etcher. And you will see three options. Choose Flash from file and locate the image file that you downloaded.

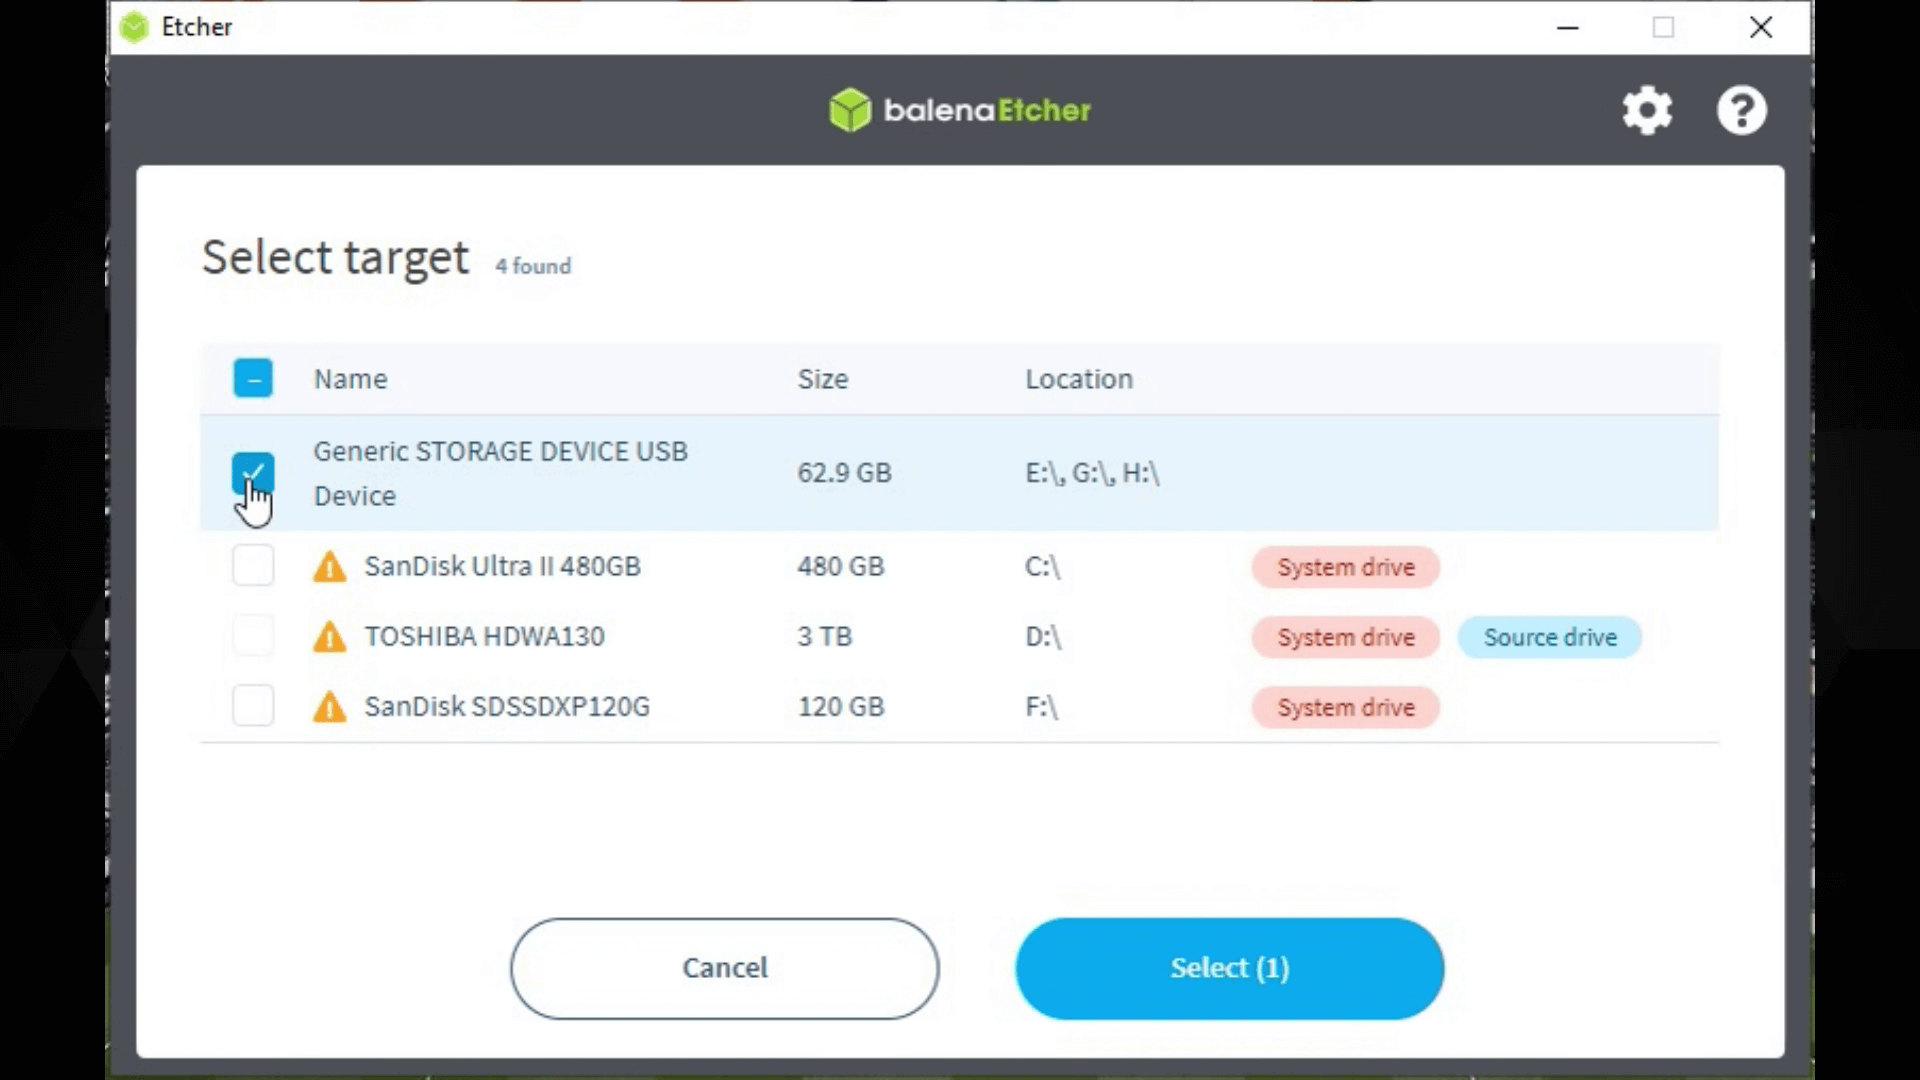
Next, you need to choose your Micro SD Card drive. Etcher usually suggests the correct Micro SD Card drive, but double and triple check you are selecting the correct drive otherwise you could write over your PC hard drive.
Double and triple check you have chosen the correct drive again, and then press the Flash button to proceed. You may receive a security prompt, choose Yes to continue.
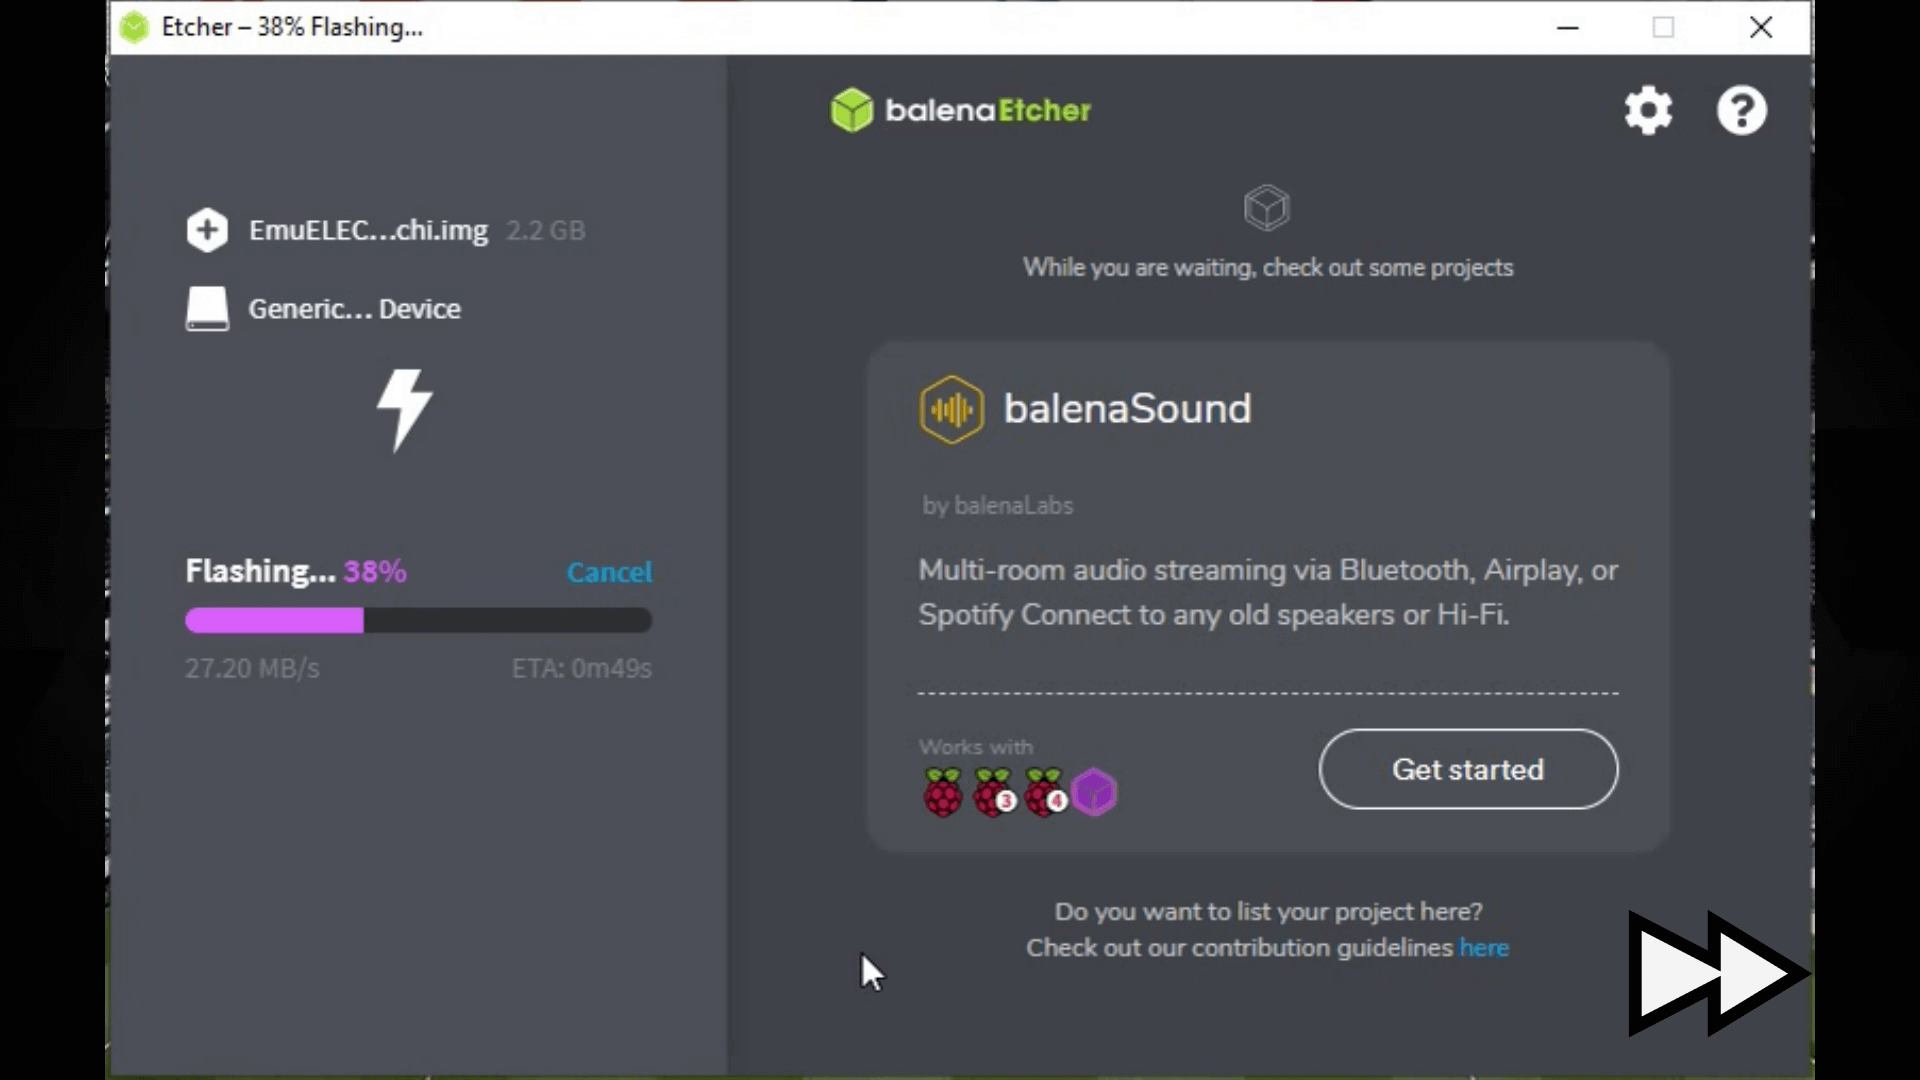
Etcher will now decompress the image file and then write the image to the Micro SD Card. This should not take too long, just a few minutes depending on the speed of your Micro SD Card.
Once Etcher has finished, you can close the Etcher software and safely eject the Micro SD Card from your computer.
First boot on the Gameforce
Insert the Micro SD Card into your Gameforce and switch it on. For the first boot, the process will take longer as it is finishing setting up the operating system and reallocating the Micro SD Card storage. This should take around three minutes, during this period of time, do not switch off the Gameforce or press any buttons.

Once the installation process has completed, you will see the EmuELEC frontend with a Setup screen.
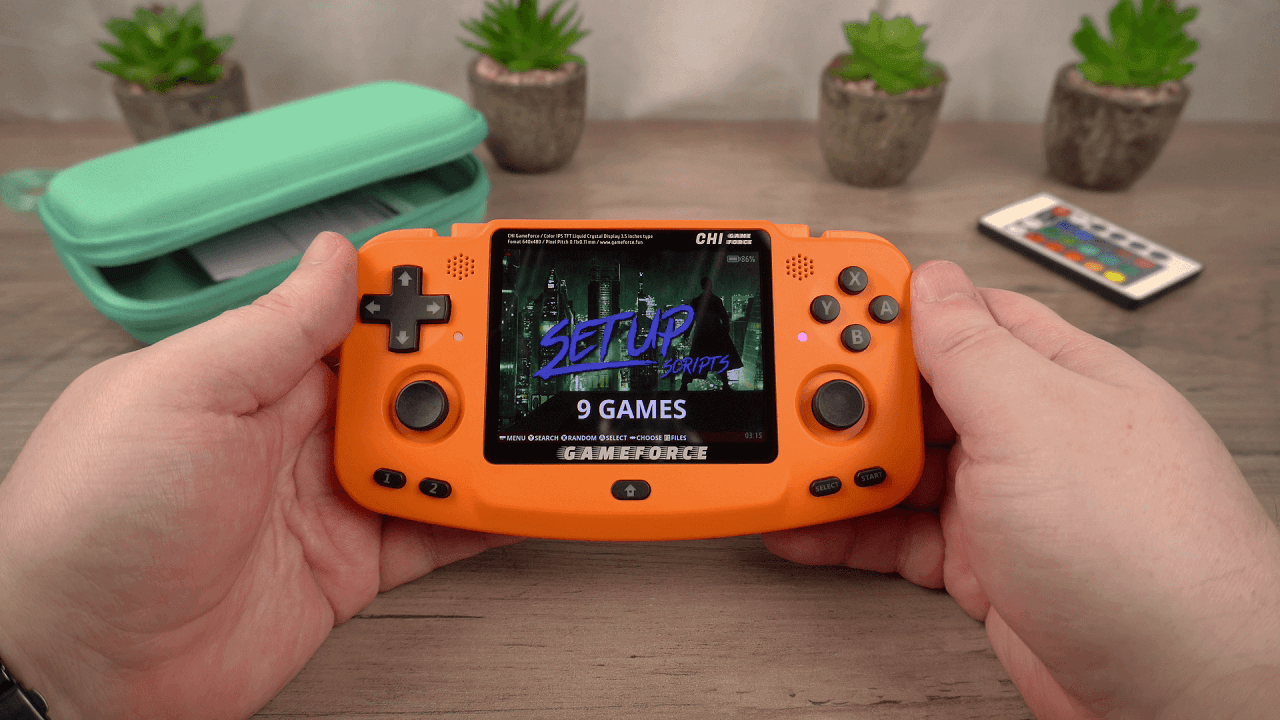
If you have not copied games to a Micro SD Card for EmuELEC before, keep reading and we will show you how.
Copying game rom files to the Micro SD Card
First, correctly shutdown the Gameforce by pressing START, then choose Quit and then Yes. Remove the Micro SD Card and plug it back into your computer.
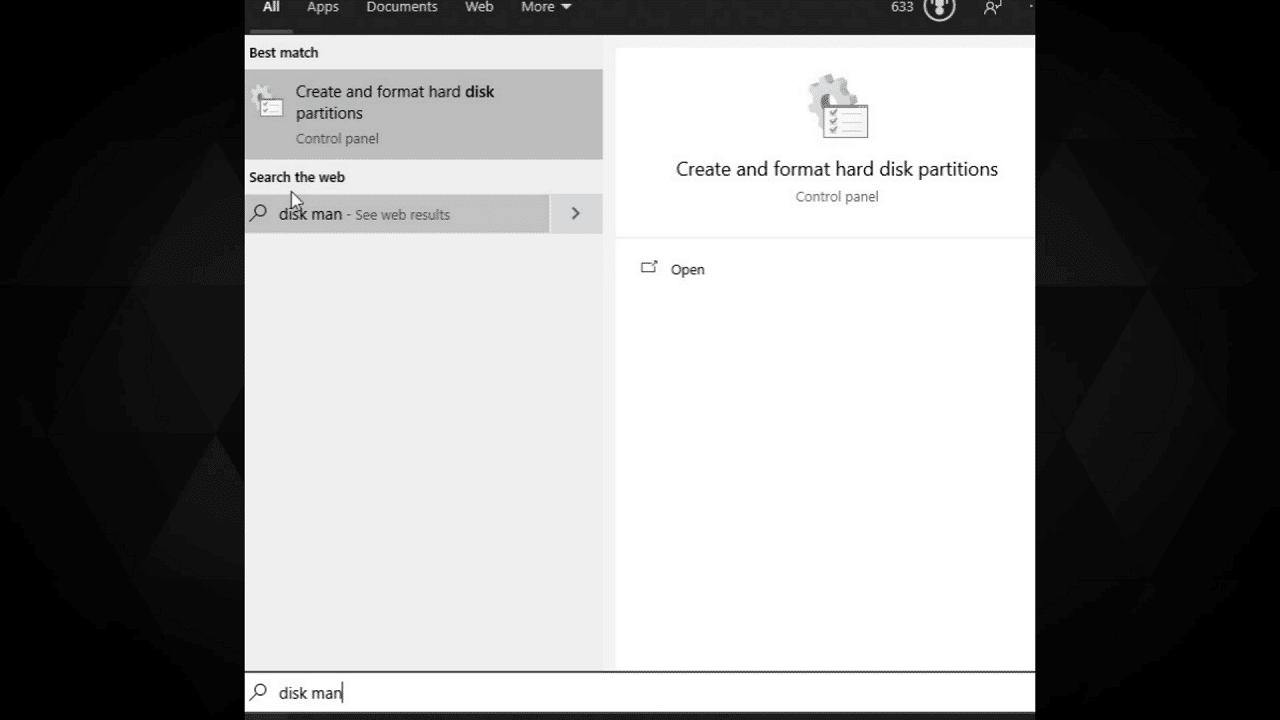
Open Disk Management, you can search for it as shown on the screen.
You will see a list of the drives on your computer. Scroll down the list until you see the Micro SD Card. It is easy to spot, as you will see EMUELEC and EEROMS partitions.
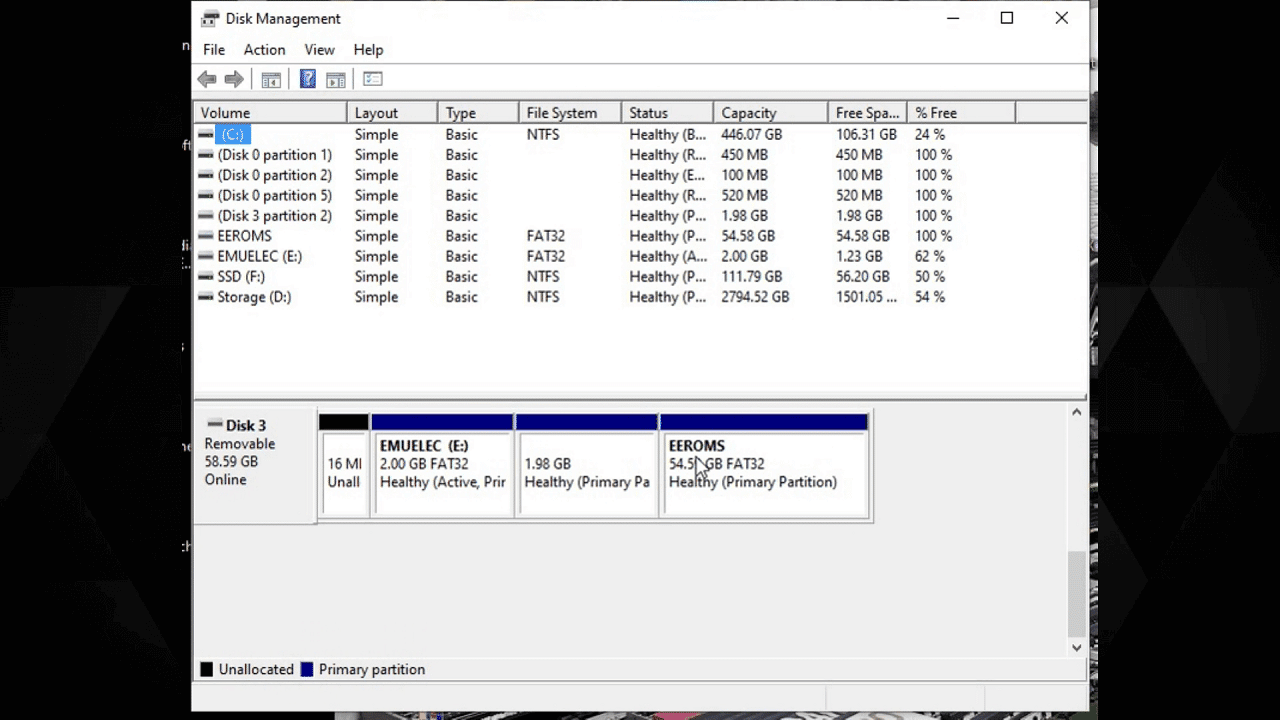
Choose the EEROMS partition, right click and choose Change Drive Letter and Paths.

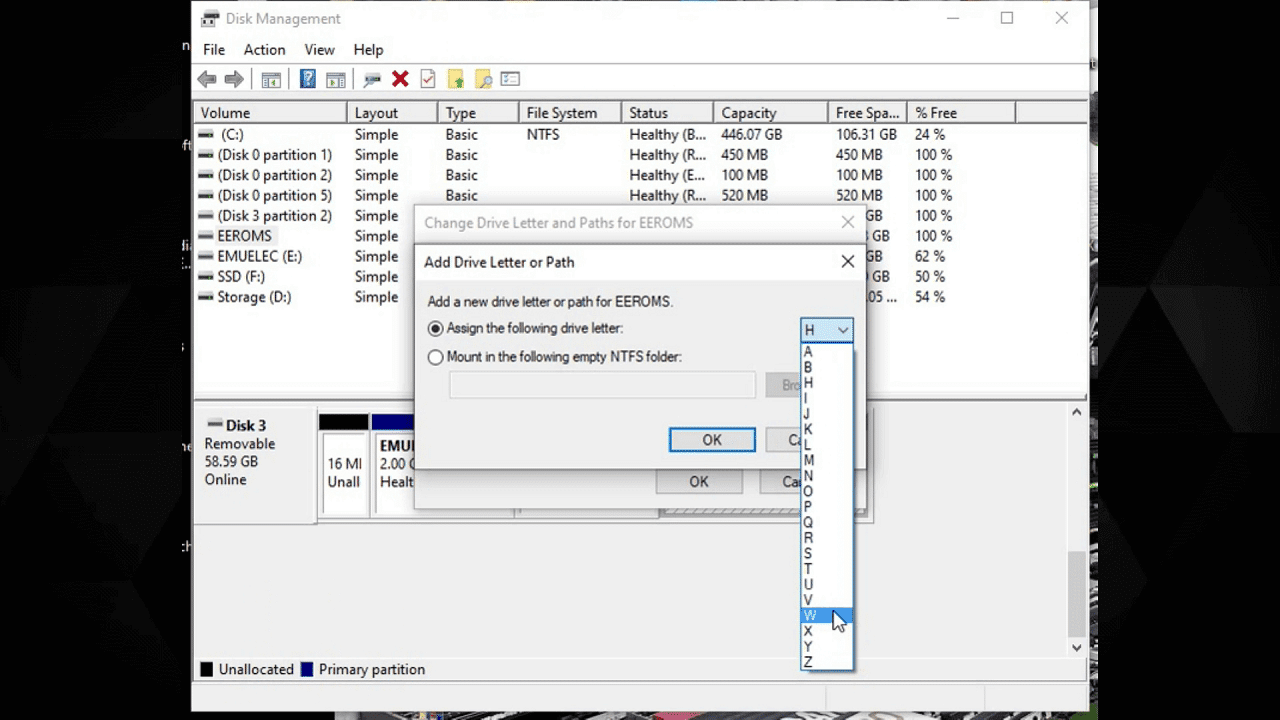
Click on Add and then choose a drive letter, it can be any letter. Click on OK. The drive letter will now be assigned to the games partition on the Micro SD Card. Close the Disk Management software.
You may need to remove and insert your Micro SD Card to refresh the Windows drives.
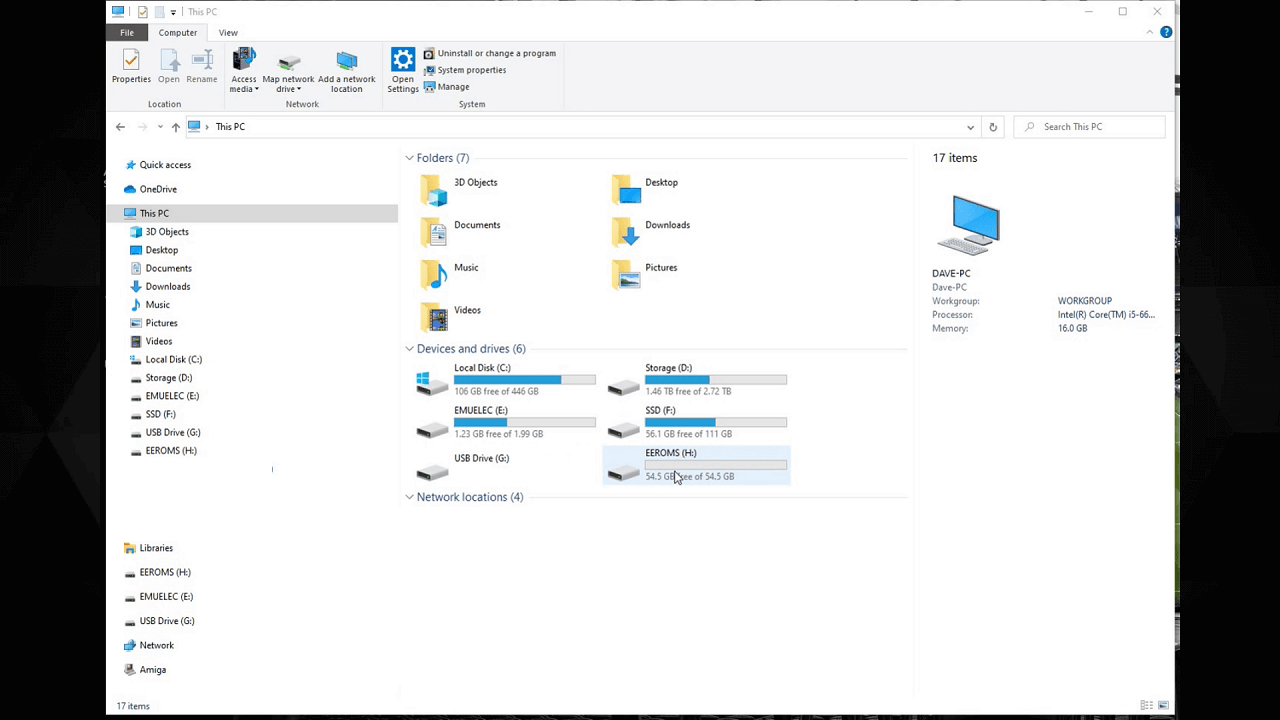
Open Explorer and you will now see three drives, EMUELEC, a Linux partition, and EEROMS which you just assigned a drive letter to. Open EEROMS.
You will now see a list of folders with many of them being video game consoles names. These are the folders you copy your game roms to. So for example Amiga, Atari 2600, Commodore 64, Mega Drive, PC Engine and many more.
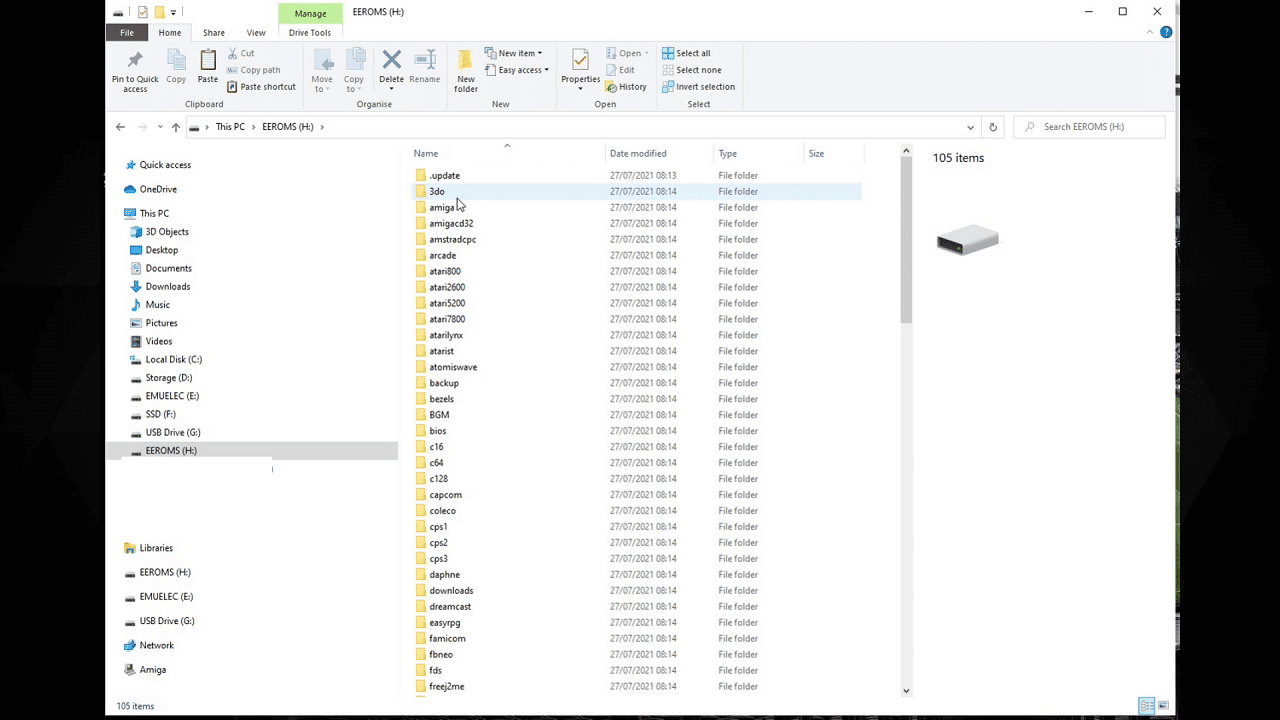
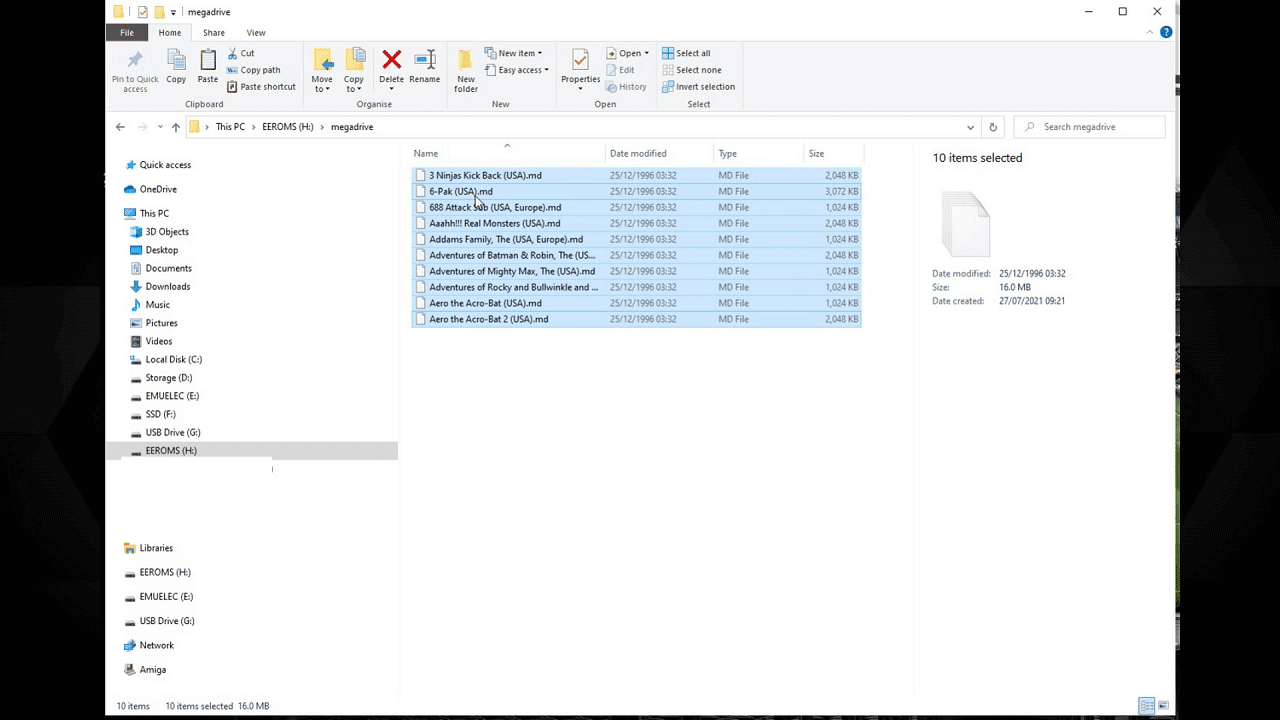
If for example you have some Mega Drive games to copy, simply enter the megadrive folder and copy over your Mega Drive rom files to it.
If you have some Atari 2600 games, enter the atari2600 folder and copy the Atari 2600 rom files there.
And repeat the process for any video game consoles and rom files you have. They do need to go into the correct folder otherwise they may not be recognised by EmuELEC when scanned.
Once you have finished copying the files, safely eject the Micro SD Card and insert it back in to your Gameforce.
Second boot of the Gameforce
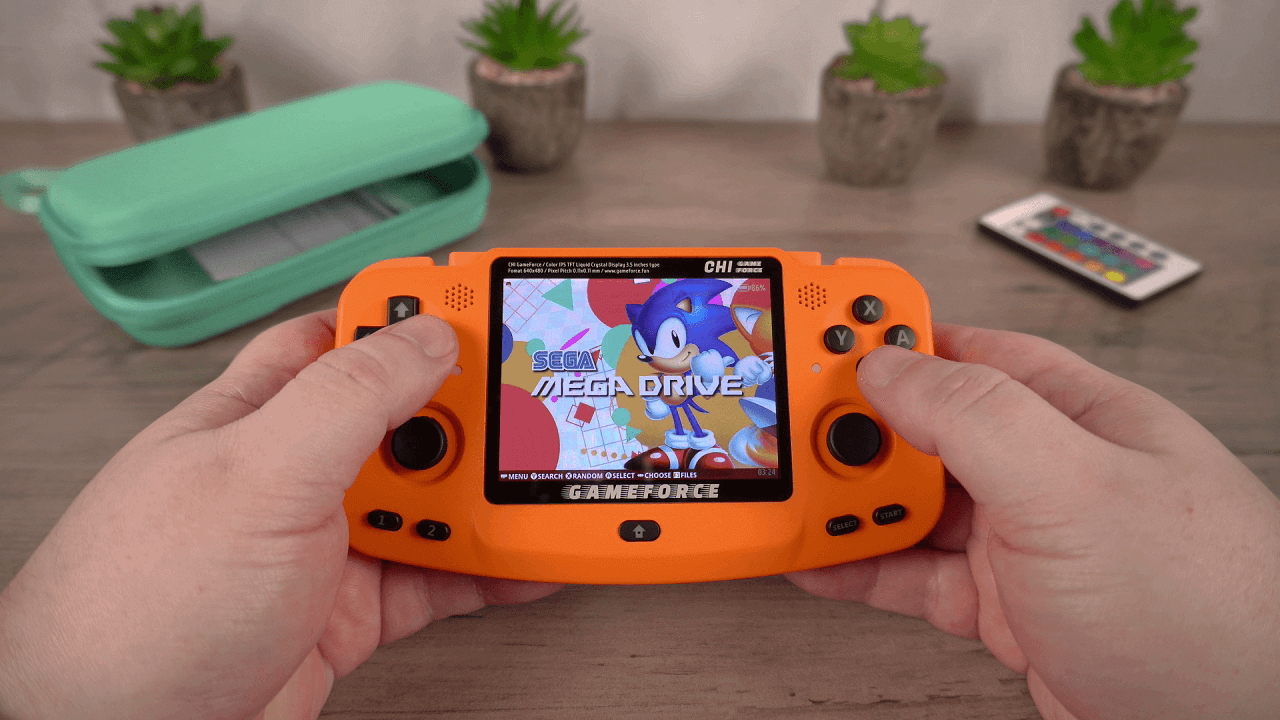
Switch it on and the Gameforce will boot up and scan your Micro SD Card for newly added games. This may take a short while if you have added many games in one go.
Once it has finished scanning for new games you will be back on the EmuELEC menu. Scrolling left or right will now show the new gaming systems that you have added. Choosing a system will display a list of games available for it. Choose a game and it will load the appropriate emulator and start to run the game.
That’s a basic overview of how to install the operating system and copy games over to the Gameforce. We hope you have found it useful!
You can learn more and buy the Gameforce Chi as well as browse our range of retro gaming handhelds.
Questions & answers