Great choice on your brand new Retroid Pocket 4/4 Pro! This Android gaming device is designed with gamers at the forefront, fusing retro gaming with modern technology to deliver high-end performance, mobility and versatility all in one small form factor console. We’re thrilled to help you along in the journey. So we put together this comprehensive Getting Started guide to cover everything from the initial setup up to jumping into a game, ensuring you have a smooth experience from beginning to end.
At DroiX, we love technology and all you can do with it. We also stand by the principle of empowering our users. So, if you find any issues and feel confident enough to handle them, we fully support your Right to Repair! With no effect on your device warranty! But remember, DroiX Customer Support is always happy to help with any queries or assistance.
Unboxing
When setting up your retro gaming handheld, ensuring you have all the necessary components and accessories for a smooth start is important. Additionally, please remember to check all compartments, and thoroughly inspect the entire box, to find all the components you need for a complete and enjoyable setup experience. With your purchase, you should find:
- 1x Retroid Pocket 4/4 PRO
- 1x USB-C Cable
- 1x User Manual
Device Overview
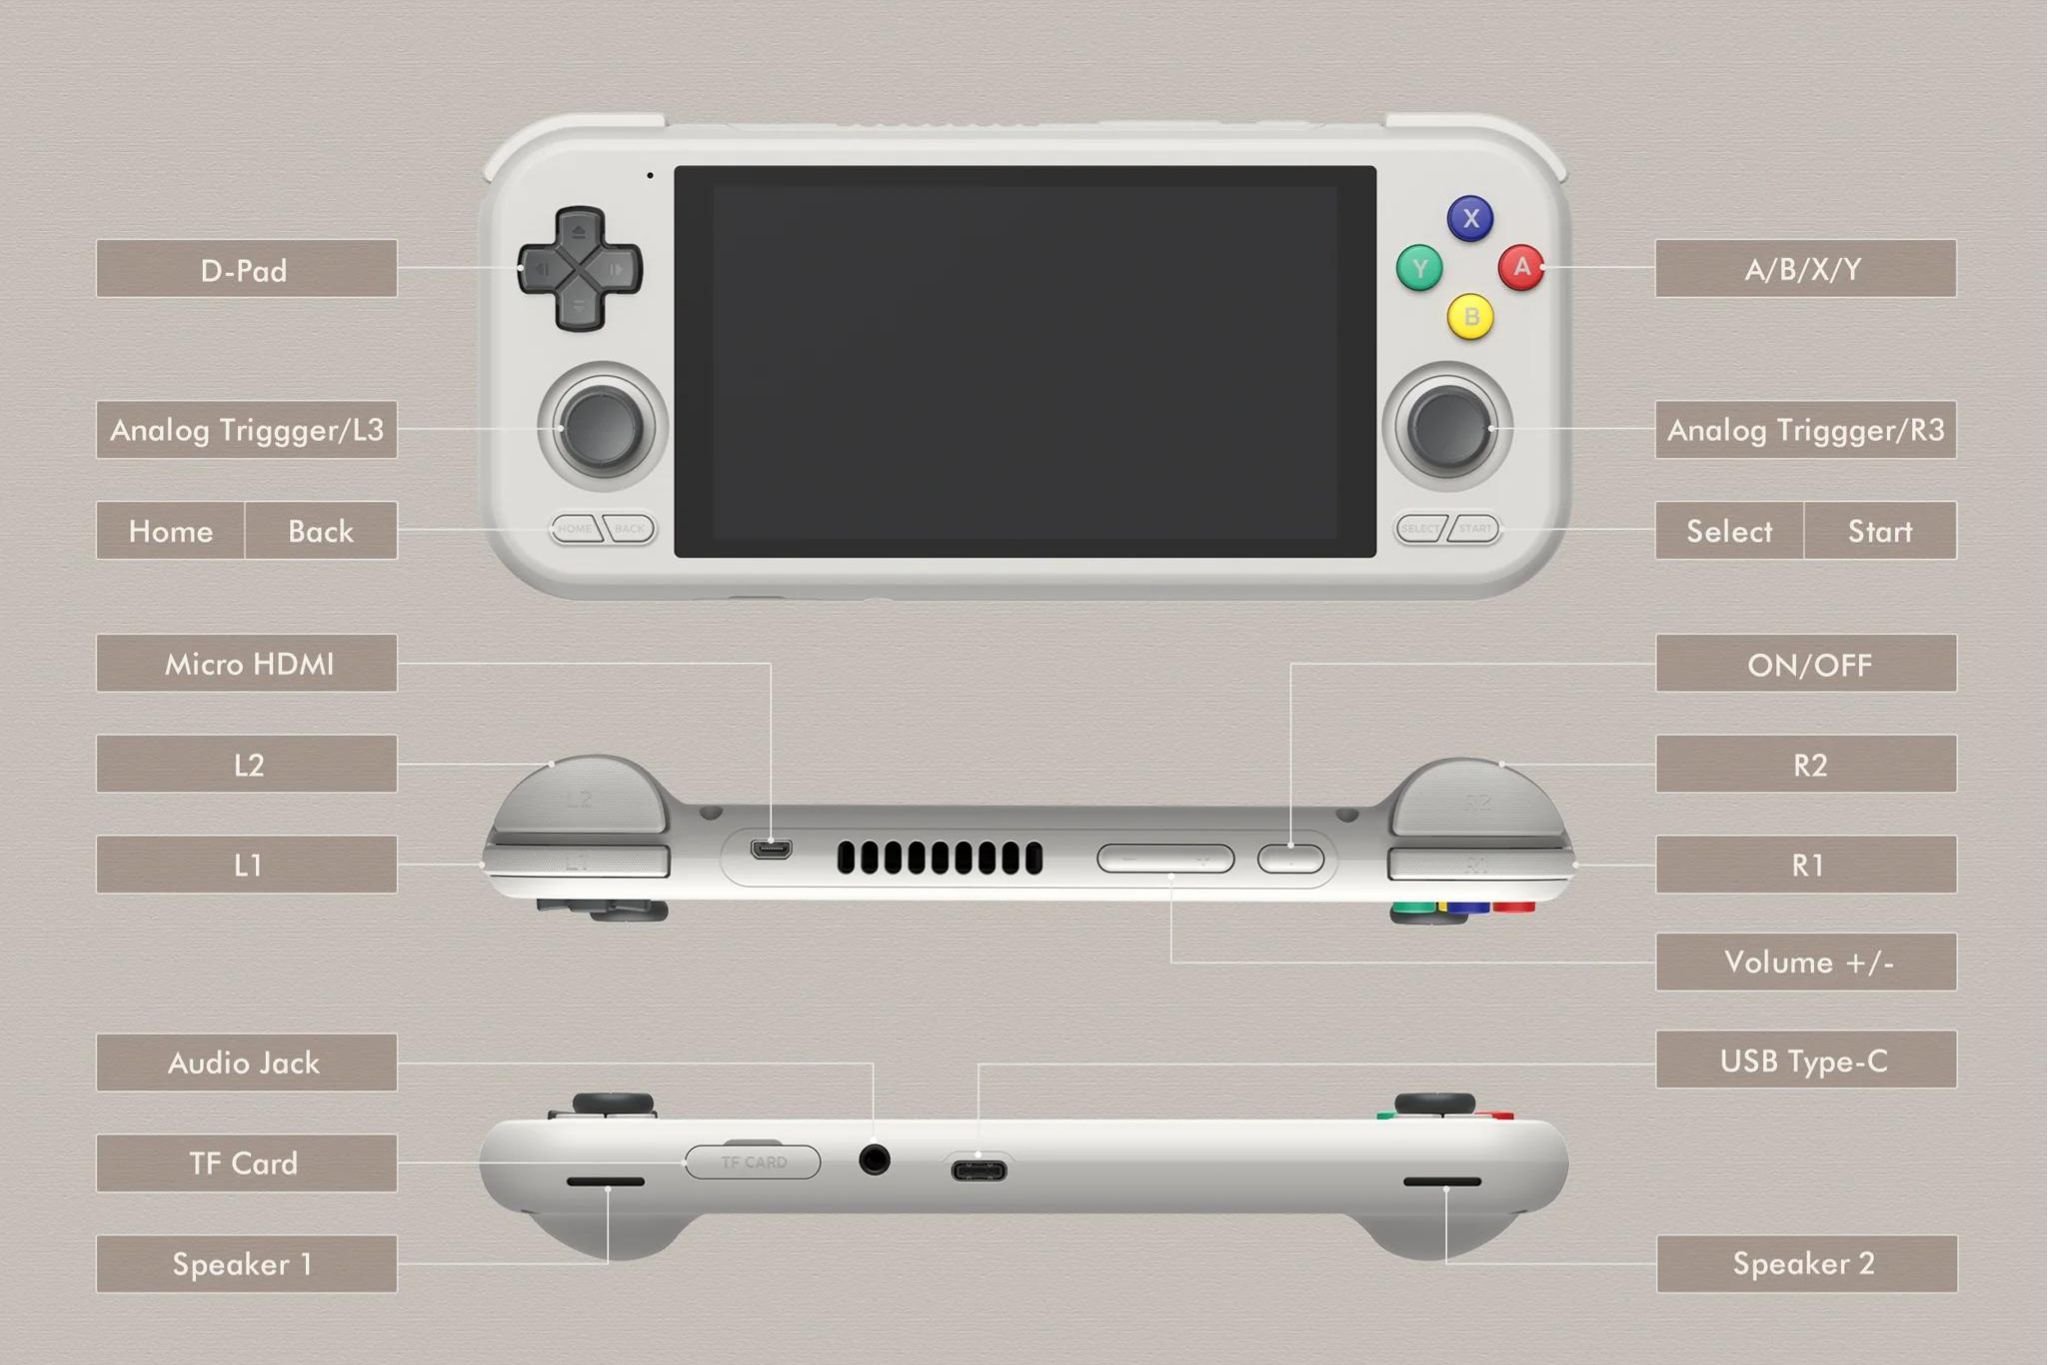
The Retroid Pocket 4 and Pocket 4 Pro offer peak performance thanks to its MediaTek Processor – the Dimensity 900 and the Dimesnity 1100 respectively. Depending on your device model you’ll either get the Mali-G68 MC4 (Standard model) or Mali-G77 MC9 GPU (Pro model), for all-day high-performance gaming. Your Retroid Pocket 4 features many buttons and connectors, all of which are promptly labelled in the user manual and below. It’s a good idea to familiarise yourself with your device.
Setting Up Retroid Pocket 4 / 4 Pro
Setting up your Pocket 4 is as straightforward as it gets::
- Fully charge your device.
- Insert the MicroSD card into the TF card slot.
- Power on the device.
We’ll also go into more detail and advice below, so continue reading for more information or skip ahead to Setting Up Android!
Charge Device
Let’s begin by fully charging your device. Connect your Retroid Pocket 4 device to a power source using the USB-C cable provided. You’ll find the USB-C port conveniently located at the device’s base (refer to Device Overview).
A full charge is key to preventing any power interruptions during the setup process, which may involve important steps like battery calibration. This first charge also establishes the battery’s health and helps maintain its life and efficiency over time.
Insert MicroSD Card
Next, let’s prepare your device’s expanded storage. You’ll need to insert the MicroSD card into the TF slot, which is conveniently located on the bottom side of the device (refer to Device Overview). This MicroSD card is where all your data will be stored, so make sure it’s properly secured. With your storage in place, your device is almost ready!
Power On Device
Now, let’s bring your Pocket 4 to life! Press and hold the on/off button to power your device (refer to Device Overview). Remember that the first boot might take a bit longer than usual — this is completely normal and part of the setup process. Once this initial setup is complete, subsequent boot times will be shorter, meaning you get into gaming faster. A little patience goes a long way here, you’re just a few moments away from your retro gaming experience!
Setting Up Android
Both the Retroid Pocket 4 devices run on the Android operating system, with the standard model operating on Android Version 11, while the upgraded Pocket 4 Pro implements the more recent Android 13 OS. This means you’ll not only have access to an endless selection of apps and games but also allow for improved customizability and multi-functionality, including but not limited to the Google Play Store, unrestricted sideloading, social media and more.
This completely transforms your Pocket 4 device from a gaming console into so much more, providing a richer multimedia experience. But before you can play, you must configure Android on your device. Don’t worry, it’s not as hard as it sounds! Let’s walk you through it below!
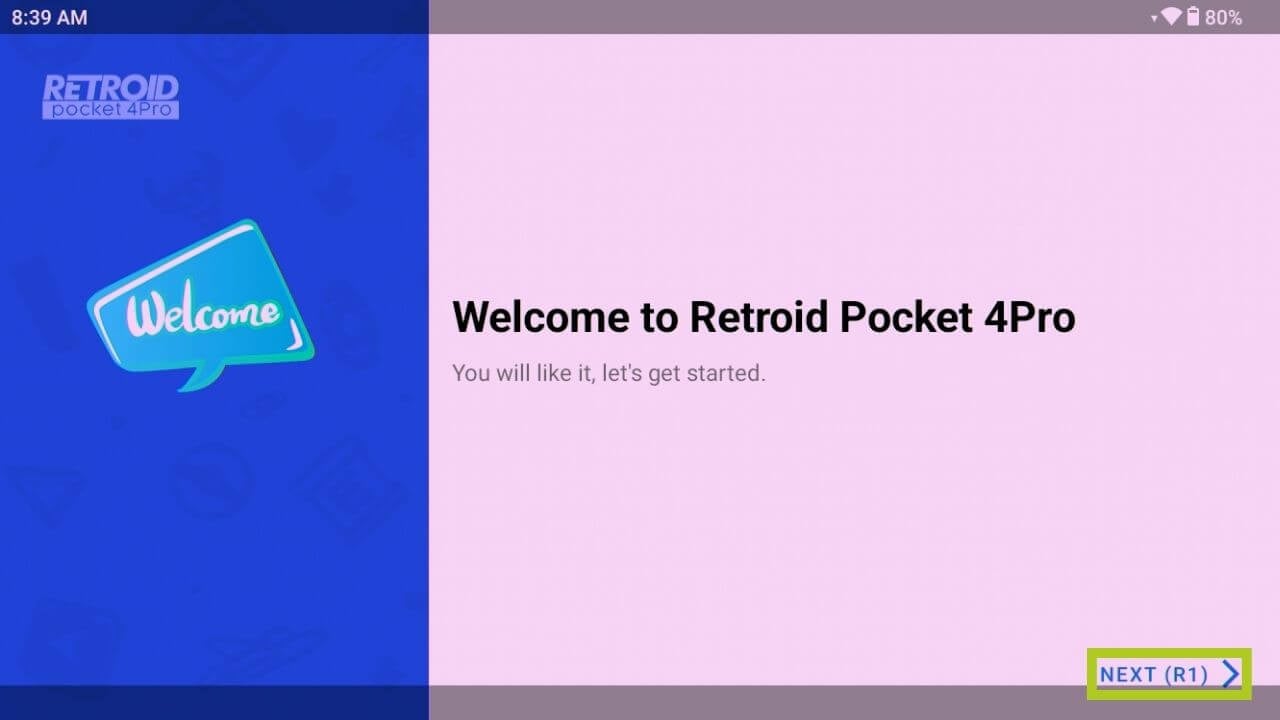
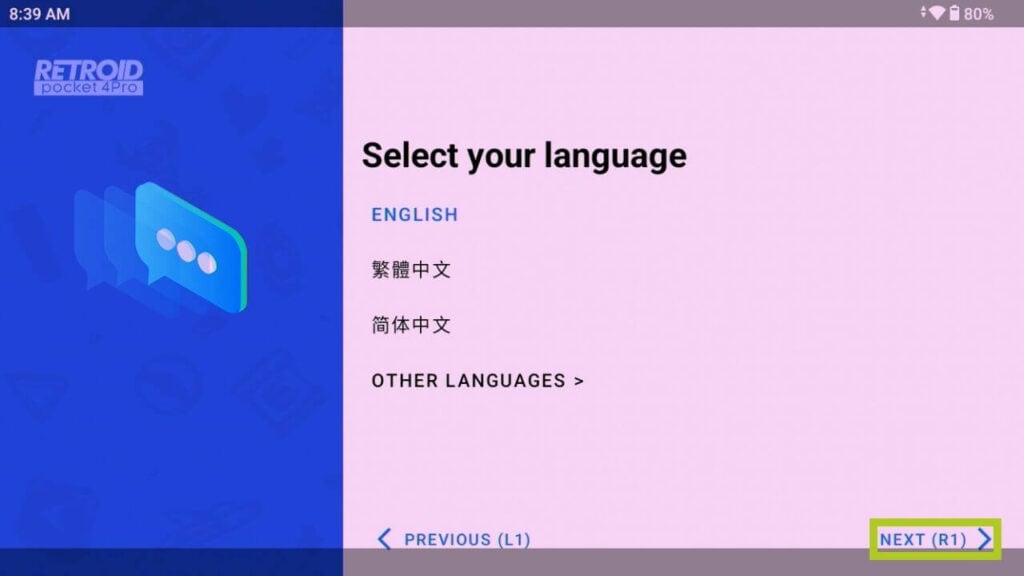
You will be greeted by a welcome screen and prompted to select the following; a preferred language, a Wi-Fi connection, and a timezone (Images 2–6 below respectively). Don’t worry, all of these can be changed later on at any time.
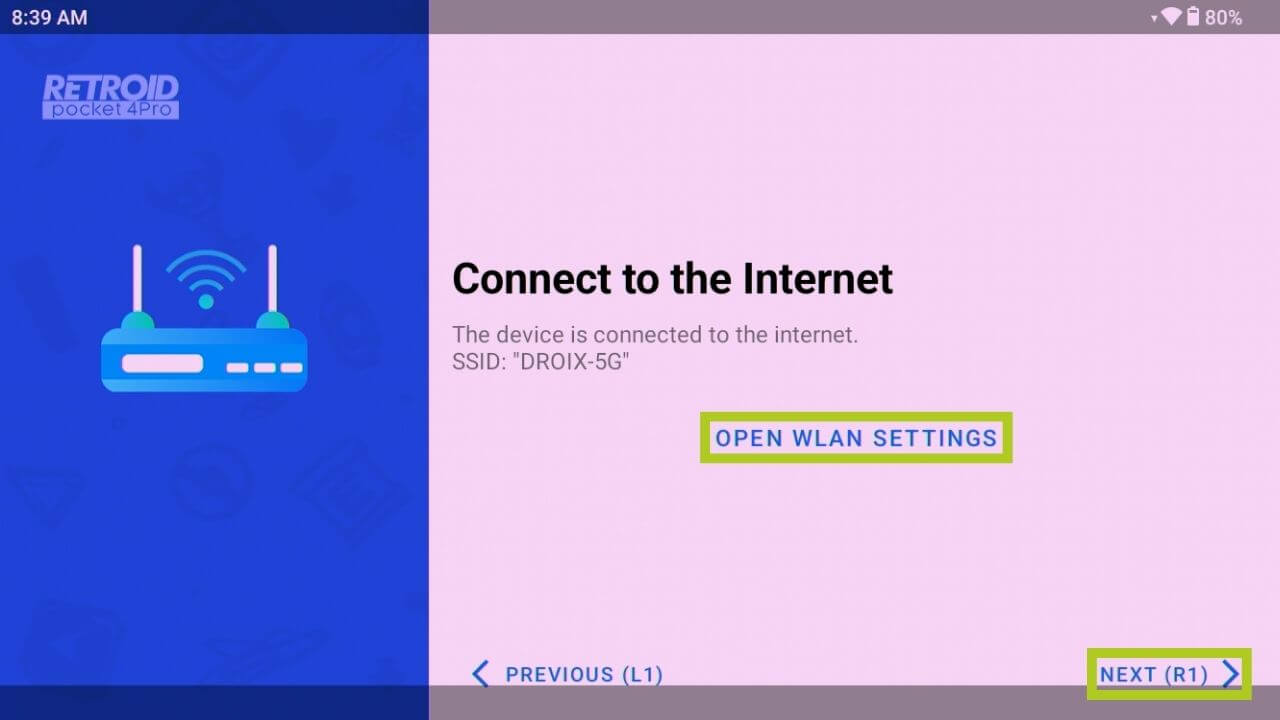
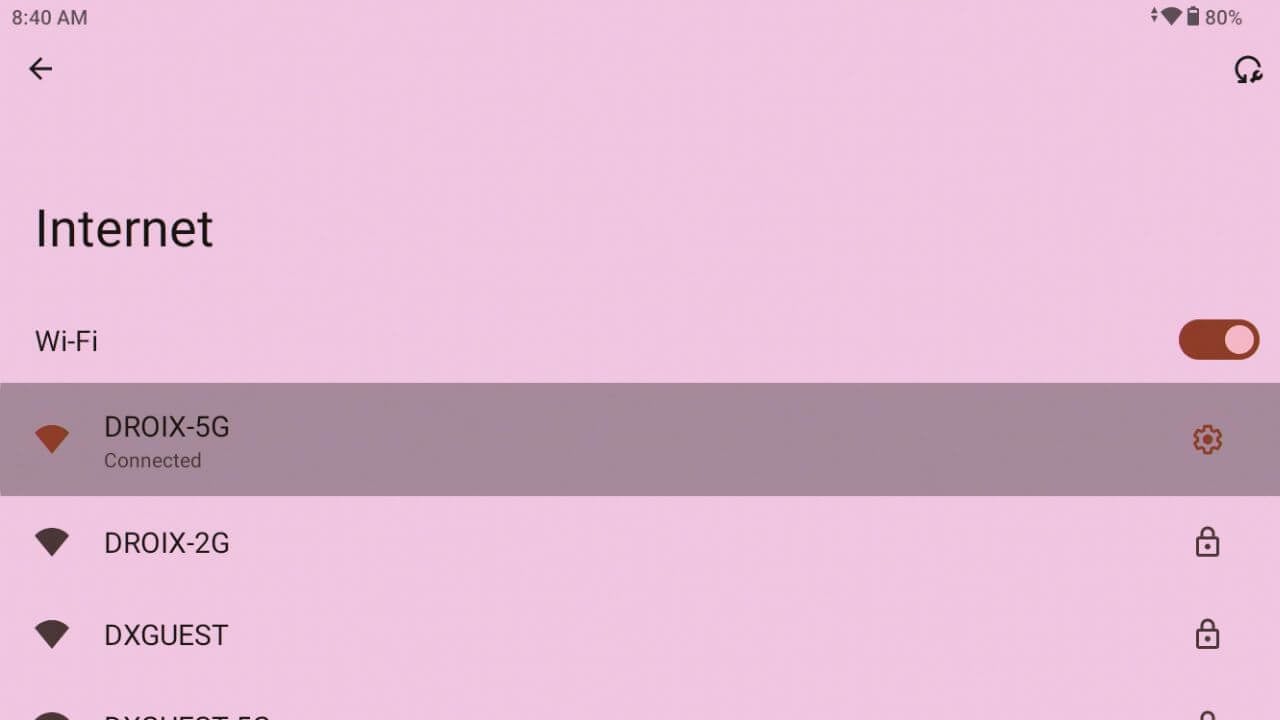
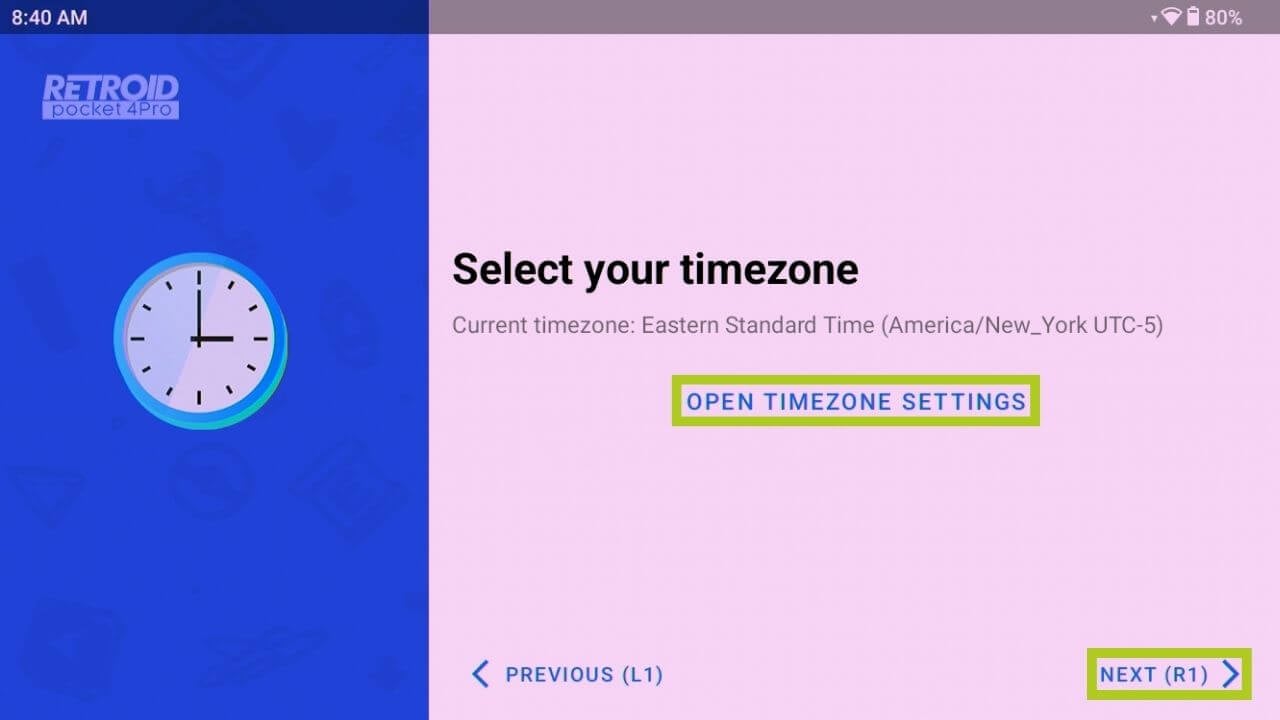
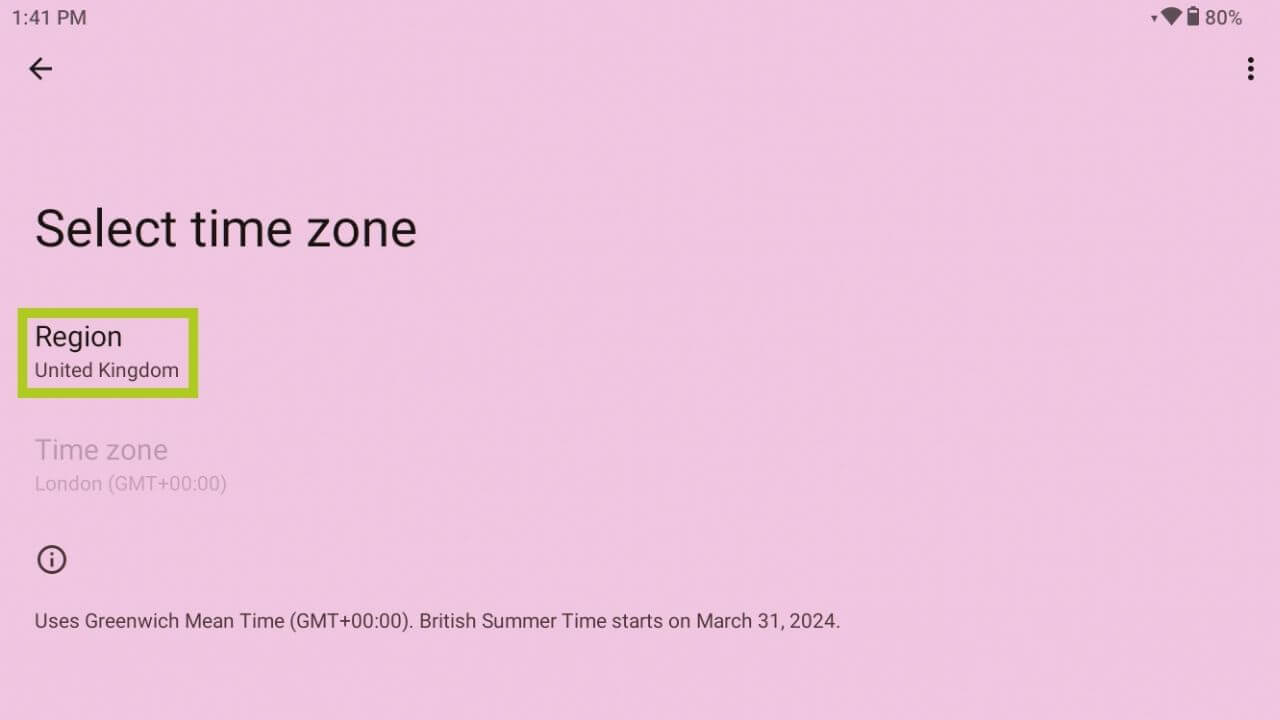
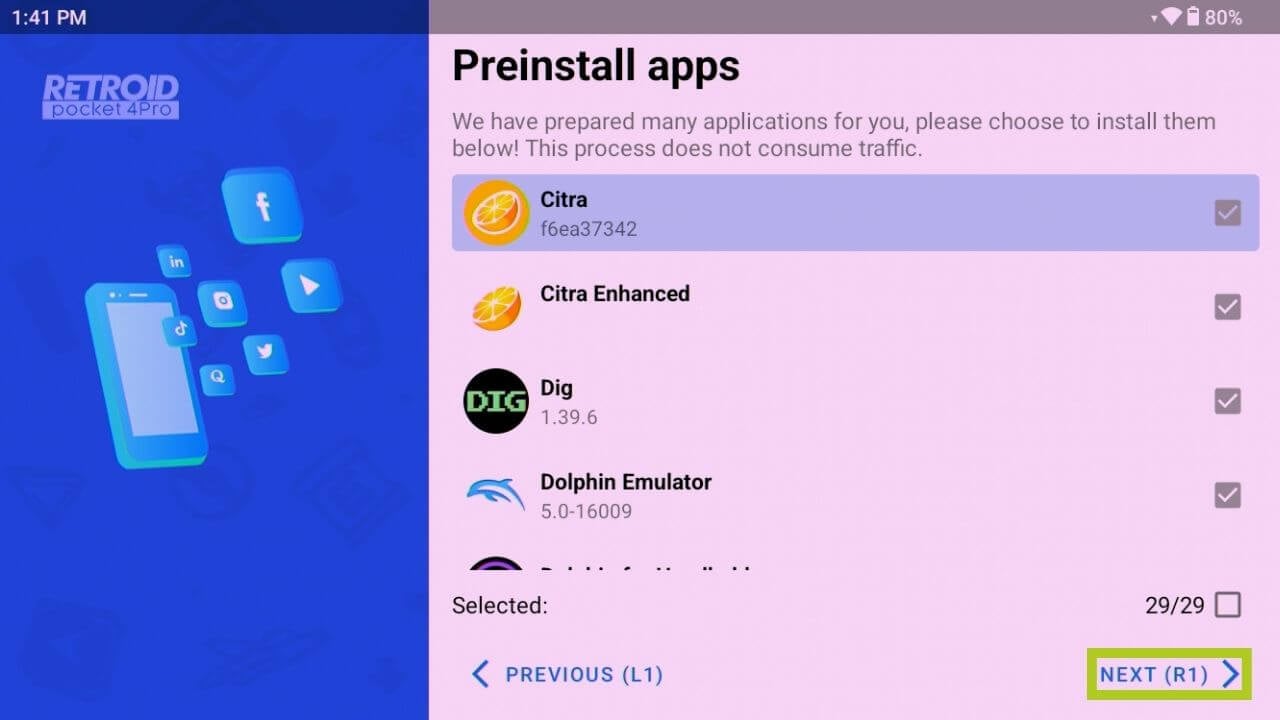
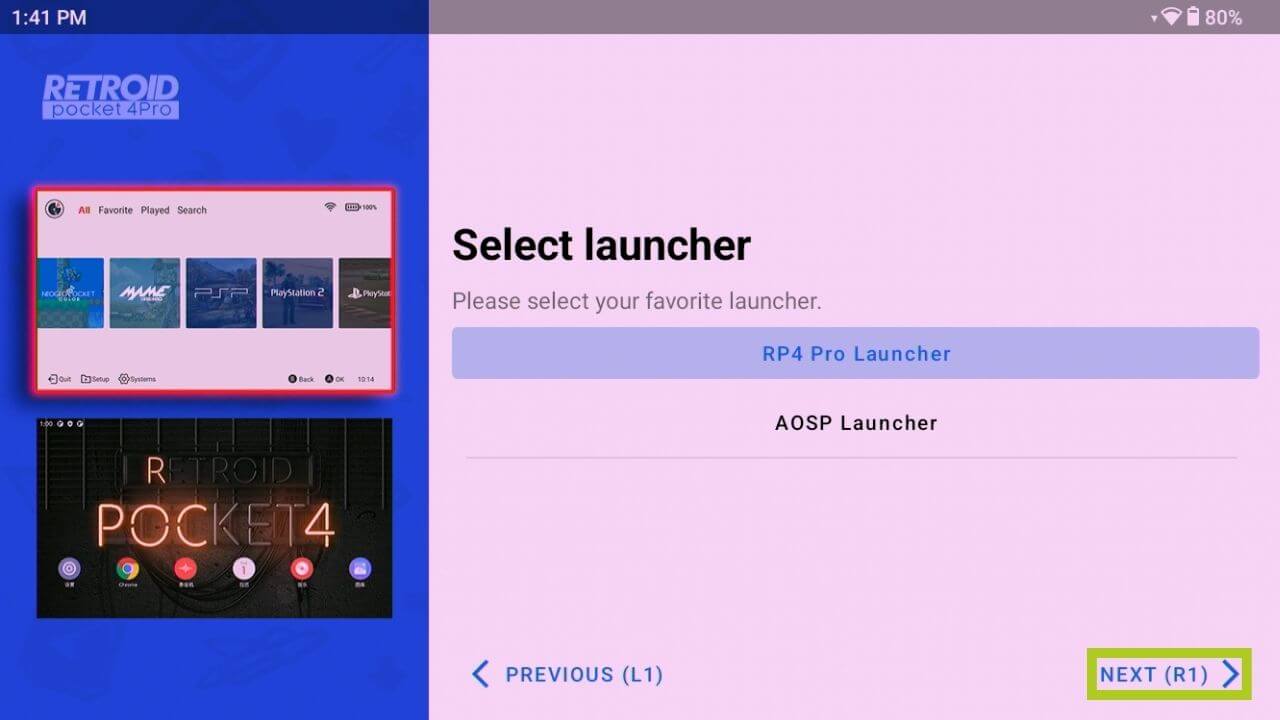
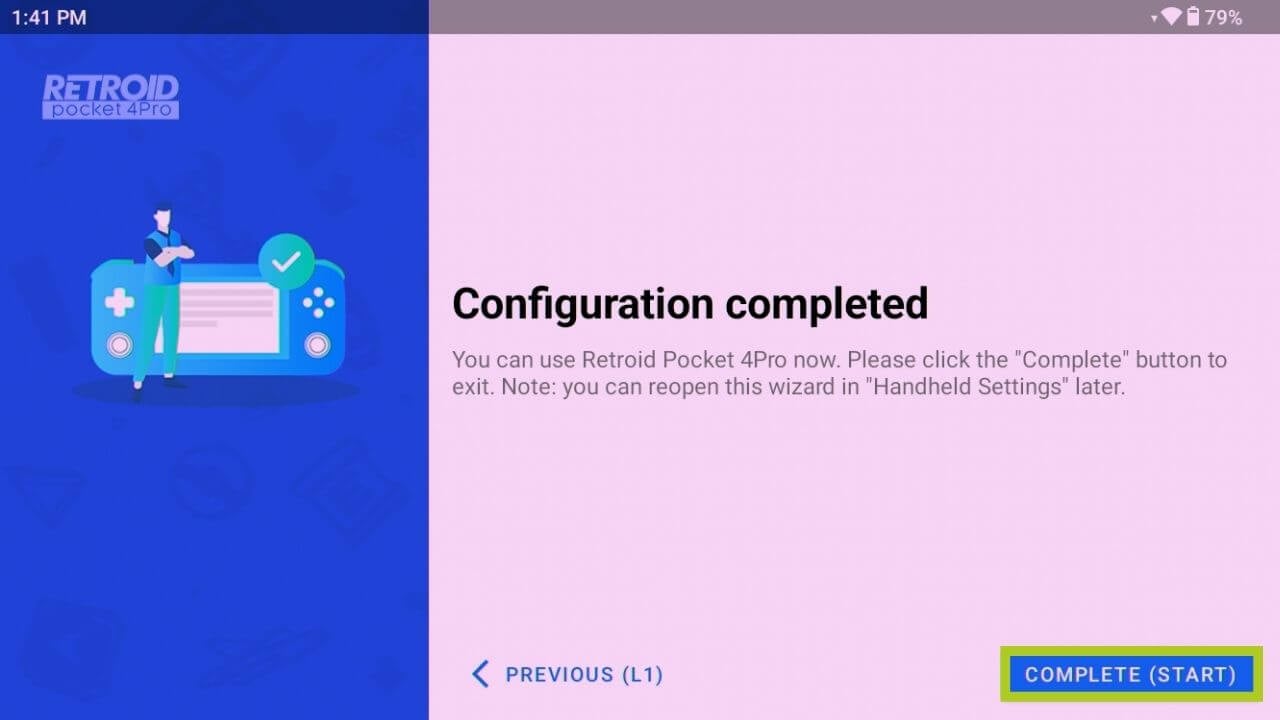
You’re almost there! When connected to the internet, you’ll see an option to enable Google Play services (see Image 7 below). While this is optional, enabling it grants access to the Google Play Store for direct app downloads – we recommend turning it on. Next, you have a choice of installing preloaded applications and emulators (see Image 8 below). Lastly, select your preferred user interface: the RP4 Pro Launcher or the standard Android AOSP Launcher and then you can jump straight into using your handheld (refer to Image 9 below). We suggest trying the AOSP for a familiar Android experience.

Handheld Settings
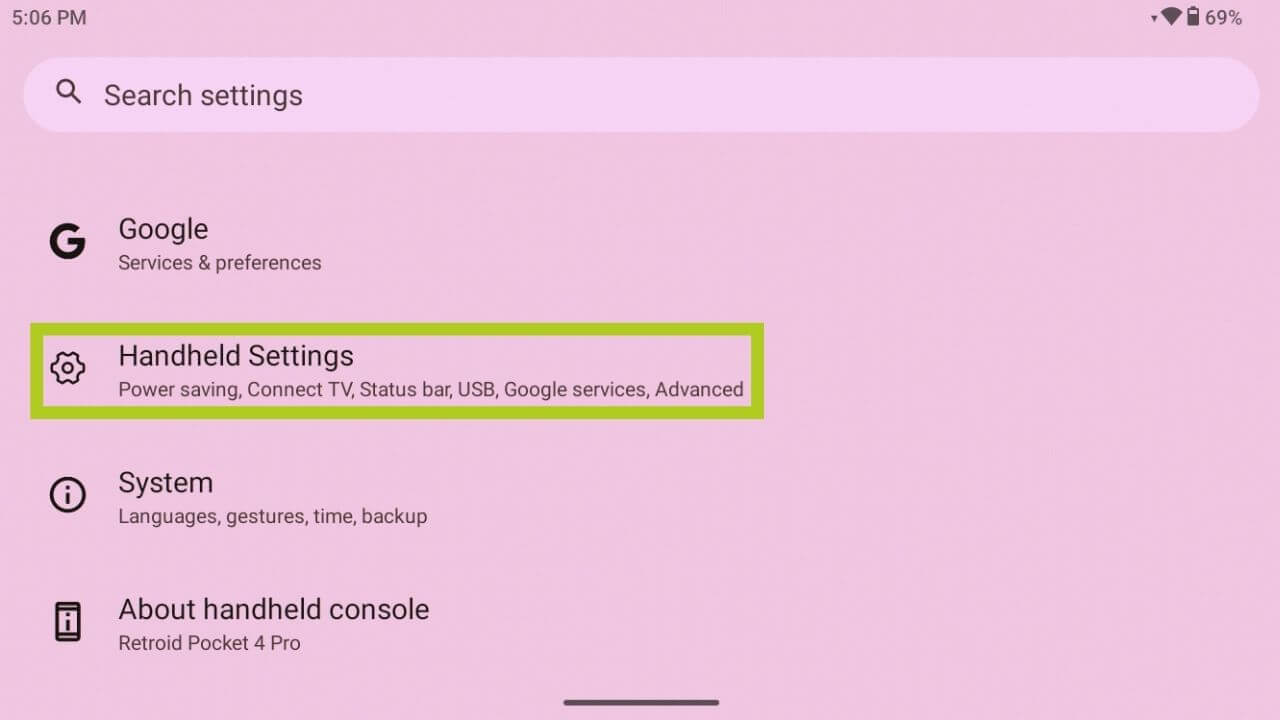
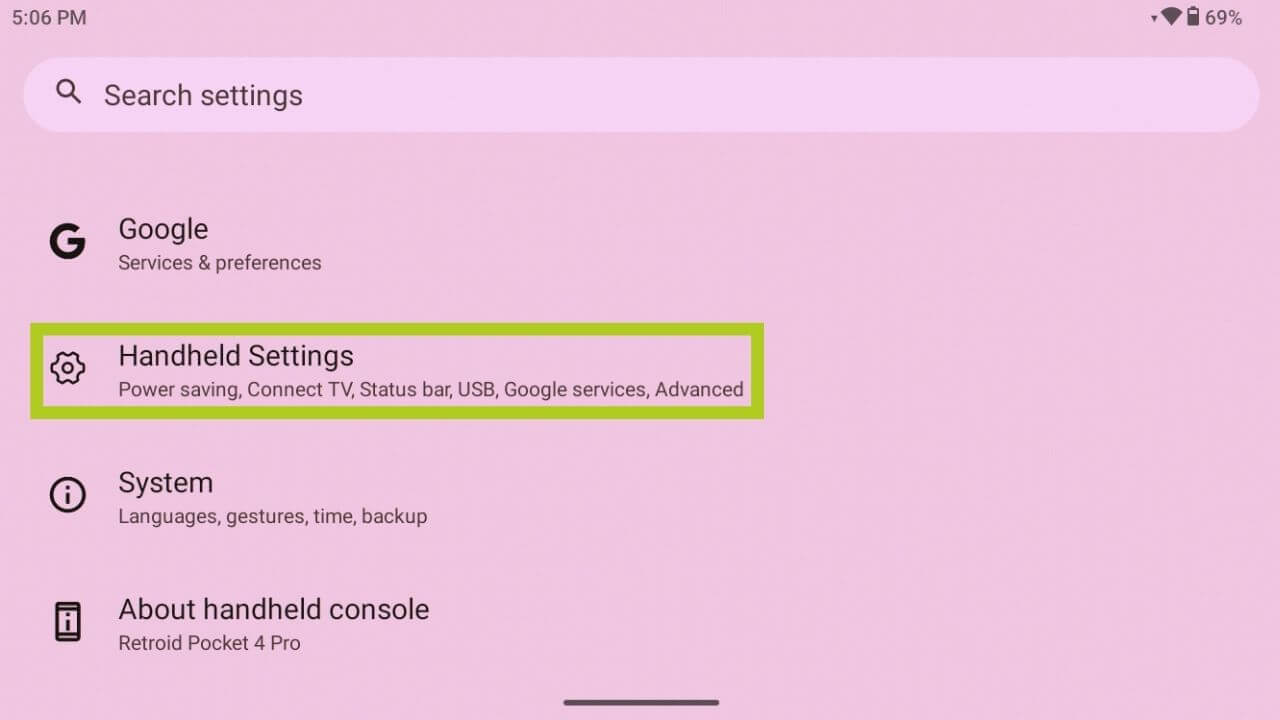
You can customise your retro gaming experience in the Handheld Settings, providing device-specific options separate from the standard Android settings. To access these for your device:
- Open the Settings app.
- Select Handheld Settings from the menu.
Virtual Mouse
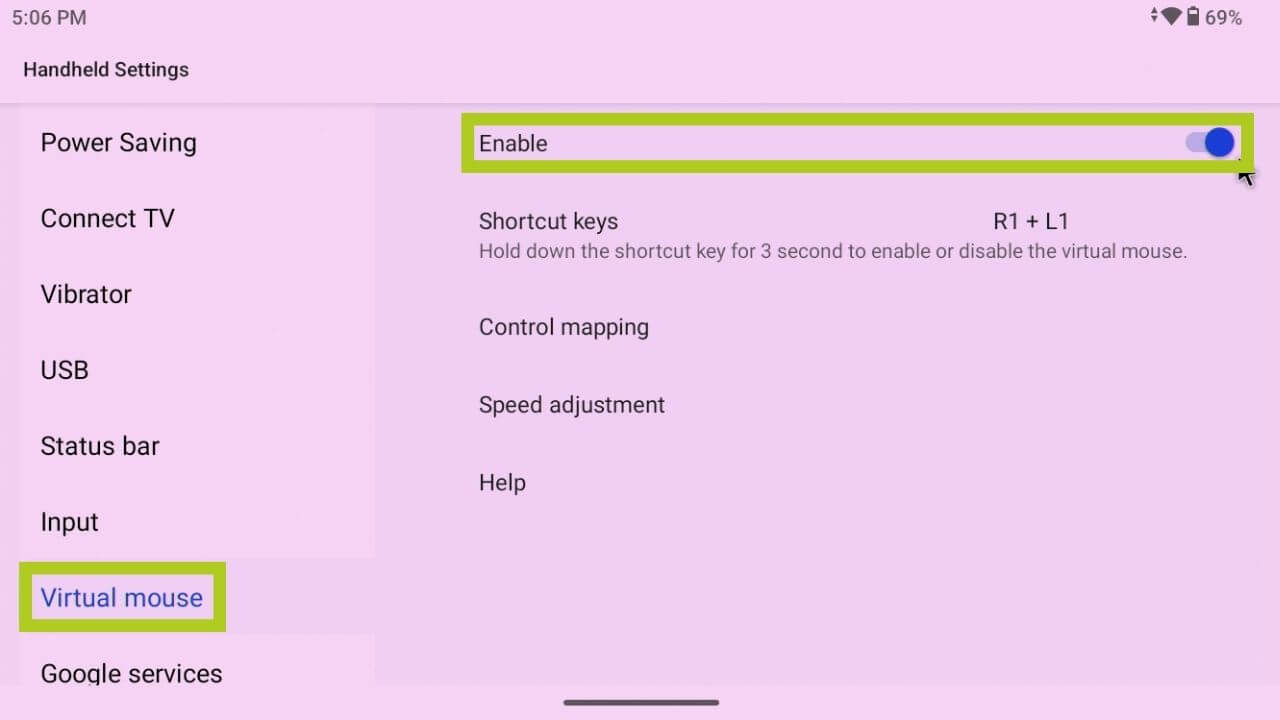
The virtual mouse feature on your device is a convenient tool that transforms your left joystick into a mouse-like controller, enhancing your ability to navigate and interact with non-gaming applications more intuitively.
To activate this, navigate to the Handheld Settings menu and enable it within the Virtual Mouse tab (refer to Images 1 & 2 below). You will need to set a shortcut, allowing you to quickly toggle the virtual mouse on or off, without repeatedly going through the settings menu.
Setup Wizard
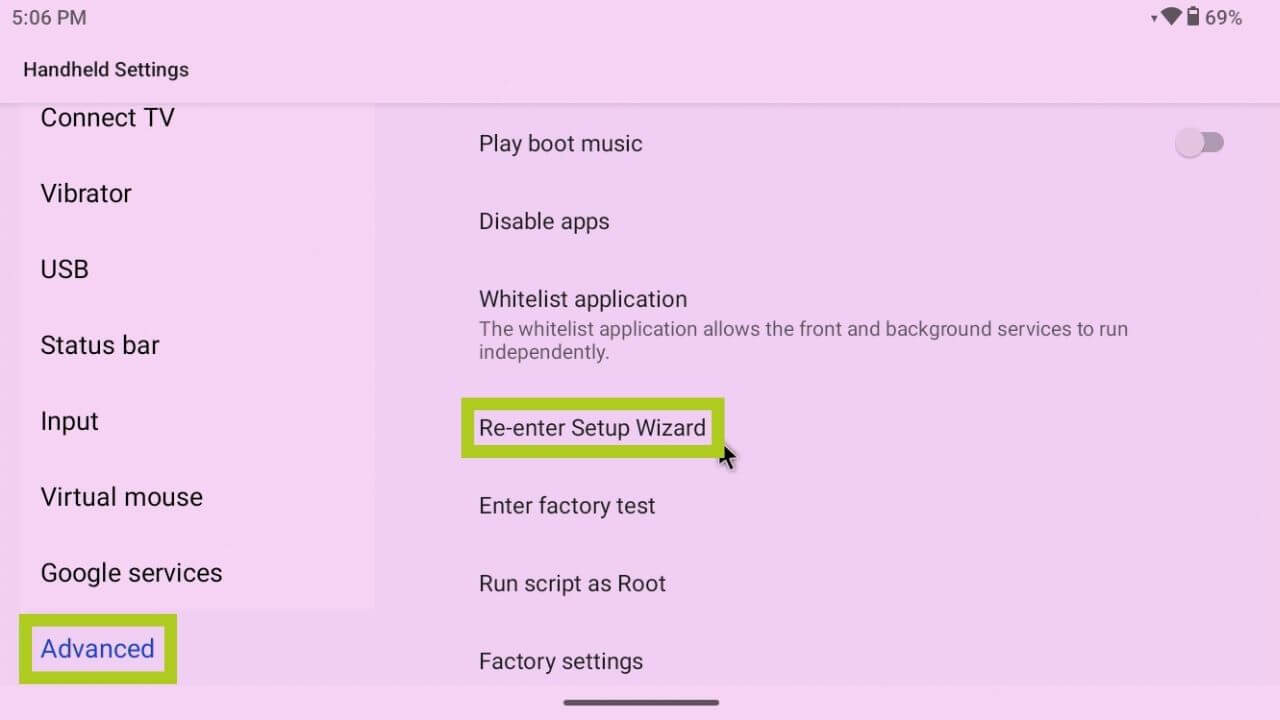
If you need to modify or reconfigure your device’s initial setup without resorting to a factory reset, which would delete all data, the Setup Wizard in the Handheld Settings menu offers a convenient solution. This tool is particularly useful for adjusting key settings on your device, to create a more personalised and optimal user experience.
To access the Setup Wizard, navigate to the Advanced tab in the Handheld Settings and choose Re-enter Setup Wizard. This will take you back to the Android Welcome Screen, allowing you to adjust your device’s setup just like you did when you first received it.
(Optional) Factory Reset
If however, you’re experiencing issues with your Pocket 4 or simply want to start fresh, a factory reset can be the ideal solution. This will restore your device to its original and earliest settings, erasing all your data and installed applications. To proceed with a factory reset, and learn more about when or why this can be beneficial, follow the comprehensive guide embedded below. Please remember to back up any important data before starting the reset process, as this action is irreversible.
Installing & Setting Up New Games
For those looking to build an expansive game library on the Pocket 4, but don’t know how or where to start, we already have a detailed guide embedded below. This guide is designed to be a universal resource for all our Getting Started guides, ensuring you can set up and personalize your game library regardless of OS. Follow the Android instructions in the guide to begin curating a collection of games for your Retroid Pocket 4.
RetroArch
RetroArch is a powerful open-source emulation frontend that simplifies retro gaming from a wide range of devices. To help you get started with RetroArch on your device, we’ve created a detailed guide, which walks you through the setup steps, ensuring a smooth and enjoyable gaming experience. Check out the setup guide here and find it embedded below for easy access.
Ingame Overlay
Game Assist is a bespoke in-game overlay software for Retroid devices, which also allows you to configure keymapping controls for your device. If you’re interested in doing so, please check out our Retroid section in our comprehensive Key Mapping Guide linked below.
Connecting an External Display
Connecting your Retroid Pocket 4 to an external display is incredibly simple thanks to your device’s connectivity hardware. Your Pocket 4 comes equipped with a Micro HDMI and USB 4.0 port, so to connect your device directly to a display using a:
Effortlessly connect your Retroid Pocket 4 to an external display using its versatile connectivity options. The device features both a Micro HDMI and USB 4.0 port, allowing for a direct connection. Depending on the external display’s input, you can use:
- USB 4.0 to USB 4.0 – for displays with USB 4.0 input.
- USB 4.0 to HDMI – standard/mini/micro matching your display.
- Micro HDMI to USB 4.0 – for displays with USB 4.0 input.
- Micro HDMI to HDMI – standard/mini/micro depending on the display.
You can enhance your setup further with compatible docks and hubs like the DroiX NH8, NT8, and SD1, offering even more connectivity options for your Pocket 4 and transforming your mobile gaming handheld into a gaming rig. Learn more about the supported accessories that we offer below.
Accessories & Add-ons
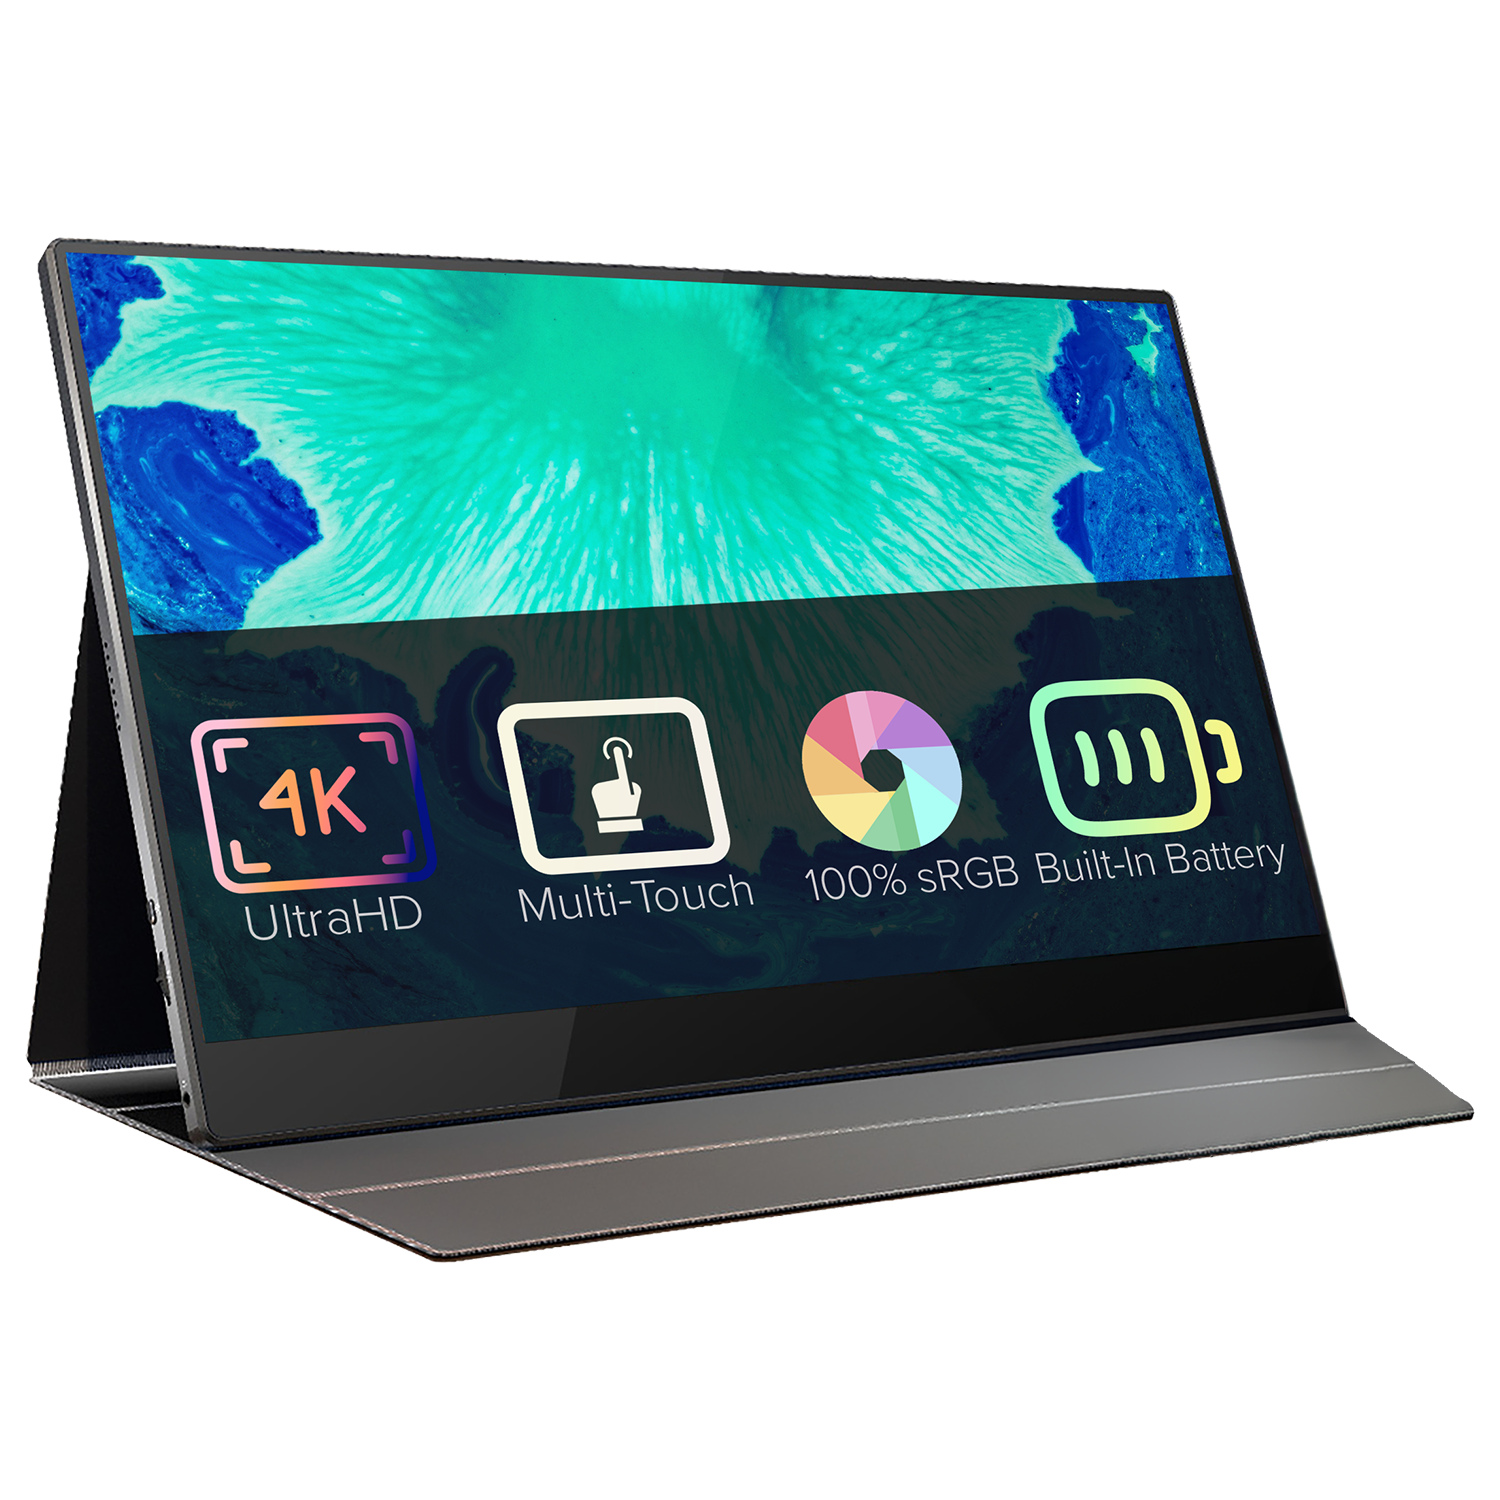
15.6″ 4K Portable Monitor | with Adobe RGB | with Stylus Support: These portable monitors offer a stunning 4K resolution across their 15.6″ display. The monitor comes with touchscreen capabilities and even has an option for Adobe RGB or Stylus support. It is fantastic for artists, note-takers, handwriting enthusiasts and more. It’s the perfect addition as a main or additional monitor for your mini PC. Its slim and lightweight design makes it easy to carry around.
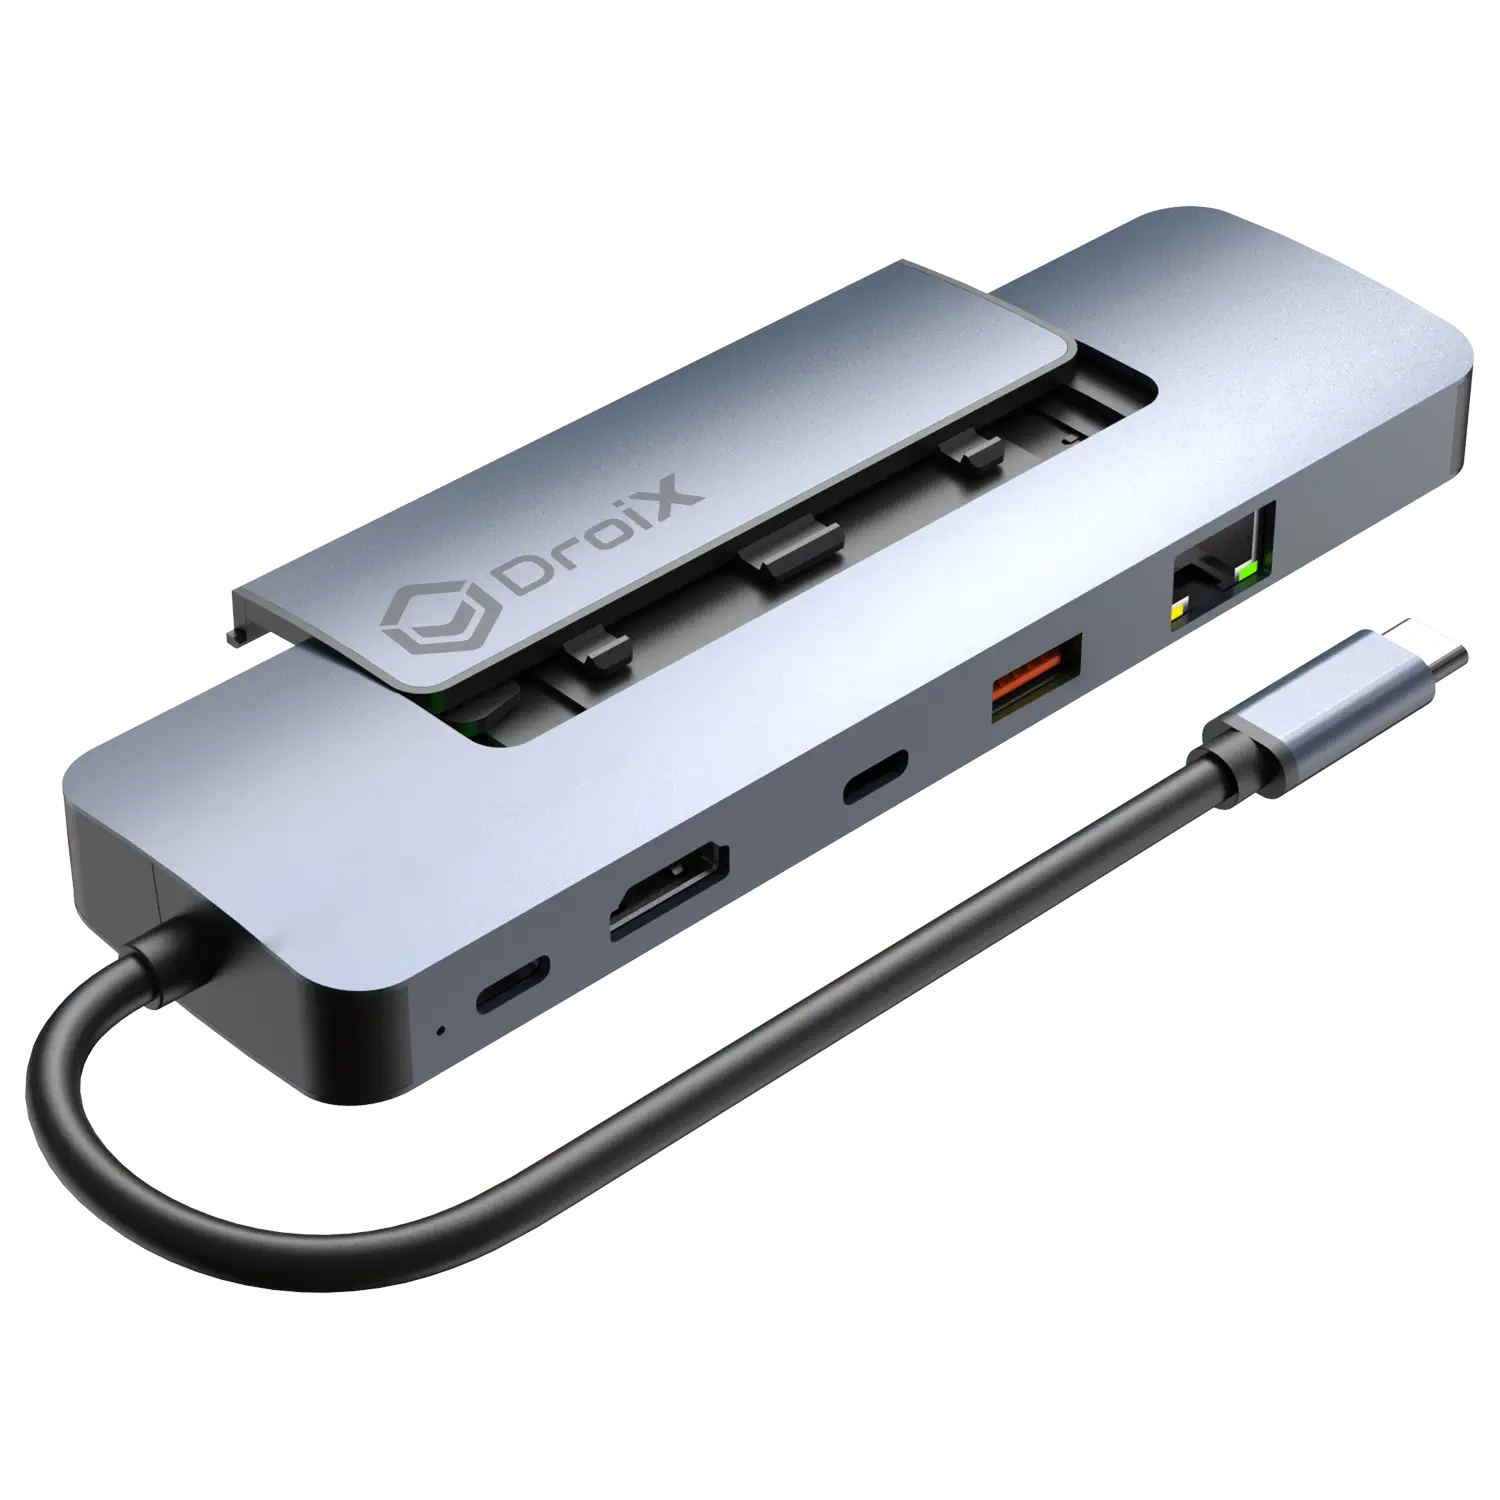
NH8 USB Hub with NVME: The NH8 USB Type-C Hub with NVME is a versatile, portable device that extends your device’s connectivity. It includes a variety of ports, including HDMI, USB Type-A, USB Type-C, and SD card readers, providing comprehensive compatibility with a range of peripherals. But its highlight feature is the built-in NVME slot, allowing you to expand your storage with ease.
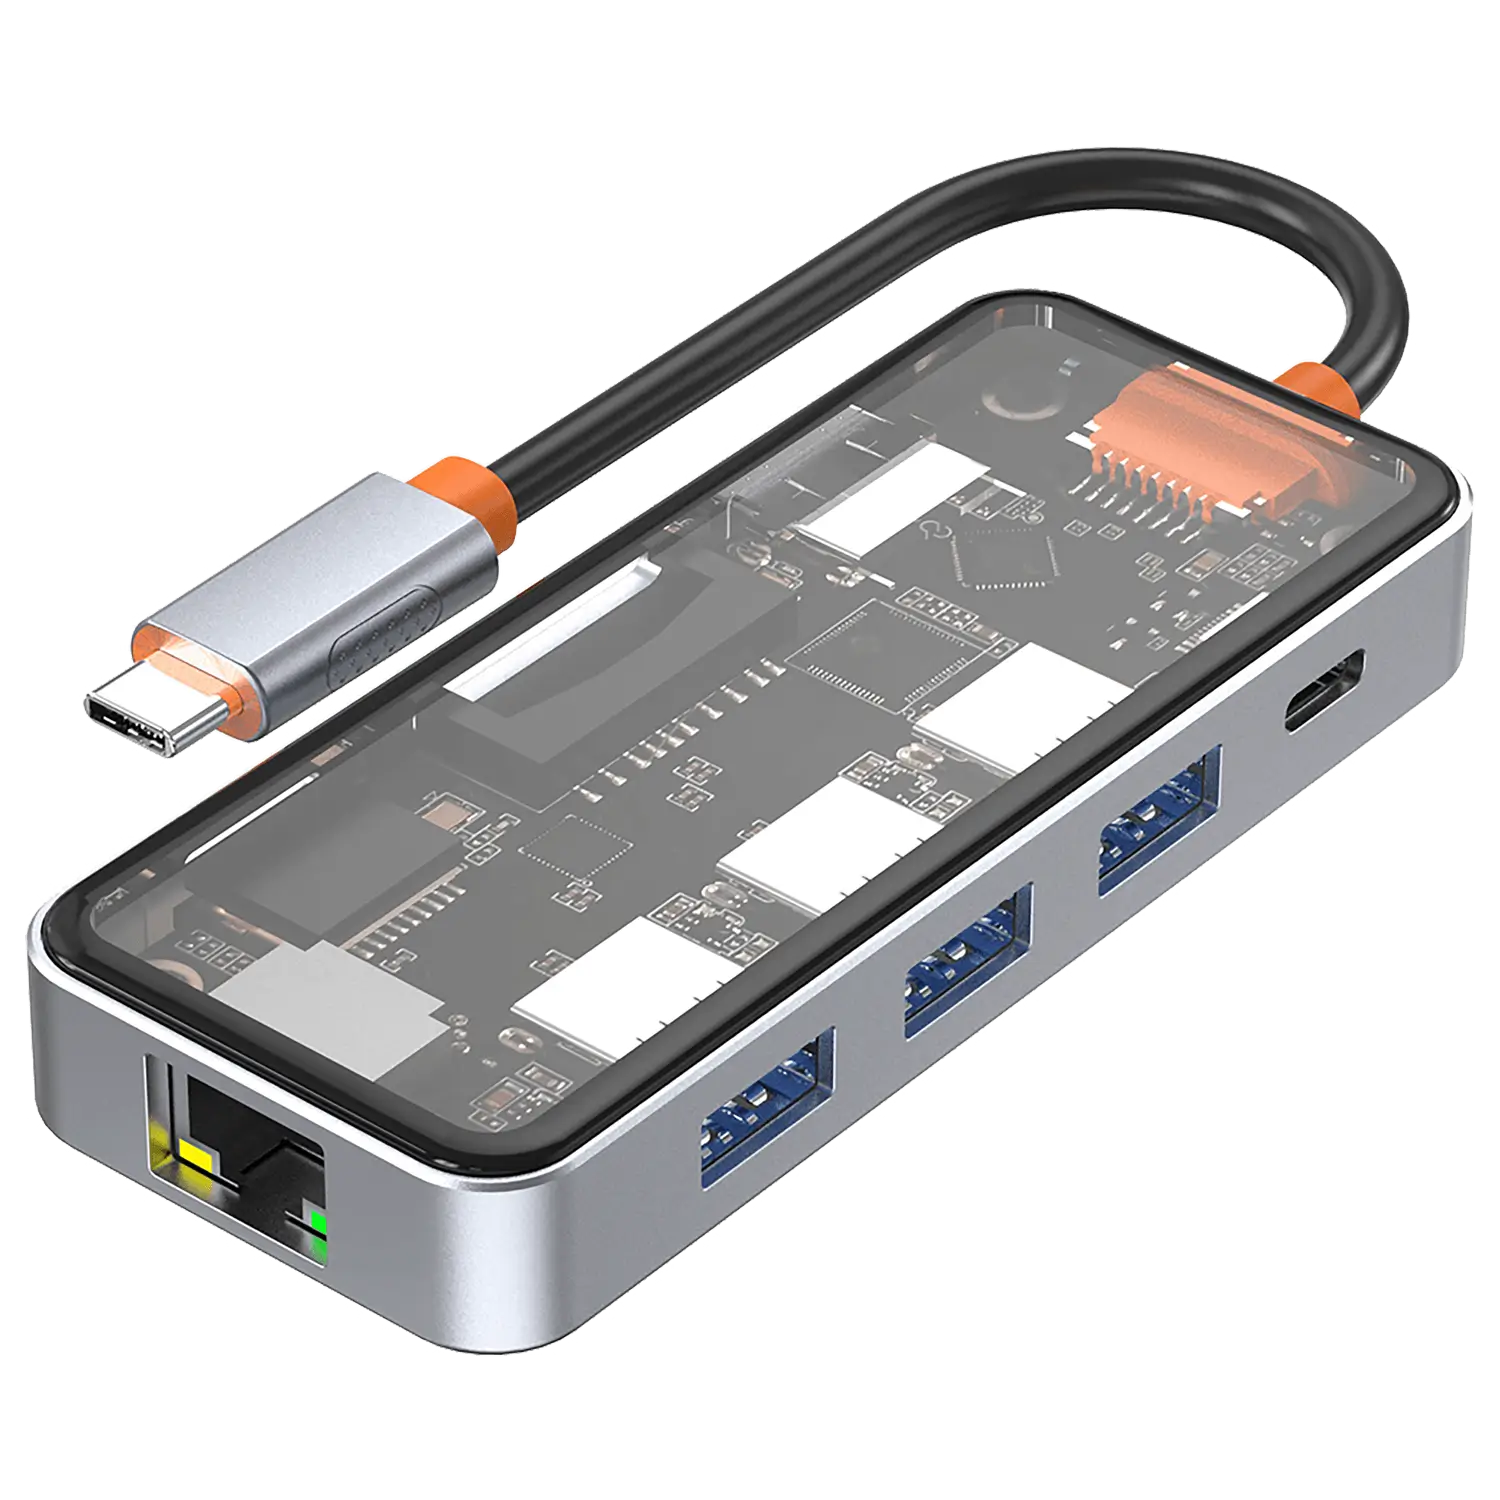
NT8 Clear USB Hub: Expand your Pocket 4’s connectivity with the DroiX NT8 Clear USB Hub. This accessory is a game-changer, offering multiple USB ports to connect various peripherals simultaneously. Its transparent, sleek design not only complements your Pocket 4 but also enables effective heat management. Whether for gaming enhancements or productivity, the DroiX NT8 is an essential add-on for maximizing your Pocket 4’s potential.
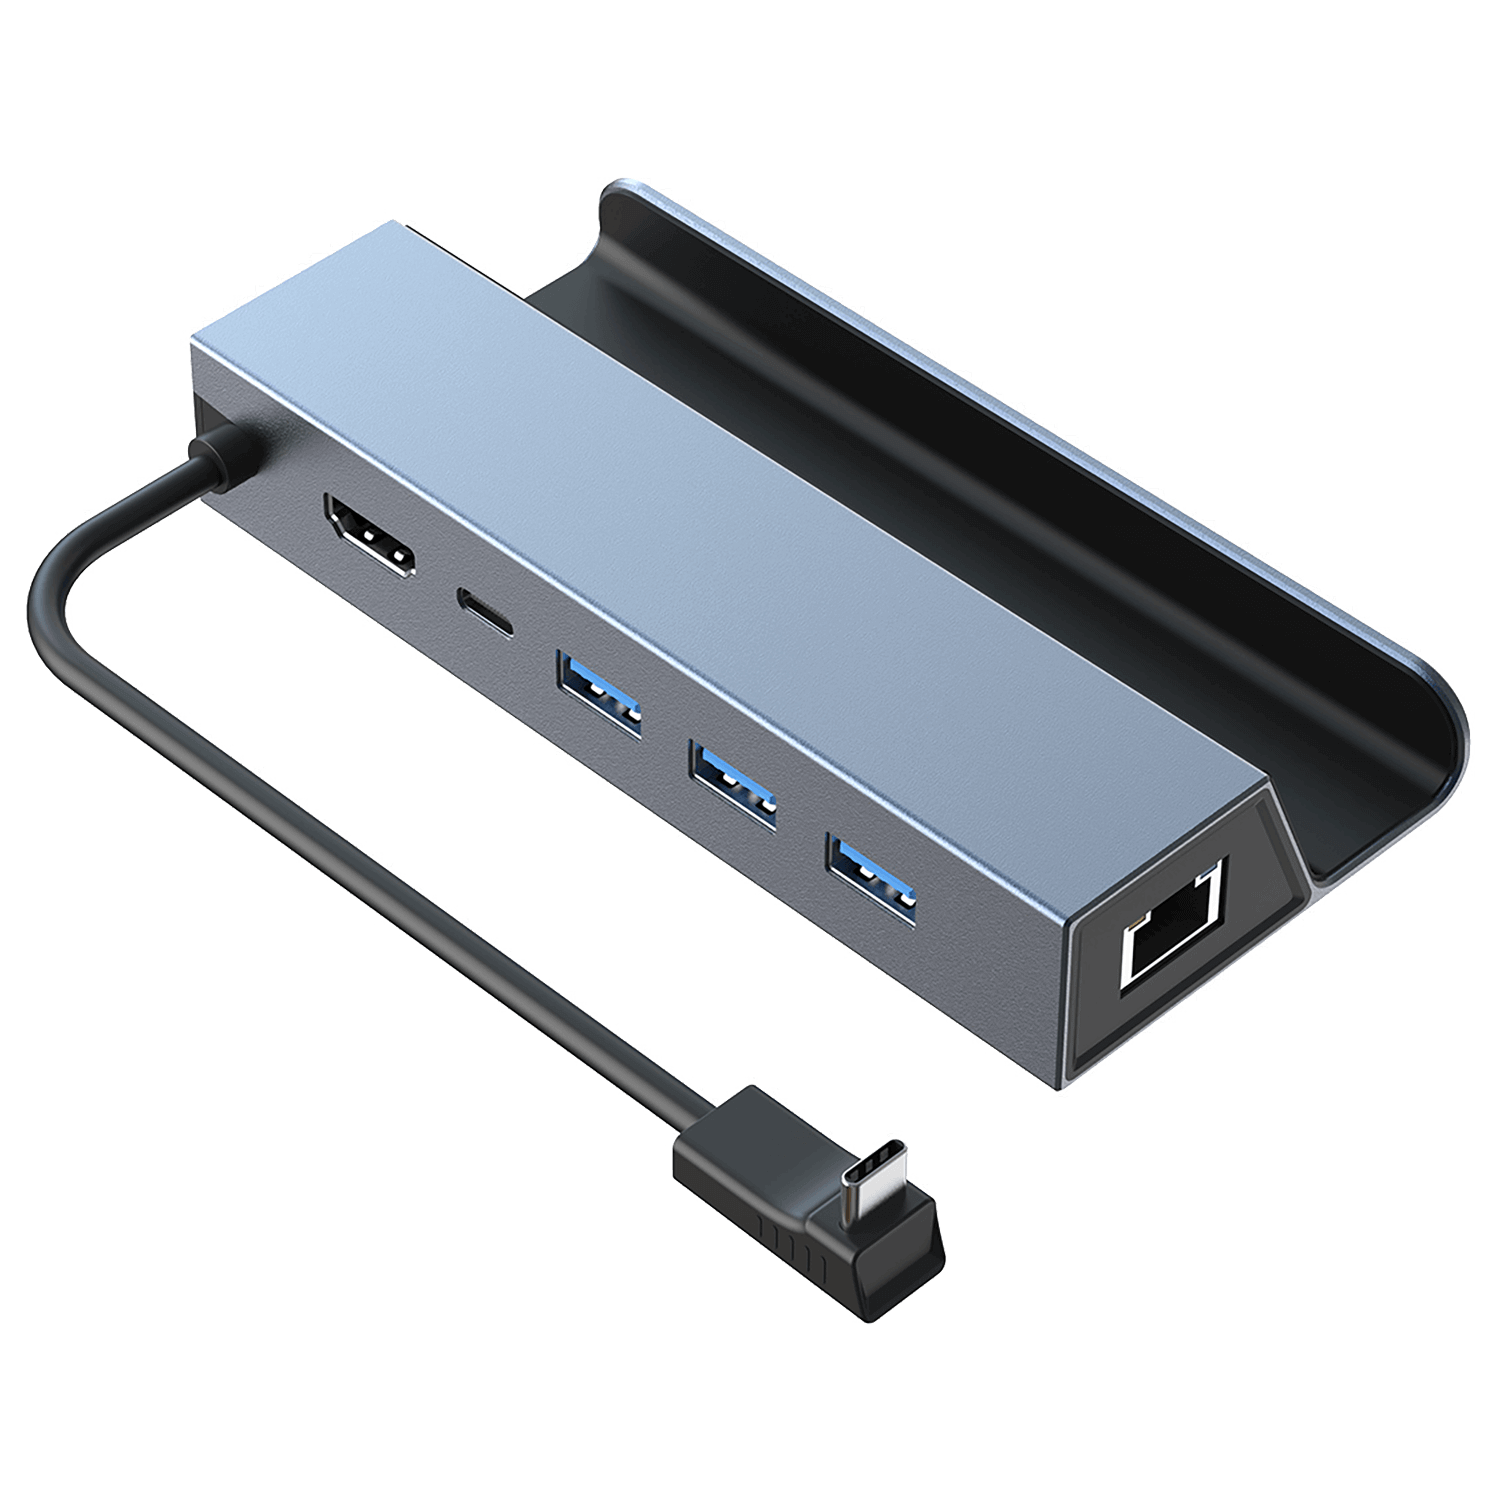
SD1 Docking Station: Elevate your Pocket 4 gaming experience with the DroiX SD1 Docking Station. This station is specifically designed to integrate seamlessly with your Pocket 4, enhancing your gaming setup with direct ethernet internet access, 4K display output, and efficient charging. The multiple ports allow for easy connection of gaming accessories, transforming your handheld device into a comprehensive gaming console. Robust and stylish, the DroiX SD1 is more than just a docking station; it’s an essential extension for any gamer.
Well, that’s everything we have to share regarding the Retroid Pocket 4 & 4 Pro – we hope you’ve managed to correctly set up and get started with your new retro gaming handheld, or at the very least learnt something useful. In case you still have any questions or queries, please feel free to leave a comment below or message our Support team. We’re committed to helping you and will also update this page accordingly.


