So you have bought a brand new Retro Gaming Handheld or Windows Gaming Handheld and you need some games to play? Our guide will show how to source games and also how to install them onto your Windows, Android or Linux handheld.
Where to find Windows games?
There are now many platforms from which you can get free Windows games as well as pay for them. Here are some of the more popular platforms.
Steam – https://store.steampowered.com/ – The most popular source to find free and paid games.
Epic Games – https://www.epicgames.com/ – They have weekly FREE games that are normally paid for.
Good Old Games (GOG) – https://www.gog.com/ – DRM-free games
Xbox Game Pass – https://www.xbox.com/en-GB/xbox-game-pass – Monthly subscription to many commercial games you can play at no additional cost. You can also cloud-stream games to your handheld.
Humble Bundle – https://www.humblebundle.com/ – Bundles of games are usually sold far cheaper than usual, and some of the money goes to charity!
Where to find game ROMS?
We can not link to websites that host commercial game ROMS. You can however find them on Google very easily and then download them provided you own the original game. Here are some other ways to play retro games on your handheld:
PDROMS – https://pdroms.de/ – The largest source of homebrew games for many consoles and computers. It is no longer updated, but you can still find many homebrew games on there.
Retro Veteran – https://www.retroveteran.com/ – Another very useful site with links to many homebrew games for many consoles.
Antstream – https://www.antstream.com/ – Cloud-based streaming retro gaming. Software is available for Windows and Android amongst others. There’s a free version as well as a monthly subscription option for more features.
How to install ROMS on your Windows handheld?
RetroArch is a fast way to easily set up multiple emulators and scan your ROM files. You can read our guide here on how to set up RetroArch.
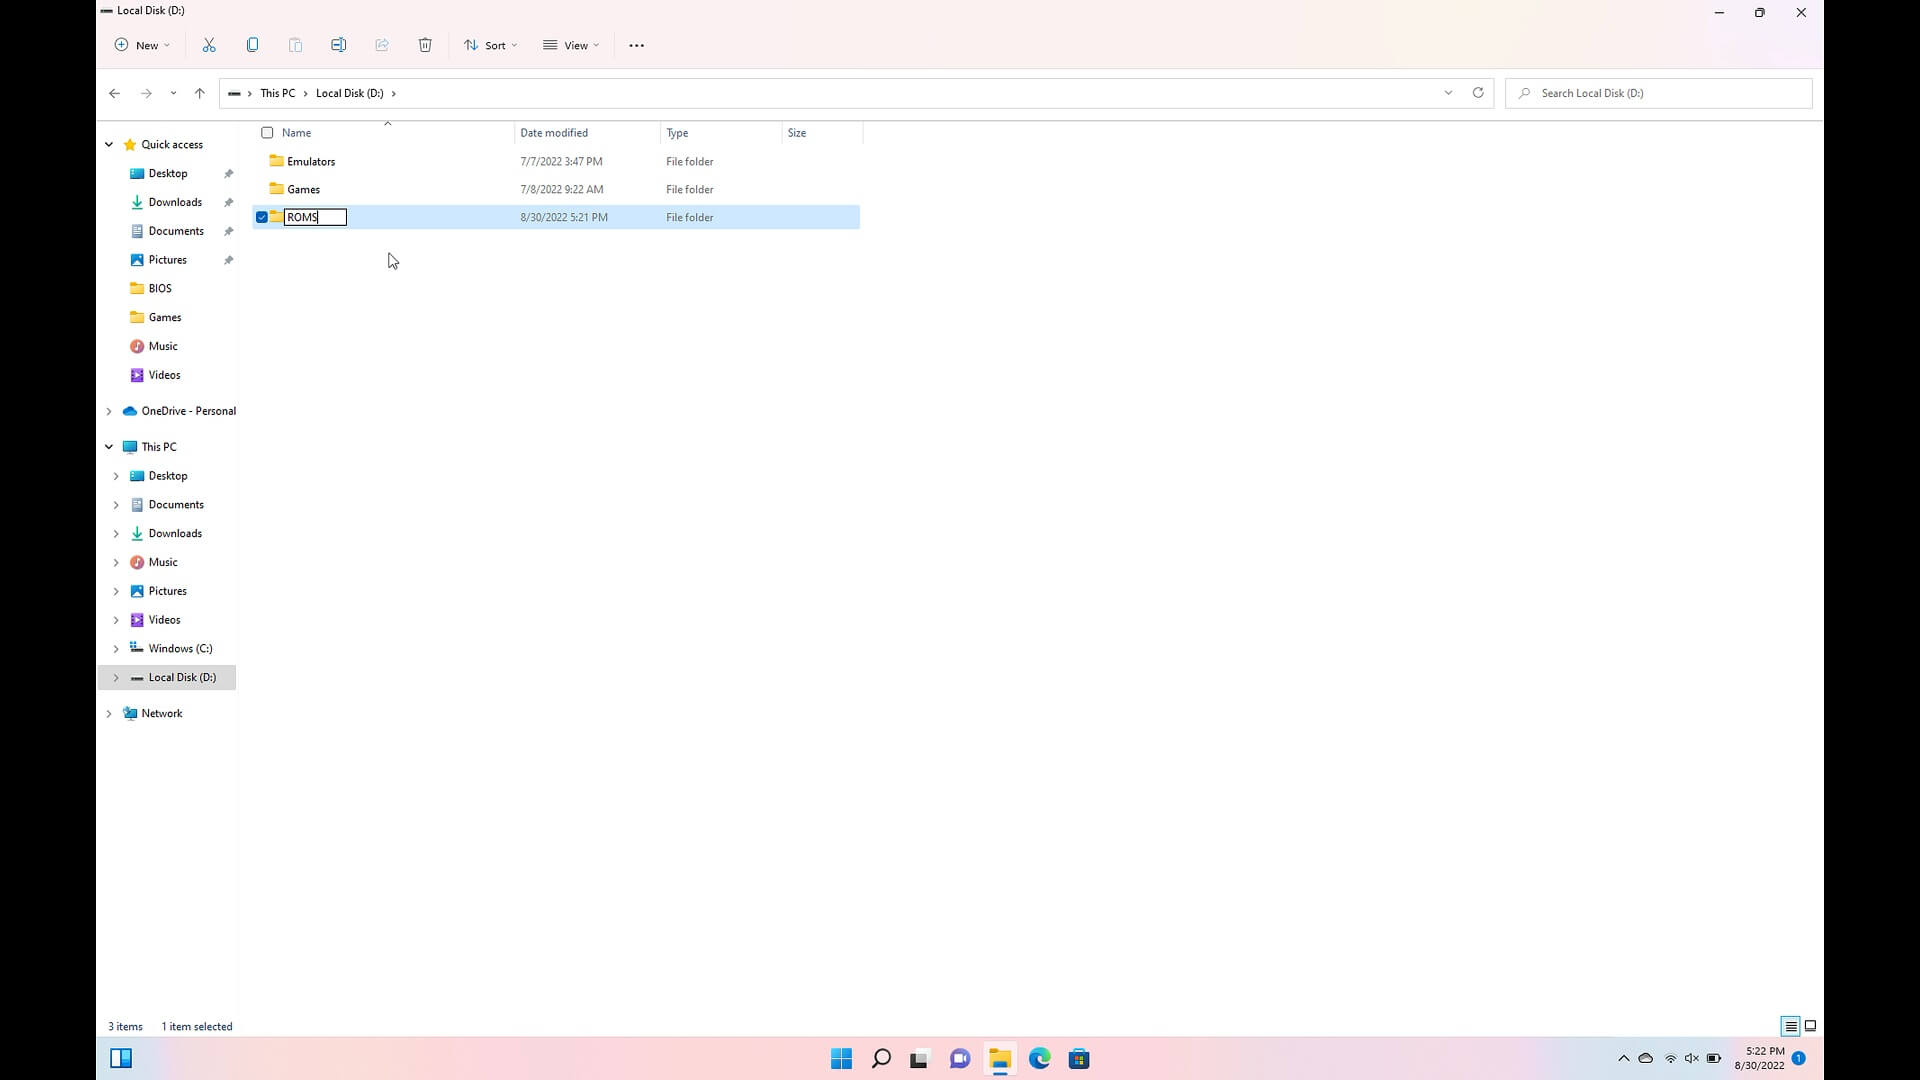
Create a new folder on your Handheld Gaming PC’s storage called ‘ROMS’. Then enter that folder and create new folders for each of the game consoles you have games for. For example, a folder called “Genesis” for Mega Drive / Genesis games.
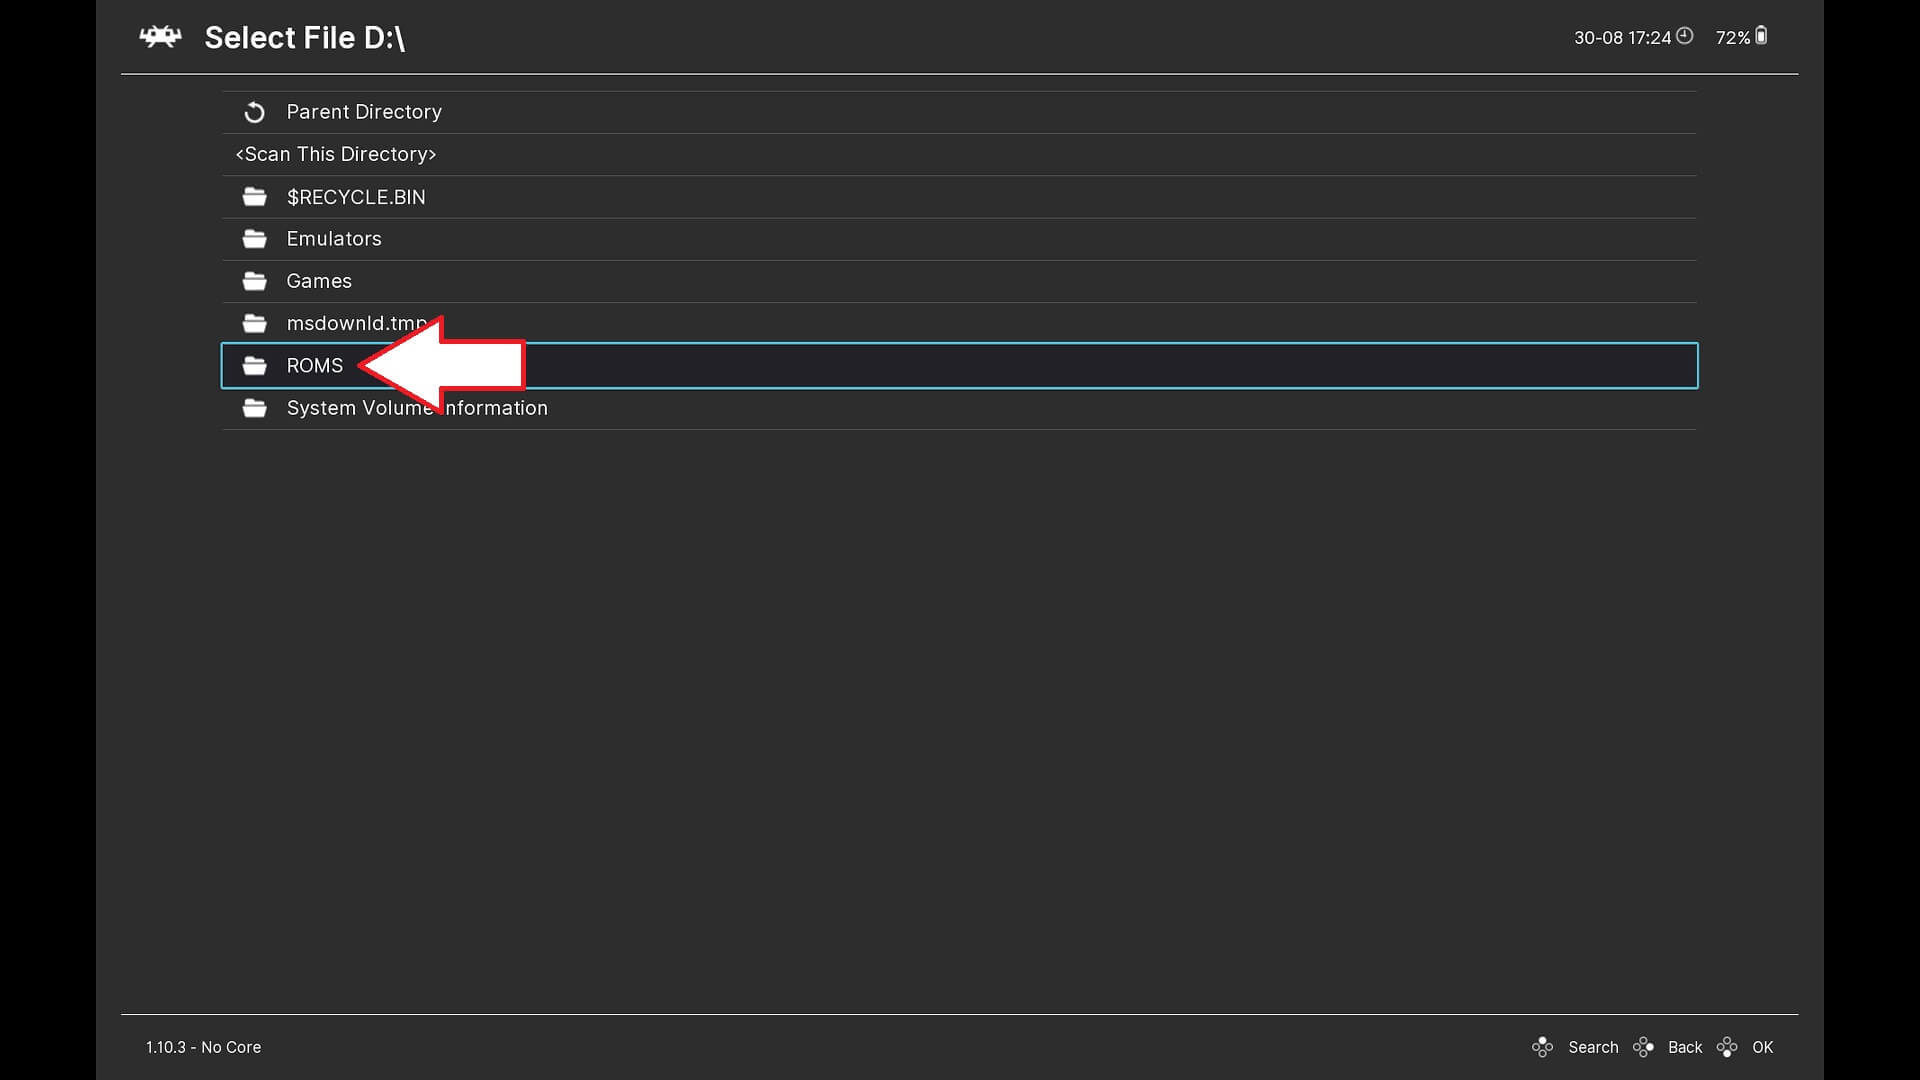
Load RetroArch and choose Import Content then Scan Directory menu options.

Navigate to the ROMS folder you created.
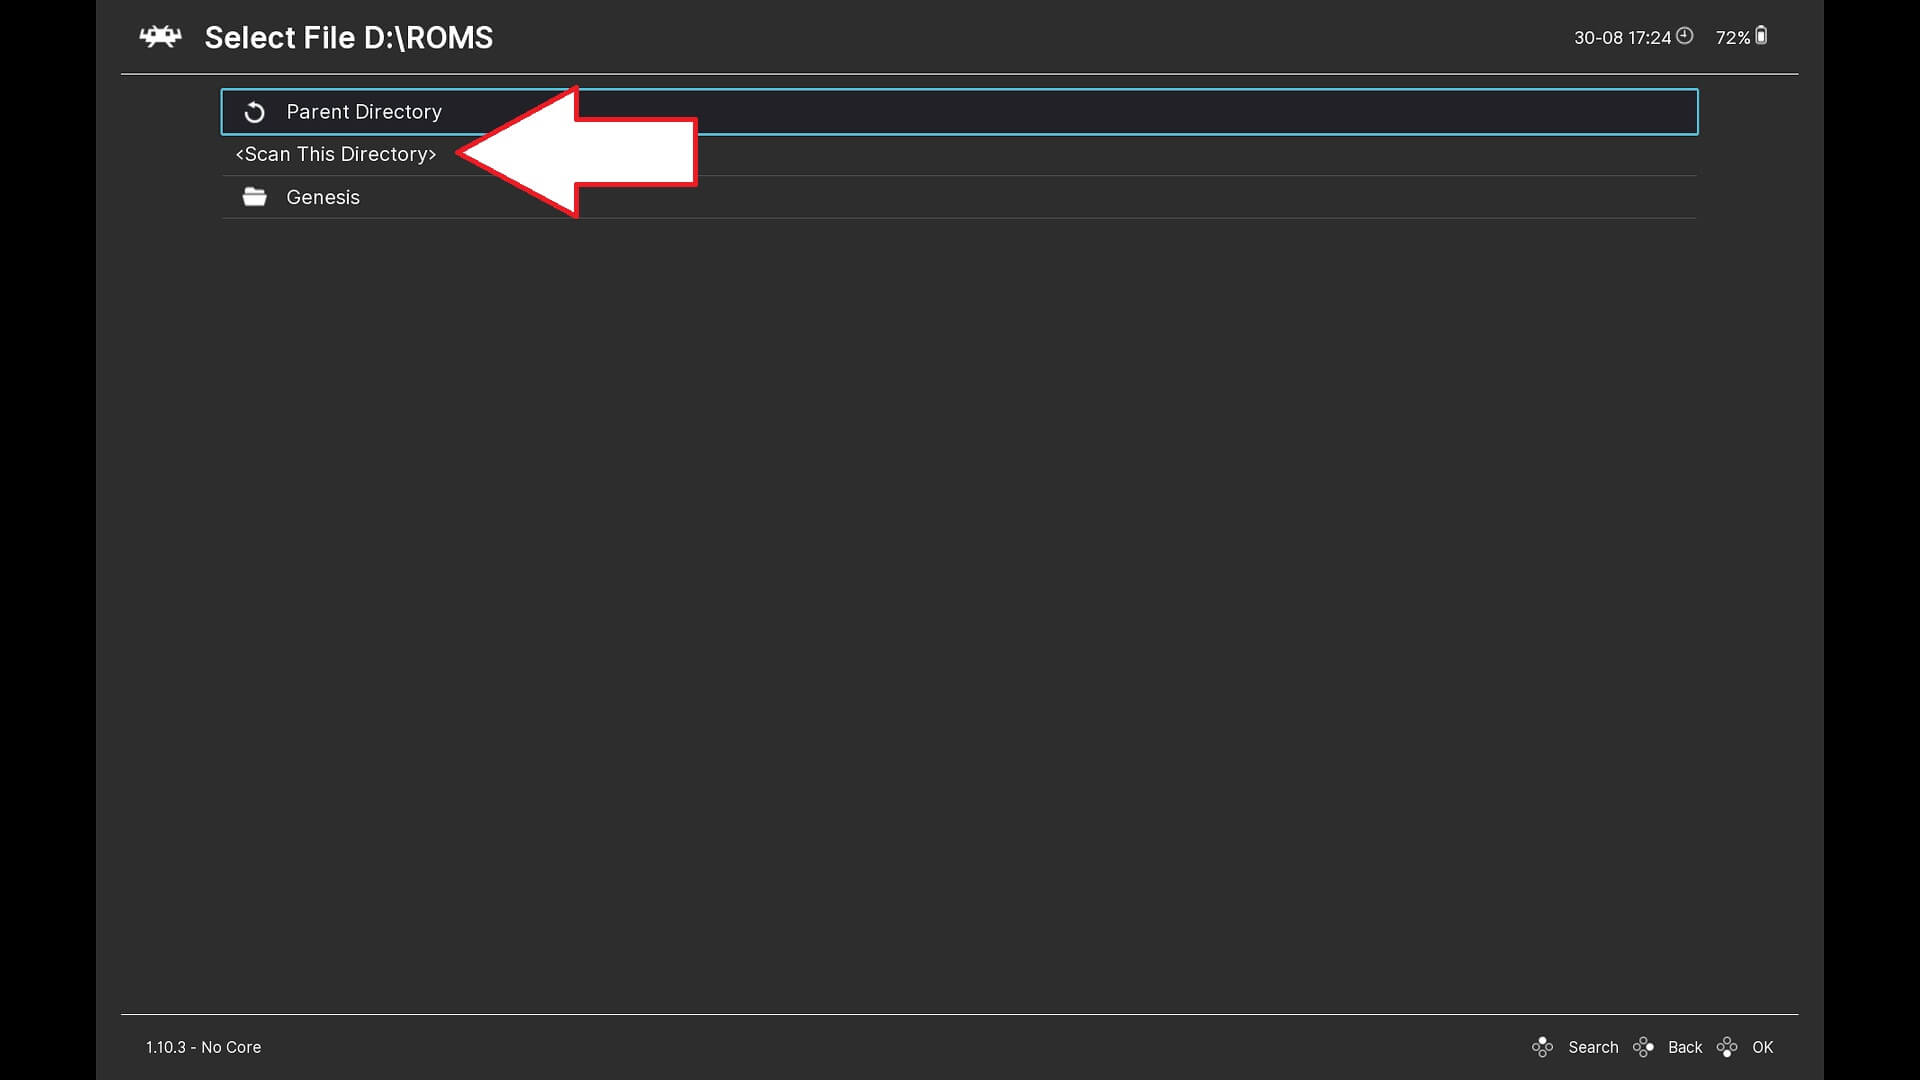
If you want to scan a single console folder, enter that folder and choose Scan This Directory. If you would like to scan all the game folders at once, choose it here but be warned it will take longer if you have a large collection.
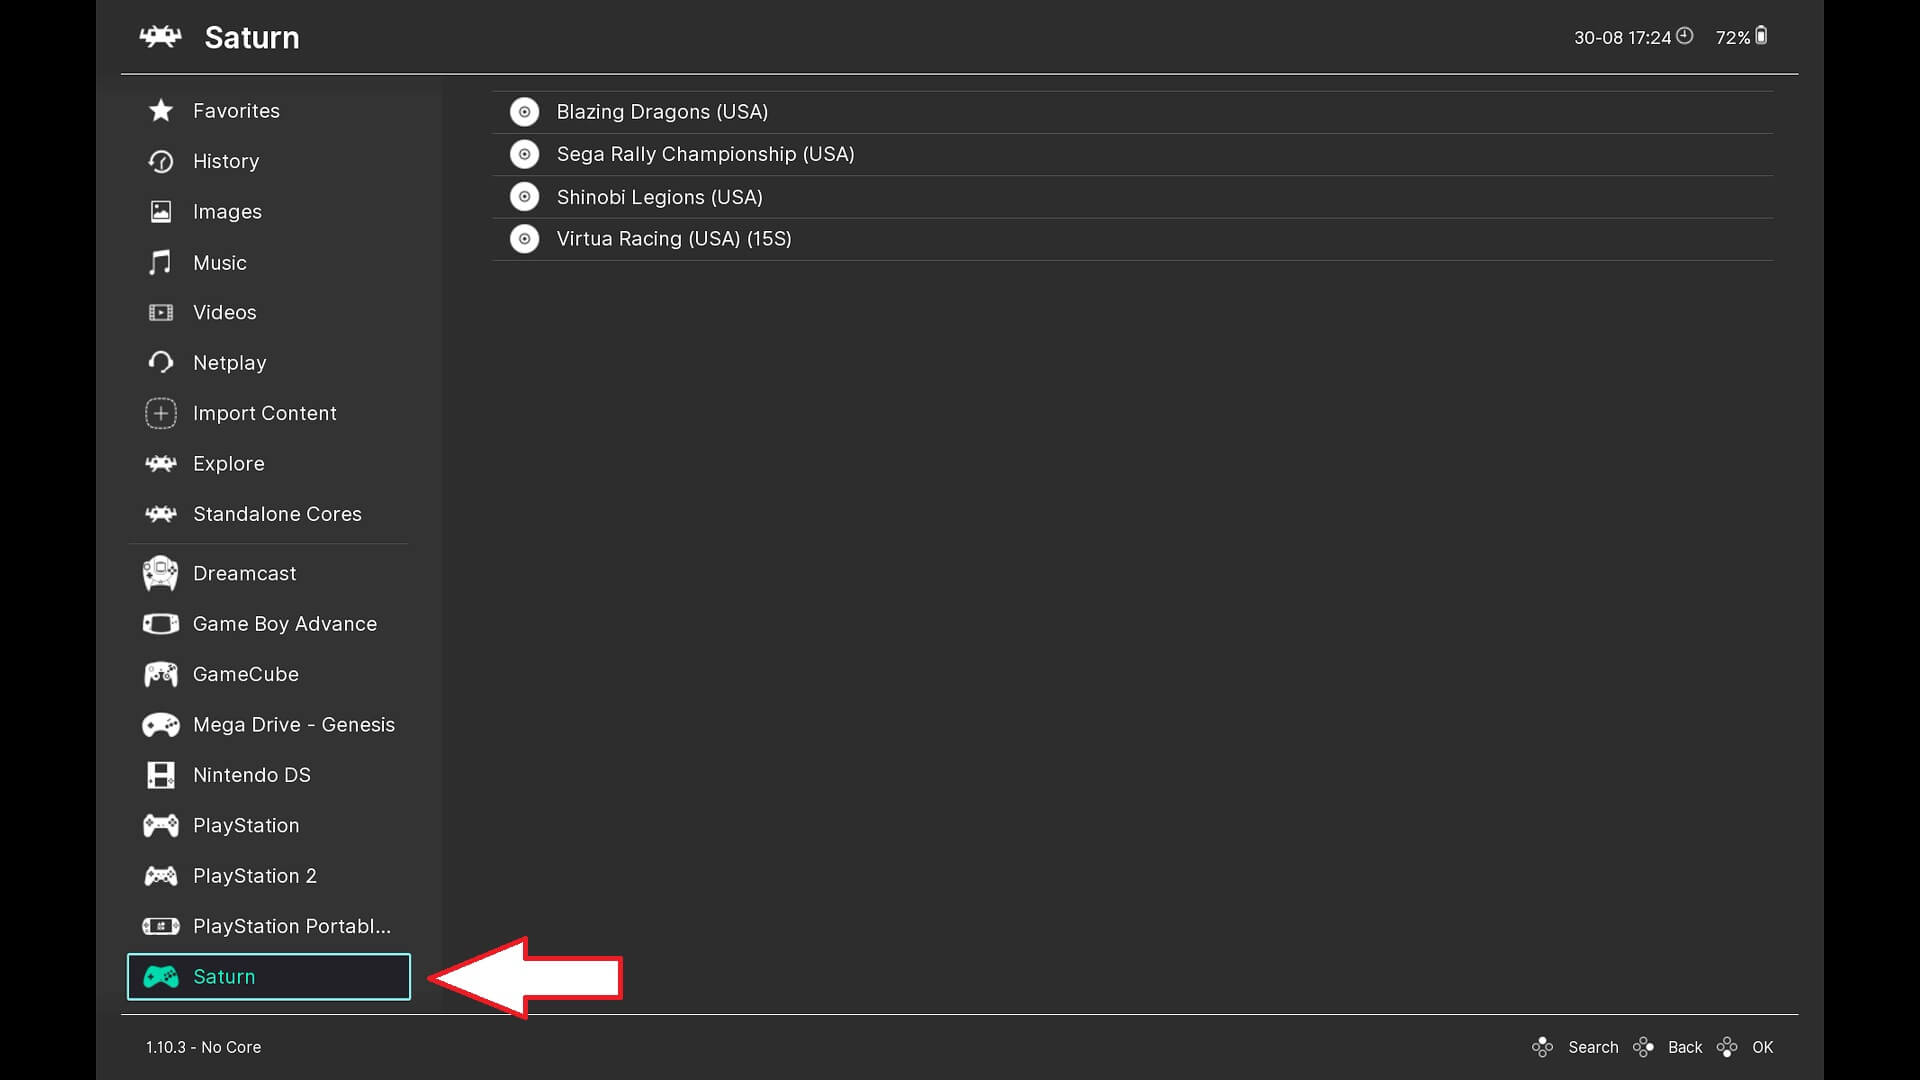
Once all the folders have been scanned, return to the main menu and you will see that the consoles you added have been scanned and there are now menu options for fast access to the consoles and games.
How to install ROMs on your retro handheld?
Depending on the model of your handheld, it may be running Android and/or a Linux-based operating system. We will cover both OS in our guide starting with Linux.
Linux OS
Most Linux-based handhelds will have a micro SD card with folders already created for the gaming consoles it supports. Some handhelds have combined OS + storage, and others may have a second card which is dedicated to storage. If you have a blank Micro SD Card we will also show how to populate it with the correct folders for your games.
While the handheld is switched off, remove the storage micro SD Card and plug it into your PC. If you receive any warnings about incompatible partitions, close and ignore them, do not accept any prompts to repair or format them.
Open your File Manager and you will see a new drive.
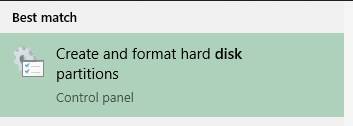
If you can not see the drive, it may need to have a drive letter assigned to it. To fix this, you will need to assign a drive letter to the partition. Type “disk manager” in the Windows 10 search bar, then select “Create & Format Hard Disk Partitions”.
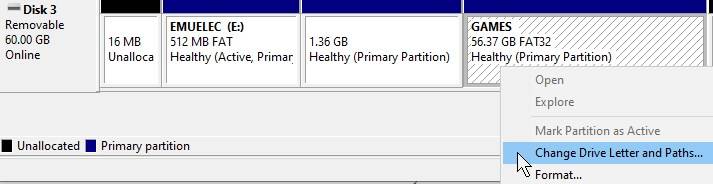
Now locate the micro SD card entry, right-click the GAMES partition and select Change Drive Letter and Paths…
Click Add, choose a drive letter, then click OK in both windows.
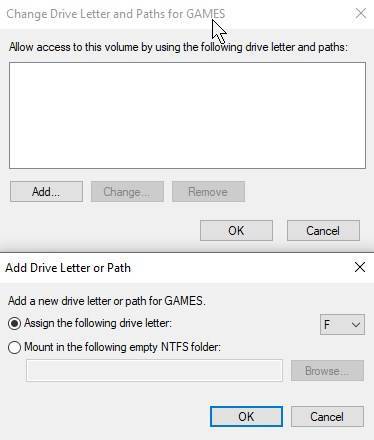
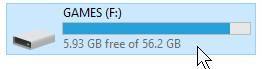
The drive letters available will depend on what’s already in the device. It doesn’t matter which one you pick. You’ll now be able to see the empty partition.
Eject the Micro SD card from your PC, insert it into your handheld and switch it on. The boot process will take longer than usual as the software will be creating the required folders for you to copy your games to. Let it boot to the main menu and then you can shut down the handheld, remove the card and re-insert it into your PC.
There will be a list of folders with familiar names based on consoles and computers similar to what is shown in the below image.
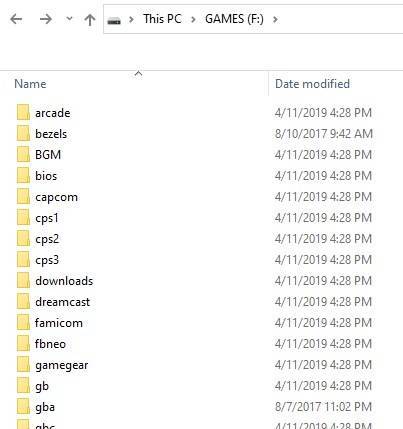
You can then copy the ROM files you have downloaded into their respective folders. For example, a Dreamcast game would go into the “dreamcast” folder, and a Game Gear game would go into the “gamegear” folder.
Once you have copied over your files, eject the micro SD card then re-insert it into your retro handheld and power it on.
When booting up, the micro SD card should be scanned for newly added games. When you add new games the boot process will take longer than usual as it scans for them. Occasionally the game may not be identified, but you should still be able to find it in the games list at the bottom.
If the game(s) are still not found then you may need to ‘scrape’ the game data, follow our guide here on how to do this.
Android OS
Micro SD Card
If you have a micro SD card slot you can simply copy game files from your PC to the micro SD card. But first, you need to prepare the card correctly.
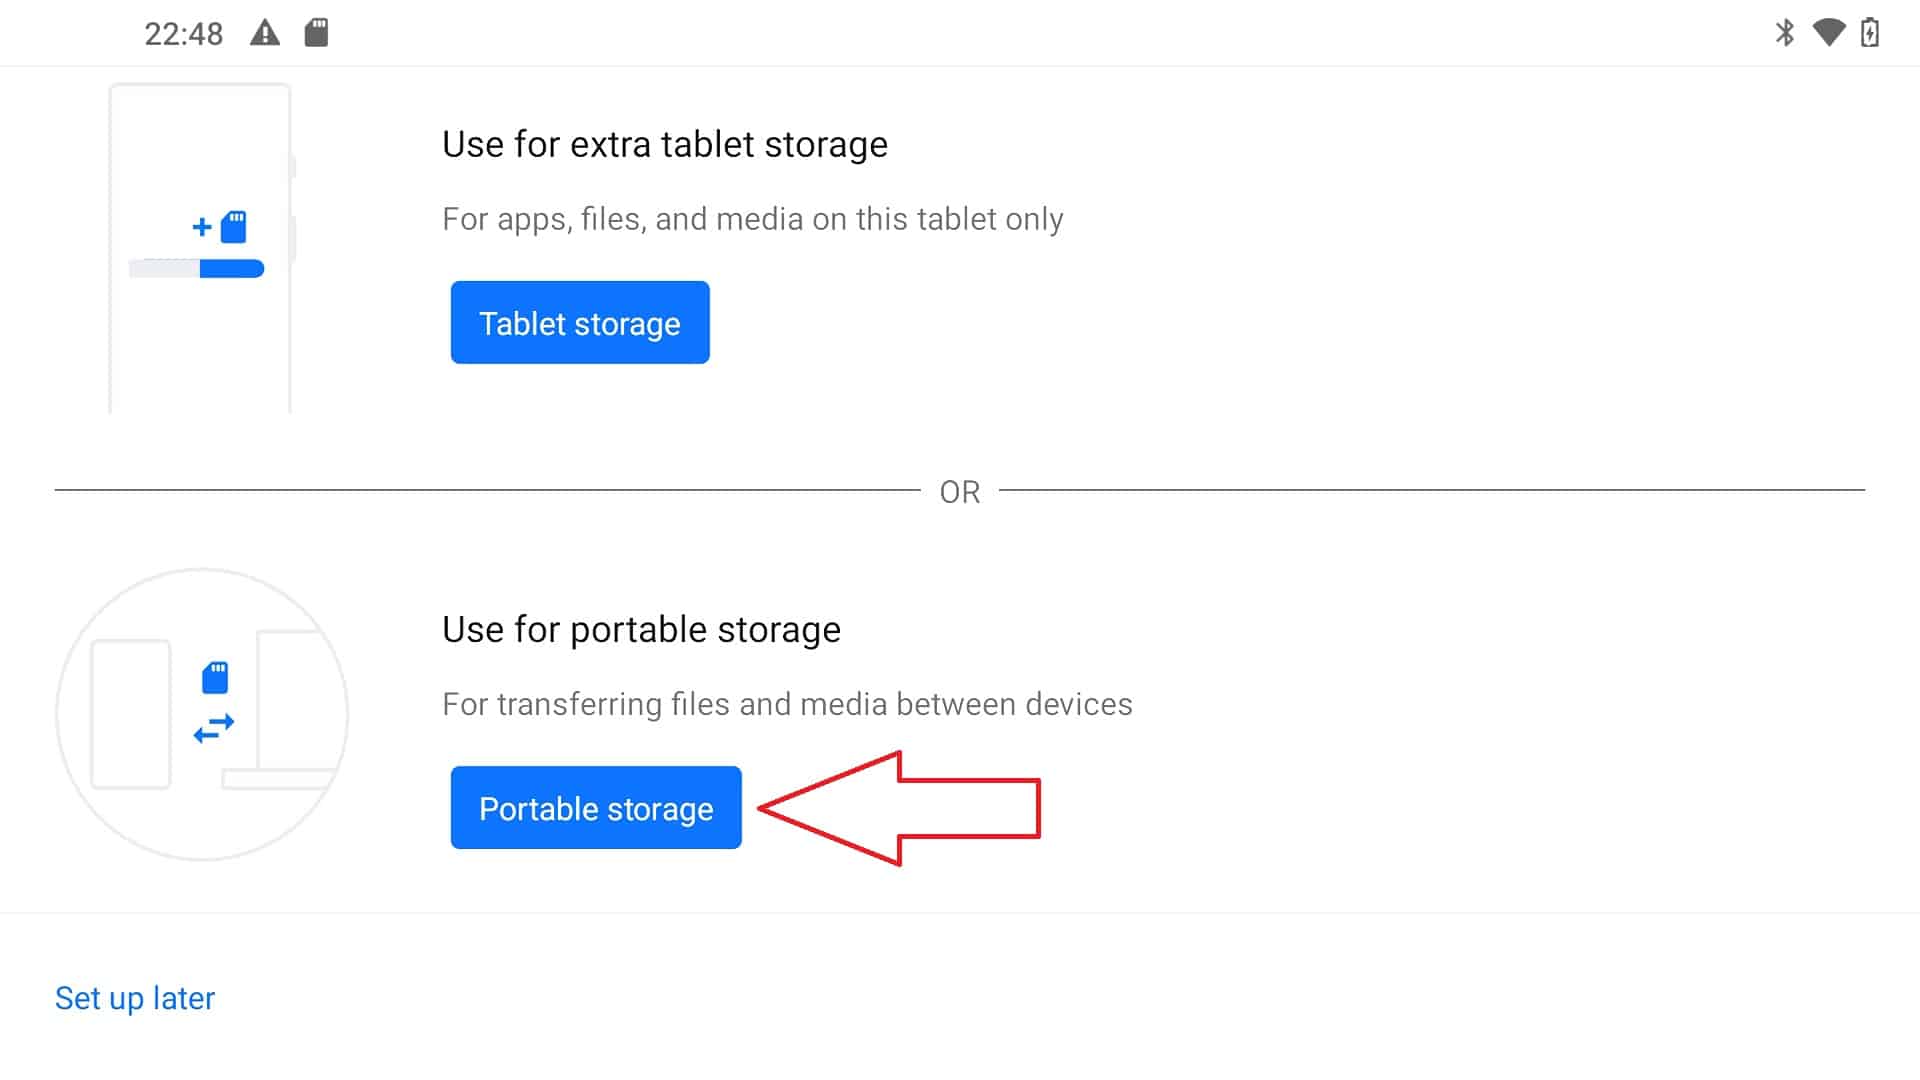
Insert a micro SD card into your retro handheld and you may be notified that the card has been detected and needs to be set up. Click on the notification to proceed,

You will be presented with two options, to either create for extra storage or portable storage. Choose the portable storage options as we will be copying files from a PC.
Follow any prompts to format and prepare the micro SD card.

Once this process has been completed, you can remove the micro SD card and insert it into your PC. Ignore any notifications that there is a problem with the drive that needs repairing or formatting.
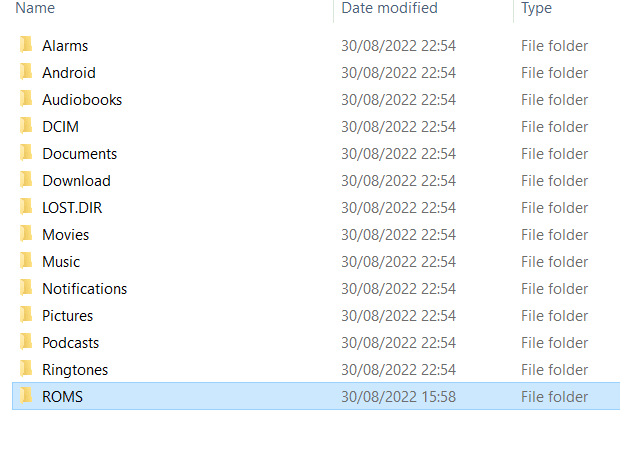
Locate the micro SD card drive in your file manager. You will see a list of folders such as Alarms, Android, Audiobook etc.
Right-click on the list and create a new folder called ROMS, enter this folder and then create a folder for your games console. For example, if it was a Dreamcast game then name the folder Dreamcast. Repeat this for any additional game consoles.
You can now copy your game files from your PC to their respective folders on the micro SD card.
Once you have completed copying the files to the micro SD card, you can eject it from your PC and re-insert it back into your handheld. You can either keep the files on the micro SD card or copy them to the internal storage, we recommend keeping them on the card as it saves space on the internal for more apps.
Read on a little further for how to set emulators’ game folders.
Downloading files through the browser
Android Handhelds have a web browser installed and you can use this to visit your preferred site to download games. By default, they will usually be downloaded to the Downloads folder on your internal storage,
You can then use the file manager to move the files to an easier-to-manage location on your storage. For example, you can make a ROMS folder, then in that folder make folders for each of the games consoles you have games for.
Locating ROM folders on Android emulators
Depending on the emulator you are using, the process of locating the game(s) you have copied varies. You can use RetroArch frontend for using many emulators in one, read our guide here for how to set up RetroArch. For individual console emulators, you will usually need to go into their settings and specify the game folder there.
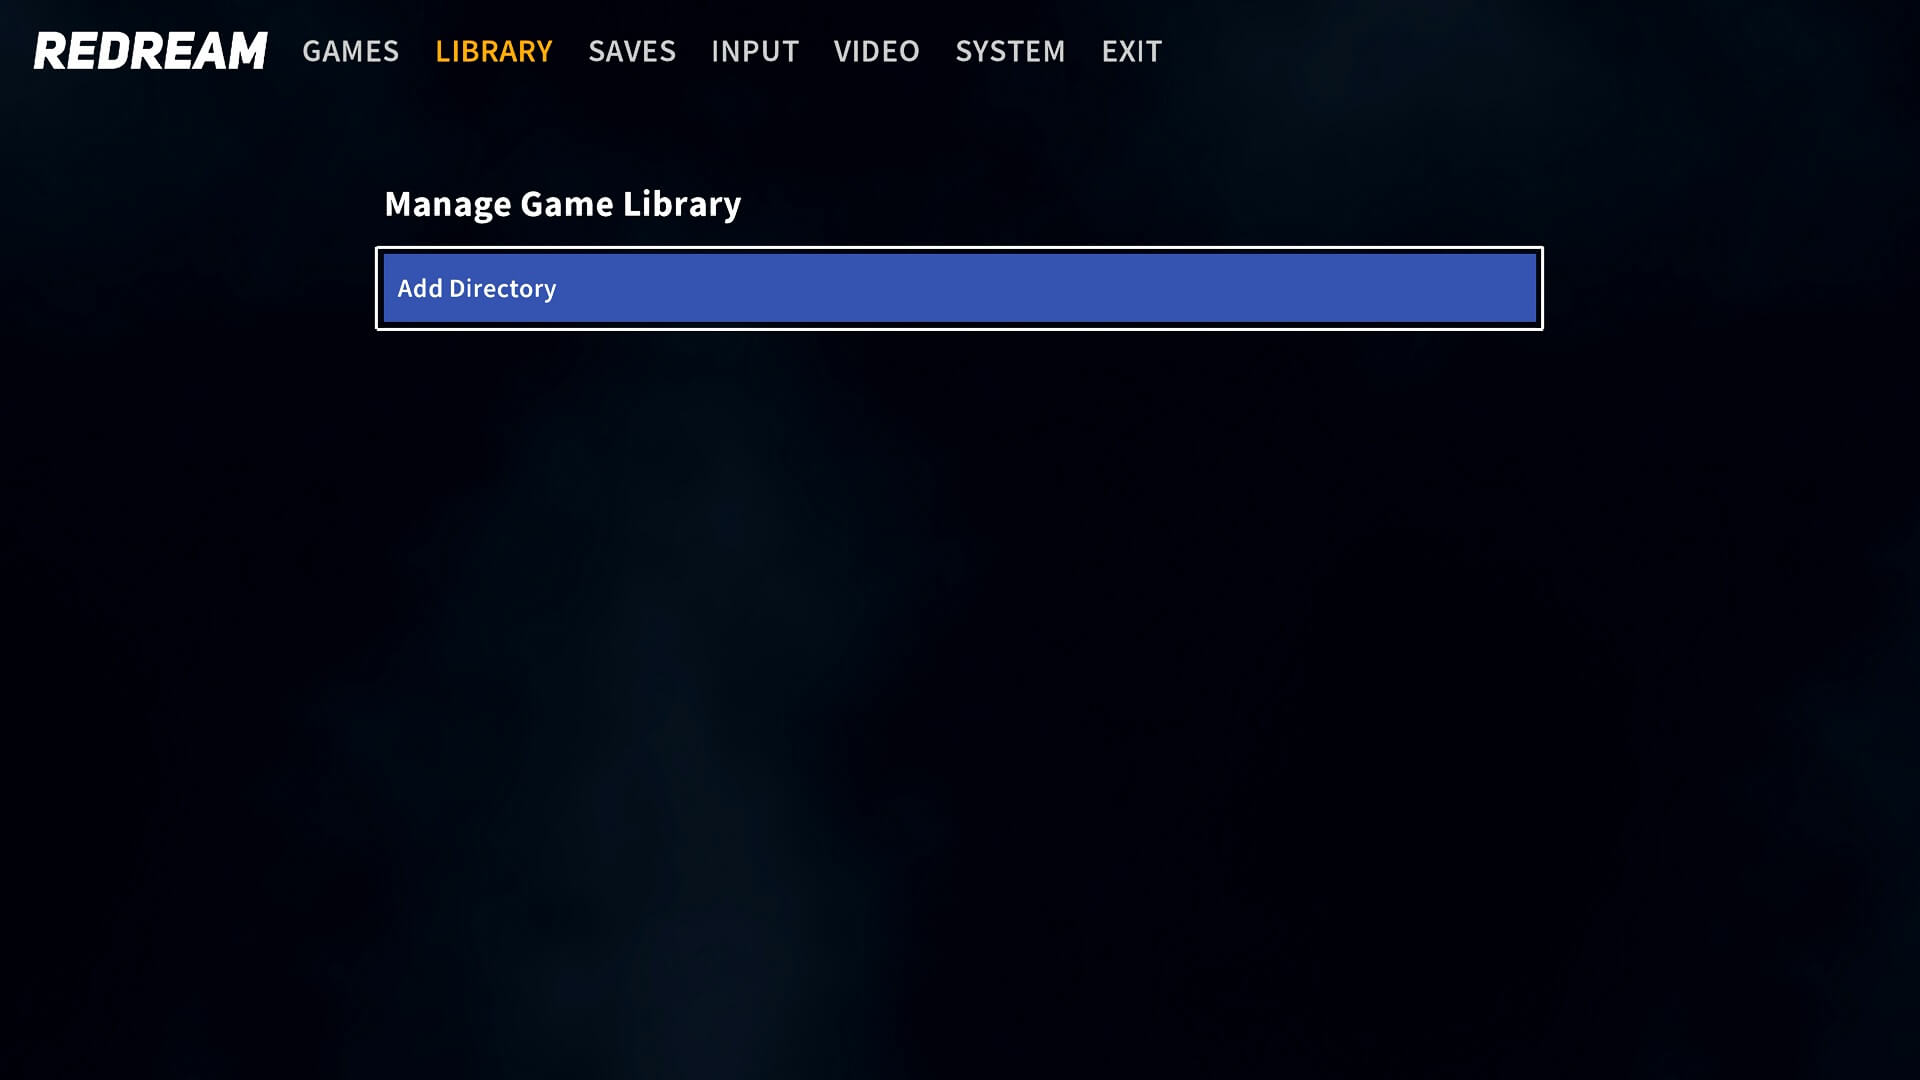
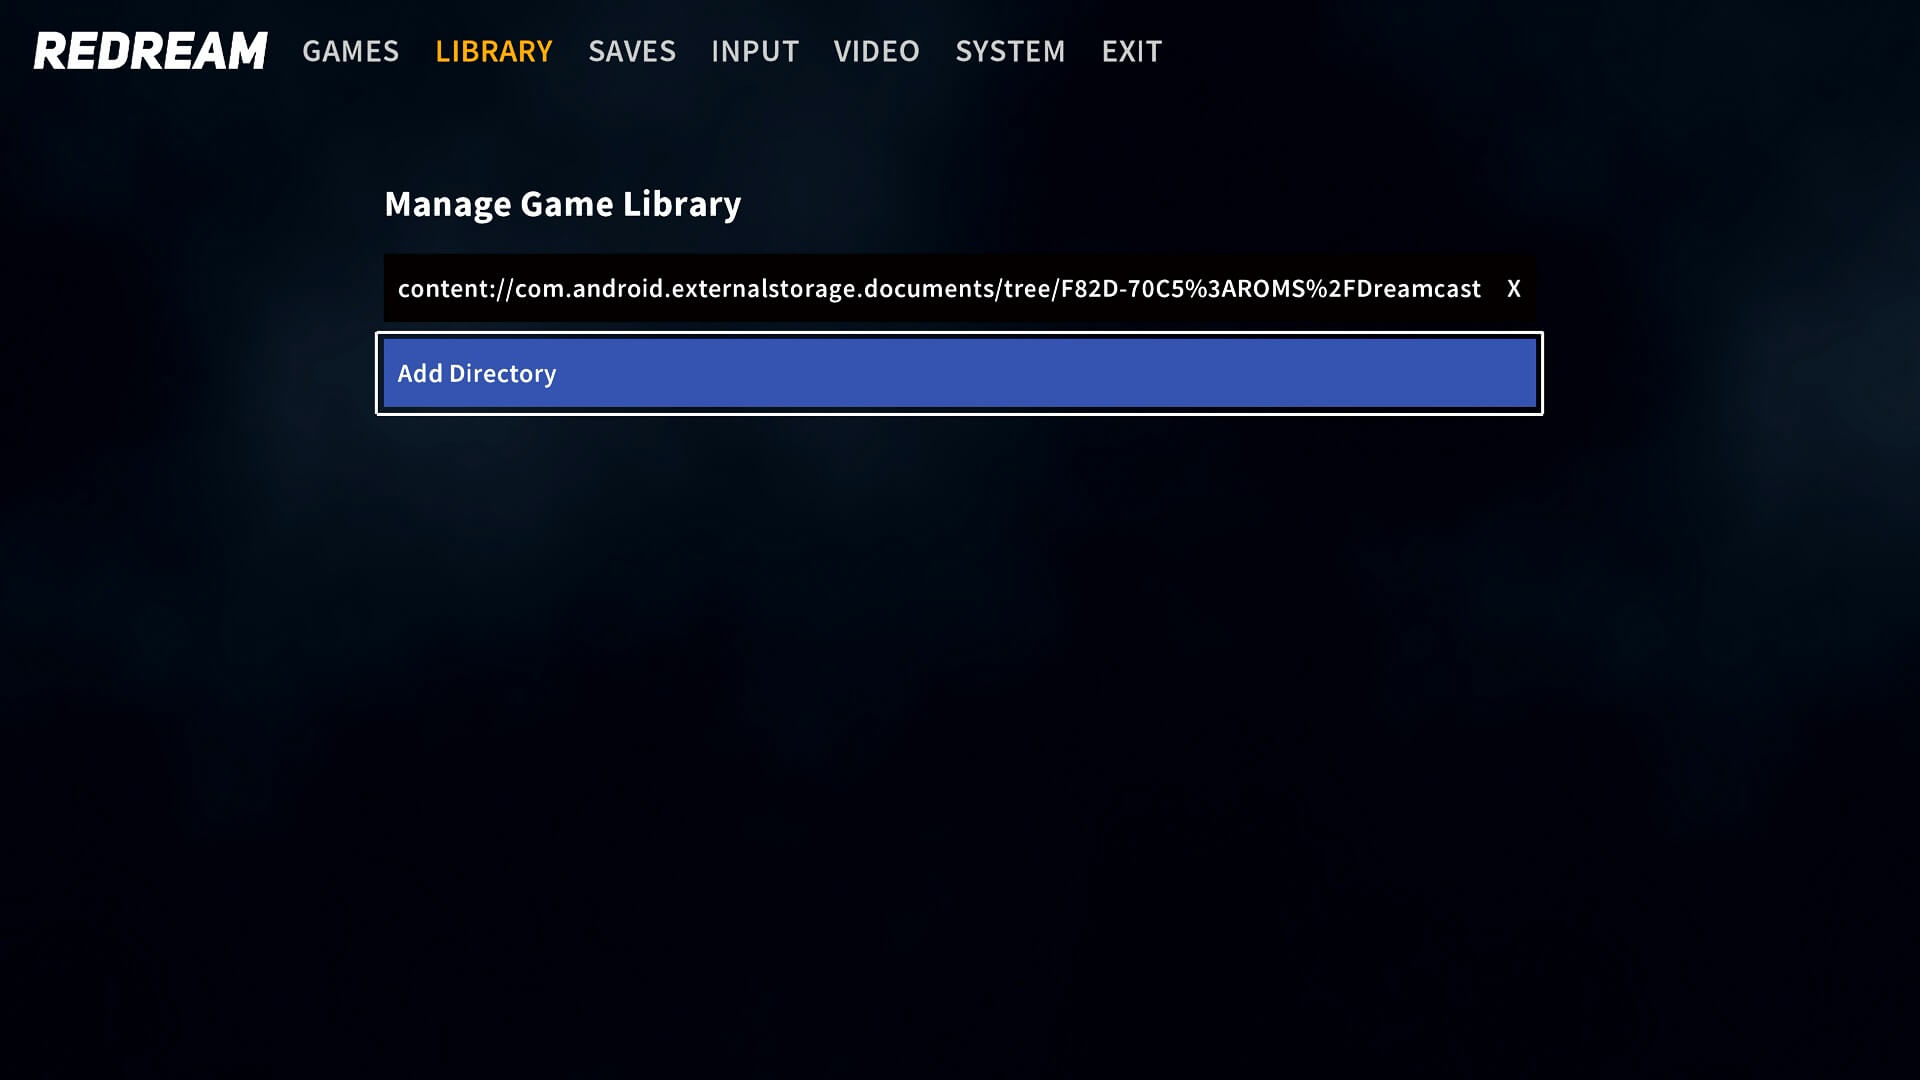
The folder navigation can be tricky to work out at first. So we will use the Dreamcast emulator Redream as an example to locate your game files.
On the Manage Game Library menu option, choose Add Directory.
On the top left corner are three horizontal lines, click on these.
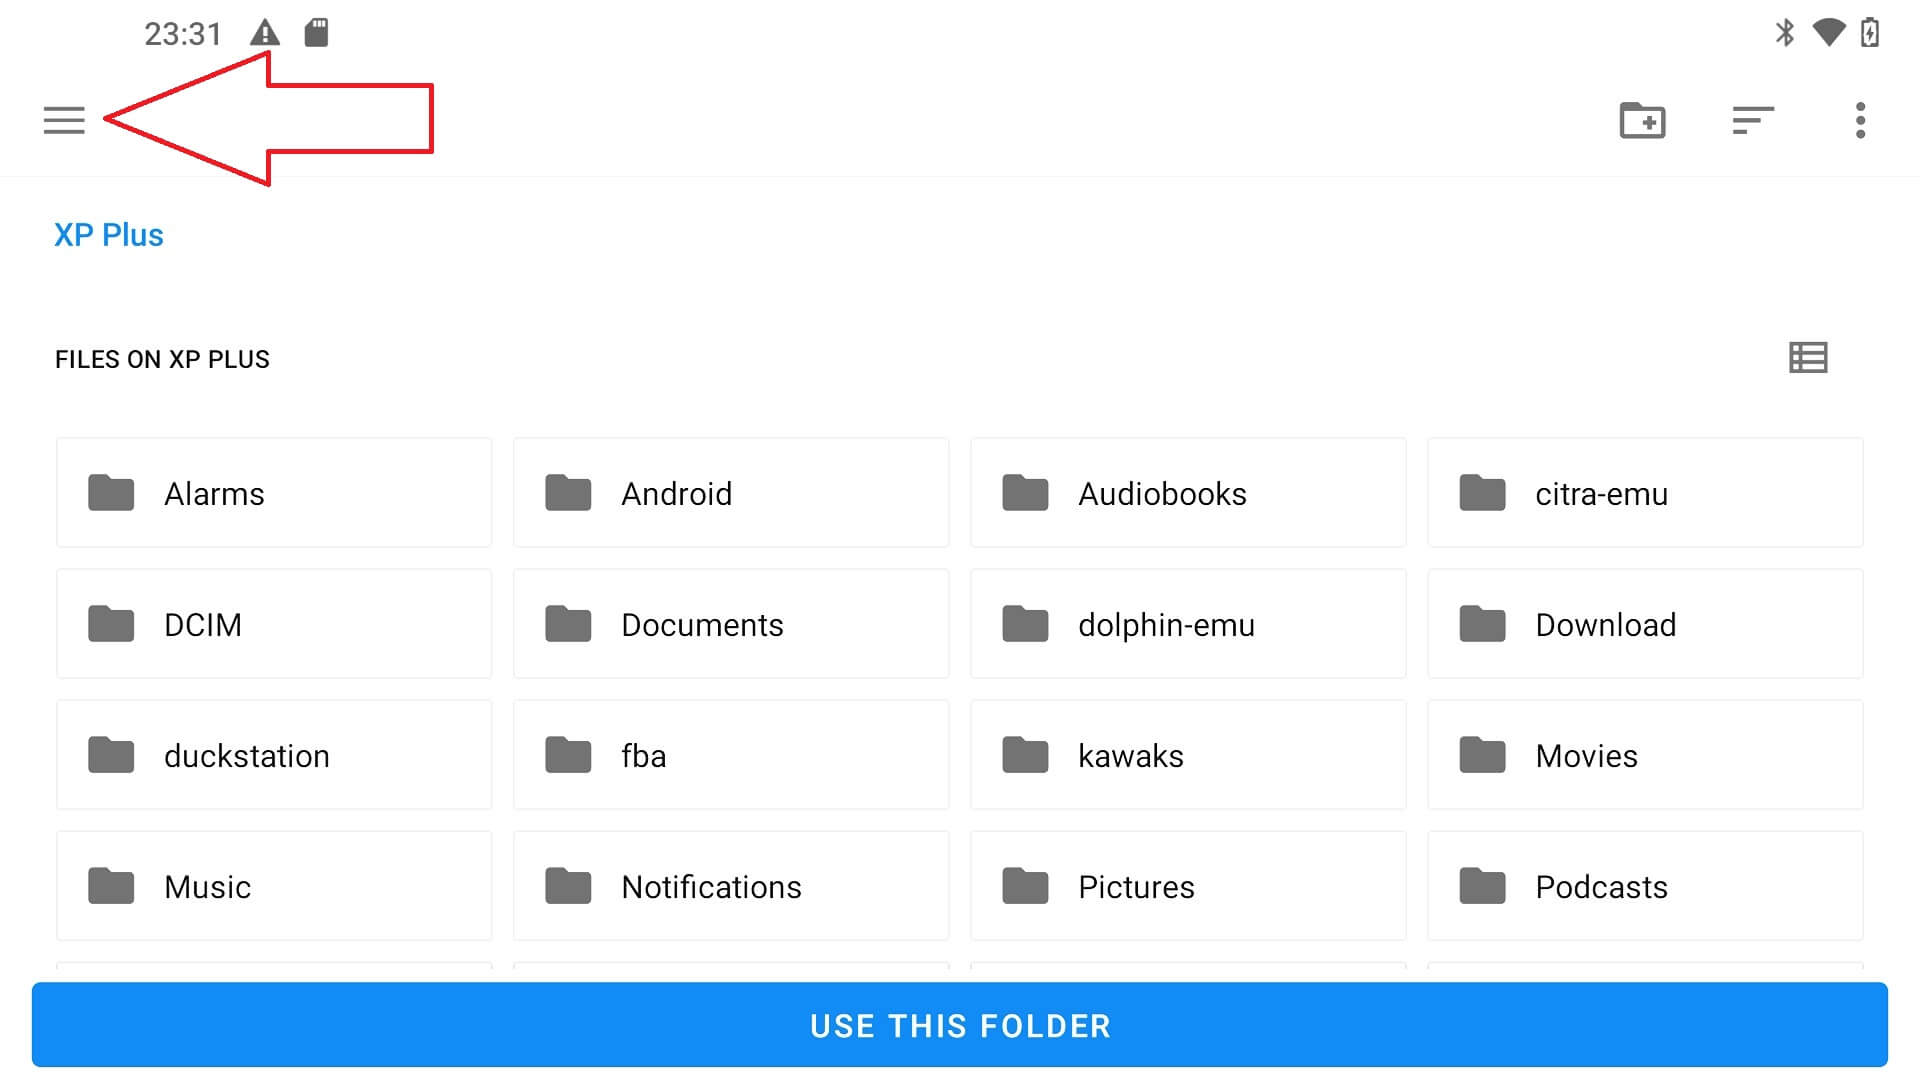
You will see two options, one is the handheld’s internal storage, and the other is the micro SD card, in this case, ours is named “JELOS”. Select the micro SD card.

You will then see a list of folders with the “ROMS” folder you created.
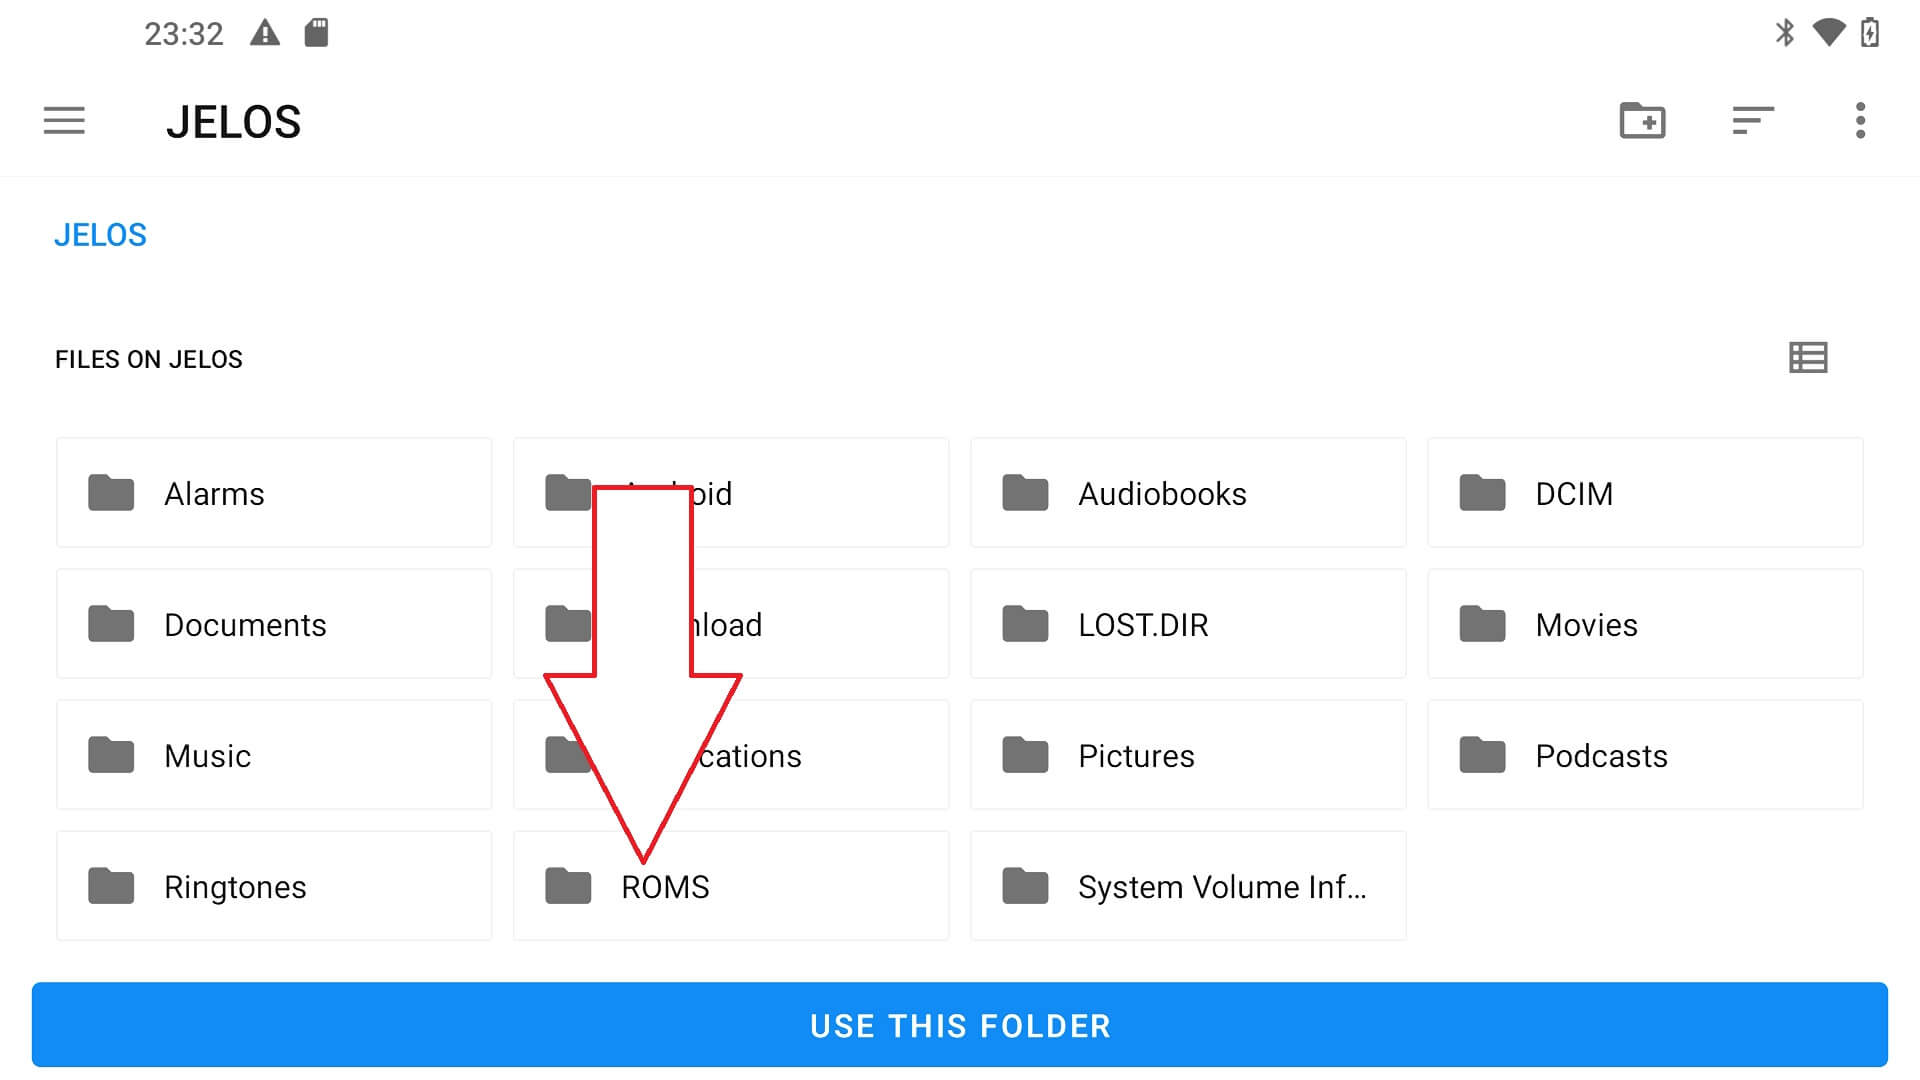
Choose this folder, then the “Dreamcast” folder. You will see a list of games you copied over. Select the USE THIS FOLDER option and it will return to the menus and scan the folder for your newly added games.

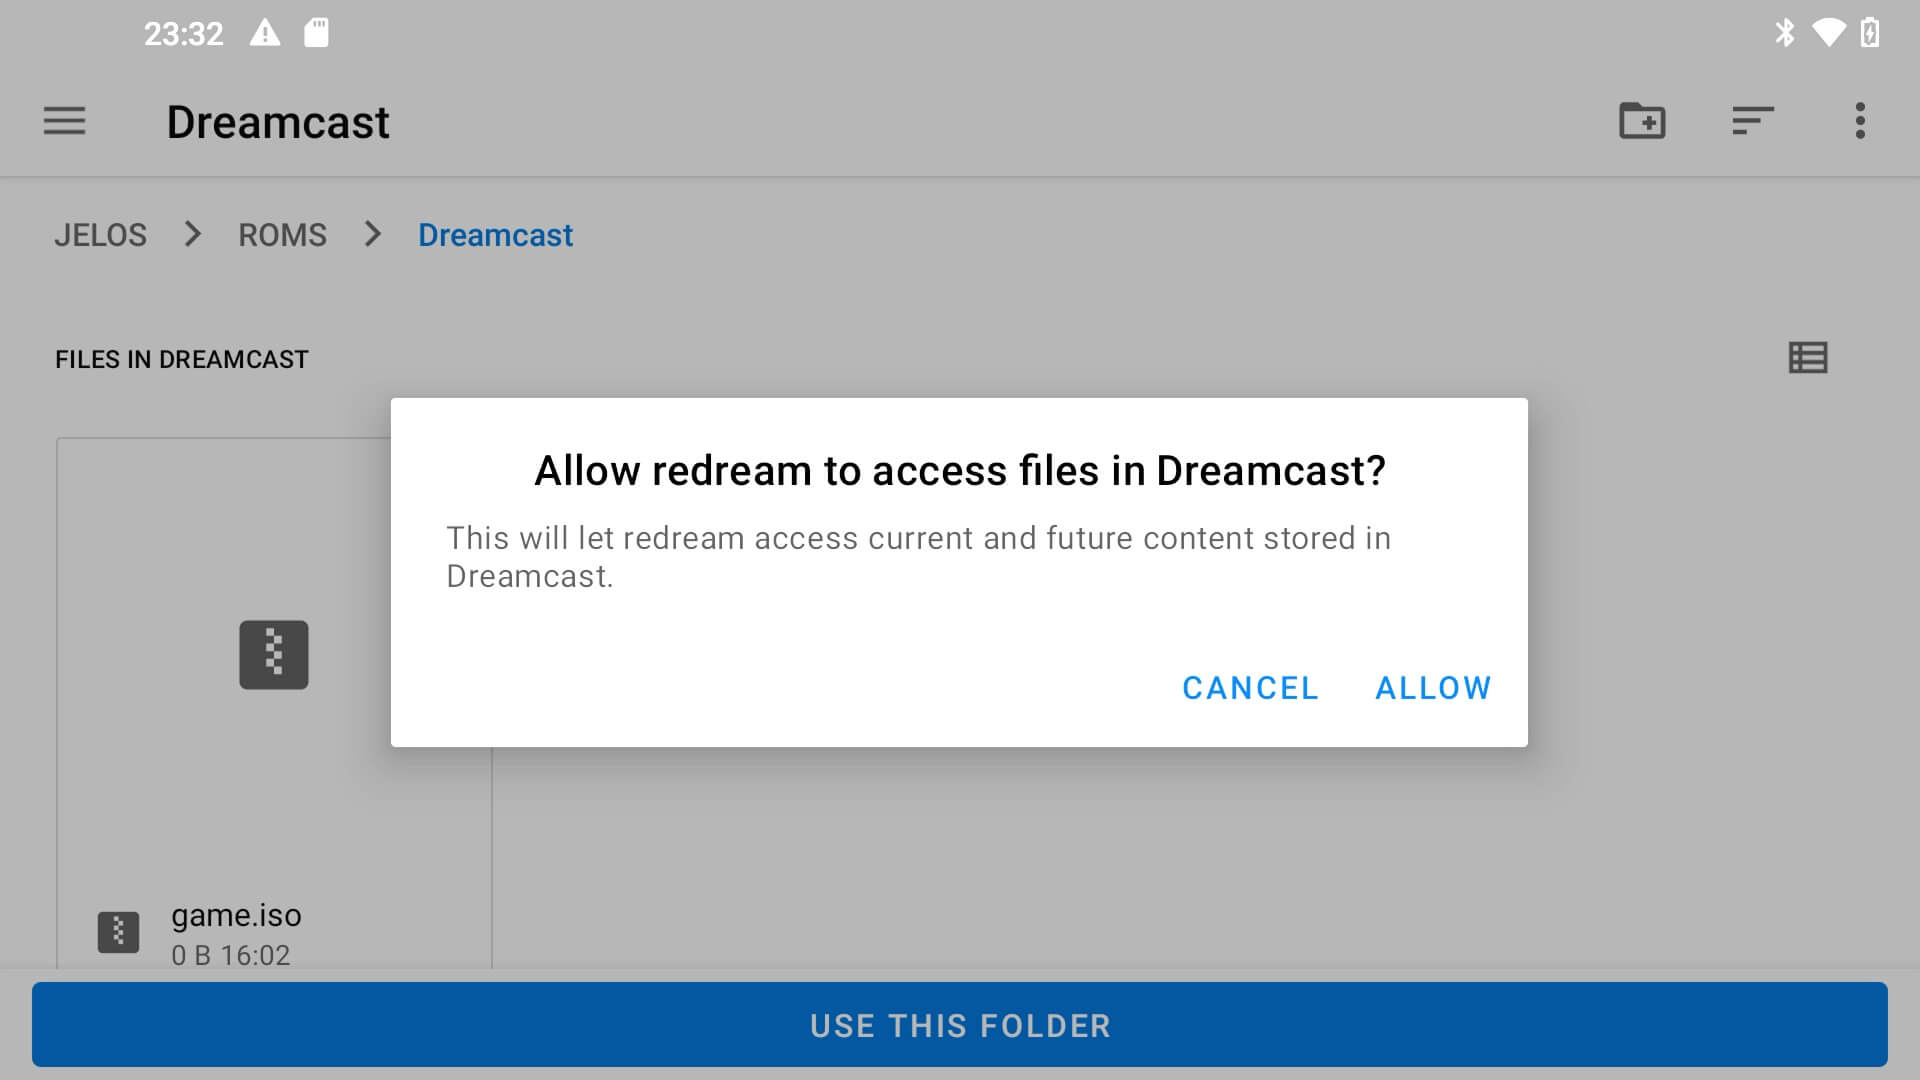
You may be prompted to permit the emulator to access the folder, click on Allow.
Each emulator has a different process to add files, but the folder navigation should always be very similar.
Questions & answers 1
How can I add games in a ps7000 Linux in a new sd card