In this guide, we will be showing how to install and set up the emulator frontend RetroArch on your Windows and Android-based devices such as Gaming Handhelds, Mini PCs and TV Boxes. We will show how to download and install, how to install the emulator cores, how to add new ROMs to the game browser and much more!
How to download RetroArch?
Windows
For Windows devices, you can download the latest version from the official homepage at https://www.retroarch.com/.

You can choose the very latest Nightly build which may have some bugs, or the Stable version which is a little older but should have no issues. Once you have downloaded the file, open it and follow the prompts to install it.
Android
If your Android device has the Google Play Store installed then you can simply download and install it from there. Search for RetroArch then click on install and all the work is done for you.
If you do not have Google Play Store then you can download it from their homepage. Open your browser on your Retro Gaming Handheld and visit https://www.retroarch.com/ then go to the Download page. It should autodetect that you are on Android and offer the correct version to download. You can choose the very latest Nightly build which may have some bugs, or the Stable version which is a little older but should have no issues.
Once you have downloaded it, open your File Manager and go to the Downloads folder. Open the APK file you downloaded and it will install RetroArch onto your device.
How to set up RetroArch?
Updating configuration files
The first step we recommend is updating the configuration and data files. To do this choose Settings from the main menu and then Online Updater.
Choose the menu items starting with Update.. and each one will download and update their respective files to the very latest versions.

Installing and Updating RetroArch Cores
Once this has been completed you can now download the emulator Cores. These are essentially the different emulators available for your handheld. From the same Settings > Online Updater screen, choose Core Downloader.
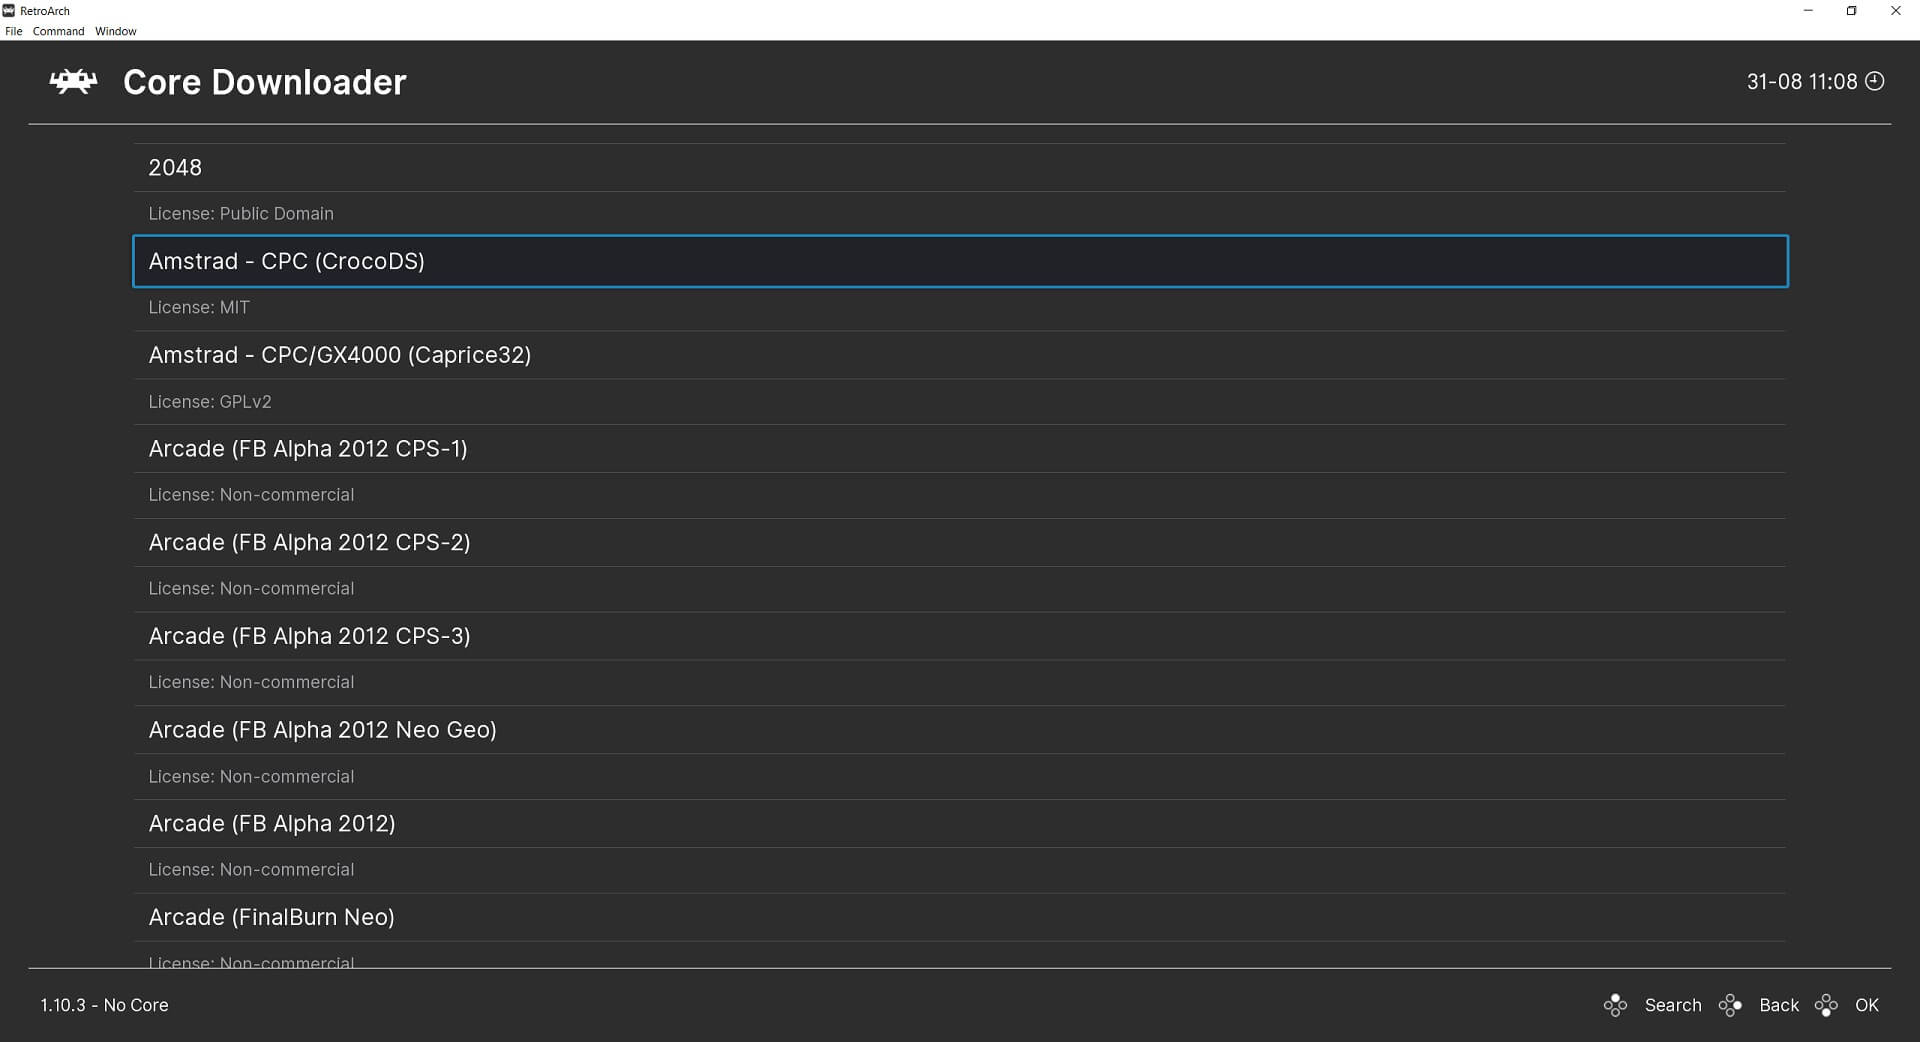
A list of available cores will be shown. There may be multiple Cores for one system, such as for Arcade games there are twelve. Arcade is a generic term, some Cores support specific Arcade systems and some support multiple.
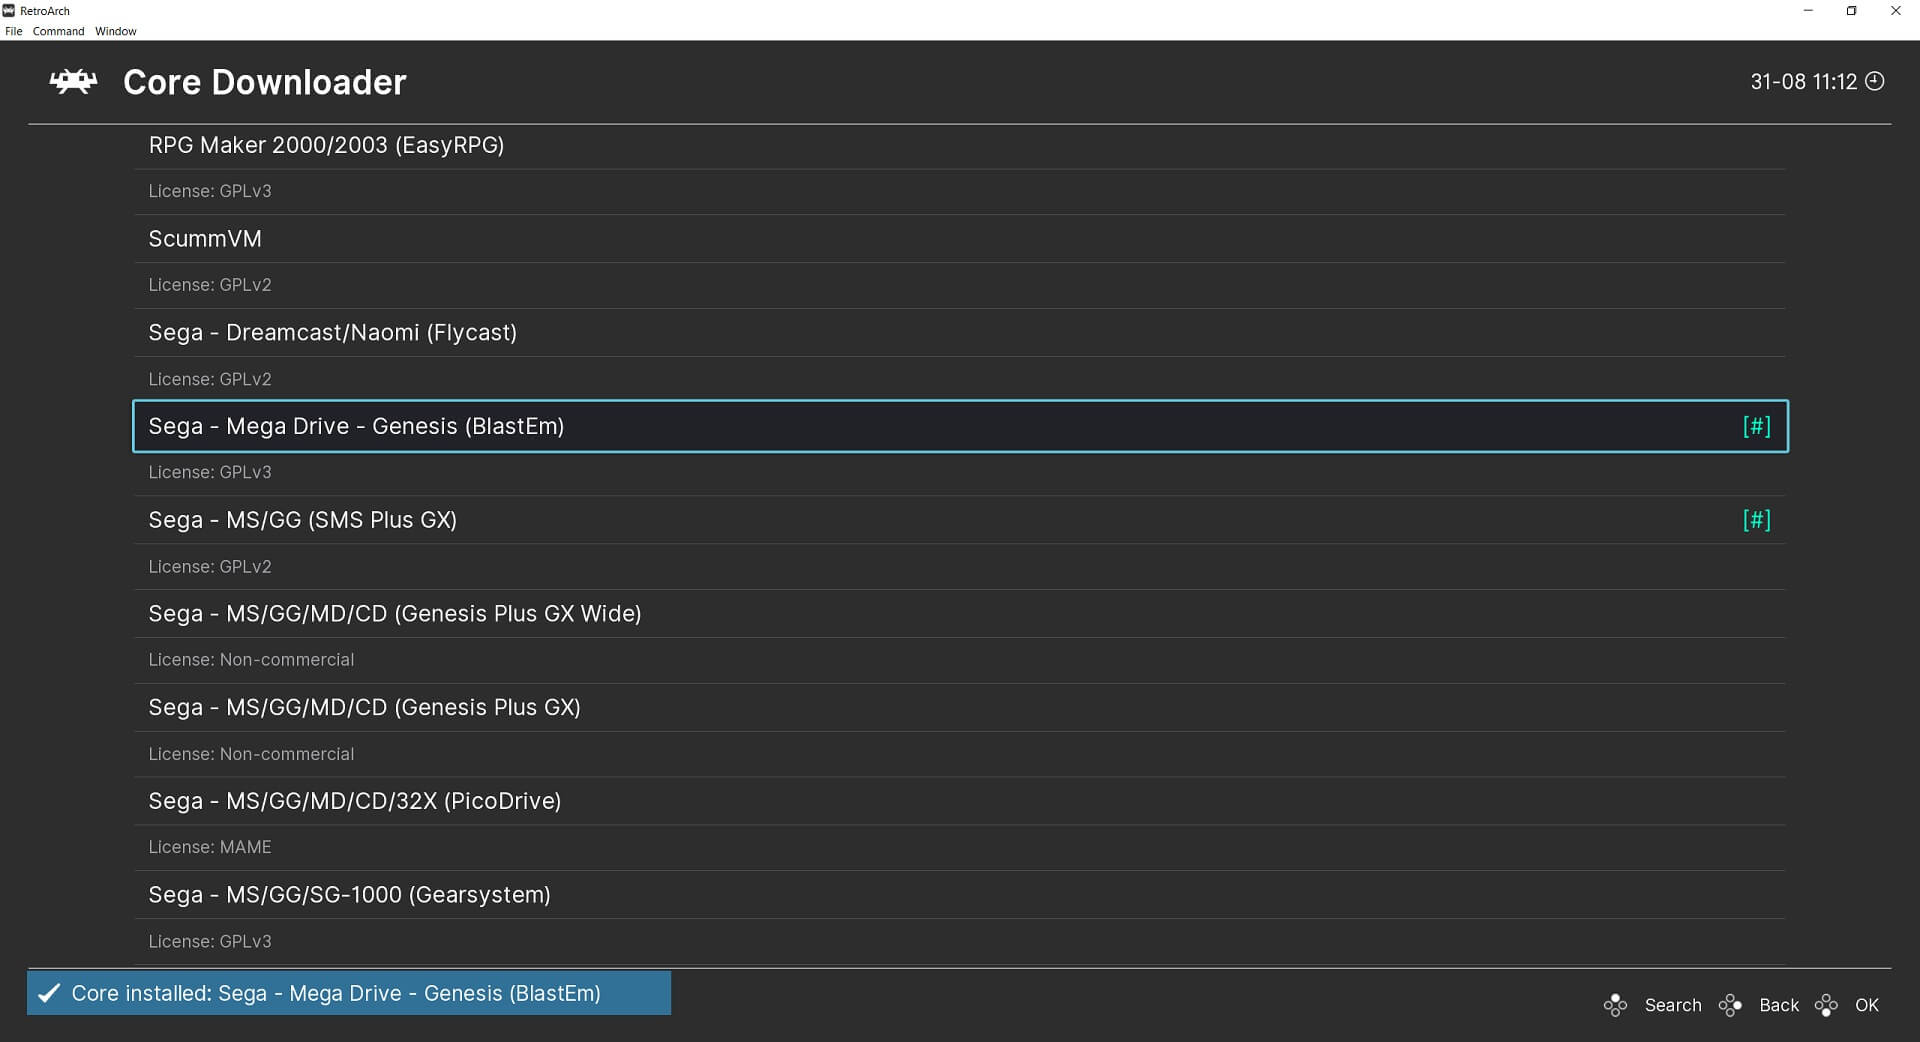
You simply click on a Core and it will automatically download and install it to your device. If you are unsure of which Core to pick when there are multiple, you can download them all and try each to see which is the best for you.
Adding new games
Once you have downloaded which Cores you want, you can now scan your storage for the ROM files. If you have not yet added any game ROMS to your device then we recommend reading our guide here for how to locate and add them.
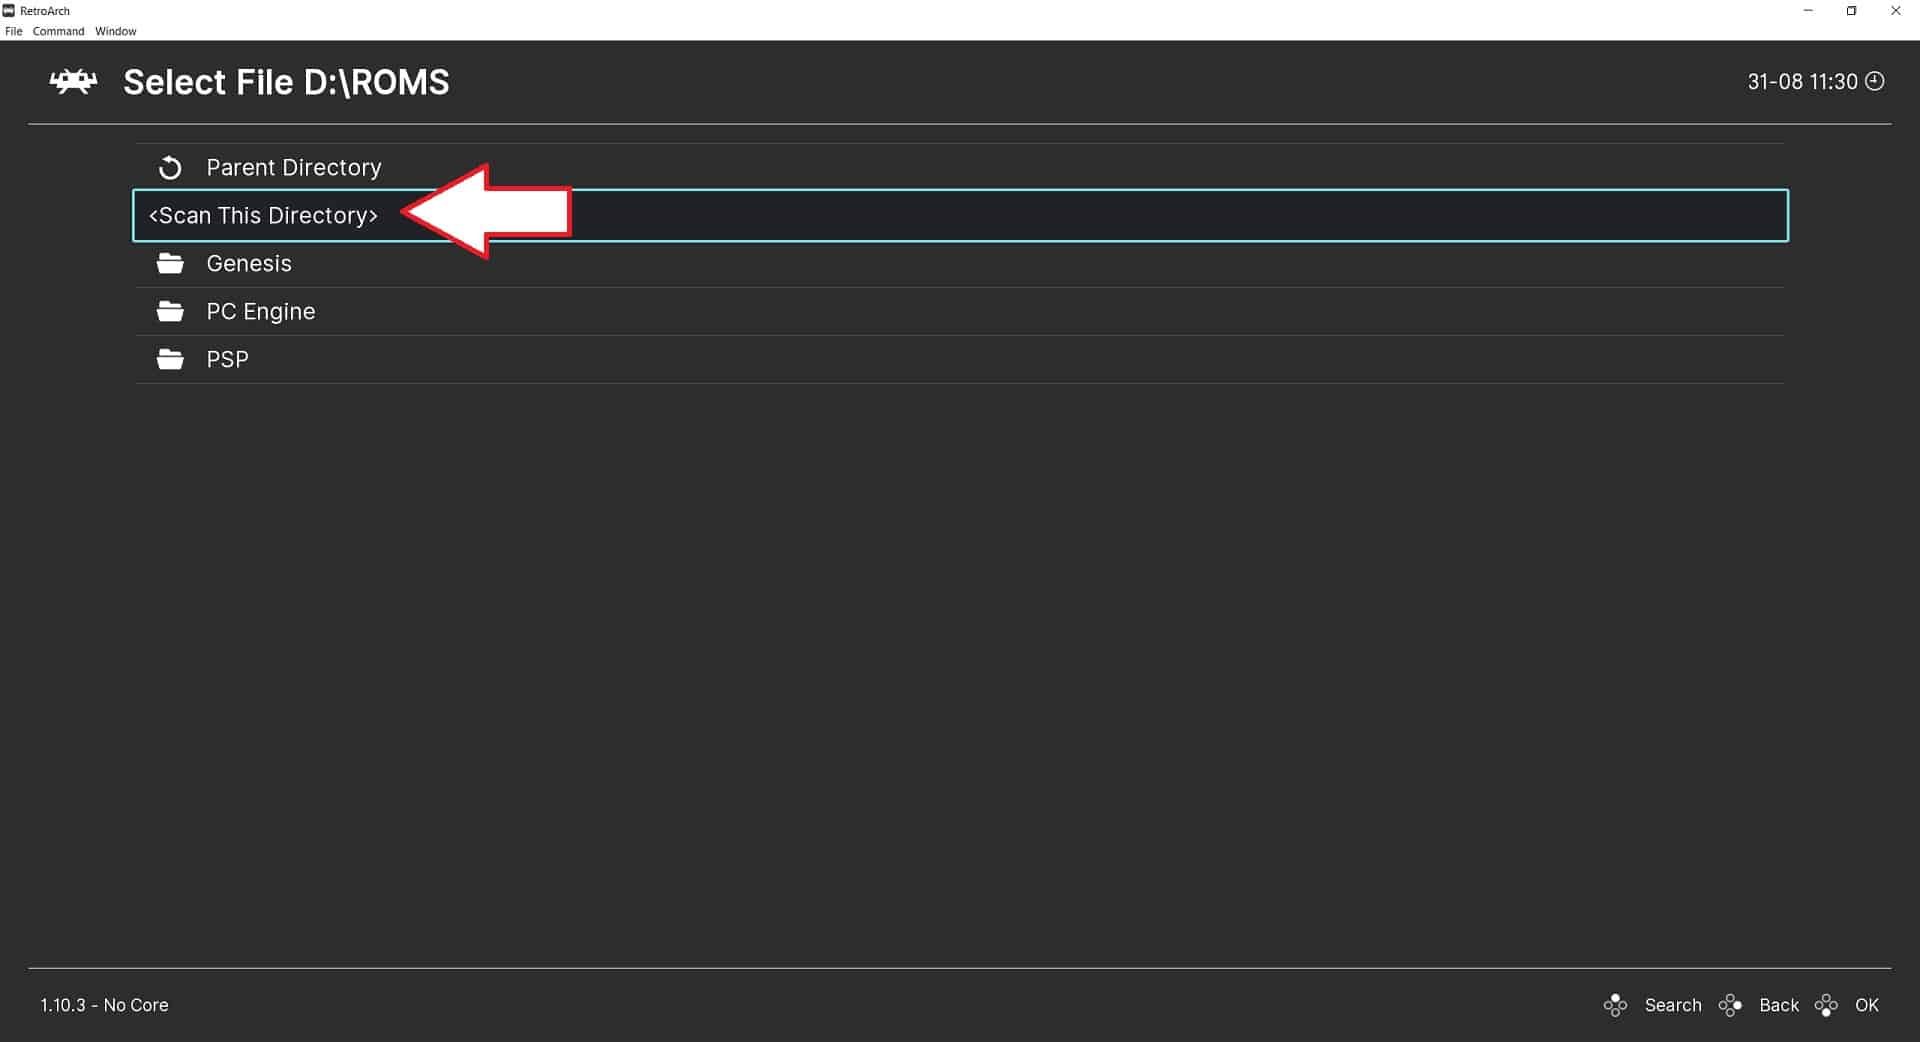
Once you have added some games to the device you can proceed with scanning your ROMS folder for games. From the main menu, choose Import Content and then Scan Directory.

Locate your ROMS folder on your storage and you can either choose to scan all folders or choose a specific system if you have organised it this way. Choose <Scan This Directory> and RetroArch will scan the folder and add them to RetroArch.
This can take some time depending on how many games you have to scan. Let it do its thing.
Loading an imported game
On the main menu, scroll down the list and you will see the gaming systems you previously scanned.
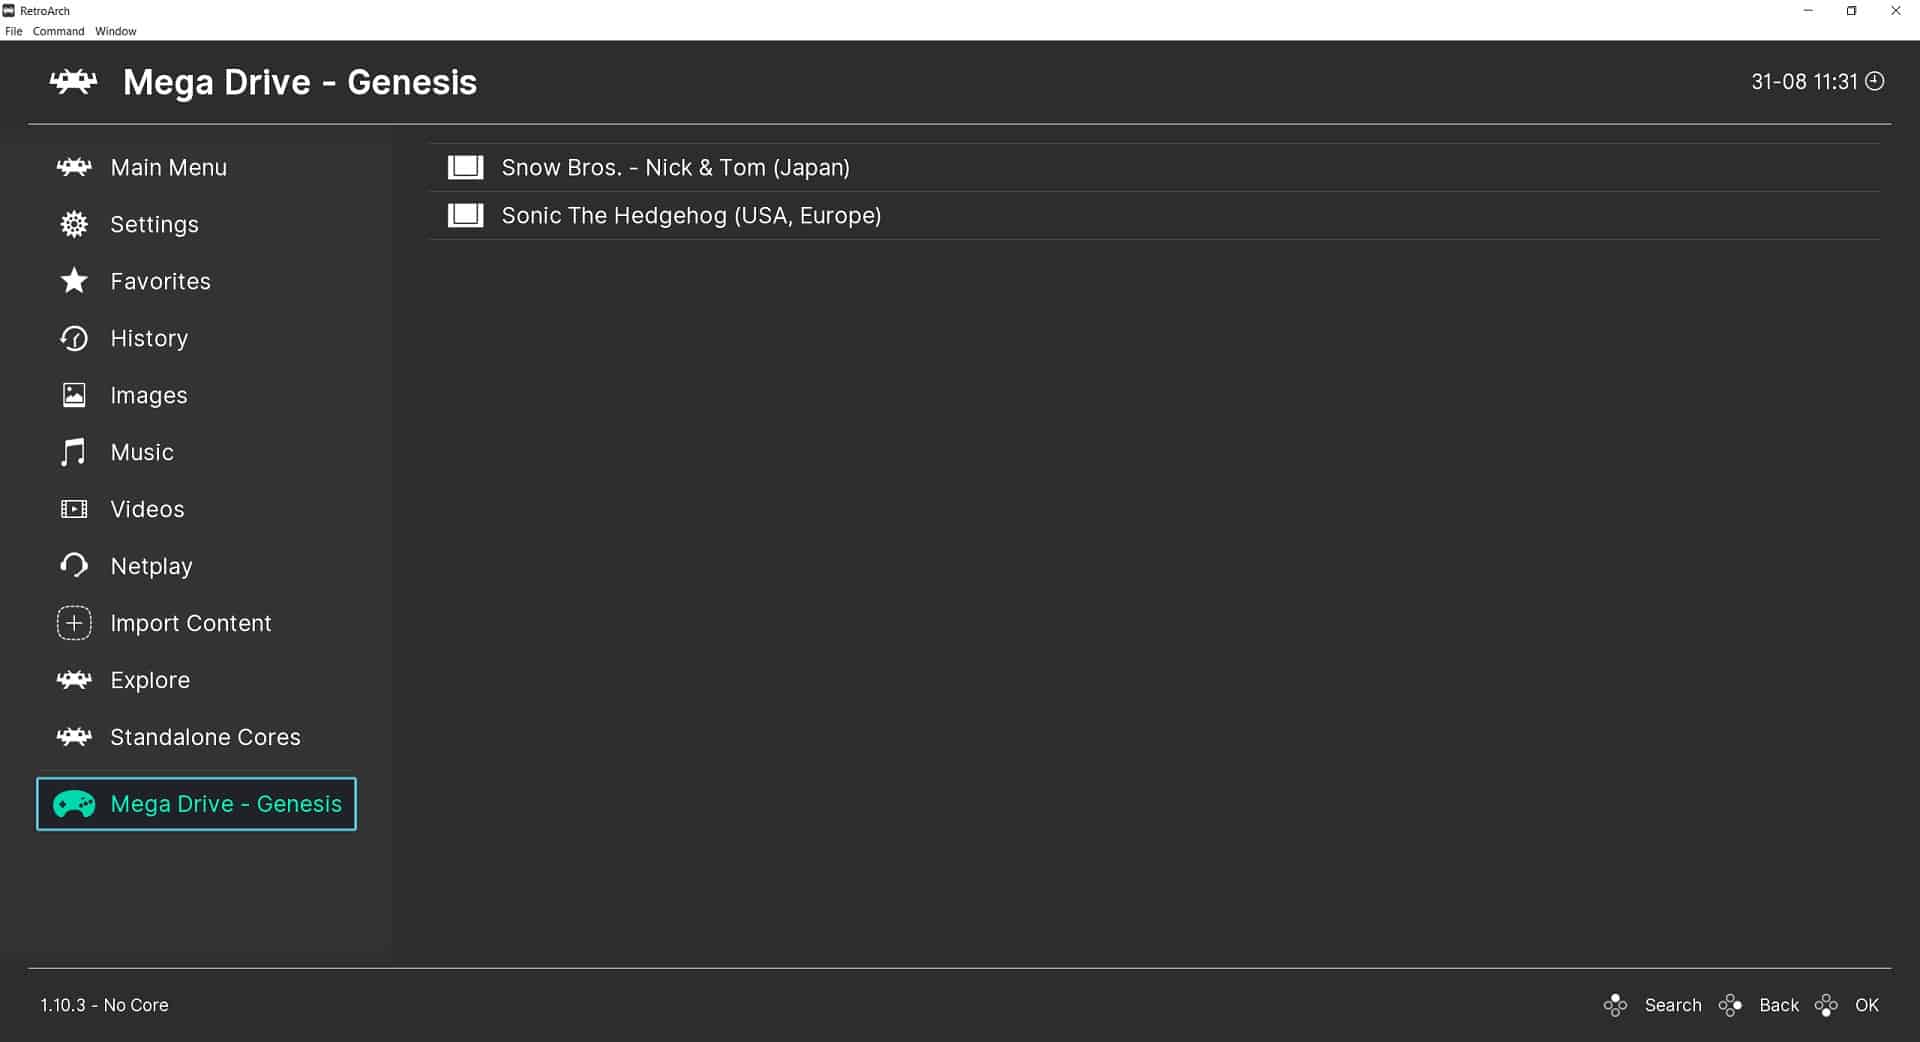
Choose a gaming system and you will see a list of found games on the right side. Choose a game that you want to play.
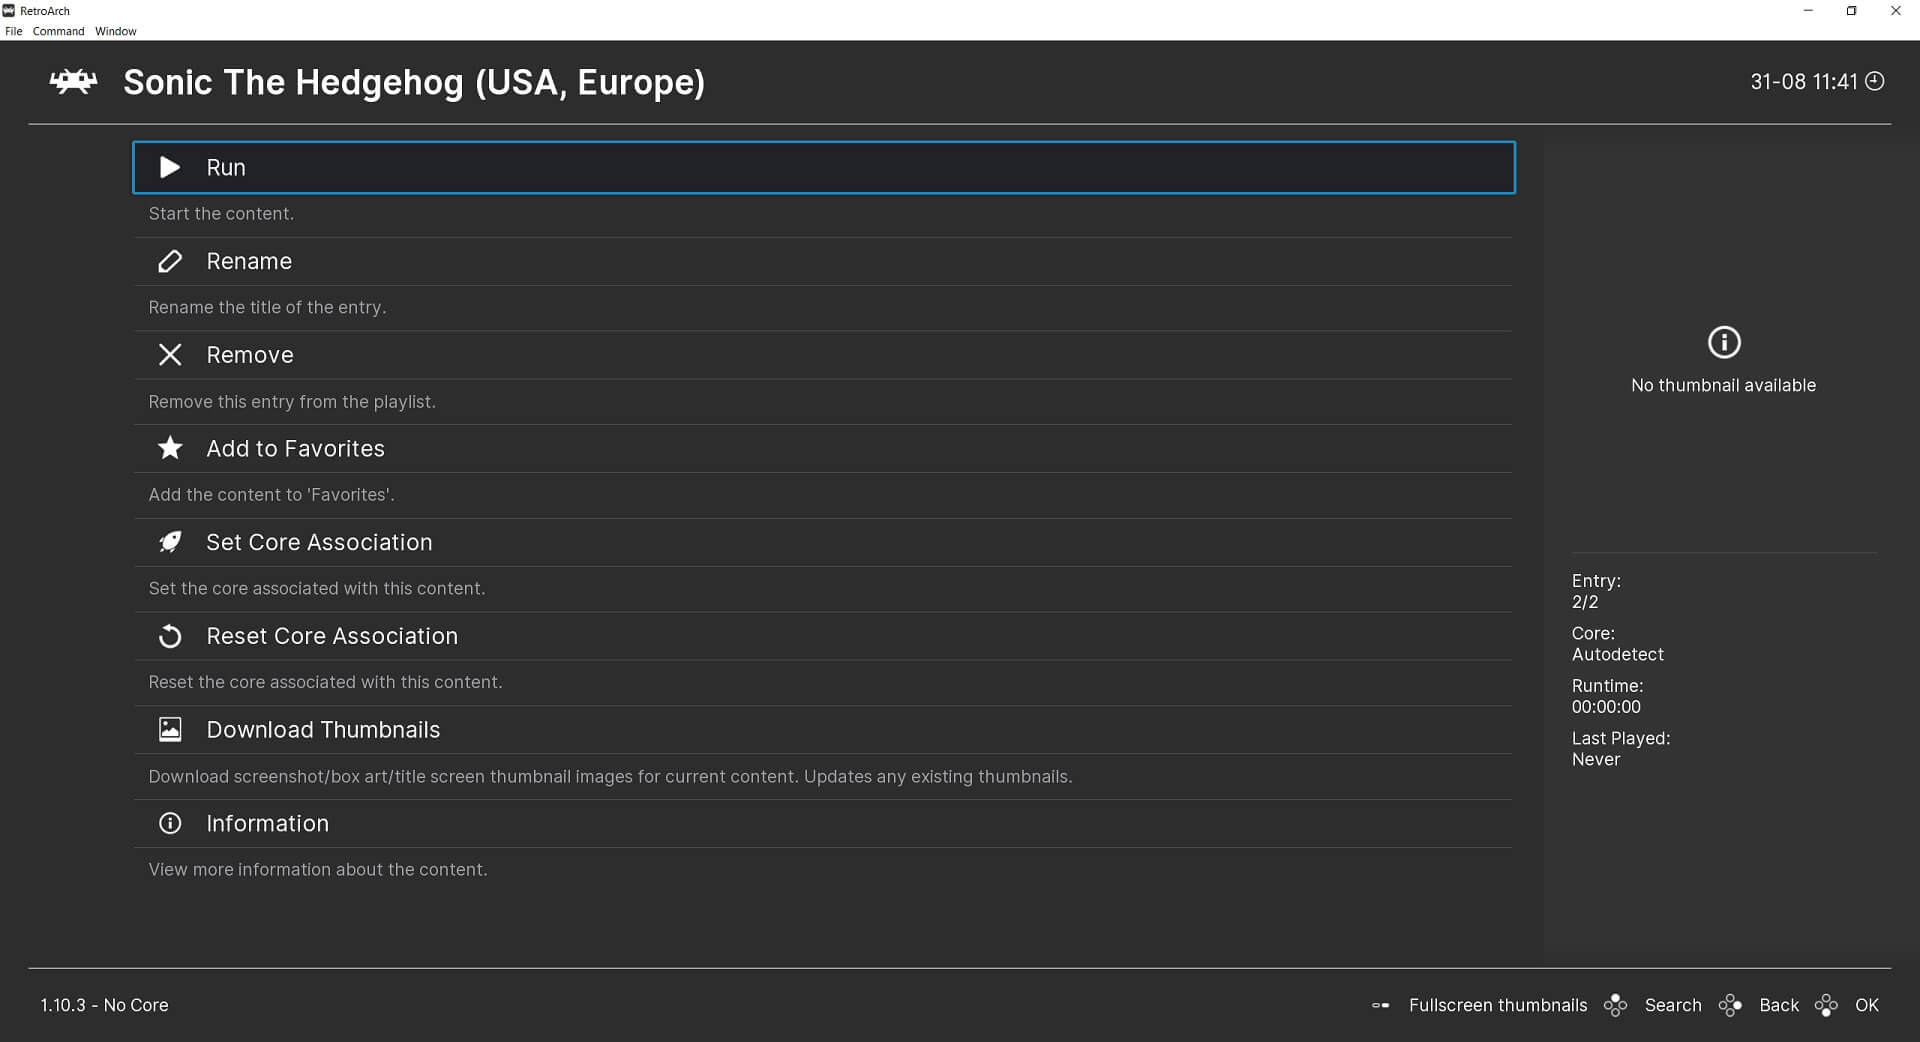
A menu will show with several options. From here you configure various settings, for now, we just want to play the game so choose Run.
A new menu will appear with a list of potential compatible emulator Cores that will run the game. Depending on how many you installed, you may only have one or several to choose from. If you find the Core is not to your liking, you can always come back and try a different one.
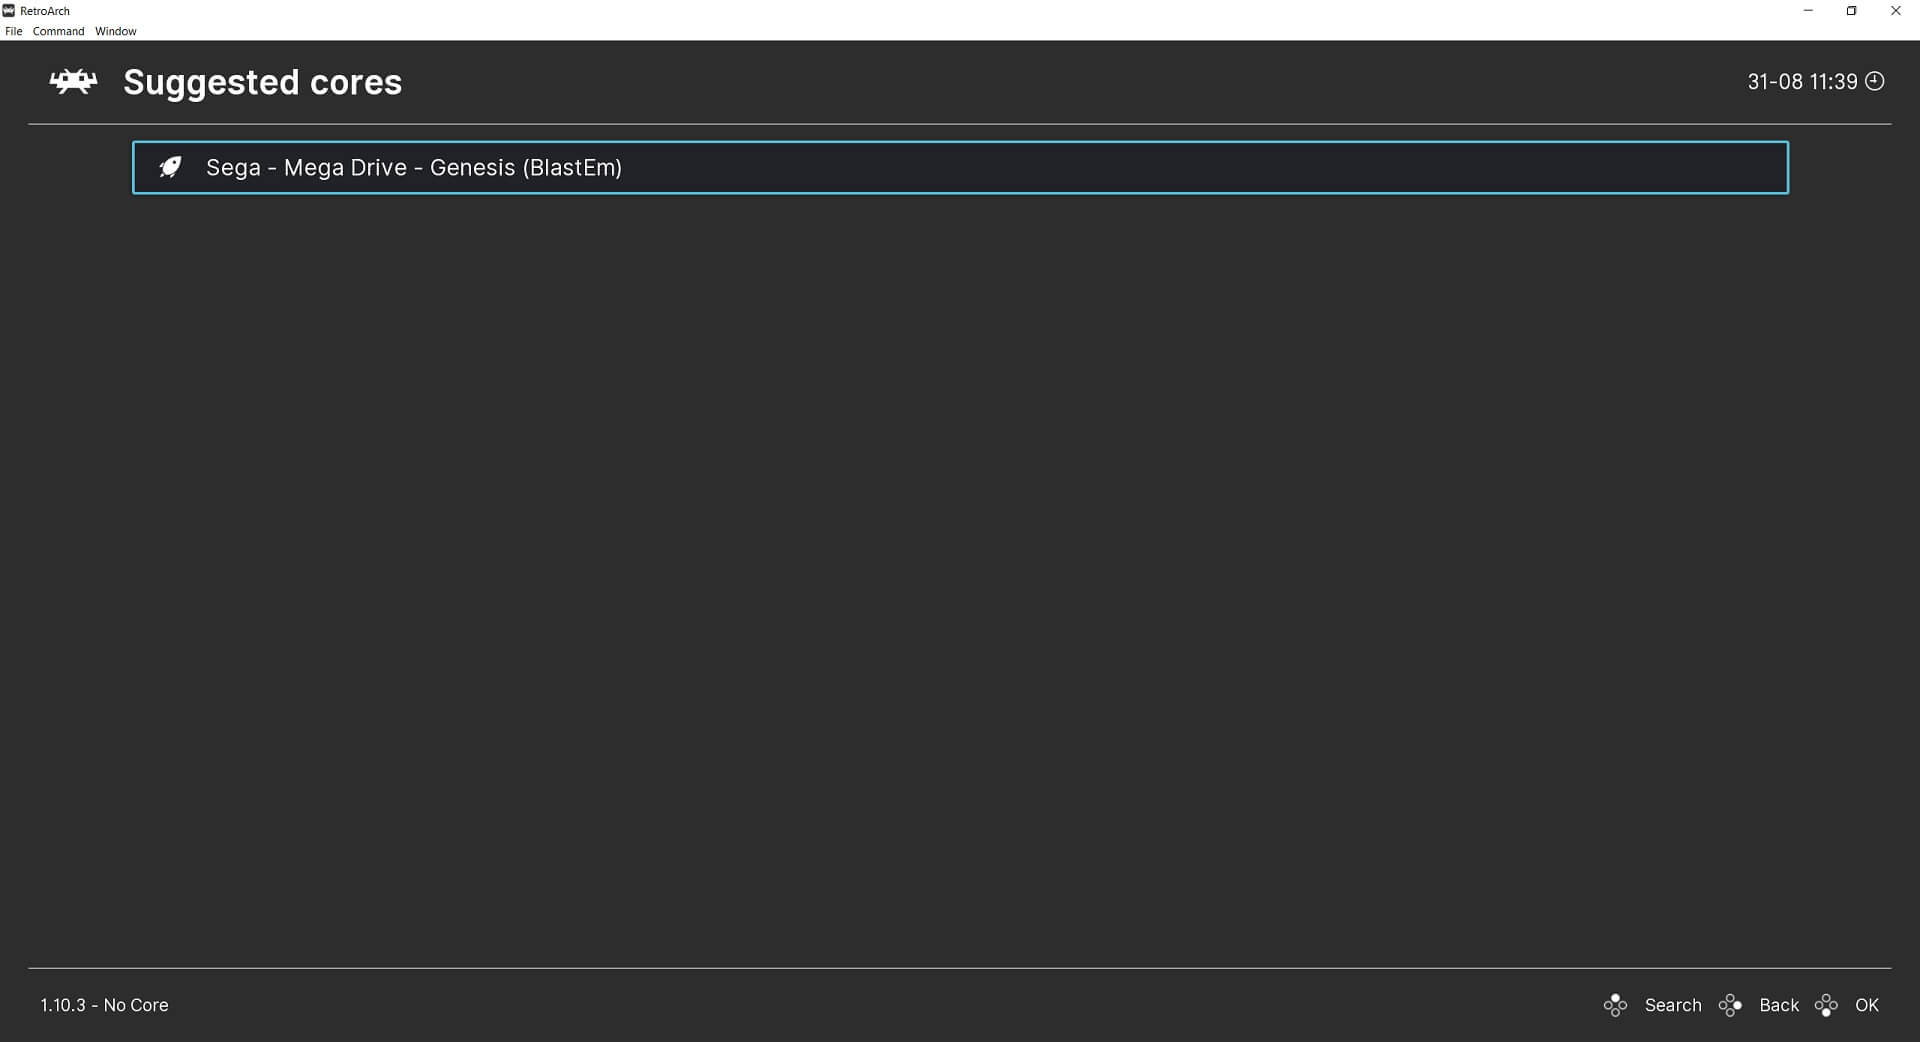
Pick a compatible emulator core and you will be returned to the previous menu, choose Run again and your game will load. Enjoy!
Configuring the controller
RetroArch should automatically find your game controller or built-in controller when the software loads up. There are however some additional configuring you can do such as shortcuts to commonly used functions. These can include bringing up the in-game menu, saving/loading states and even rewinding games on compatible emulators!
Adding a hotkey to RetroArch
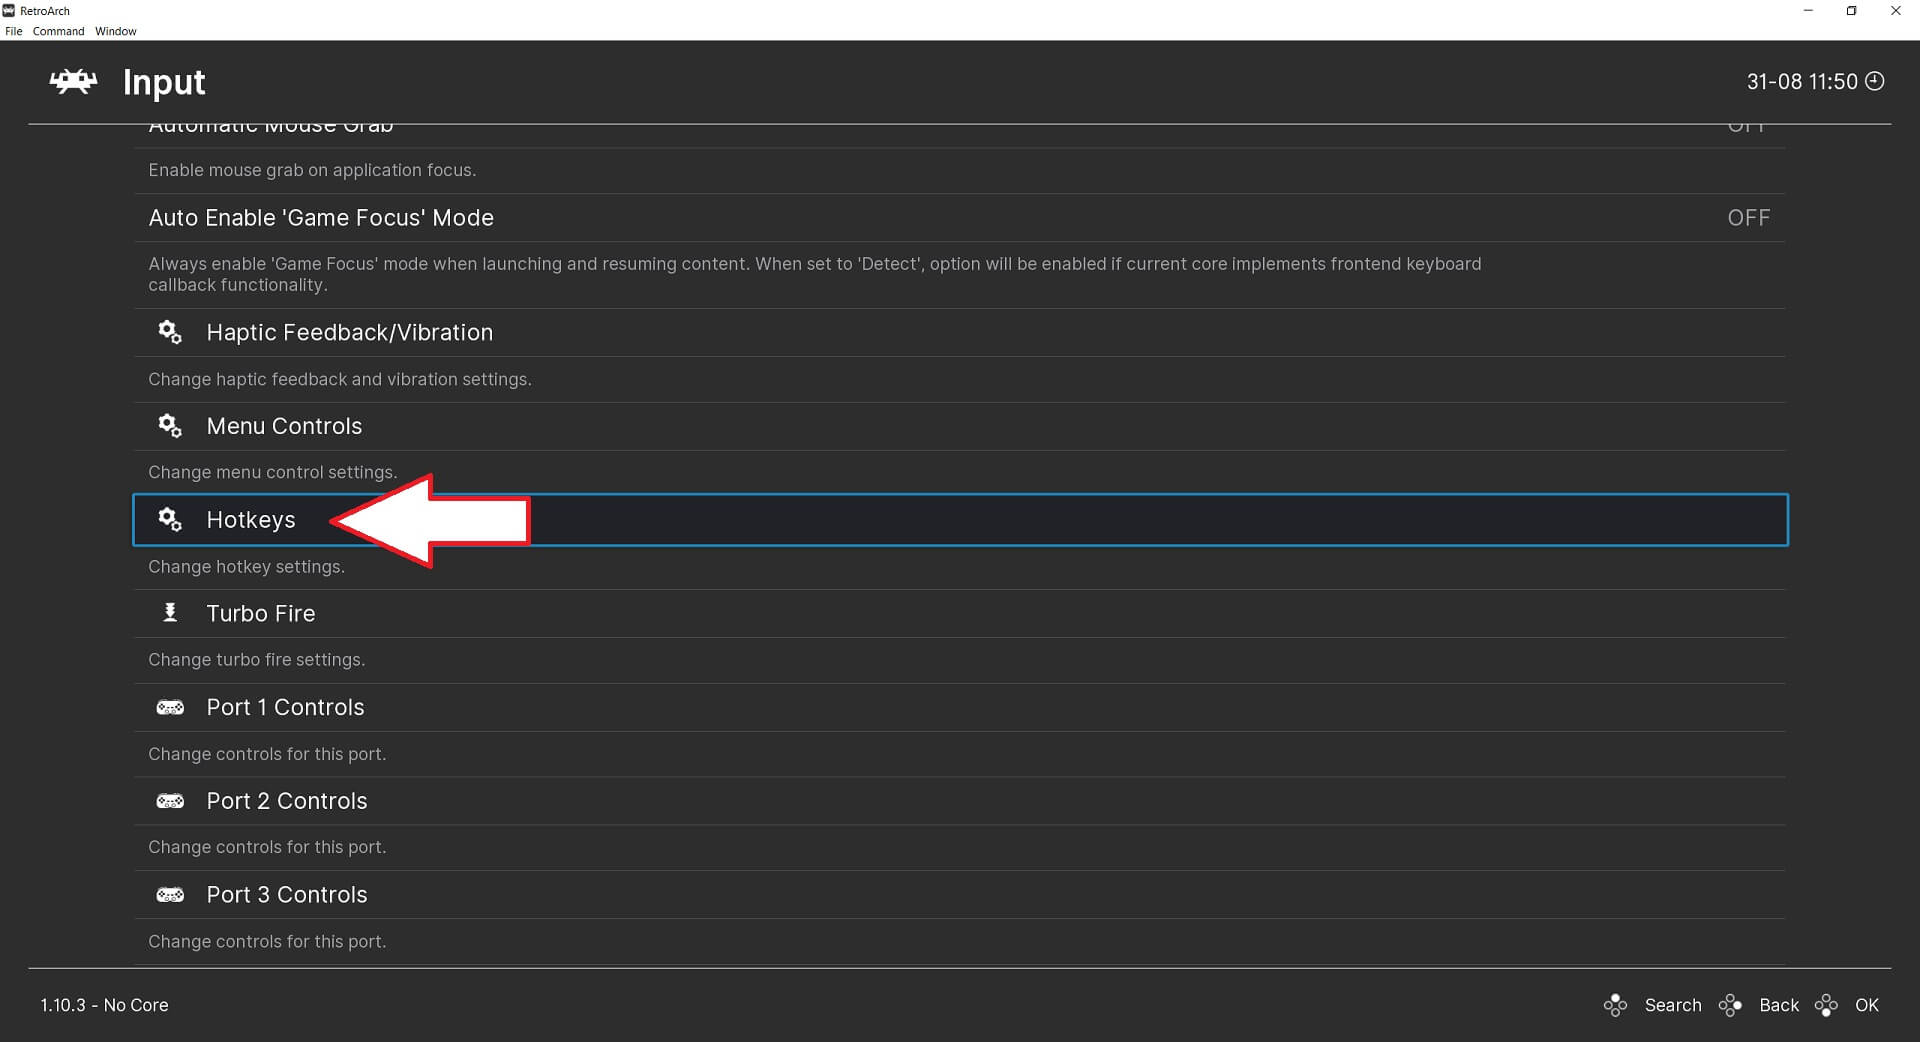
A hotkey allows you to use button combinations for shortcuts. To do this we need to first define what the hotkey should be. The most common hotkey is the SELECT button, but you can choose any other if you wish to. From the main menu, choose Settings then Input.

Scroll down the menu until you see Hotkeys and choose this.
Scroll down and choose the Hotkey Enable entry and a popup will prompt you to press a button on your controller. Press the SELECT button or whichever button you wish to use.

Your hotkey is now enabled. Continue reading for how to use it!
Setting up hotkey combinations
On the same hotkeys screen, you can scroll down the list of shortcuts you can use. We will show how to set up the Load and Save state function. This function allows you to save exactly where you are in a game and then return at a later date to resume exactly where you left off. We will be using the L1 and R1 buttons for the button combination, but again you can decide to use others.
Scroll down the list until you see the Load State entry. Select this and a popup will appear prompting for a button input, press the L1 button once and the button will be set. Choose Save State below it and repeat the process but this time press the R1 button.

Now, when you play a game you hold the SELECT button and press L1 to Load a save state, or R2 to Save a save state.
We also recommend setting the Menu Toggle Controller Combo which will bring up the in-game menu. This is useful if you need to change any settings and you can also safely close the game and return to the main menu. There are many other functions you can activate such as Rewind on supported systems, or Fast Forward which is great for speeding up unskippable cutscenes or long dialogues!
Other useful hints and tips
How to make the RetroArch Window full screen?
You can make the display window full-screen permanently or have a shortcut to toggle between windowed and fullscreen. On the hotkeys menu we covered above there is a setting to configure a toggle between them.
If however, you want RetroArch to always start fullscreen there is a setting you can use. From the main menu choose Settings then Video.
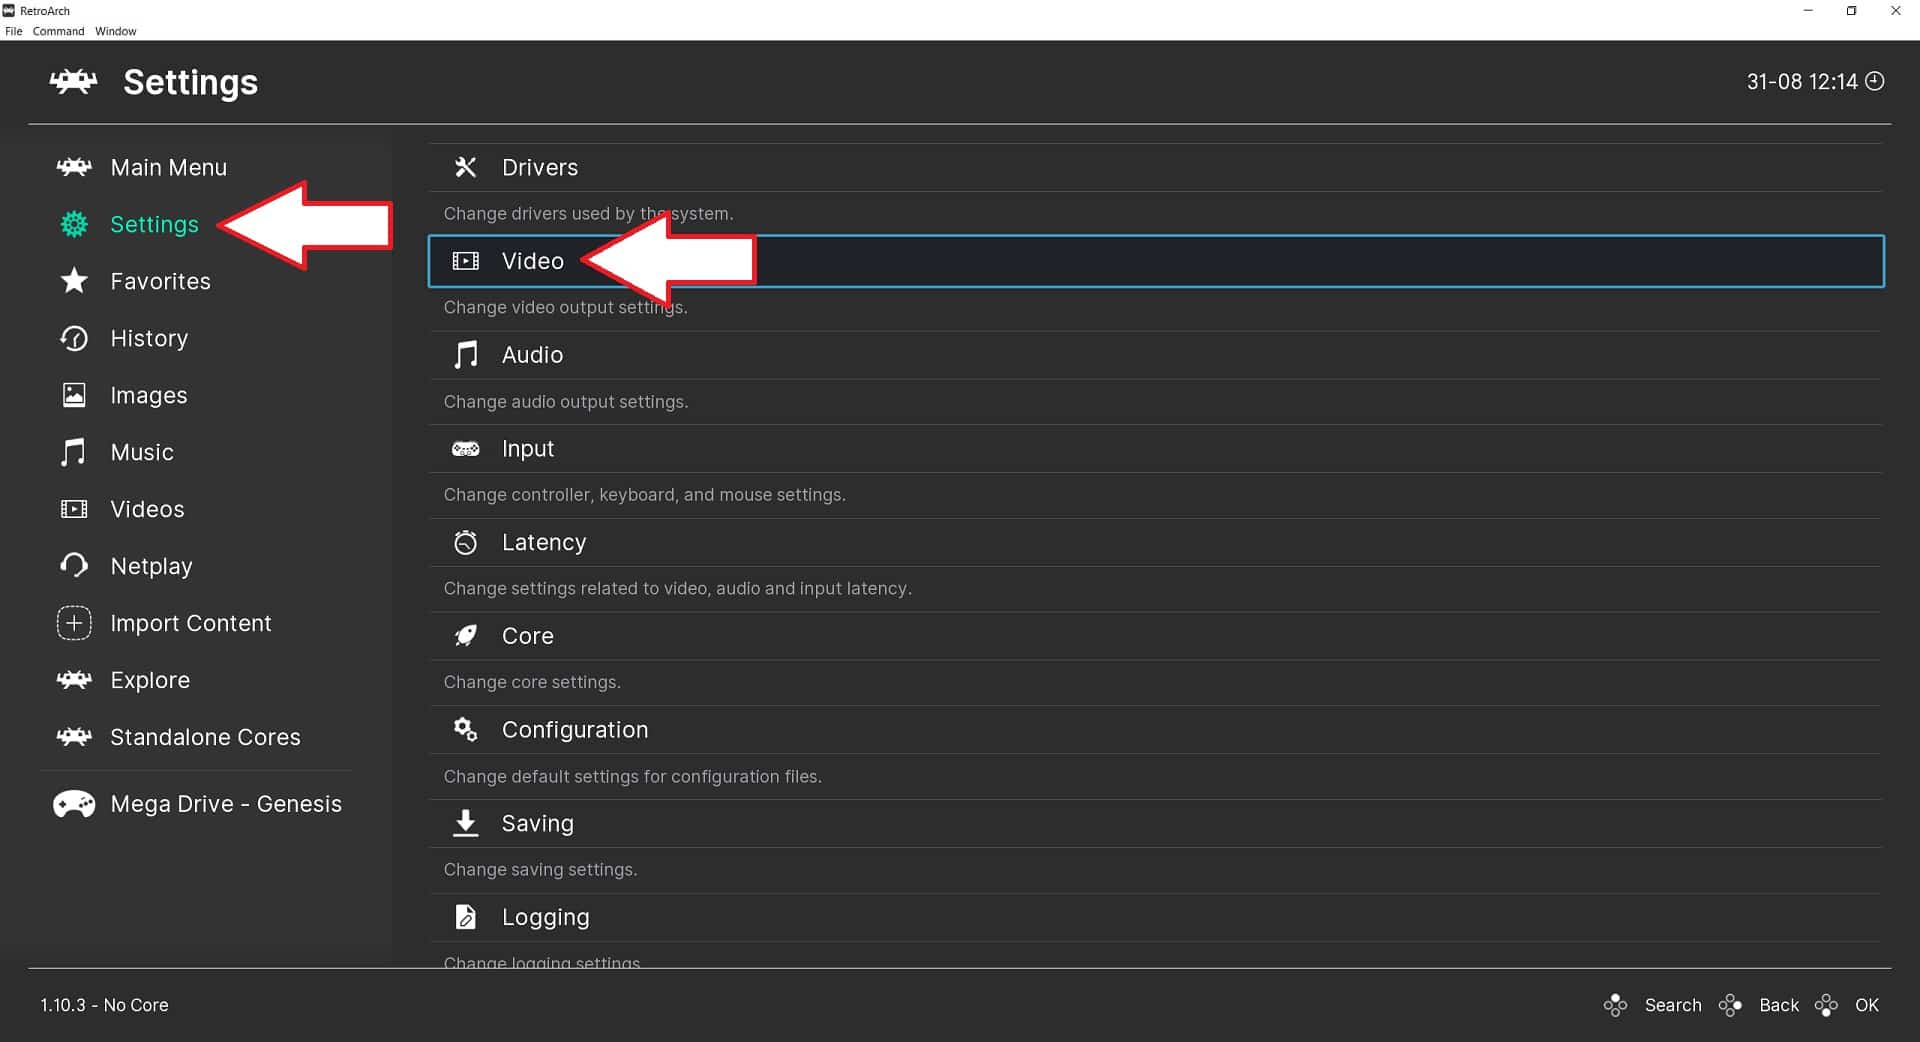
Choose Fullscreen Mode
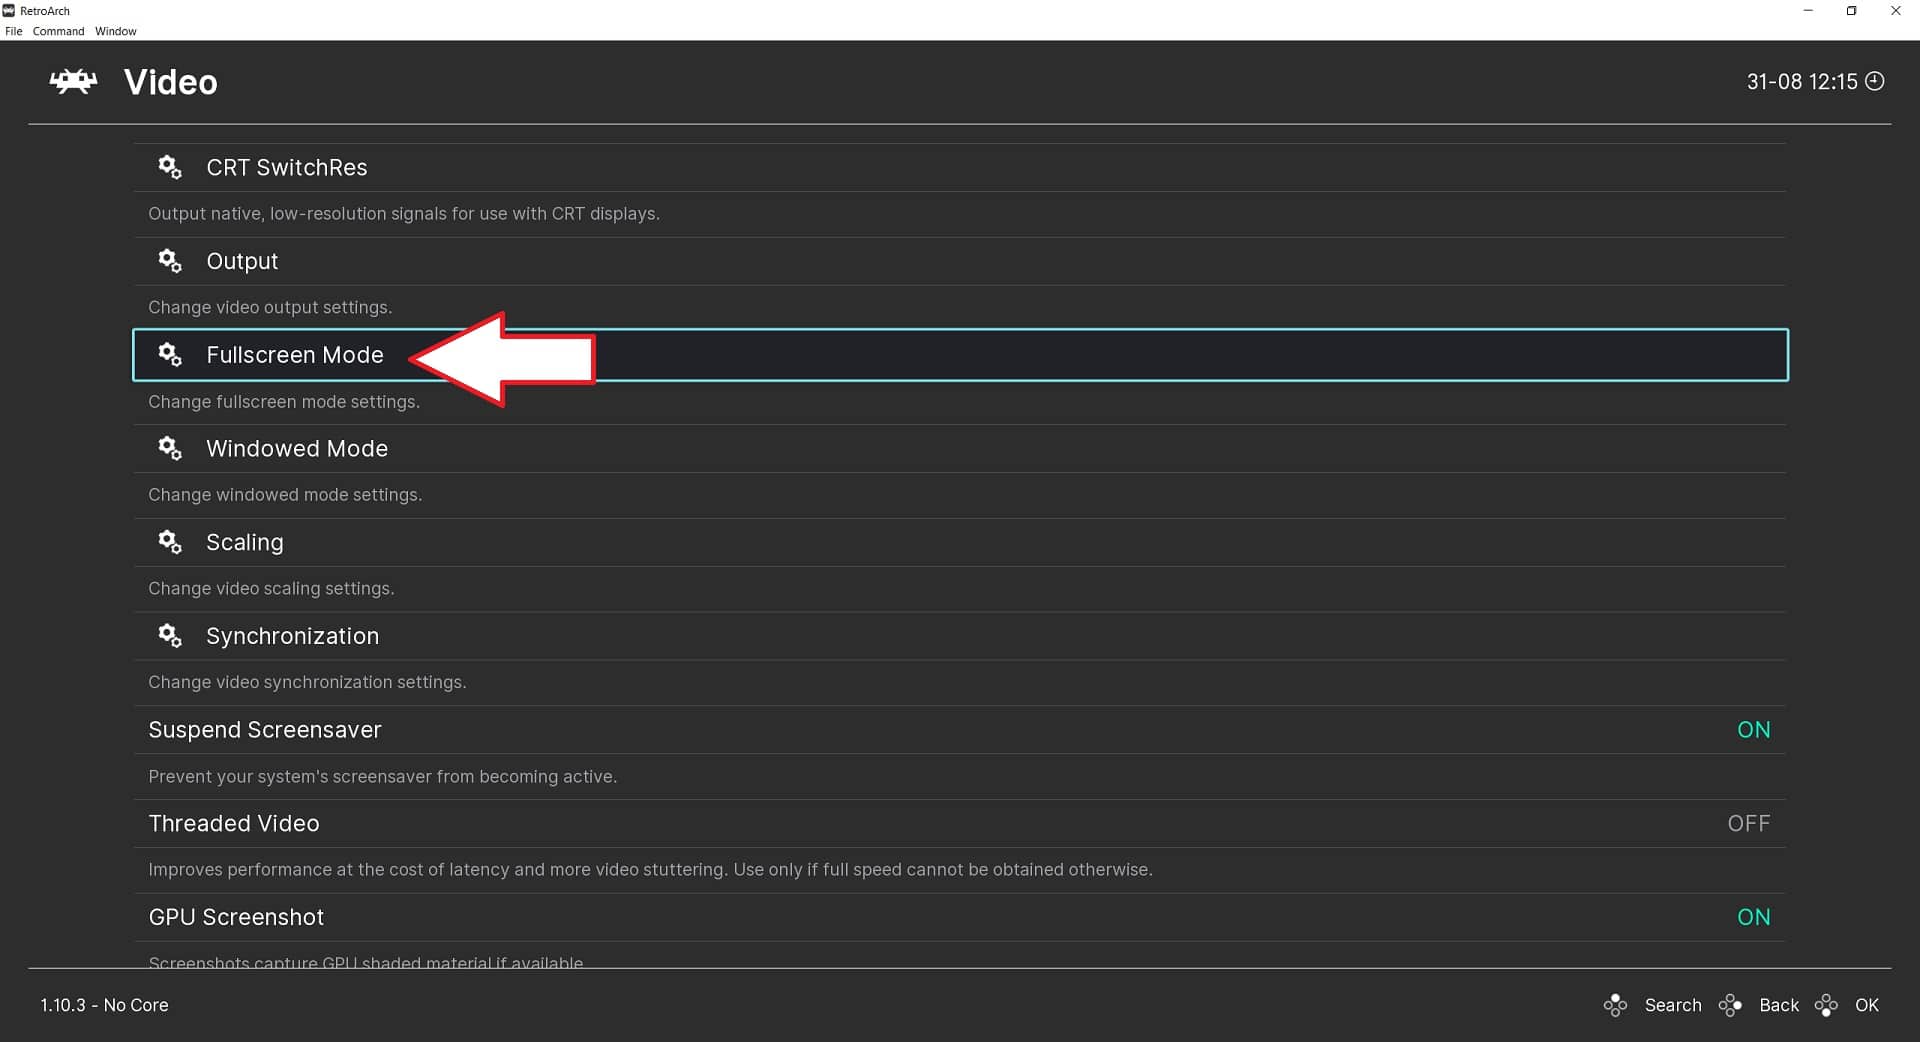
Then choose Start in Fullscreen Mode. RetroArch will briefly restart and then be in full screen. You can switch back to Windowed, by going to the Start in Fullscreen Mode option and choosing it again.
Questions & answers