Files used in this guide
Changelog
- Source guide: How To Upgrade or Re-Flash your Retroid Pocket 2 Plus
Older versions stay downloadable for rollbacks — every version keeps its own verified file.
Changelog
- Source guide: How To Upgrade or Re-Flash your Retroid Pocket 2 Plus
Older versions stay downloadable for rollbacks — every version keeps its own verified file.
Changelog
- Source guide: How To Upgrade or Re-Flash your Retroid Pocket 2 Plus
Older versions stay downloadable for rollbacks — every version keeps its own verified file.
Changelog
- Source guide: How To Upgrade or Re-Flash your Retroid Pocket 2 Plus
Older versions stay downloadable for rollbacks — every version keeps its own verified file.
Introduction
Welcome to our guide to re-flashing the Retroid Pocket 2 Plus! We currently sell the popular Retroid Pocket 2 Plus retro gaming handheld which you may find needing to re-flash. Since we have had to do the process ourselves, we thought why not make a helpful easy-to-follow guide so that you can get it done without a headache? Since the device runs Android 9, it can be a slight bit more tedious to re-flash compared to ANBERNIC’s retro gaming handhelds which are as simple as flashing an SD card.
To be able to re-flash the Retroid Pocket 2 Plus as well as to follow the guide, you will need the following
- Windows Device – You will need a device running Windows to use the SPD Factory Tool.
- USB C to A cable – This will be for connecting the device to your PC. Make sure to use a high-quality one, if you use one that randomly disconnects, it has a chance to do it during the re-flashing process, in turn bricking your device.
- SPD Factory Tool – This is the program we will be using to install the firmware
- The Firmware – “UI2.5_20211221_user.pac”, is the firmware we will be installing.
- SPD Driver – “SPD_Driver_R4.20.4201”, this will be the driver which allows our Retroid Pocket 2 Plus to communicate with the flashing software.
- BMAFrame9.dll Fix – This will only be necessary if you run into an error relating to the .dll “BMAFrame9.dll” when opening the “FactoryDownload” program we will be using.
Now that we have gone over everything required, we will get the actual guide started.
WARNING: Please ensure that this guide is fully followed. If you use the wrong files, disconnect the device during the process, or do anything incorrectly you have a risk of bricking your device. DroiX is NOT responsible if you brick your device.
Extract the contents of all four zip files to their respective folders.
Installing Drivers
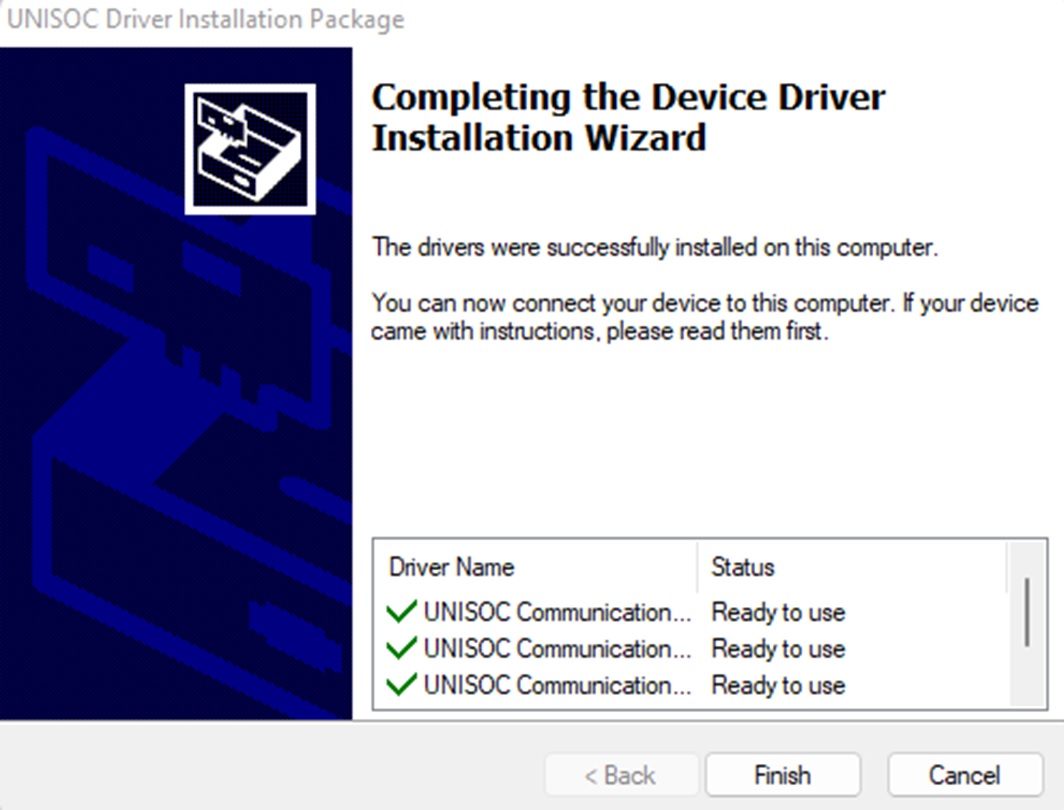
Locate the folder “SPD_Driver_R4.20.4201” and navigate to the folder which correlates with your Windows system (Windows 7, 8 or 10). Unfortunately, there is not a folder for Windows 11 however Windows 10 will work. After you navigate to the correct folder find the “DriverSetup.exe” and run it. You will be met by an installer, just press next and then finish. Now we have the required drivers for the SPD software to communicate with our Retroid Pocket 2 Plus.
Installing the Pocket 2 Plus Firmware
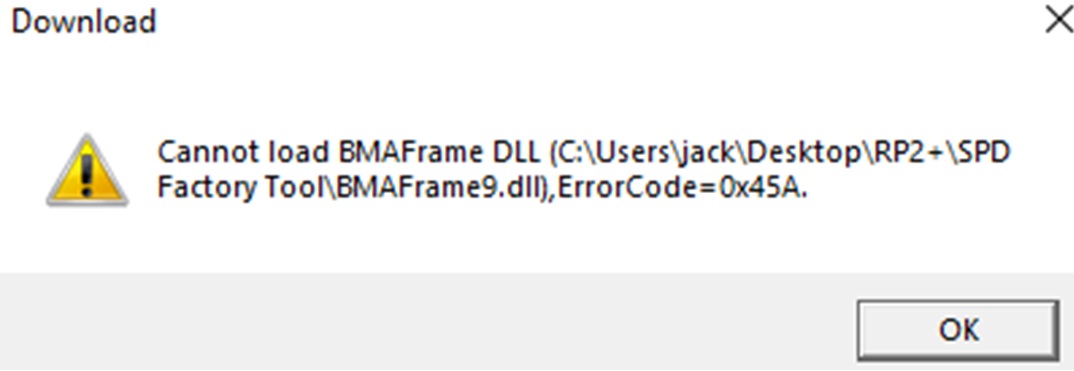
Locate the folder “SPD Factory Tool” and run the program “FactoryDownload”. If it has the “BMAFrame9.dll” error then please read step 4, which resolved the issue for me. If your program opened without presenting such error, then please skip over to step 5.
Resolving BMAFrame9.dll error
If you receive the BMAFrame9.dll error message as shown below then please locate the folder “Fix BMAFrame9.dll”.
After you have located the folder, you will see 4 programs.
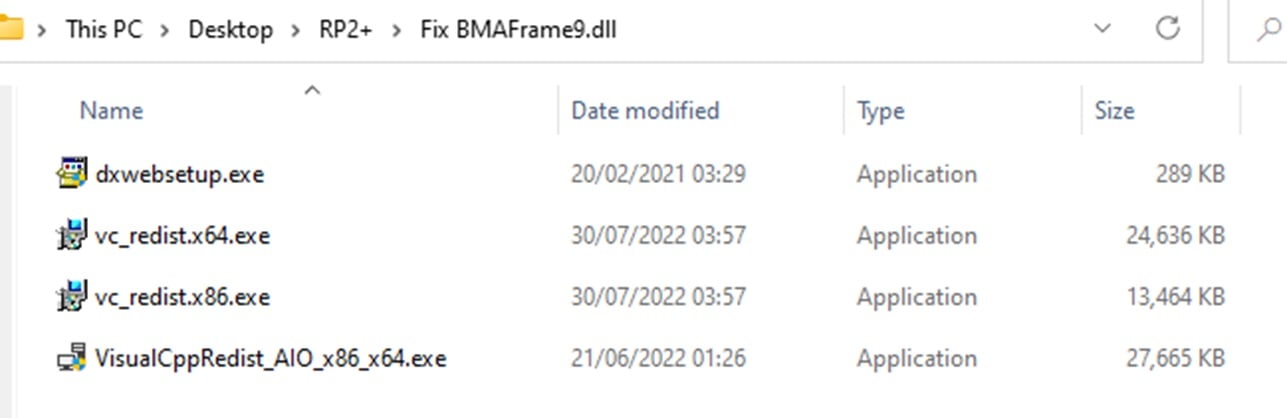
Please run each installer once and let them fully install. After the 4 have been run and installed, attempt to open the “FactoryDownload” program under the folder “SPD Factory Tool”. Now it should not present the error anymore and we can continue to flash the firmware.
Continuing with Firmware Flashing.
Now that you have the program opened, press the “Load Packet” button with the single gear icon, go to the folder we have downloaded including everything and open the “U2.5_20211221_user.pac” file. Once the .pac file has been opened you will see a blue progress bar in the bottom middle, allow it to fully load before attempting to progress.

In the meantime, make sure that your Retroid Pocket 2 Plus is fully turned off and you have your USB C – A cable connected to your PC, but not your Retroid Pocket 2 Plus yet. Once the .pac file is fully loaded you will see some text on the right of all the buttons in the top left. Now press the “Ready” button with the play icon, once you have done this now hold the volume down key and connect your Retroid Pocket 2 Plus to your PC using the USB C to A cable.
You should see the download start and go through the different steps, once started you can let go of the volume key and put the device down and wait.

After it has completed which can take around 5 minutes, you will see some green text informing you that it has “Passed”.

Now press the “Stop Downloading” button with the stop icon. Feel free to now disconnect the device.
Conclusion
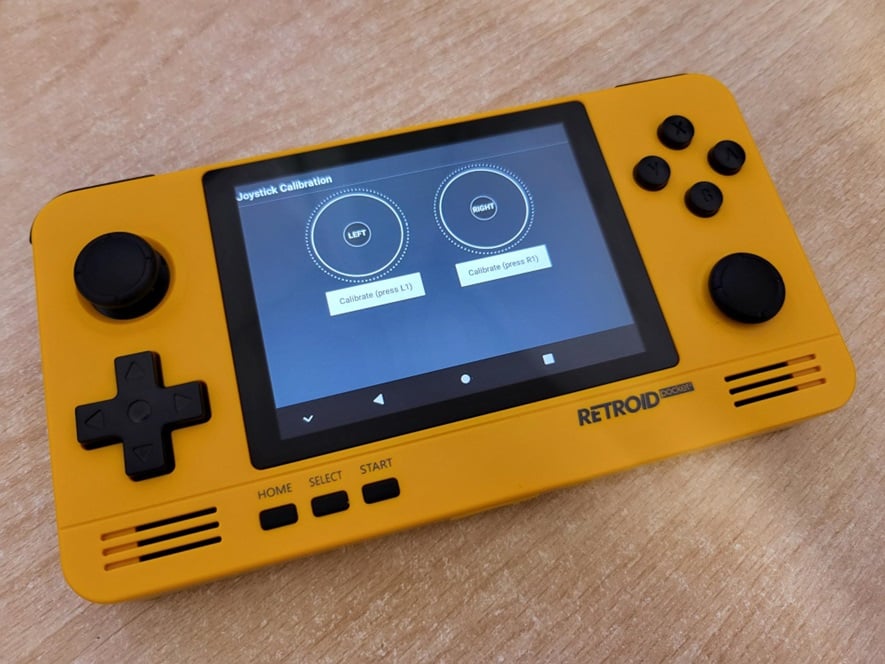
After you turn the device on and go through the boot animation, you will be met with the Android setup. Some red text informing you to calibrate your joysticks might be displayed in the top left. If it is not, then after you move the joystick, it will pop up. Click the red text and follow the calibration steps.
Questions & answers