Files used in this guide
Changelog
- Source guide: NEW RG35XX Dual Boot Firmware + OS
- Source guide: Custom Firmware for Retro Handhelds
Older versions stay downloadable for rollbacks — every version keeps its own verified file.
Changelog
- Source guide: How to Reinstall Stock Firmware on Retro Gaming Handhelds
Older versions stay downloadable for rollbacks — every version keeps its own verified file.
You really can have the best of both worlds. Anbernic has released new firmware supporting RG35XX dual boot which means now being able to run and boot from two separate operating systems from the same device!
You may be wondering, ‘Why would someone want to run two OSs on their retro handheld?’ which is a fair question. I mean, they are, for the most part, just front ends for RetroArch. The different types of firmware available for Retro Handhelds do, however, go further than skin deep. GarlicOS, for example, now officially comes packaged with the Stock OS as you will see in this guide, and offers many additional features such as more advanced menu shortcuts, smoother game switching, settings, interfaces and more. Access to games is only one part of Retro Handheld Gaming, how you interact and play the games can have a significant impact on your enjoyment, further accessibility, customisation and user control are welcome.
Having the choice of multiple OSs on the same SD card is a welcome additional option we are happy to see. Let’s go through and see how you can dual boot both the Stock firmware AND Black Seraph’s GarlicOS on your Anbernic RG35XX.
Installation
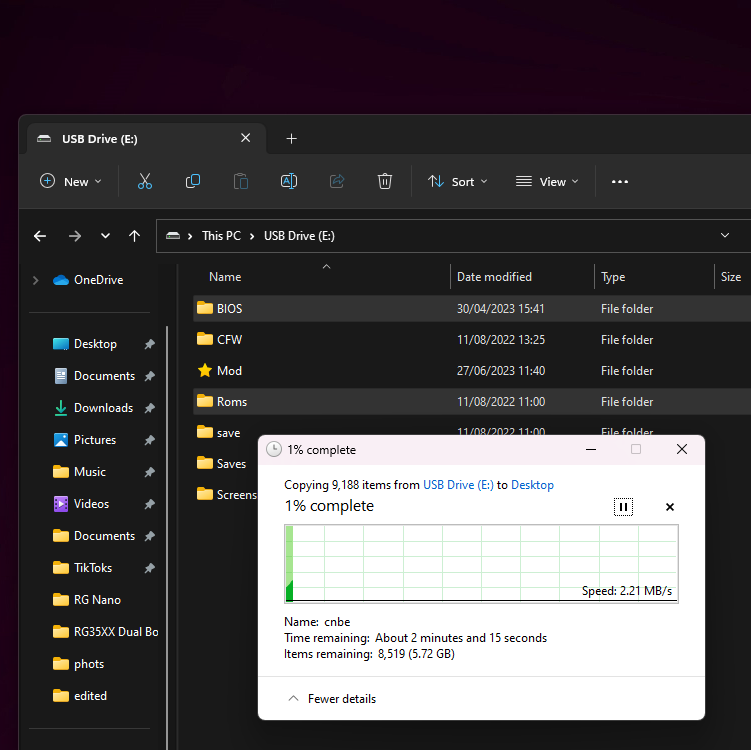
This process WILL format your MicroSD card so please, back up your BIOS and ROMs folders to your PC. You can simply drag and drop them onto your computer. If you fail to do this you will LOSE all of your games. If you wish, you can also backup other things such as save states, themes, images and more. These can be found either in the root of your SD card or the FAT32 partition if your SD card has multiple partitions.
Once you’ve backed up every you need to we can get started with formatting the MicroSD Card.
Format MicroSD Card
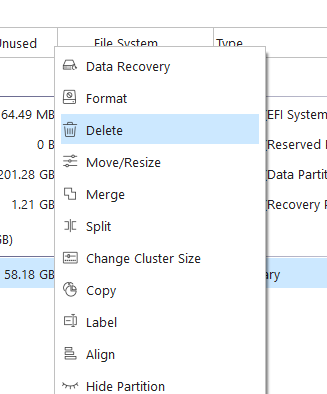
In this guide we used MiniTool Partition Wizard, if you wish to use a different piece of software we cannot confirm your success with these instructions. It should be fine with any disk management software. To start, right-click all partitions on your MicroSD card and click ‘Delete’.
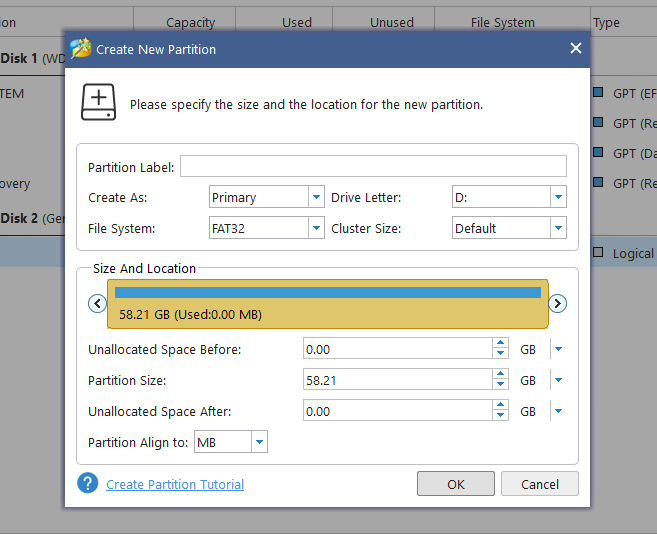
Next, we need to create a new partition. Right-click on the new empty drive and click ‘Create New Partition’. Set up a FAT32 partition to take up the entire drive. Once done click ‘Apply’ and allow the new setup to take form.
Flashing new fimware(s)
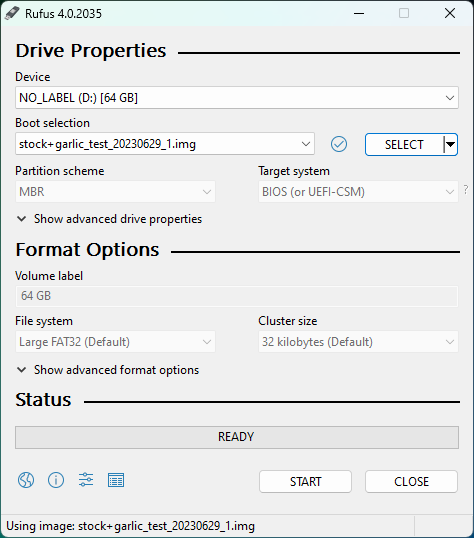
Now that the device is ready, we can go ahead and flash the new firmware onto the SD card. We will be using RUFUS to do so, again if you wish to use a different piece of software you may however we cannot guarantee success. You can download the .imgfrom Black Seraph’s Patreon here or linked below.
| Firmware | Download Link |
| Garlic OS | Download |
Since we want to use a MicroSD Card to launch the custom firmware – download both the 001 and 002 MicroSDCardImage files (NOT the CopyPasteOnTopOfStock versions). After the downloads are complete, we can extract and merge both compressed files by simply extracting MicroSDCardImage.7z.001 using a tool like 7-Zip.
Once you’re ready, open Rufus, select your MicroSD card as a drive and the .img file downloaded as a source and click on ‘Start’. It will take a few minutes to flash.
Expand Games Partition
Once it has finished flashing Rufus will have created several partitions on your MicroSD card, within MiniTool Partition Wizard find the one formatted as ‘FAT32’, this is the partition that will hold your ROMs and BIOS files… you remembered to back those up, right?

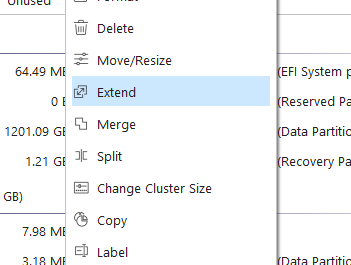
Once you’ve found the FAT32 partition, right-click and select ‘Extend.’
Extend the partition to fill the rest of the disk, thus using the entirety of the remaining storage to store more games, saves and files.
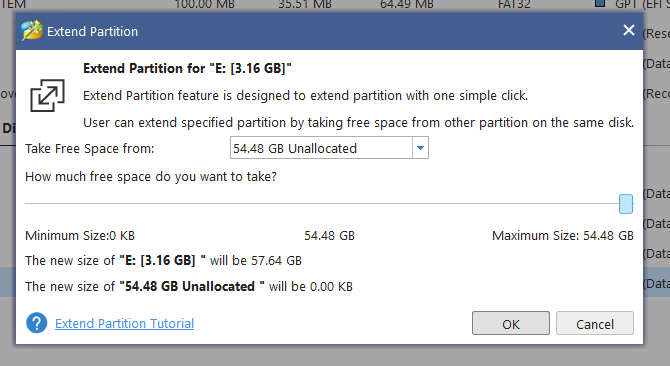
Click ‘OK’ and then ‘Apply’ to allow the changes to take shape.
Restore ROMs and BIOSs
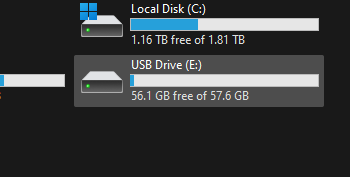
Congratulations! You’ve successfully installed the Stock Firmware and GarlicOS dual boot to your MicroSD card, but we’re not done yet. We need to restore your games and files unless you wish to use the device without any games, which I mean go for it you do you. But if you want to play games, find the partition of the drive you just extended, in FAT32 format, in Windows Explorer.
Inside you’ll find a few different folders, we’re interested in ‘Roms’ and ‘BIOS’.
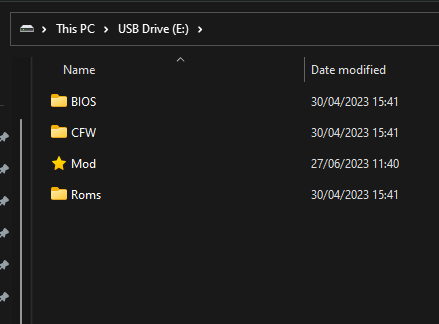
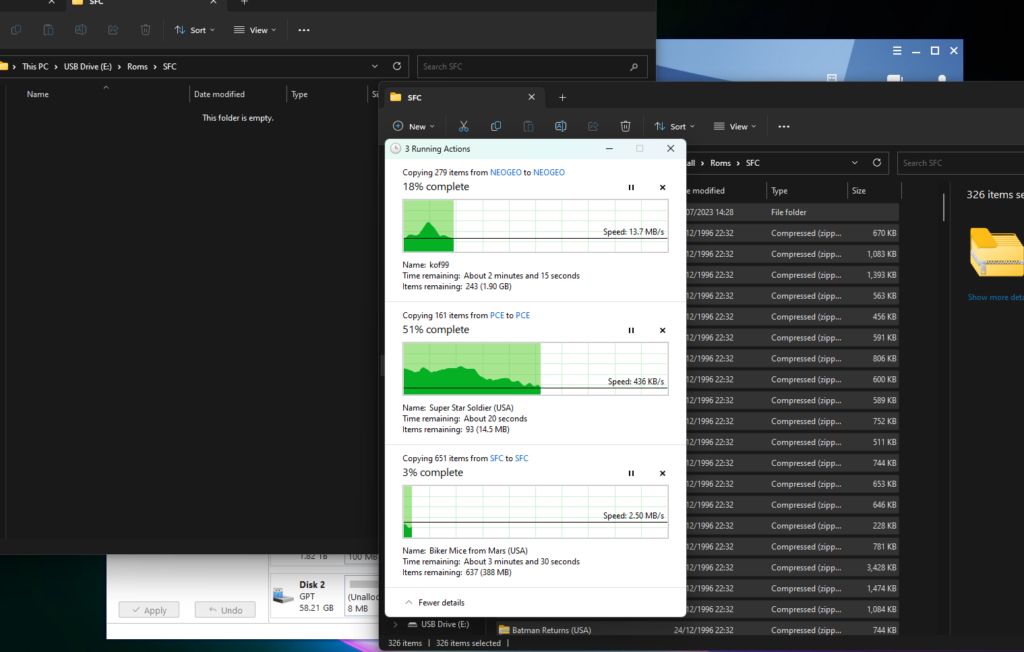
If you open up Roms you will all of the consoles that you can emulate already set up. Simply copy the contents of the original folder you backed up to the new folder on the SD Card. Make sure you copy the contents of the folder within the other folder and not the folder itself, as shown below.
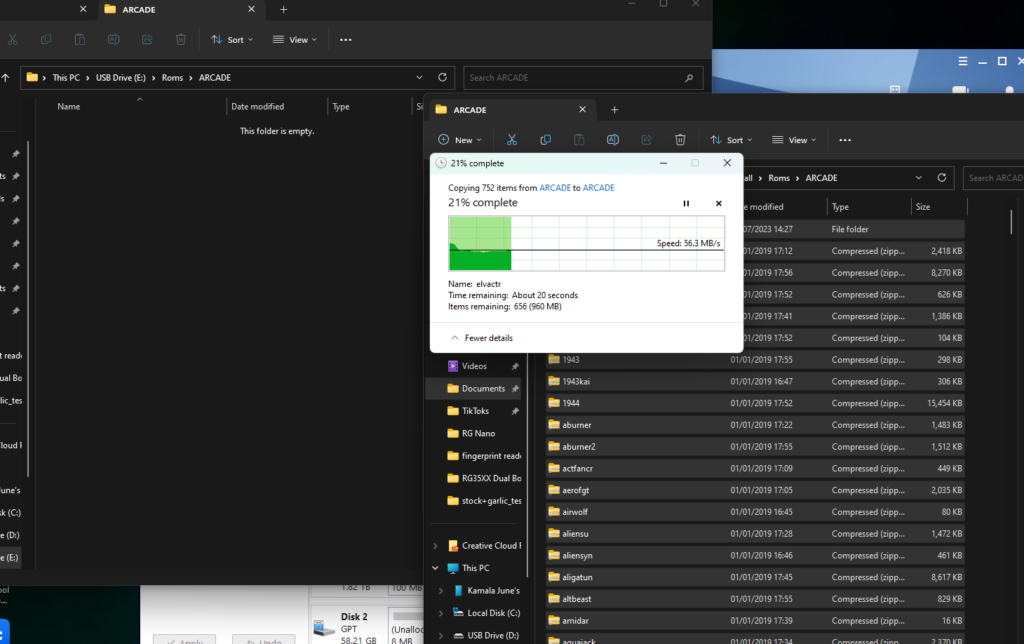
Do that for all of them, however with the BIOS folder, you can simply just copy the contents of your old BIOS folder into the new one, skipping any duplicates.
Testing RG35XX Dual Boot
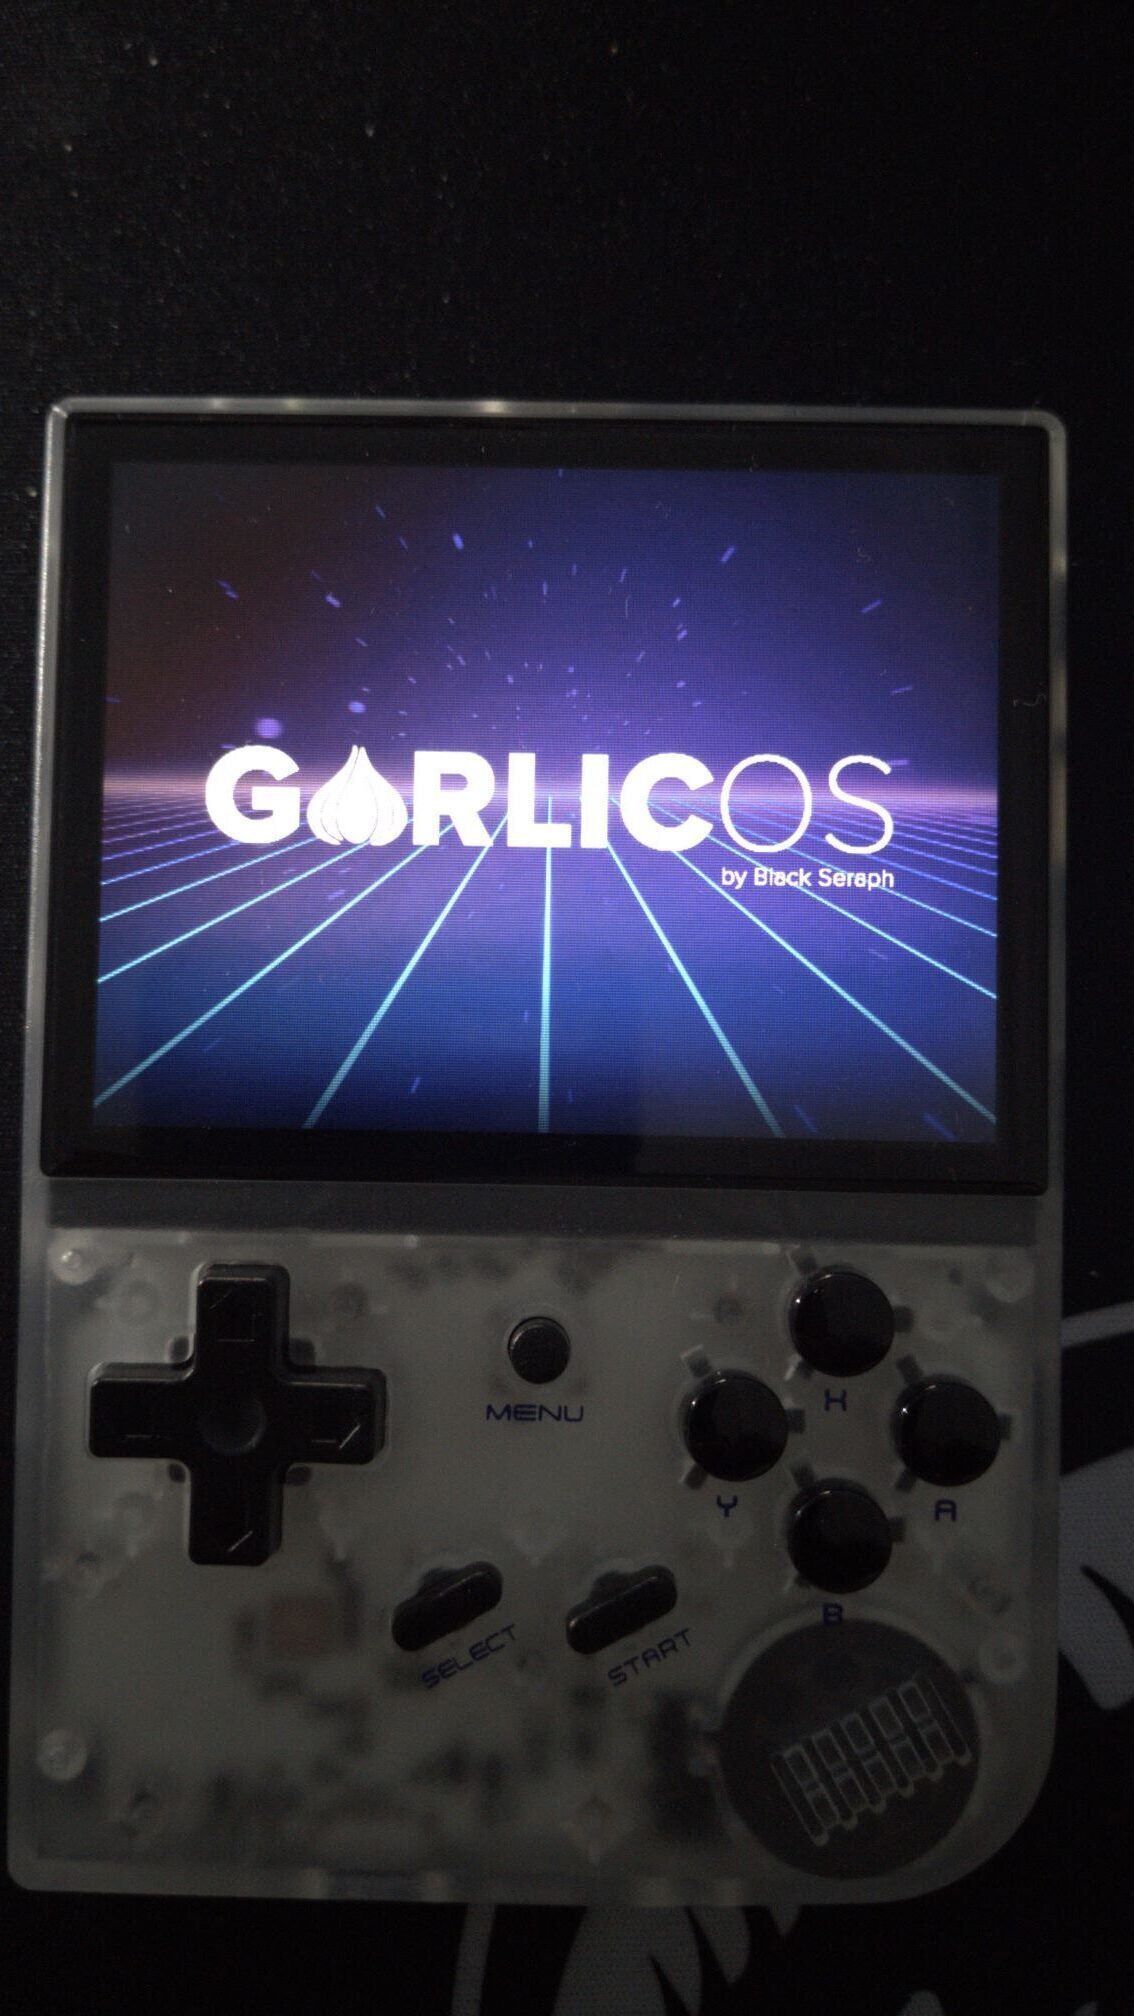
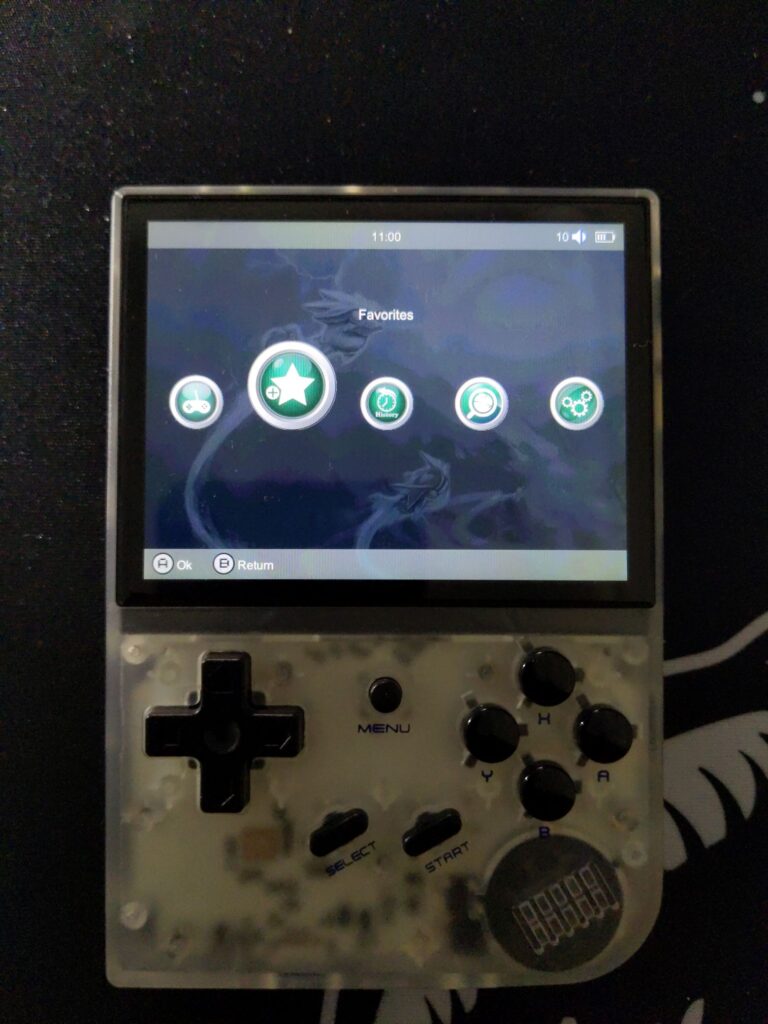
Once everything is transferred you can safely eject your SD card and install it into the TF1 slot of your device. When you first boot up you will get into GarlicOS.
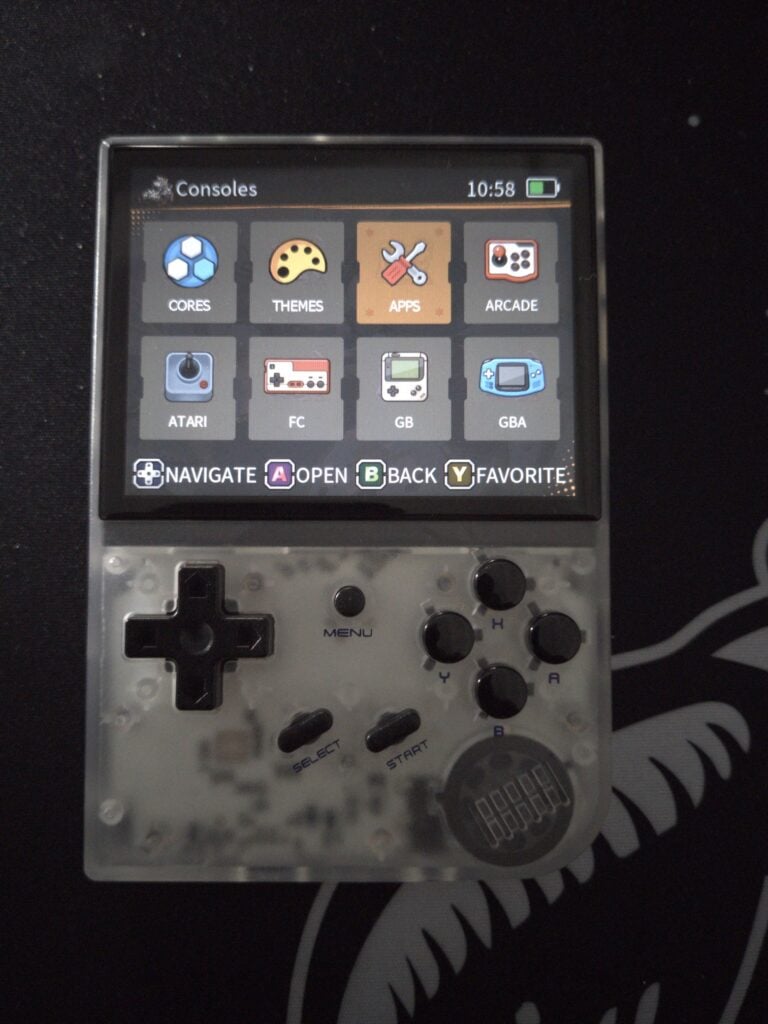
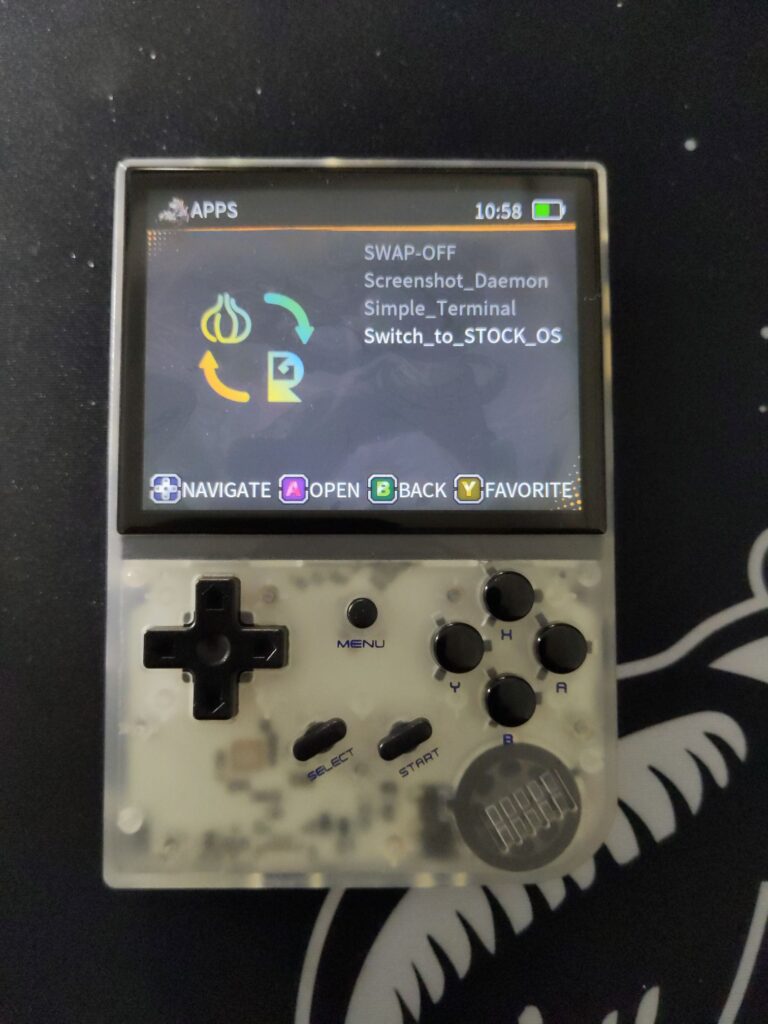
You will boot into GarlicOS as with any install. Once within the OS, to switch to the stock firmware, head to Consoles, Apps and then scroll to the bottom and select ‘Switch to Stock OS’
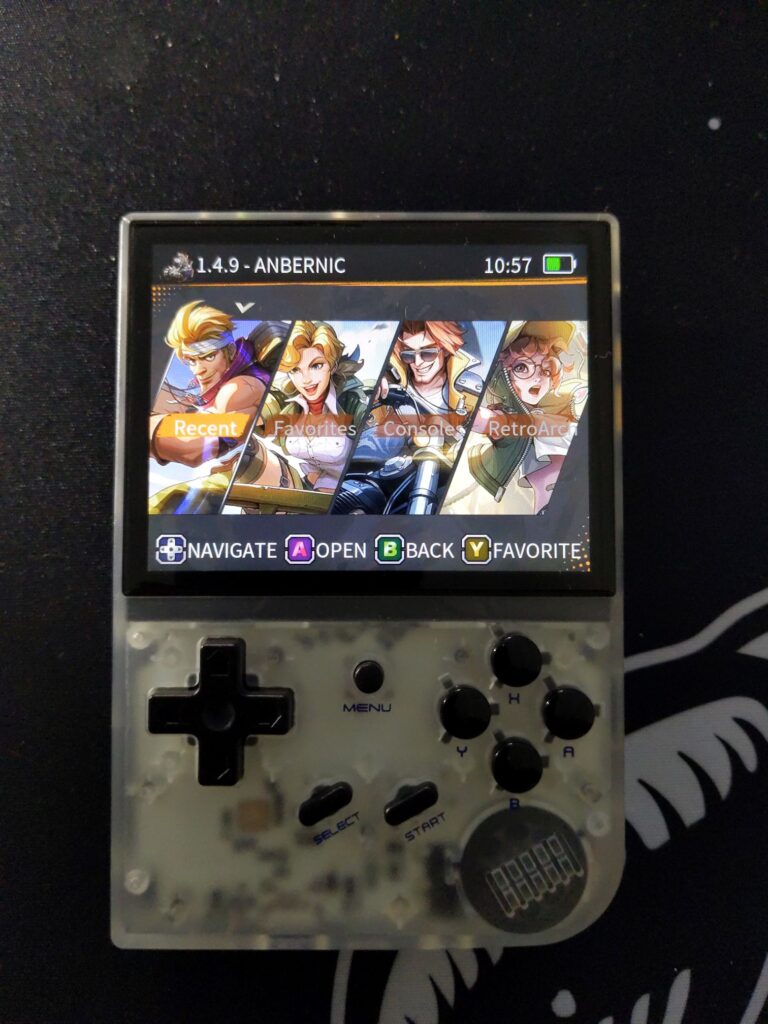
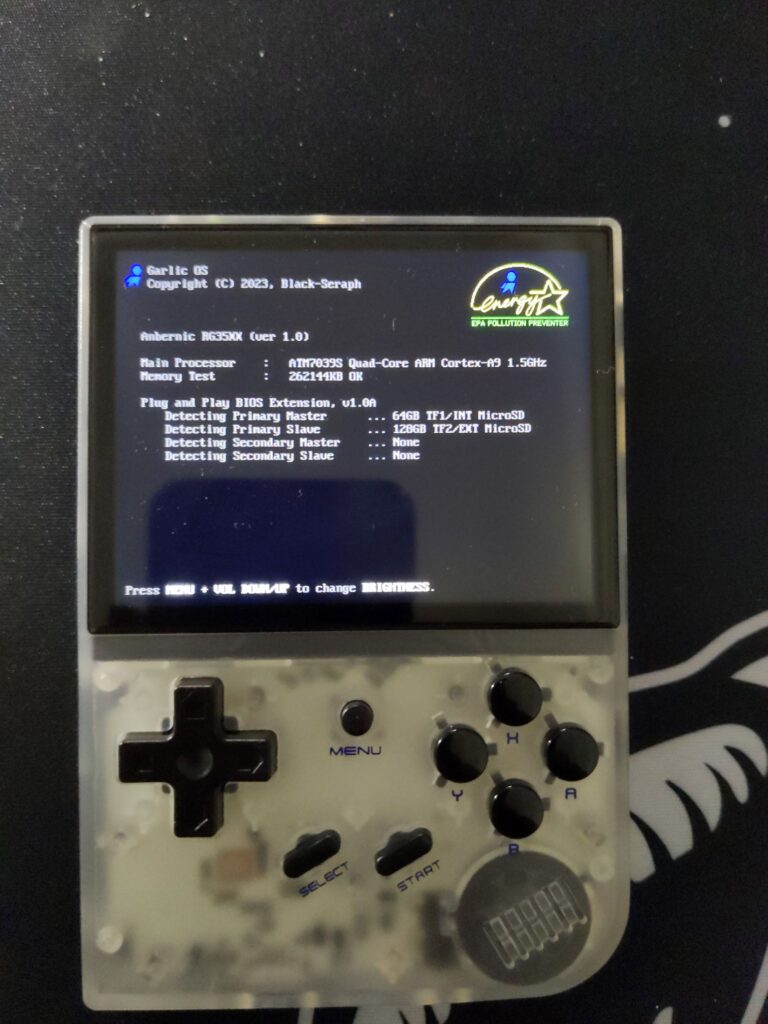
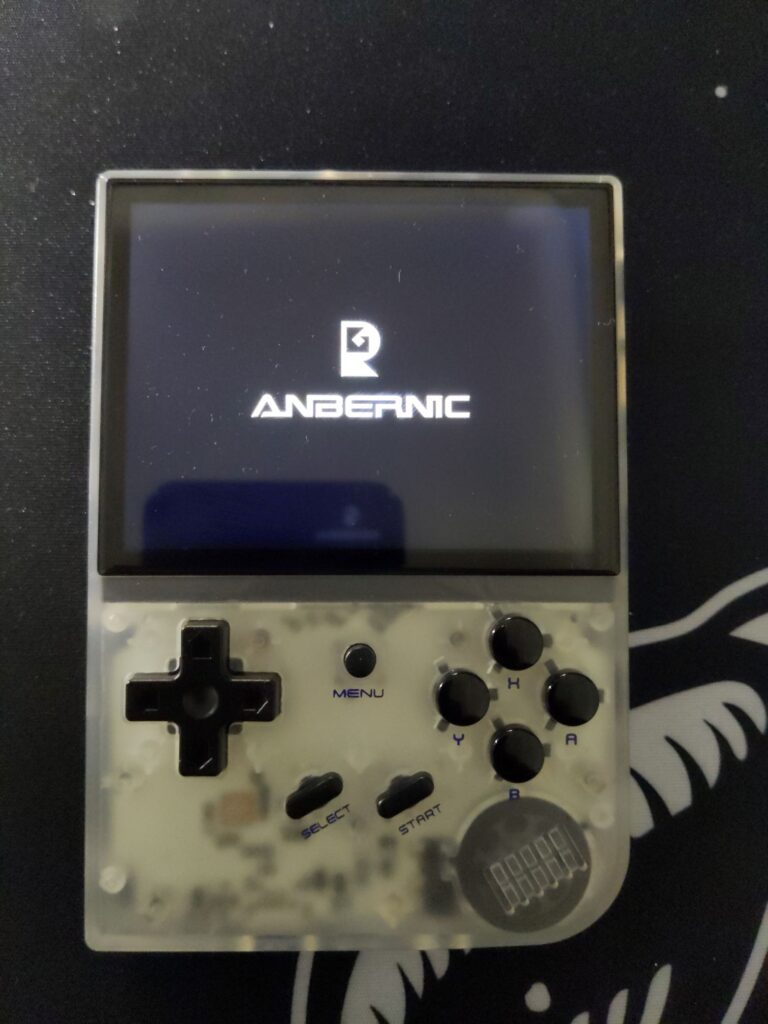
You will now boot into the stock OS.
To switch back, head to ‘Settings’ and then at the bottom ‘Switch OS’.
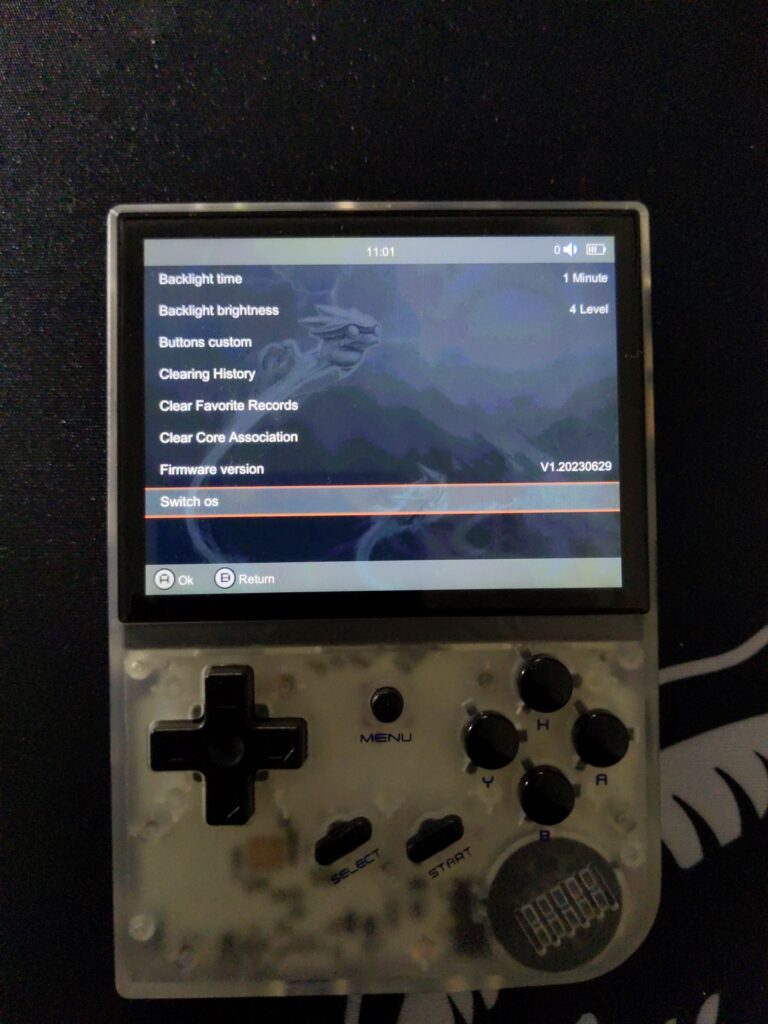
You can now use both Operating Systems and decide which one to play games and install files.
Questions & answers 7
Can you reupload the GarlicOS image file in this tutorial? The link isn’t working
The link has been updated along with some extra details on how to proceed – if you have any questions, let us know!
Thank you!
Ya no esta el archivo .img disponible
Lo he comprobado y las descargas en https://www.patreon.com/pos… funcionan bien.
Si están los links pero cuando quiero descomprimir con la última versión del 7zip sale error. Por lo q veo es problema del link de ellos
Parece que los enlaces ya funcionan correctamente. He descargado los archivos y los he descomprimido correctamente con la última versión de 7zip. Intenta acceder a ellos de nuevo y avísame si tienes algún problema.