In this article
In this how-to, we are going to go over the process of re-flashing the MOQI i7 firmware. The MOQI i7 is a popular Android based handheld gaming console/phone hybrid.
Re-flashing the firmware of an Android device can be thought of as similar to reinstalling Windows on a PC. As it resets everything on a device to a factory-fresh state, it is often the final course of action in the troubleshooting process. If a device continues to display issues after a re-flash, the issue is almost certainly with the hardware.
With that in mind, let us continue on.
What you will need (MOQI i7 Firmware Download Link)
- A MOQI i7 and the requisite firmware.
- SP Flash Tool V5.1652
- A USB-A Male to USB-C Male cable.
- [Optional] File Extraction Software
- We prefer 7zip due to it being free, open source and lightweight.
1. Extract the firmware
Right click the zip files you have downloaded, and extract them into separate folders of your choosing. You can do this natively within windows (right click -> extract), or use a tool of your choosing (WinZip, 7zip, WinRAR, etc.).
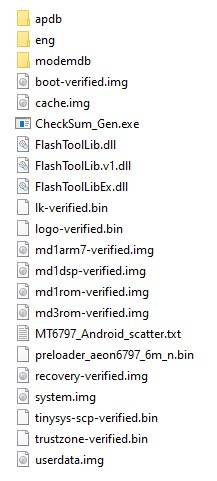
Once finished, you’ll have two separate folders.
2. Open SP Flash Tool
In the SP Flash Tool folder, locate and run the “flash_tool.exe” by double-left-clicking on it.
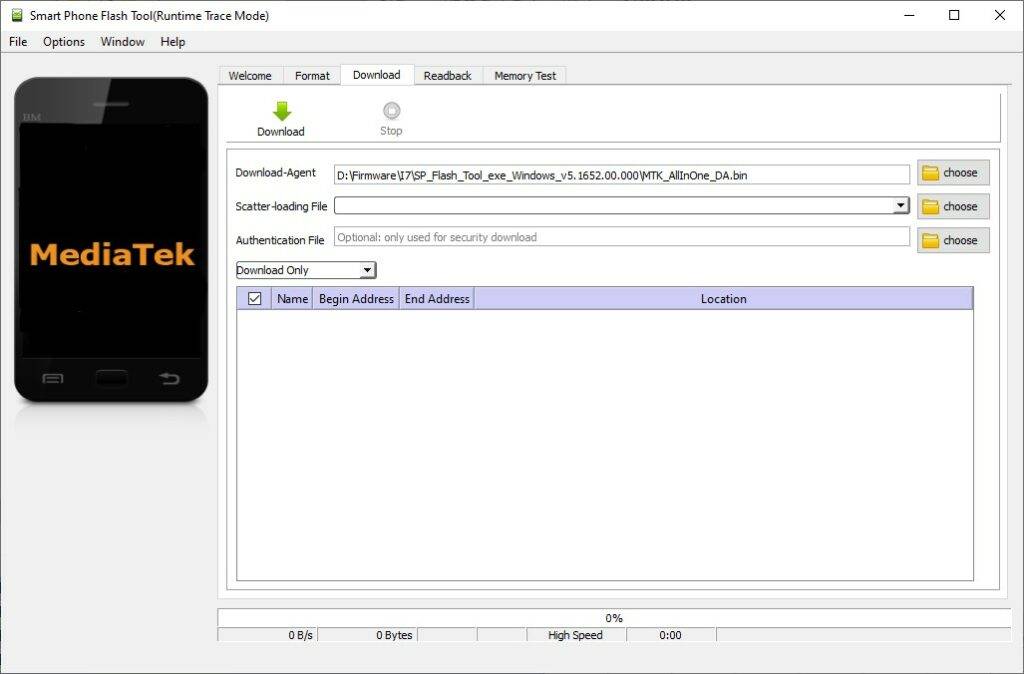
The SP Flash tool interface will then initialize. See below for how it should look at this point.

3. Configure SP Flash Tool
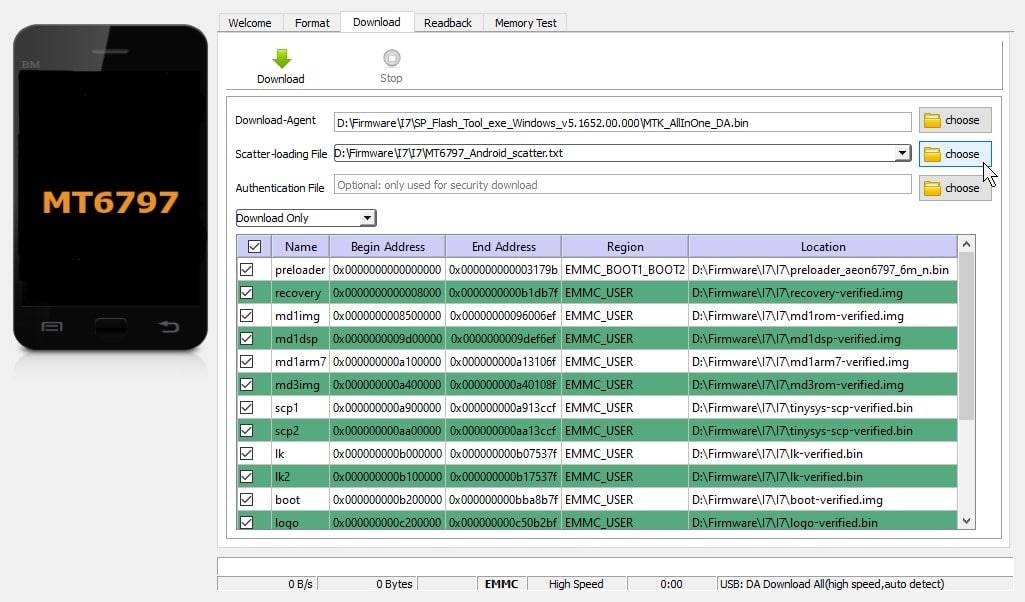
- Select the “Choose” button next to the “Scatter-loading File” field.
- Navigate to the MOQI i7 firmware folder you extracted earlier, and select “MT6797_Android_scatter.txt”.
- Ensure that the tool is set to “Download only”.
Once the configuration is done, your tool should look like the below image.
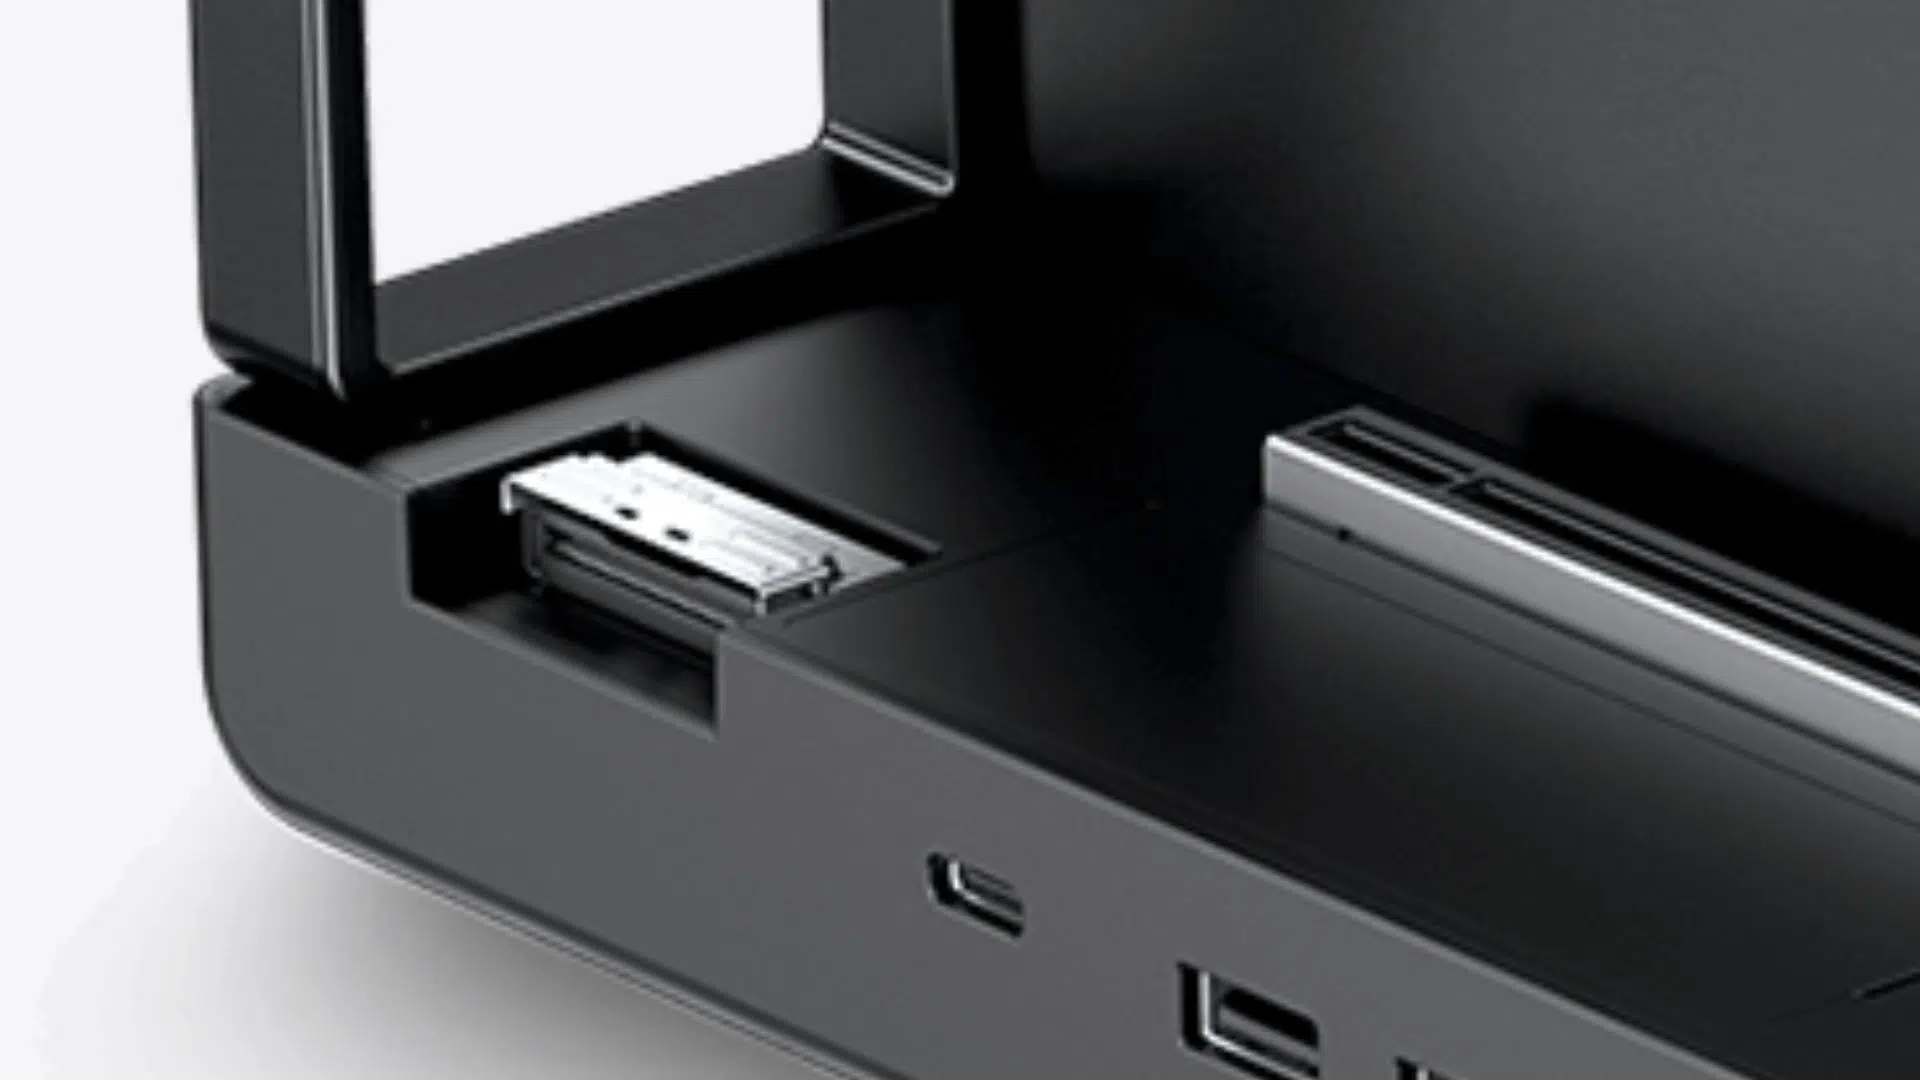
4. Connect the MOQI i7 to your PC
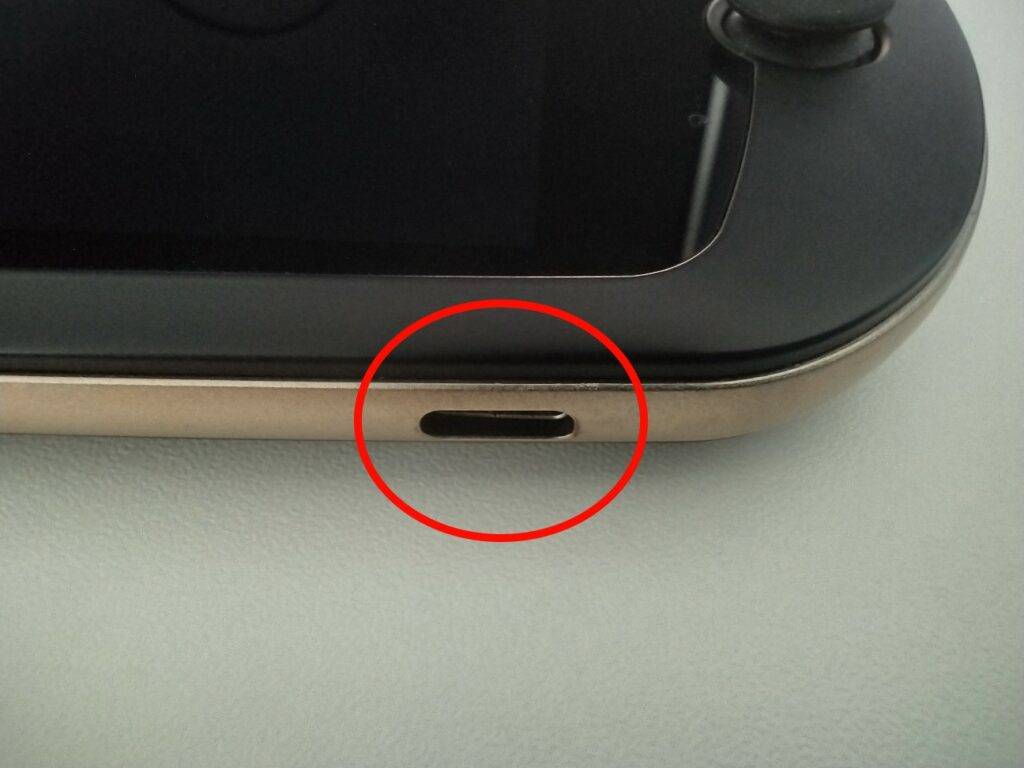
Connect the MOQI i7 to your PC using the USB cable. The USB-C port is located on the lower right-hand side of the MOQI.
Ensure that the MOQI is turned off at this point.
5. Begin the flashing process
When you’re ready to begin the flashing process. Click the green arrow to start.
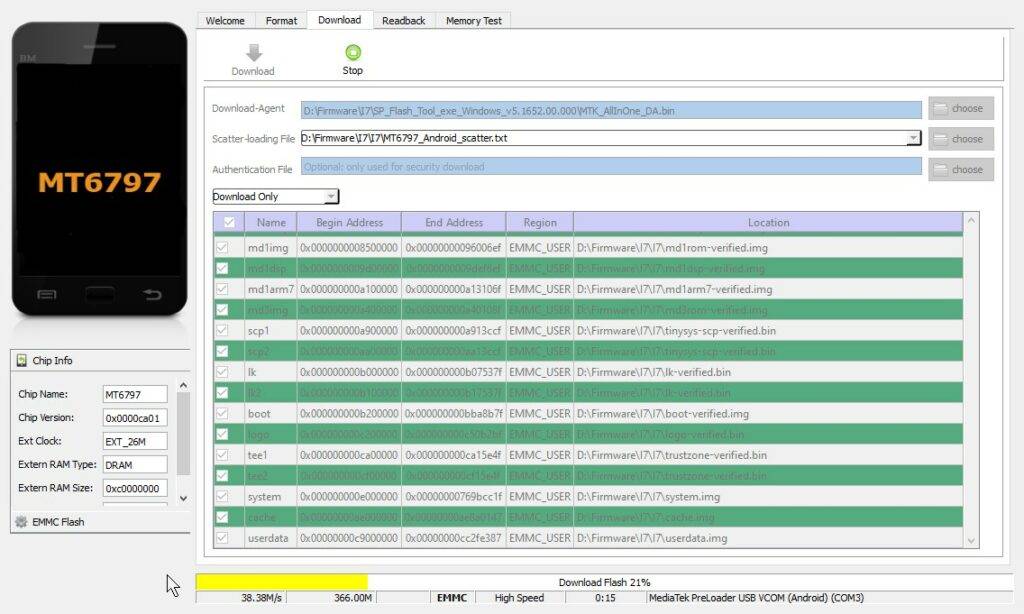
If successful, the flashing procedure will carry out automatically. During which, your SP Flash Tool interface will look like this.
WARNING: This is the most critical step of the process. Do not disconnect or power on the device during this step, otherwise you run the risk of “bricking” your MOQI and rendering it inoperable.
Once the process has completed. You are now free to disconnect and boot the device as normal. It may take slightly longer than usual to boot the first couple of times, but this is also normal for a freshly reset/re-flashed device.
Thanks for reading this far. If you’re unsure of any steps in this guide, or if you are interested in purchasing a MOQI i7 of your own, please check out our range of gaming handhelds.
Until next time!
[18/10/2021] How to access the MOQI i7’s Recovery Menu
To access the MOQI i7’s recovery menu, you must perform the following steps:
- Hold the power button for a few seconds, as if you were normally turning on the device.
- Once you let go of the power button, quickly press and hold a volume key of your choice. What key you hold will determine what happens next. The timing can be tricky, so you might need to try a couple of times to get the window.
If you hold the VOLUME DOWN key, you will be taken to an options menu in Chinese. From here you can perform a variety of tasks such as automated functionality checks (speaker checks, storage checks, etc.), or even a factory reset.
Press the VOLUME DOWN key to scroll through the list of options from top to bottom, then press the POWER key to select an option. Press the VOLUME UP key to go back to the previous menu.
We would highly advise using some form of translation software (i.e., Google Translate has an app that features translation through photos) to help you navigate, should you not understand Chinese.
Some notable items include:
- The 1st Option: Automatic Testing – The MOQI will go through a series of basic functionality checks that were likely used on the factory line to QC the device.
- The 3rd Option: Single Testing – You can choose from the above tests manually.
- The 4th Option: Test Report – You can see the results of all the tests on one handy screen.
- The 6th Option: Clear eMMc – A factory reset. This will wipe all your data, so be warned.
- The 7th Option: Device Information – Shows information about the device. Including OS build date, version numbers, etc.
- The 8th Option: Restart Phone – Select this to exit.
If you hold the VOLUME UP key, you will be taken to a boot menu where you can choose how you want the device to boot.
Bringer of videos, text and images! AKA the social media guy at DROIX. Massive retro gaming fan and collector, with a far too large collection of consoles and computers from 1970's to modern. Contact me at [email protected]
Questions & comments
0Every question gets an answer. Ask before you buy — DaveC and the team reply within one working day, and answers stay public so they help the next reader too.