
In this article
The VPN based articles here and at our How To guides site have so far concentrated on Android devices. Time for the trend to be bucked and Windows users to get a look in!
iPlayer addict but on holiday? Visiting Britain but miss your home country’s shows?

If your laptop travels with you everywhere, you may find your regular entertainment schedule disturbed when your laptop connects to the internet in another country. Using IPVanish your Windows powered device can appear to be connected back in your home country. This means that when corporations like the BBC geo-block their media offerings (iPlayer in this example), you’re able to smoothly switch between IP addresses and continue your viewing habits.
Privacy a strong desire?

Virtual Private Network connections initiate an encrypted tunnel between your device and the VPN company’s servers. This tunnel is then used to send all (IPv4) communications from your device. To an outside observer, it looks like a continuous stream of scrambled code. Your data, goes down this tunnel to the VPN company, who then forward it to the desired final server.
With encrypted data, it is full speed ahead with ISP throttling bypassed (as they can’t see the traffic contents).
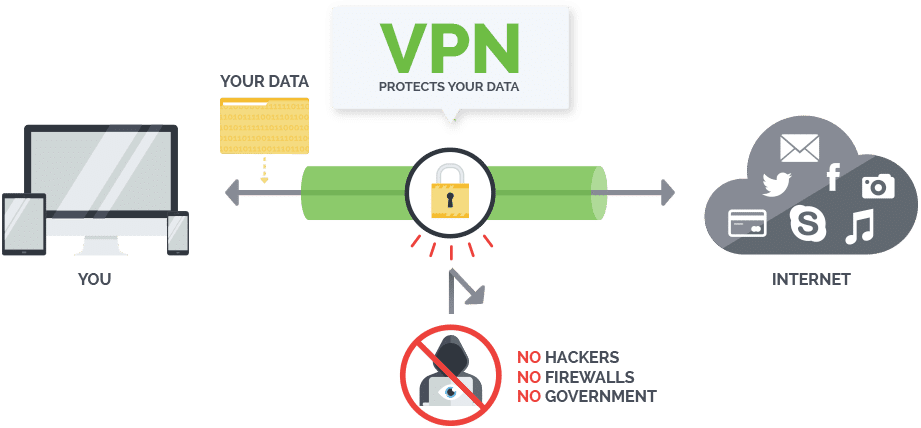
If you find yourself using public hotspots a lot, and are concerned about your private information being relatively easy to hijack, using a VPN means that your data isn’t accessible by ne’er-do-wells hovering in the coffee shop.
IPVanish
This article concentrates on Windows devices using IPVanish’s software. DroiX® are well known for selling Android and OpenELEC based boxes, but our W10 device has Windows (as well as Android), so we thought we’d add a few notes about the freedom to be found online with a good VPN account.
One account can be used on your DroiX device (whether Android or Windows) as well as desktop PC/phone/tablet. Of course IPVanish supports most operating systems, but this post focuses on using it with a Windows device.

How to install and use IPVanish on a Windows device
The easiest approach is to use IPVanish’s Windows application, though if you prefer to create the VPN connection manually, there are also guides available. Please see https://ipvanish.com/vpn-setup/ for both the app and the guides.
Once downloaded, open the installation file, and you’ll be presented with this screen: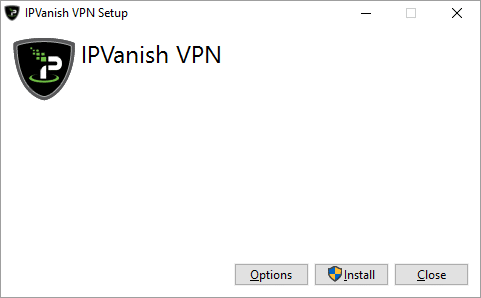
Once the Install button is clicked, most recent versions of Windows will then present a UAC dialog box, asking if you’re sure you want to make these changes. You are.
Once the installation has completed, click the Launch button: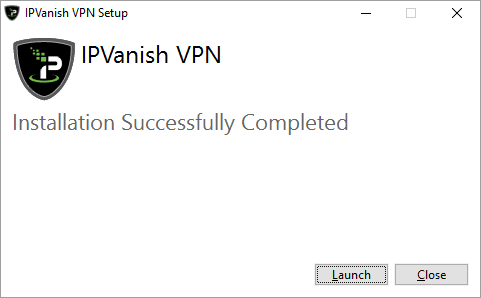
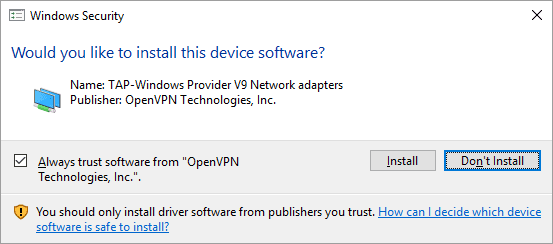
IPVanish make sure that your system has all the components it needs to continue, if you see a screen similar to the first one below, allow the installation unless you have a preferred 3rd party driver (not recommended unless you’re confident configuring software). After that, you’ll be asked by Windows if you want to allow a driver to be installed, again, please allow this: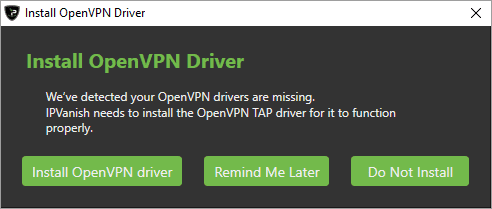
After a short pause, you should find the IPVanish application is ready to have your Username and Password entered. To double check the account itself, click the Account entry in the menu on the left, enter your details, then click the Login button: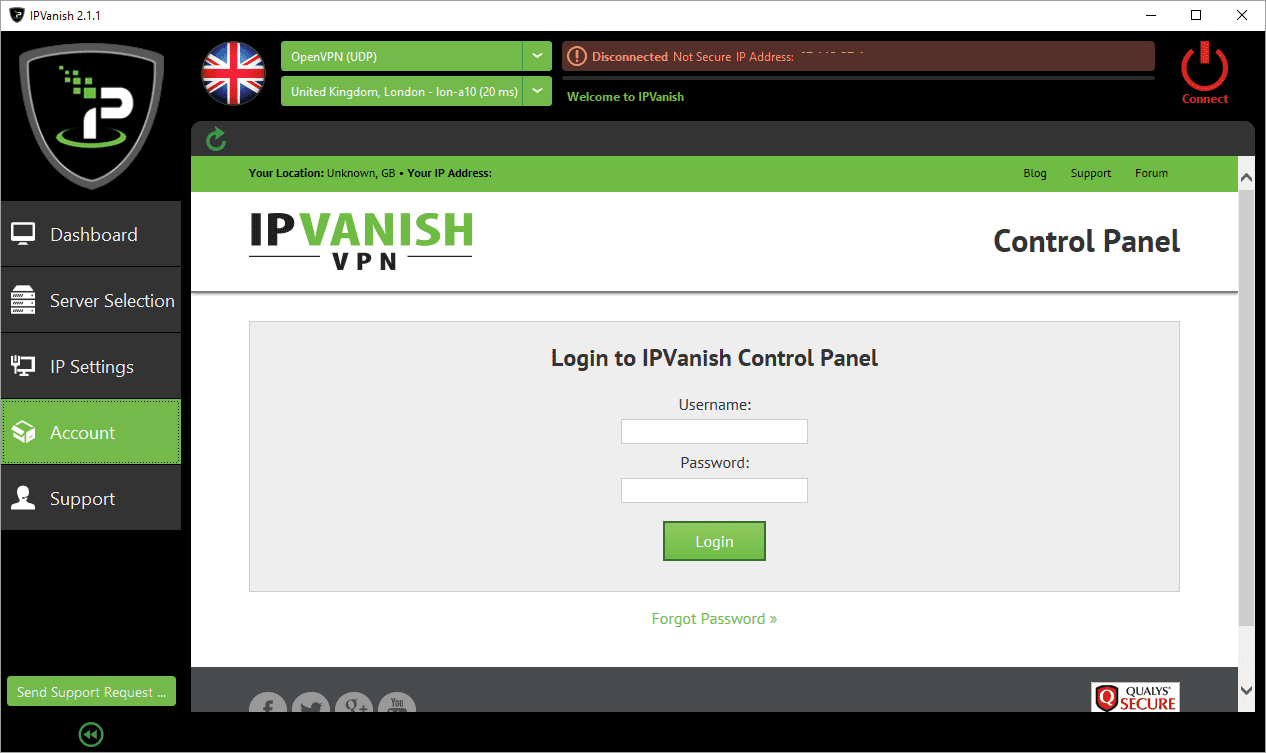
Now click the Server Selection entry on the left. The most common connections are presented first. If you just need security and speed (without selecting a specific country to route through), then the 1st option under the By Use heading (Fastest Server) is what you need. The other entries there should be selected if you’re wanting to watch American, British or Canadian geo-locked content: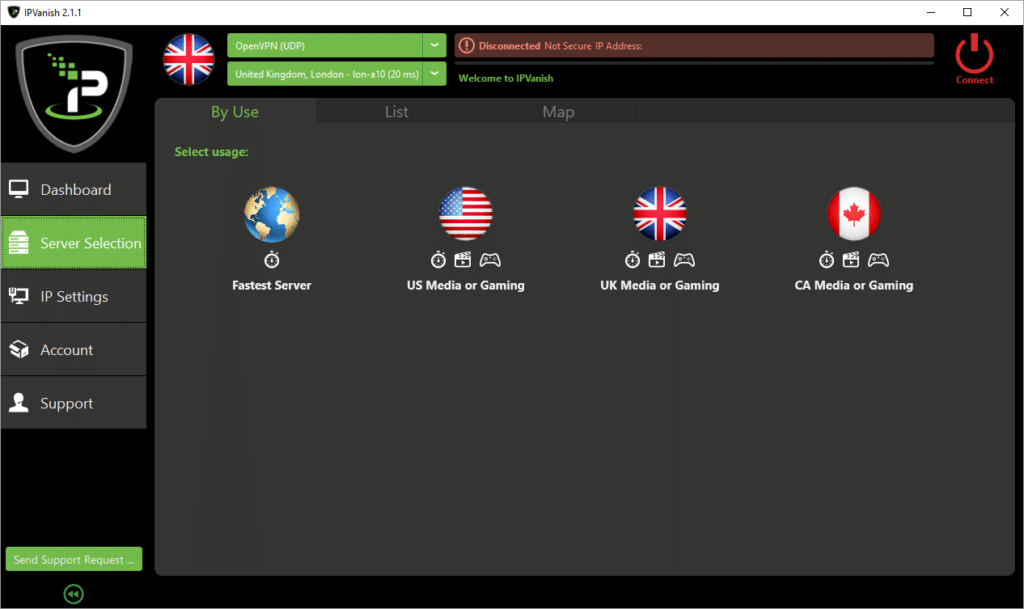
Other countries can be selected from the Map heading, or if you prefer to browse through a list manually, the List heading should be selected: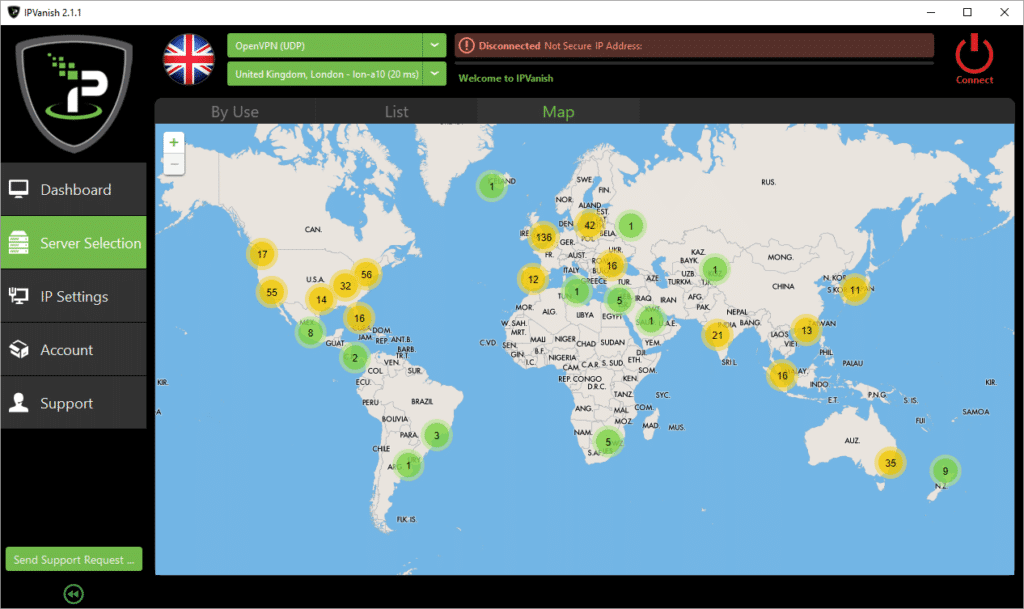
Whichever heading you use to select a server, you’ll be asked for your username and password. Don’t forget to tick the Remember my credentials box, unless the PC is shared with people you DON’T want to use IPVanish: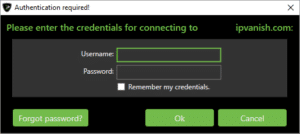
Once connected, the app will check that everything is working correctly, and let you know the results: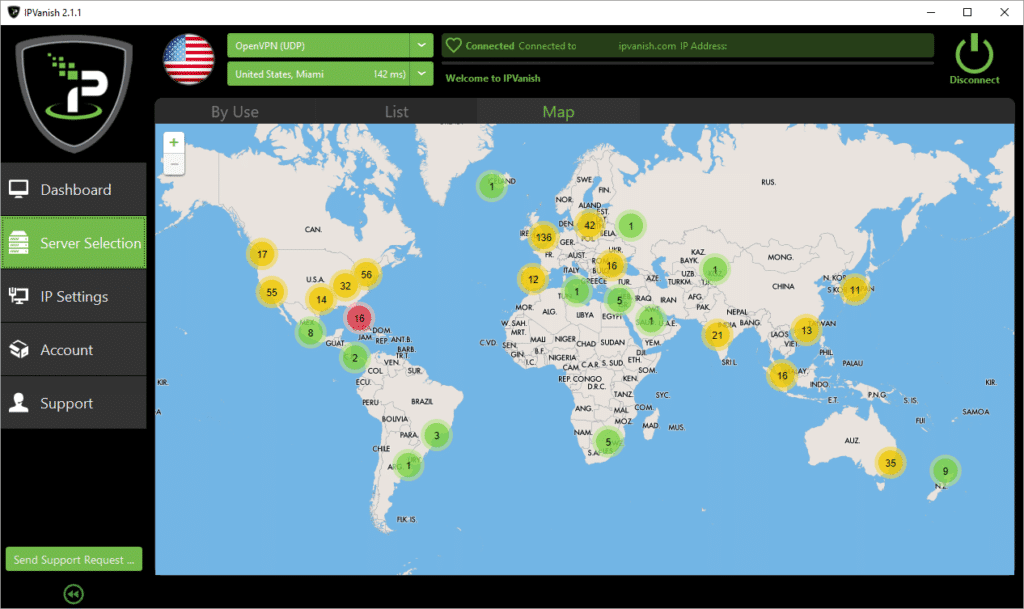
You shouldn’t need to alter anything, but if you would like to have IPVanish automatically connect each time you turn on your PC, or to have a different configuration to the default, head to the Dashboard entry on the left, then the Settings area.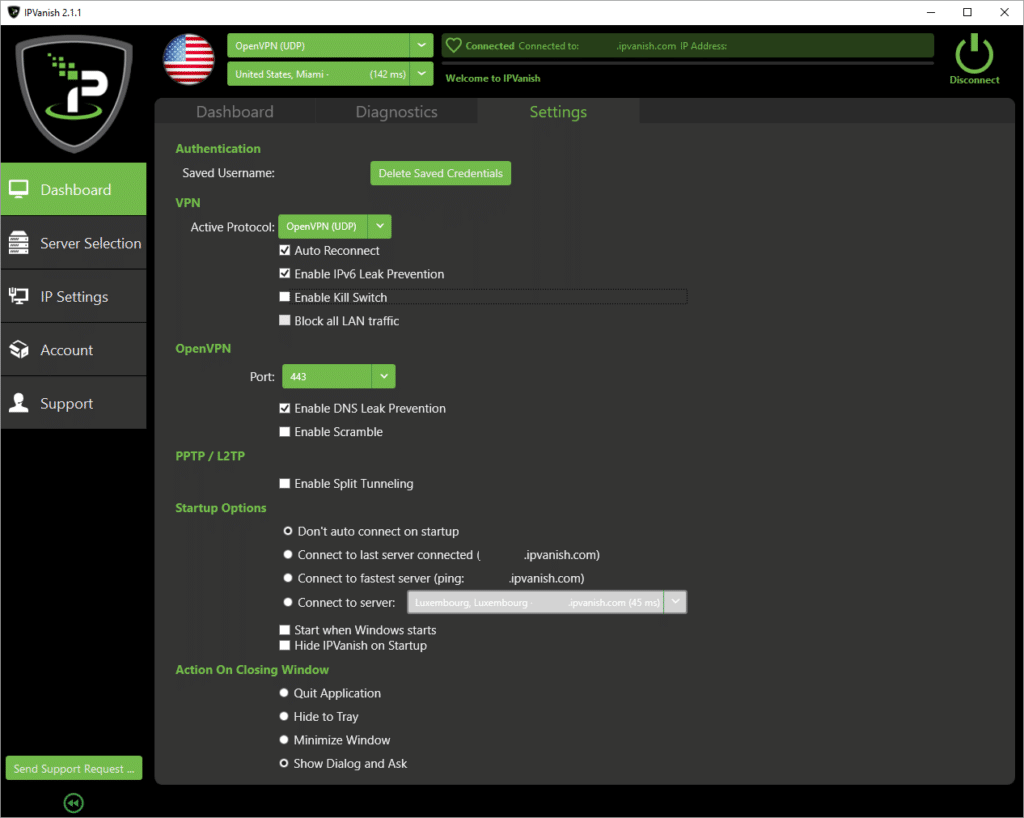
Once you have finished with the software, you can click the big Disconnect button in the top right corner, and your browsing will once again appear to come from its true source. Don’t forget to try a disconnect/reconnect, or a different server server if you encounter any problems.
Questions & comments
0Every question gets an answer. Ask before you buy — DROIX and the team reply within one working day, and answers stay public so they help the next reader too.