




Files used in this guide
Versions (2)
- Source guide: Global Mini PC Reinstall Guide – How to Reinstall Windows on your Beelink, GPD, One Netbook, etc.)
- Source guide: How to reinstall Windows on your GPD Win 2
- Source guide: How to reinstall Windows on your GPD Win 2
Older versions stay downloadable for rollbacks — every version keeps its own verified file.
Changelog
- Source guide: How to reinstall Windows on your GPD Win 2
Older versions stay downloadable for rollbacks — every version keeps its own verified file.
NOTE: Performing this installation will erase the storage and reinstall Windows from scratch on your GPD Win 2, so please ensure you have backed up any important files before proceeding!
The GPD Win 2 should be fully charged before starting this procedure. You will need a 16GB or larger USB Memory Stick to copy the files onto.
Download the GPD Win 2 firmware from: https://mega.nz/#F!Y6YEAJYY!Er0mSpCowg5KzuqmXo9-dw
Download the GPD Win 2 drivers from: https://mega.nz/#!9yBDFbLT!jH1oBm0h1lMHTJUyyTUf_L1S1WAKtgVSswW-OfwboNY
Connect your 16GB or larger USB Memory Stick to your PC. In Explorer, Right Click on the USB Memory Stick and choose the Format option.
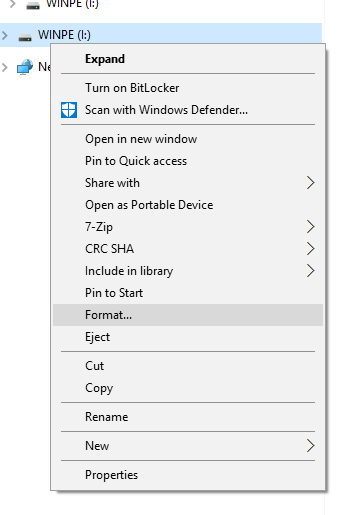
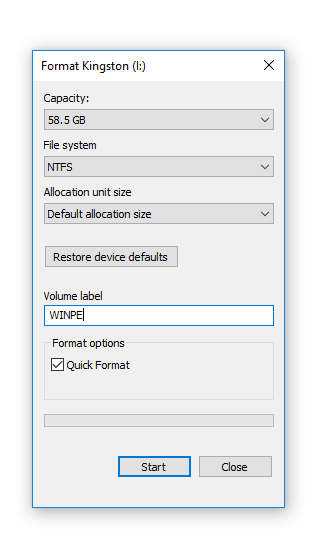
Change the File System to NTFS, and the Volume Label to WINPE as shown below or the firmware flash will not work.
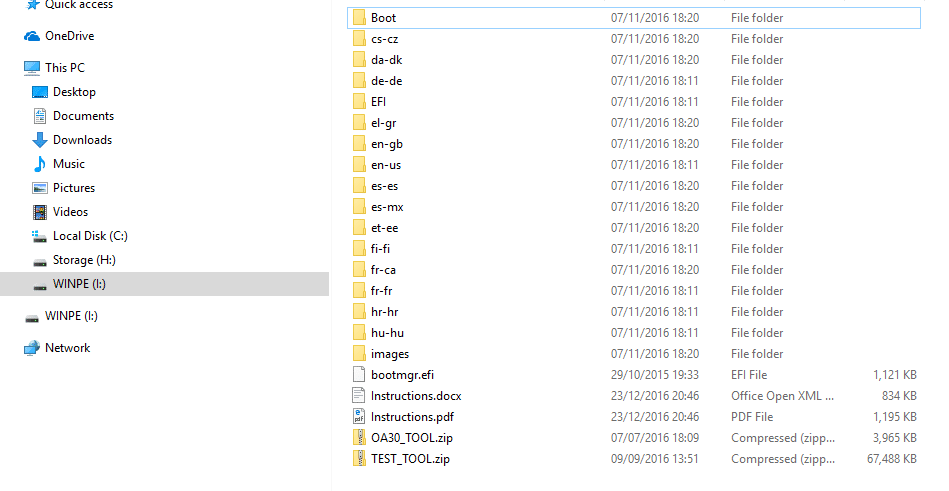
Extract the contents of the GPD Win 2 firmware file to the root of the USB Memory Stick (so don’t put the contents in a new folder, just at the very beginning of the drive). This process may take some time to complete as it copies all the files.
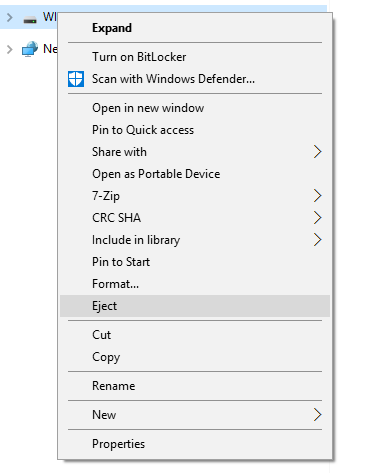
Once completed, you can right click on the USB Memory Stick and choose Eject.
Connect the USB Memory Stick to the USB 3.0 port on the back of the GPD Win 2.
Switch the GPD Win 2 on, immediately hold the Fn button and repeatedly tap the F12 button until the Boot Manager screen appears. NOTE: The display will be rotated 90 degrees and is perfectly normal in this process.
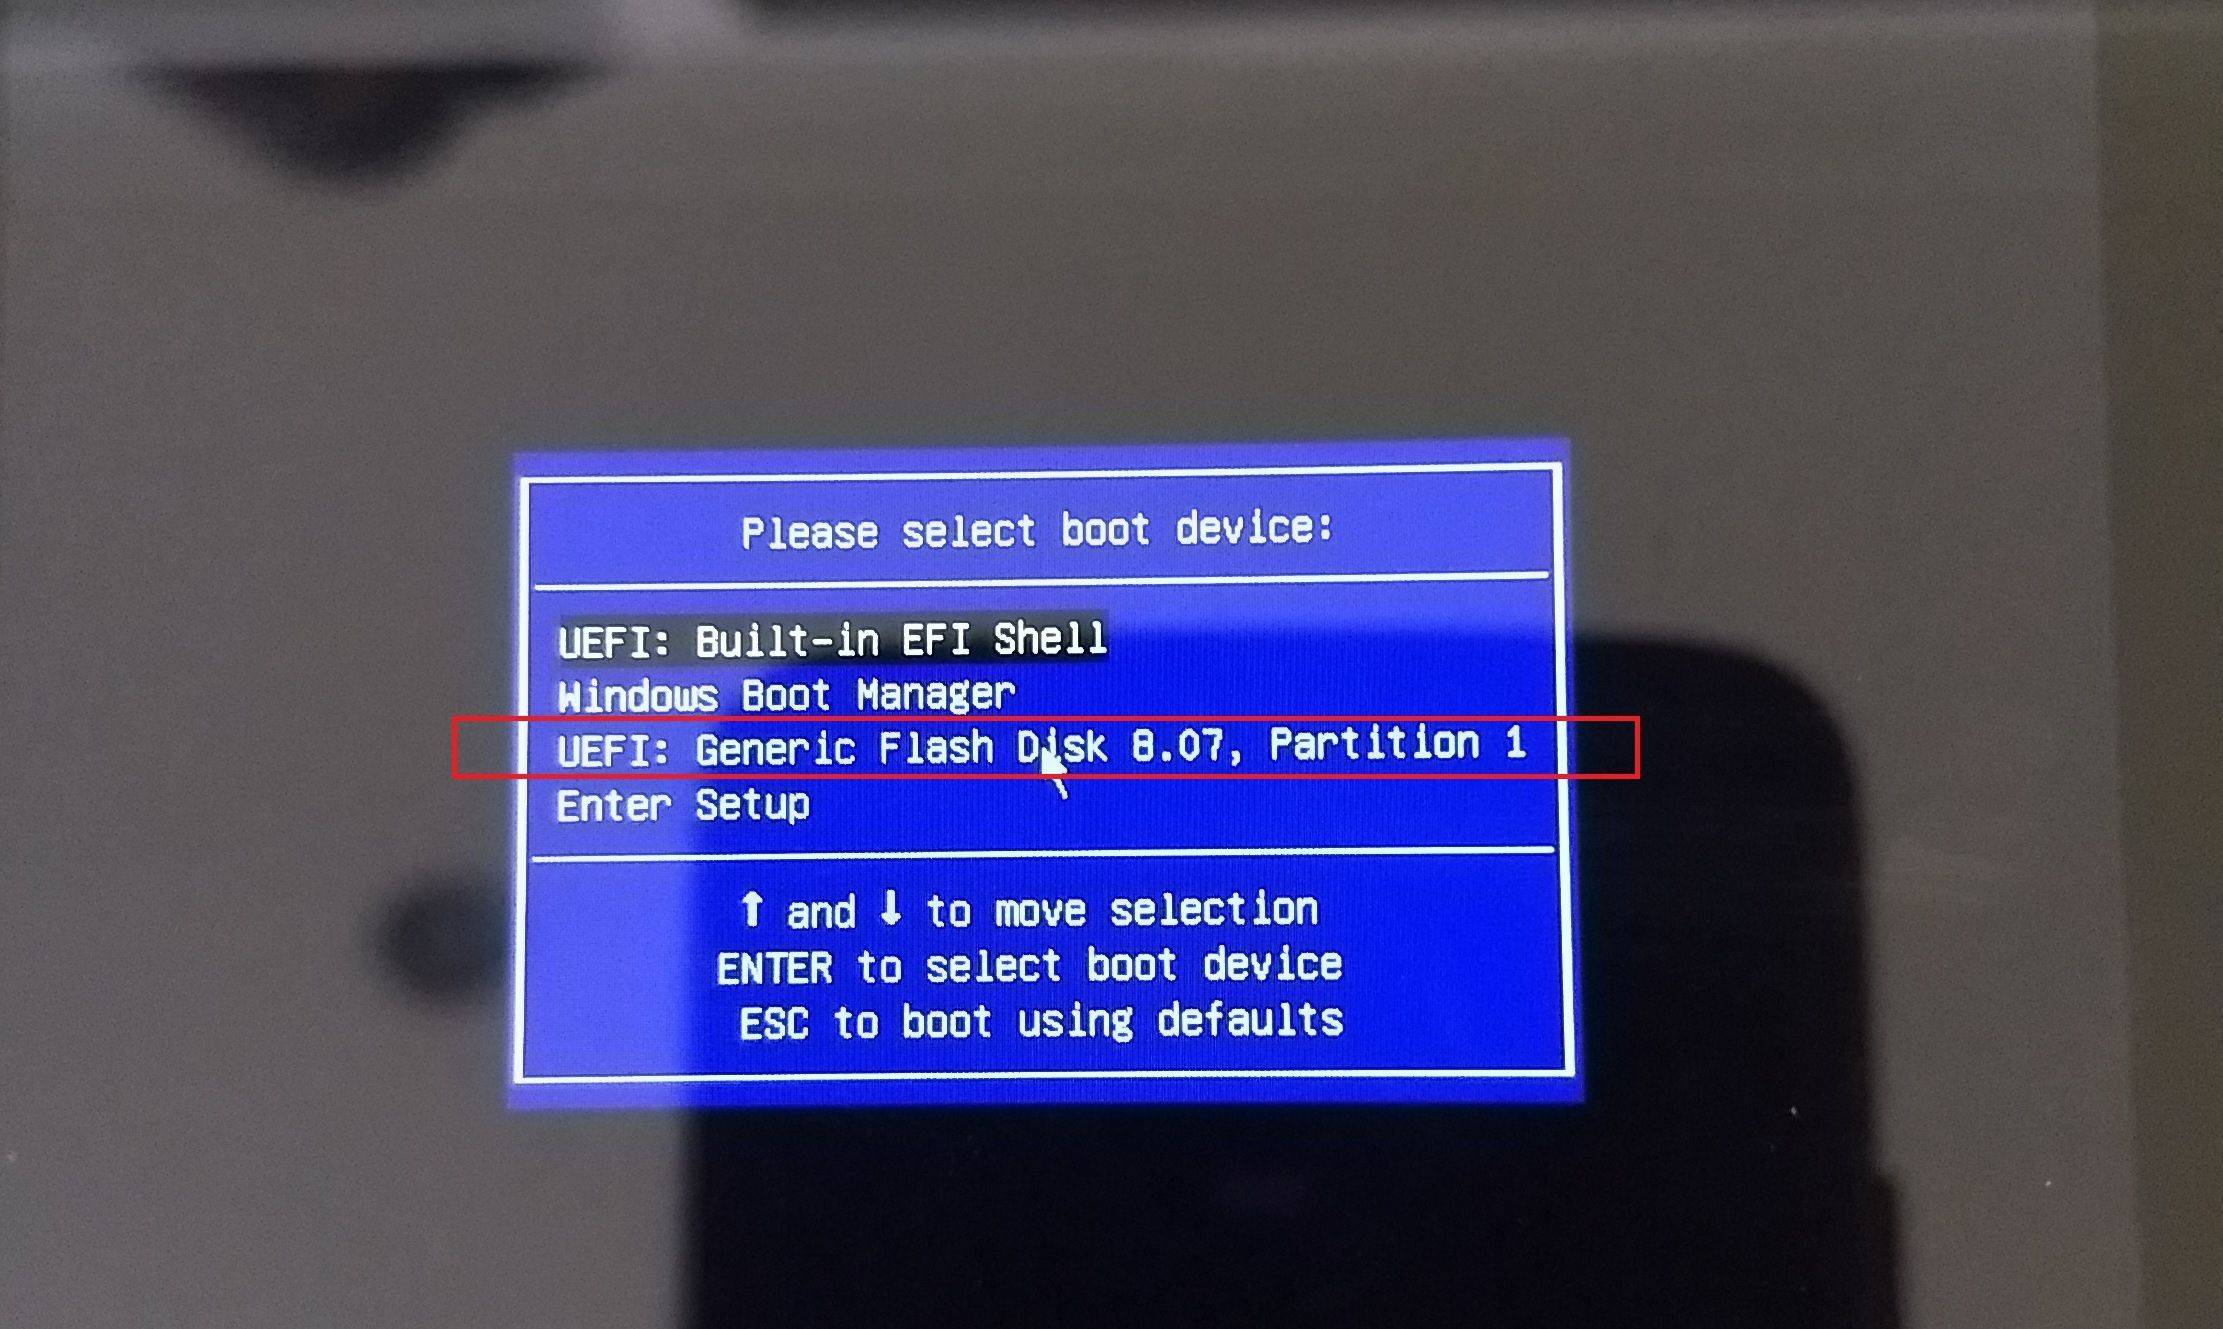
Using the Up/Down buttons on the GPD Win 2 keyboard, navigate to your USB Memory Stick and then press the Enter button to choose it.
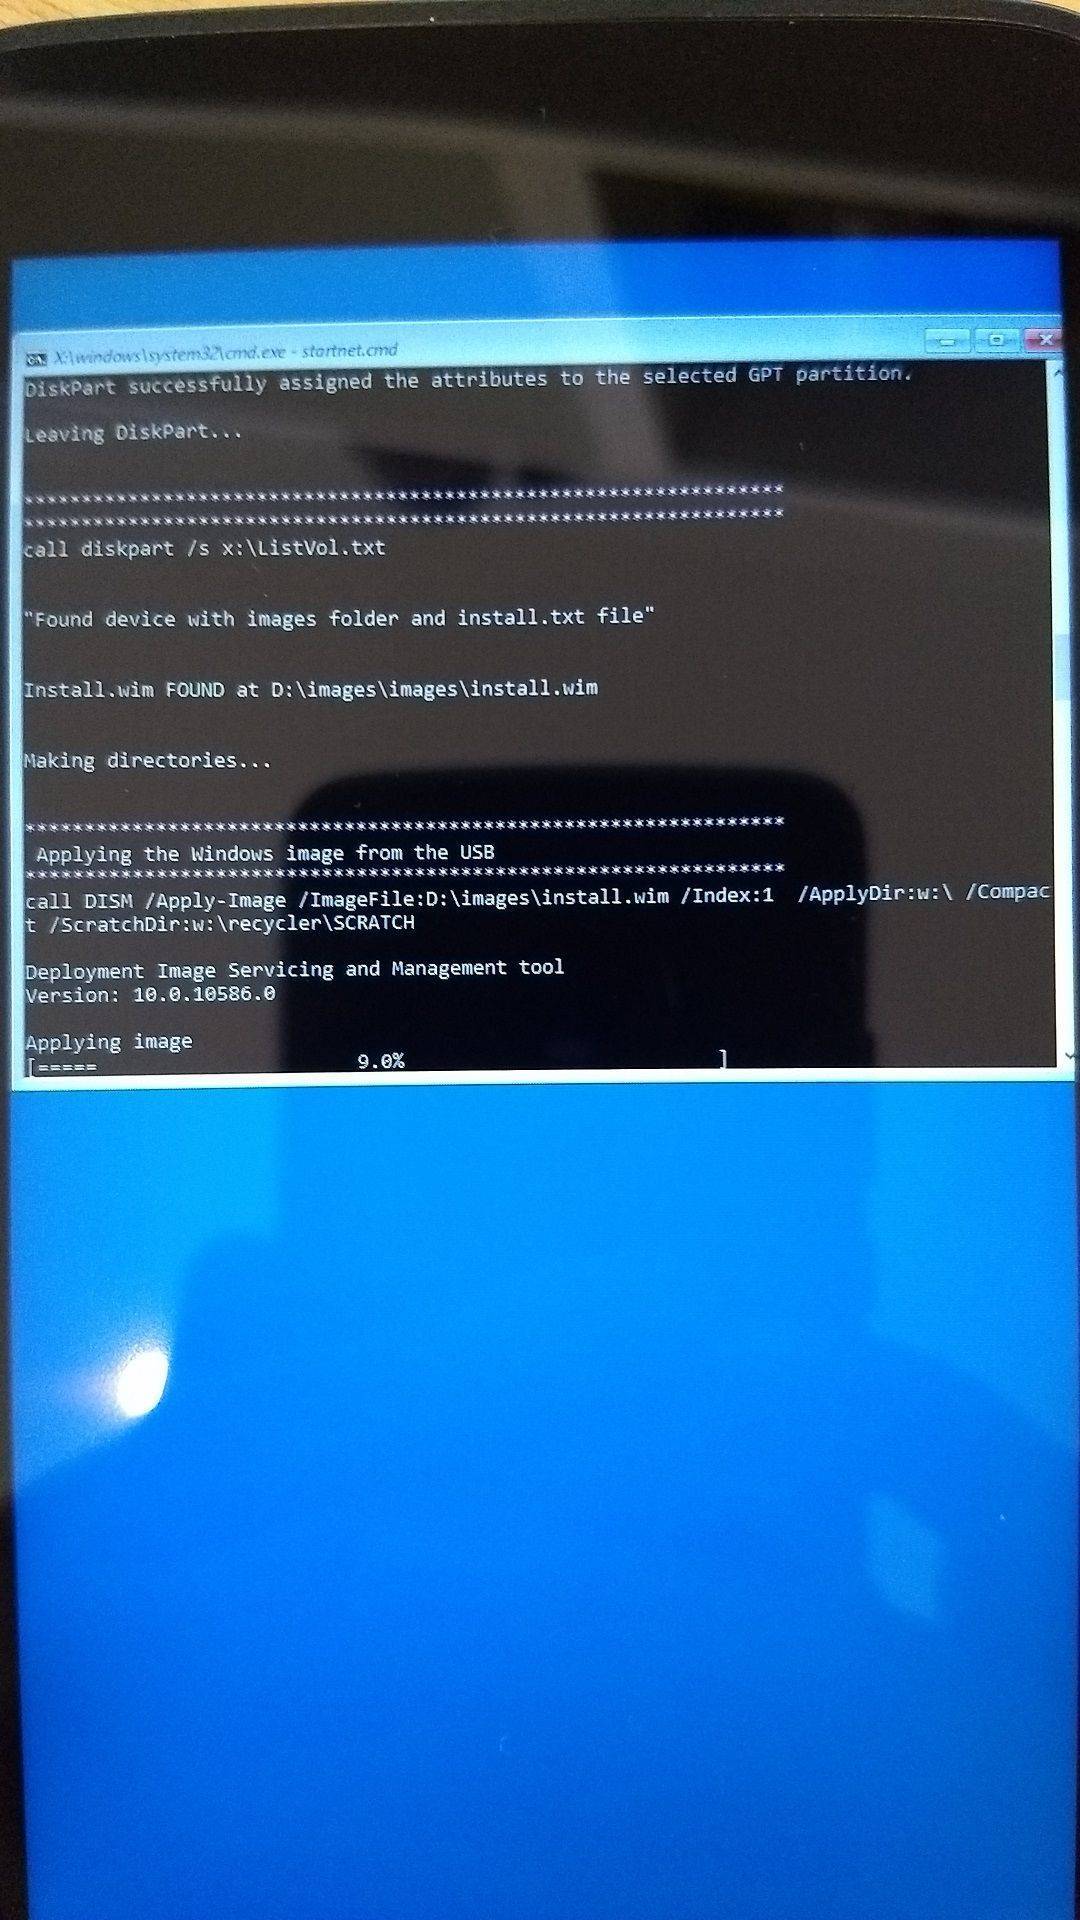
The firmware reflash will now proceed and is automated – you can now leave it until you see the Windows desktop again. The process will take around 20 to 30 minutes, do not switch the device off or press any buttons during this time.
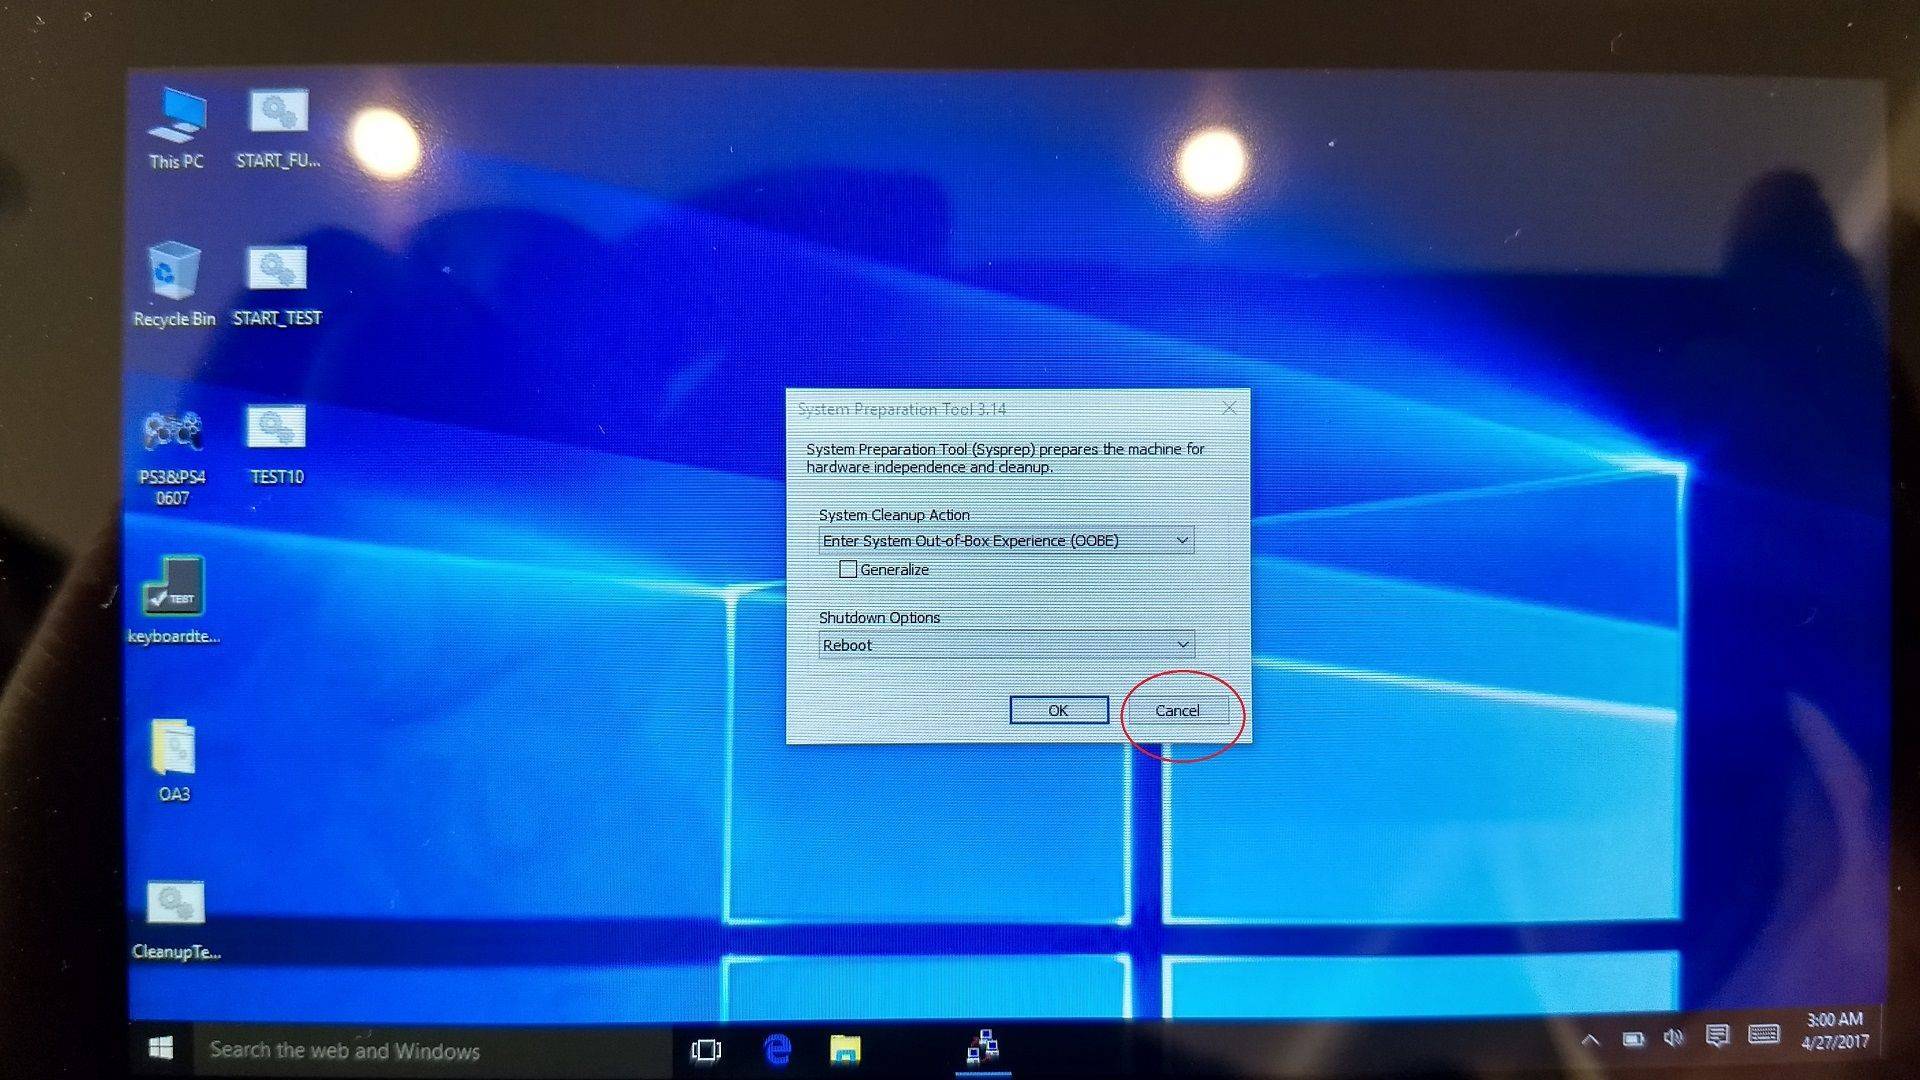
Once you are on the desktop, press the Cancel button on the Window that appears, do NOT press OK!
You can now double click on the Cleanup Test icon on the desktop to run a clean up.
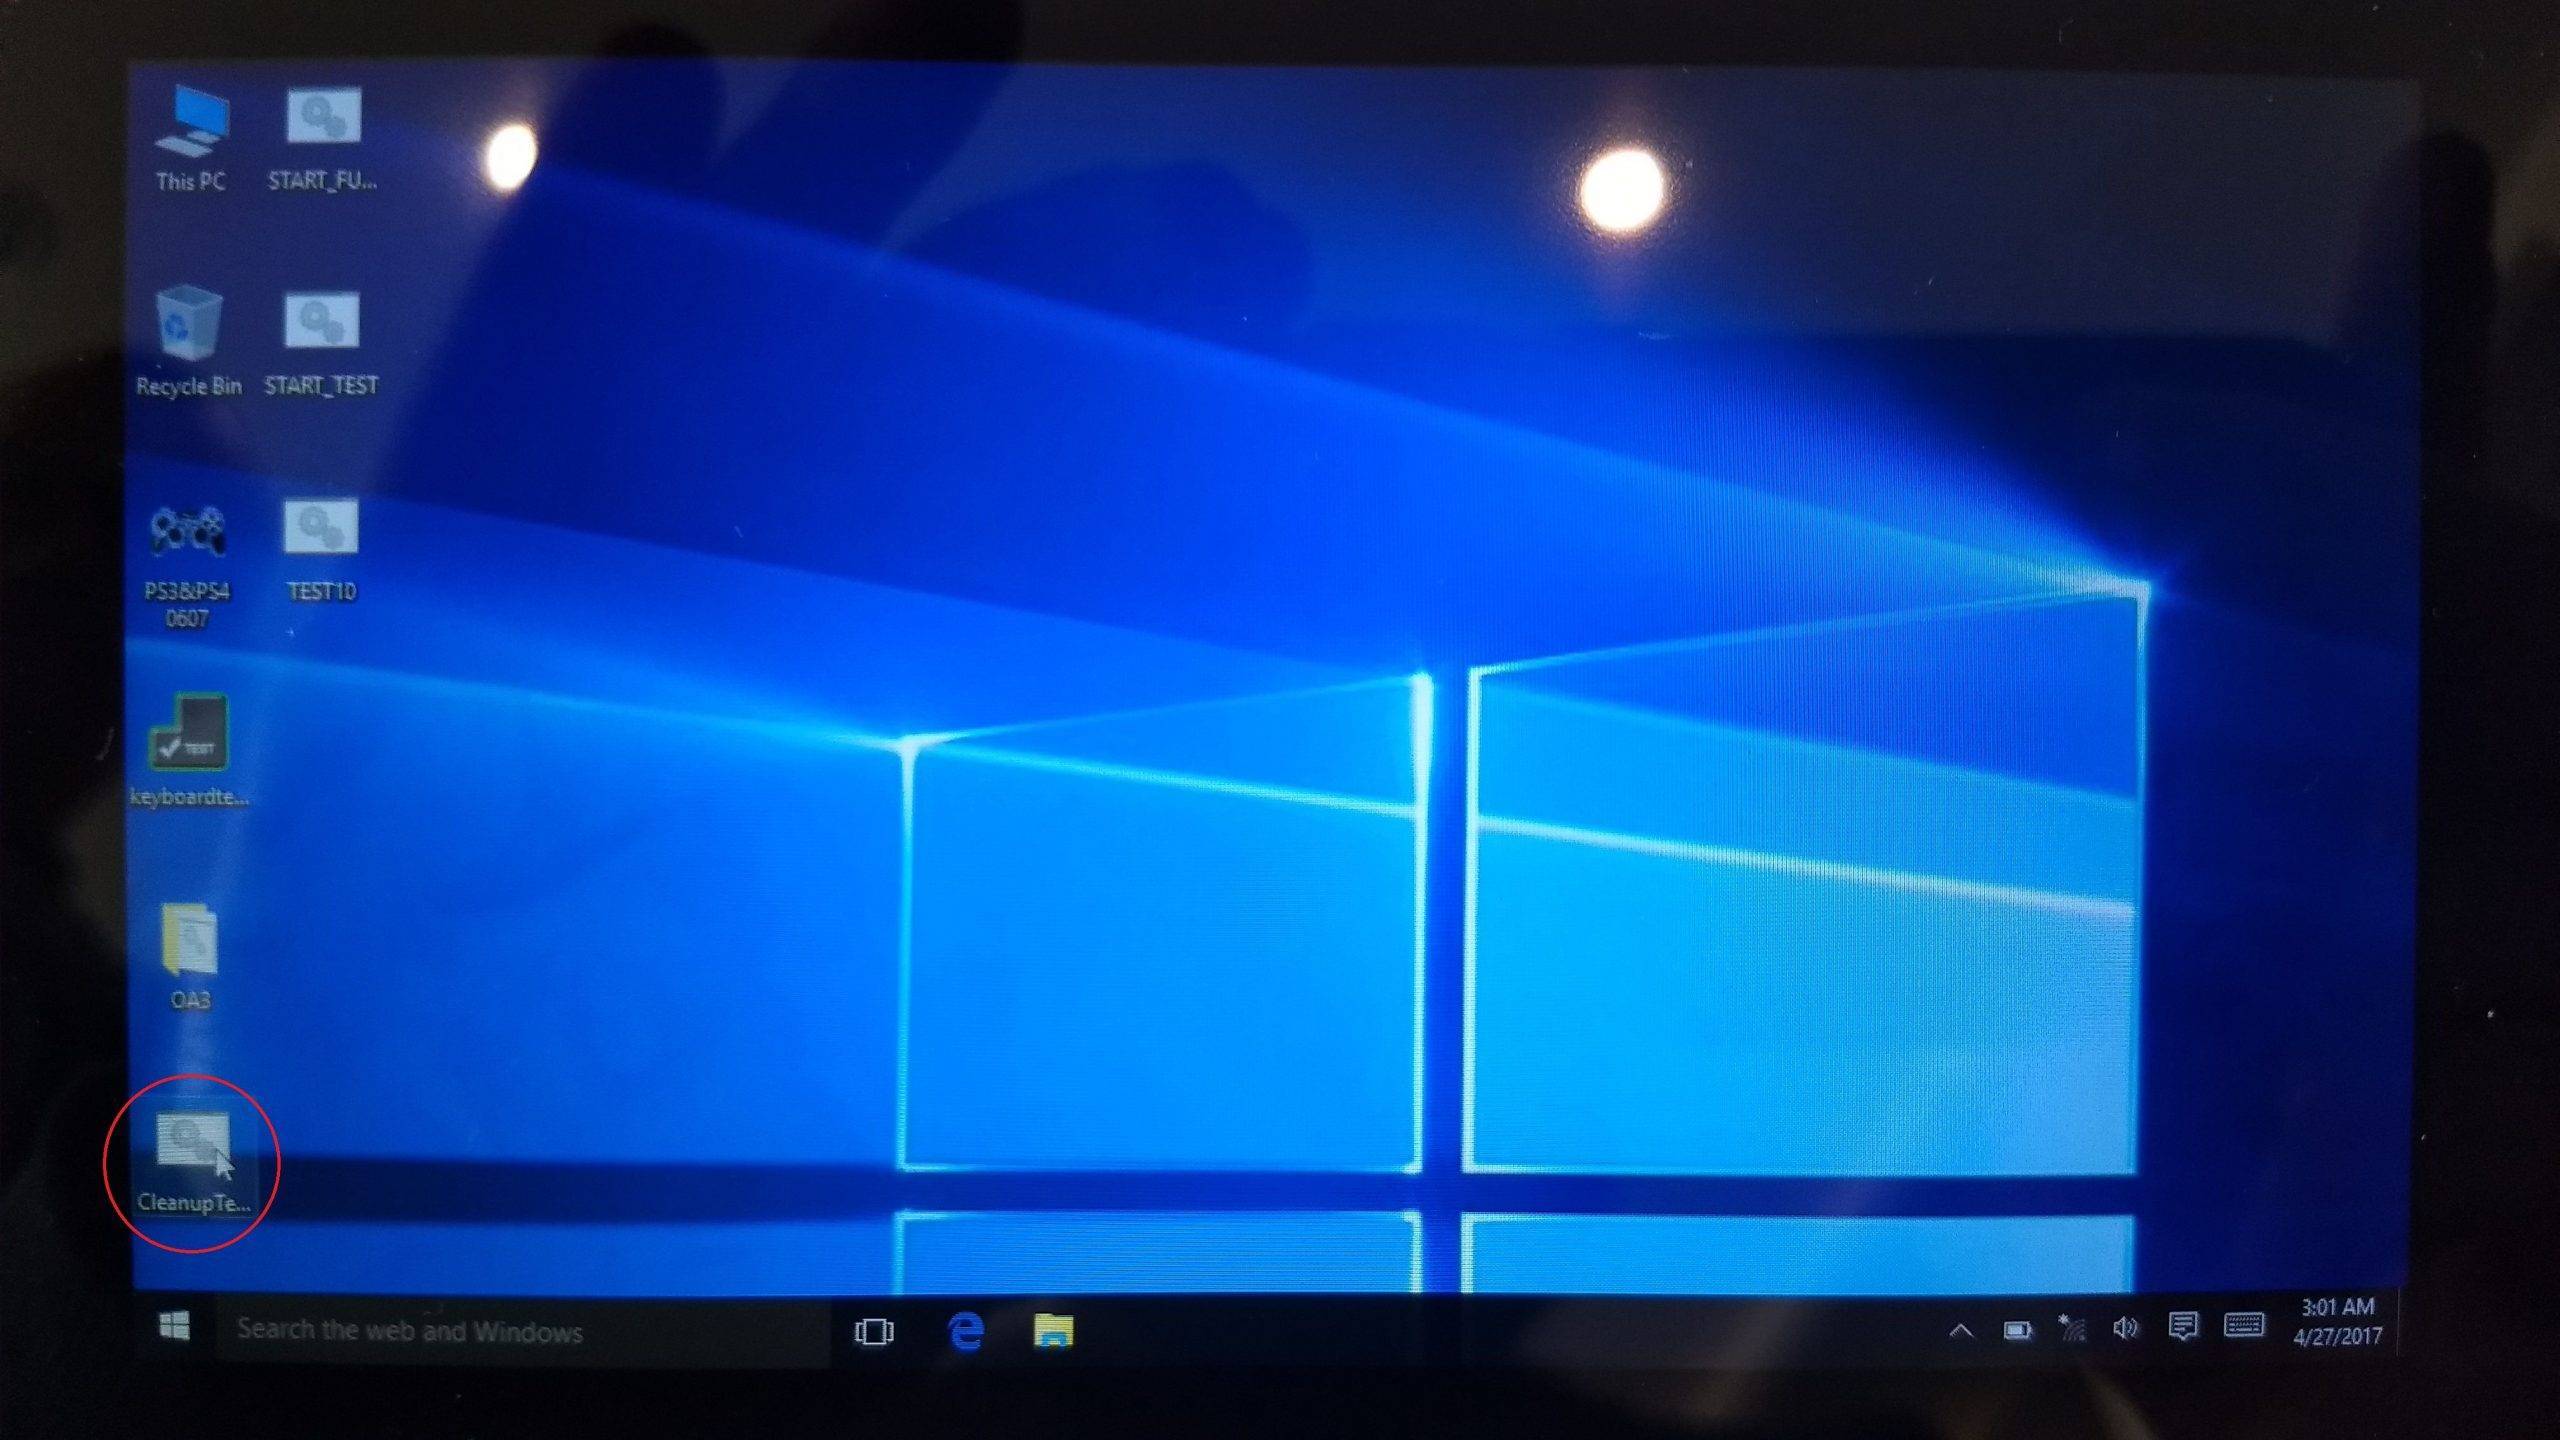
The GPD will now perform some cleanup tasks, let them complete, and afterwards the device will switch off. Once this is done, you can now switch the device back on and it will boot to the Windows first use screen, it is now ready to use.
NOTE: If you have any issues with the speakers briefly popping once when audio starts playing, please un-install the Realtek High Definition driver and select Delete driver files. If you have no touch screen response, please install the Driver pack you downloaded previously.
Questions & answers