

Understanding the Issue
Users upgrading to or installing the Windows 11 version 24H2 update have reported encountering significant system instability, specifically experiencing Blue Screens of Death (BSODs). These crashes appear to be linked to the presence of certain 2TB capacity NVMe Solid State Drives (SSDs) manufactured by Western Digital (WD) and its subsidiary, SanDisk. This issue has understandably caused frustration, with reports indicating systems becoming difficult or even impossible to use due to frequent crashes or boot loops.
The good news is that this is a recognized problem, and Western Digital has identified the root cause. A firmware update for the affected SSD models has been released and is designed specifically to resolve this incompatibility with Windows 11 24H2. Western Digital strongly advises users with the specific SSD models detailed later in this article to apply this update promptly. The emergence of this problem specifically with the Windows 11 24H2 update points towards an incompatibility either introduced or exposed by changes within this particular operating system version. The severity of the symptoms, ranging from intermittent crashes to systems stuck in a BSOD loop, underscores the urgency for affected users to apply the corrective firmware.
Furthermore, this update serves not only as a fix for devices including PC, handheld gaming PCs and mini PCs already experiencing crashes but also as a preventative measure. It is recommended that users with potentially affected SSDs apply the firmware update before attempting to upgrade to Windows 11 24H2 to avoid encountering the BSODs altogether. There are indications that Microsoft may implement measures to pause or block the Windows 11 24H2 update for systems detected with the affected SSDs running the older, problematic firmware, further emphasizing the importance of this update. This article provides guidance on identifying affected SSDs, understanding the technical background, and safely applying the necessary firmware update.
Is Your SSD Affected? Symptoms and Models
The primary indicator of this issue is the sudden onset of frequent Blue Screen of Death crashes after installing or attempting to install the Windows 11 24H2 update. These crashes can occur seemingly randomly during normal operation, during the update process itself, or even shortly after the system boots up.
Users encountering this problem may observe specific error messages displayed on the BSOD screen. Common errors reported include “CRITICAL_PROCESS_DIED” and, occasionally, “KERNEL_DATA_INPAGE_ERROR“. Additionally, examining the Windows Event Viewer (specifically the System log) might reveal recurring errors related to the NVMe storage driver. Look for events with the source “stornvme” and Event ID 11, often accompanied by descriptions like “The driver detected a controller error on \Device\RaidPort1” or “\Device\RaidPort2”. The presence of these specific symptoms strongly suggests the system may be affected by this firmware incompatibility.
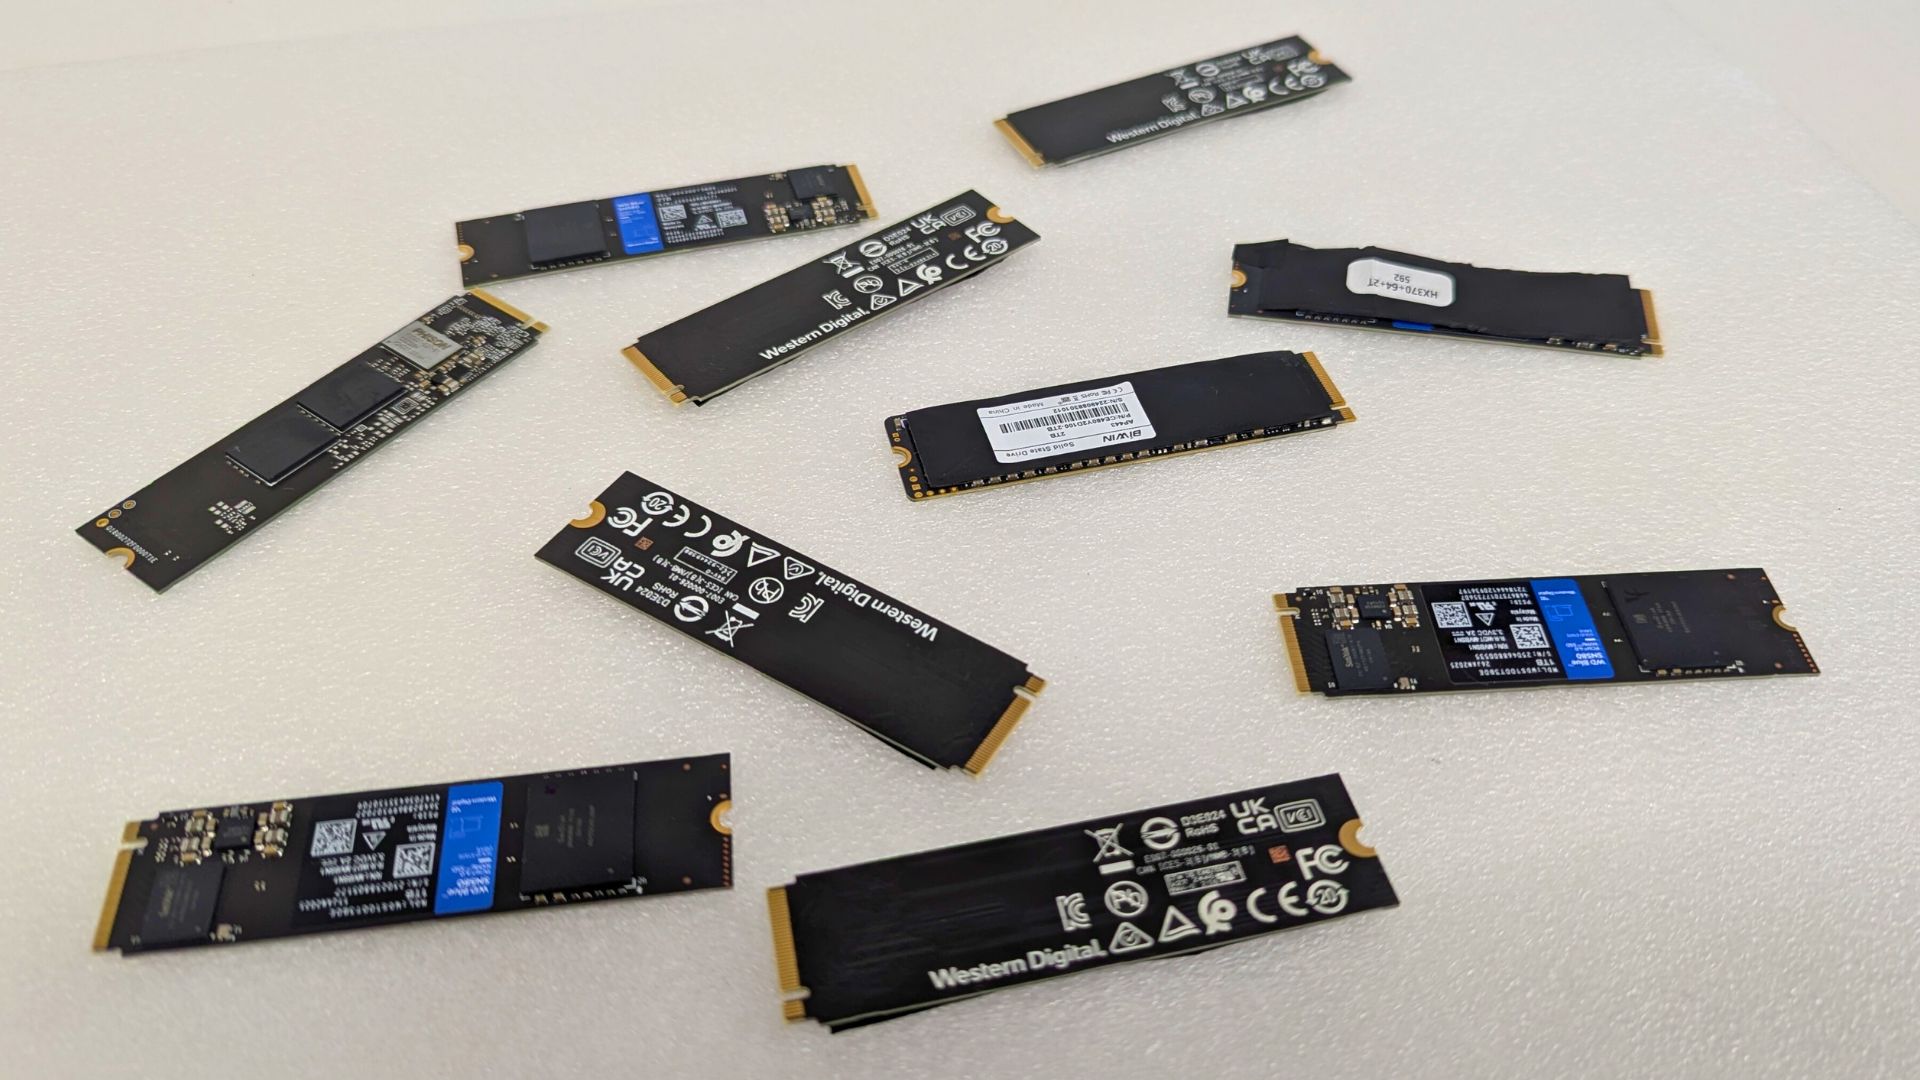
Crucially, this particular issue is known to impact only specific 2TB capacity models of certain Western Digital and SanDisk NVMe SSD product lines. SSDs from these lines with different capacities (e.g., 1TB or 4TB) or other WD/SanDisk SSD models, including all WD SATA SSDs, are not reported to be affected by this specific HMB/firmware problem related to the Windows 11 24H2 update.
To help users determine if their drive requires the update, the following table lists the known affected models and their corresponding updated firmware versions:
Table 1: Some of the Affected WD and SanDisk NVMe SSD Models
| MODEL NAME | MODEL NUMBER | REQUIRED UPDATE FIRMWARE VERSION |
|---|---|---|
| WD_BLACK SN770 NVMe SSD | WDBBDL0020BNC, WD0E | 731130WD |
| WD_BLACK SN770M NVMe SSD | WDBDNH0020BBK, WD0G | 731130WD |
| WD Blue SN580 NVMe SSD | WDBWMY0020BBL, WD0E | 281050WD |
| WD Blue SN5000 NVMe SSD | WDBS3F0020BNC, WD0E | 291020WD |
| SanDisk Extreme M.2 NVMe SSD | SDSSDX3N-2T00 | 731130WD |
The Technical Cause (Simplified)
The root cause of the BSOD instability lies in an incompatibility between how Windows 11 version 24H2 manages a storage feature known as Host Memory Buffer (HMB) and the specific firmware—the drive’s internal operating software—present on the affected 2TB WD and SanDisk SSD models.
HMB is a technology primarily used in DRAM-less NVMe SSDs, which lack dedicated onboard memory (DRAM) for caching tasks. Instead, HMB allows the SSD controller to utilize a small, predefined portion of the host computer’s main system RAM (the computer’s primary memory) for caching metadata and mapping tables, thereby improving drive performance compared to having no cache at all.
Reports suggest that Windows 11 24H2 introduced changes to its HMB allocation strategy. While previous Windows versions might have allocated a smaller, fixed amount of system RAM for HMB (sources mention a potential 64MB limit previously used ), the 24H2 update appears capable of allocating a larger amount, potentially up to the size requested by the SSD’s firmware. For the affected 2TB drives, this requested size seems to be around 200MB.
The critical point is that the original firmware on these specific 2TB SSD models was apparently not robust enough to handle this larger HMB allocation correctly. When Windows 11 24H2 attempted to allocate the larger HMB size requested by the drive, it triggered instability within the SSD controller, leading to errors, system freezes, and ultimately the BSOD crashes. This points to a latent flaw within the firmware of these specific 2TB models, which functioned adequately under the constraints of previous Windows versions but failed when subjected to the new allocation behavior in 24H2. The fact that only these specific 2TB models exhibit this behavior with the increased allocation strongly supports this conclusion.
Some technically inclined users discovered a temporary workaround involving a Windows Registry modification to force the operating system to allocate only the smaller, older HMB size (e.g., 64MB). While this registry edit could alleviate the BSODs, it is considered a temporary stopgap measure, not the official or permanent solution. Furthermore, artificially limiting HMB allocation might negatively impact the SSD’s performance. Western Digital’s official and recommended resolution is the firmware update, which directly addresses the underlying incompatibility within the drive itself.
Your Action Plan: Updating the SSD Firmware
The process for resolving this issue involves updating the firmware on the affected SSD using Western Digital’s official software tool. However, critical precautions must be taken before proceeding. The recommended steps are:
Step 1: CRITICAL WARNING – Back Up Your Data First!
This is the most crucial preparatory step. Before initiating any firmware update procedure, it is imperative that users back up all essential data stored on the affected Western Digital or SanDisk SSD. This data should be copied to a completely separate storage device, such as another internal drive, an external hard drive or SSD, or a reliable cloud storage service.
The reason for this strong warning is the inherent risk associated with firmware updates on any storage device. While the update process is typically safe and non-destructive, unforeseen circumstances like a sudden power outage during the update, a software glitch, or other errors can potentially interrupt the process. Such interruptions carry a risk, however small, of corrupting the firmware, rendering the SSD inaccessible, and leading to complete data loss. Western Digital explicitly advises backing up data before firmware updates due to this potential risk. While data loss isn’t the intended outcome, the potential exists, especially considering past instances where firmware issues on WD/SanDisk drives have led to data problems. This backup serves as the user’s only safety net should the update process fail unexpectedly. Do not proceed without backing up critical files.
Step 2: Download and Install Western Digital Dashboard
The official tool required for the firmware update is the “Western Digital Dashboard” software. This utility allows users to monitor drive health, performance, and, importantly, apply firmware updates.
The software should only be downloaded directly from the official Western Digital support website here to ensure its authenticity and safety. This software has been discountinued by WD, but you can download the Sandisk version here.
After downloading, install the software following the on-screen prompts. Note that the Western Digital Dashboard is designed for Windows operating systems (Windows 10 and 11 are supported). There is no version for macOS that supports this firmware update process. Linux users would need access to a Windows environment to use the Dashboard or would have to explore unofficial, more complex command-line methods, which are beyond the scope of this guide.
Step 3: IMPORTANT – Ensure Internal Installation
This is a critical technical requirement for the firmware update process. The affected WD or SanDisk NVMe SSD must be installed internally within the computer system. This means it needs to be connected directly to an M.2 slot on the motherboard or via a compatible internal PCIe adapter card.
Step 4: Perform the Firmware Update Using WD Dashboard
Once data is backed up, the Dashboard is installed, and the SSD is confirmed to be installed internally, the firmware update can proceed:
- Launch the Western Digital Dashboard application.
- Select Drive: The Dashboard interface should display detected WD/SanDisk drives. Ensure the correct affected SSD is selected, often via a dropdown menu or list.
- Navigate to Tools: Within the Dashboard, locate and click on the “Tools” section or tab.
- Find Firmware Update: Look for an option labeled “Firmware Update” or similar within the Tools section.
- Check for Updates: Click the button labeled “Check for Updates” or similar. The Dashboard will query WD servers for available firmware for the selected drive.
- Initiate Update: If a new firmware version (matching the “Required Updated Firmware Version” in Table 1) is found, an option like “UPDATE FIRMWARE” will become available. Click this button to begin the update process.
- Follow Prompts: Carefully follow any instructions displayed on the screen. Do not interrupt the update process by shutting down the computer, closing the application, or disconnecting the drive.
- Restart System: Upon successful completion of the firmware flash, the Dashboard software will likely prompt the user to shut down or restart the computer. This is a necessary step for the drive to load and activate the new firmware. Allow the system to shut down or restart as prompted, then power it back on.
- Verification (Optional): After the system restarts, users can optionally launch the Western Digital Dashboard again. Navigate to the main status page for the updated SSD and check the displayed “Firmware Version”. It should now match or be more recent the corresponding version listed in Table 1, confirming the update was successful.
After the Update: Troubleshooting and Support
Once the system has restarted with the updated SSD firmware, the BSOD instability directly caused by the Windows 11 24H2 HMB incompatibility should be resolved. Users should find their systems stable and be able to run or complete the installation of Windows 11 24H2 without encountering the specific “CRITICAL_PROCESS_DIED” or “stornvme” errors related to this issue.
If you are a DROIX customer and the BSOD problems persist after confirming that the correct firmware update was successfully applied, or if errors were encountered during the update process itself, further action is needed. Please contact our customer service and we will be able to assist.
