Reinstalling your Windows operating system can be done for several reasons. Whether something has gone wrong or you just want to give your PC or GPD device a little refresh, this guide will show you how to get a clean install going.
This guide can be used for all GPD devices from DroiX. For this demonstration, we will be using the GPD Win 4. You will require:
- 16GB USB Stick or larger
- Separate PC, if you cannot access your GPD Device
- Charger
Setting up your USB Stick
The first step is the trickiest, so follow along and double-check what you do. This can be done on your GPD Device, however, if you’re not able to you will need to use another computer. This can be done on macOS or Linux, but we will be using Windows 11.
Format your USB Stick
The first thing we need to do is format the USB stick, this will erase the entire drive so make sure to back up anything you wish to keep. You can find the USB stick under ‘This PC’ as shown above.
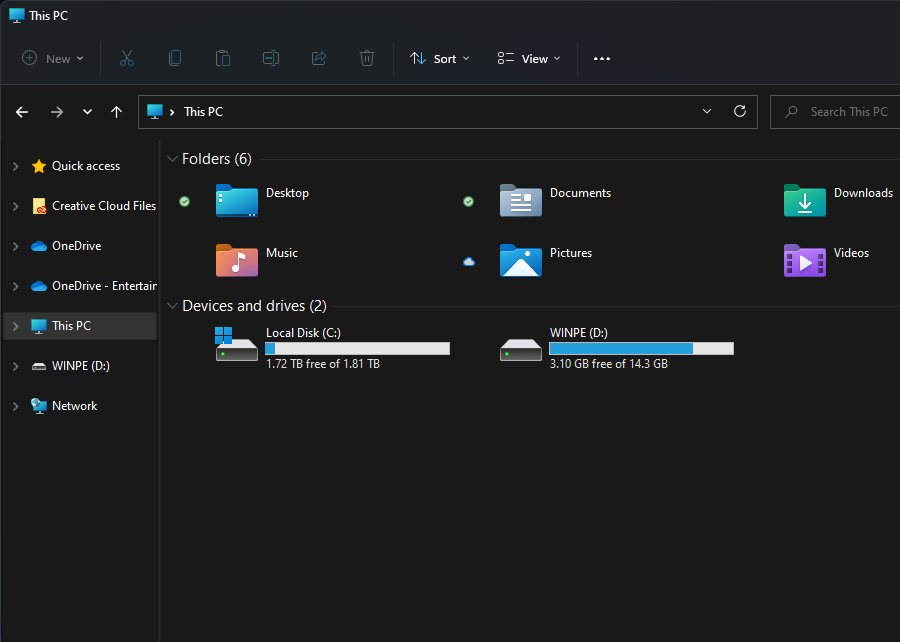
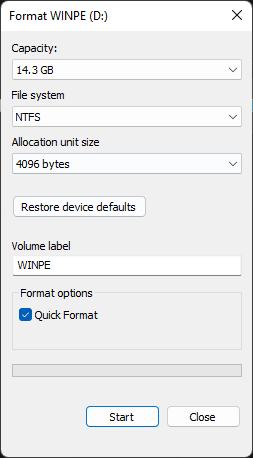
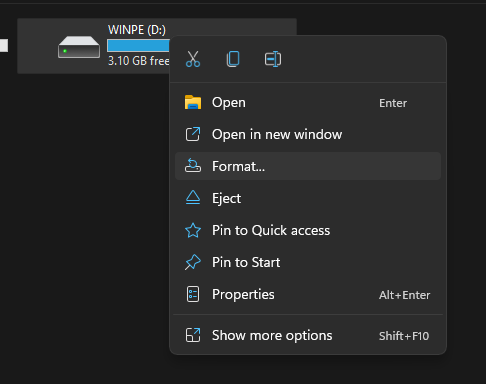
When you’re ready, right-click on the USB Stick and click ‘Format’. This will open up a new window.
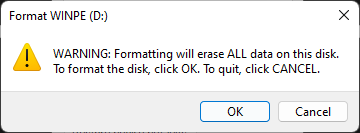
From here you can format your USB Stick. The capacity and allocation unit size can be left as it is. Ensure that the File System is set to ‘NTFS’ and the Volume Label is ‘WINPE’. A quick format will do here. When you click ‘Start’ a warning will pop up, click ‘OK’.
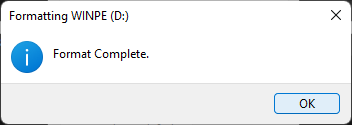
Once it has completed the format, a window will pop up telling you so.
Prepare your installation files
Now that your USB flash drive is ready, we can download and set up the files needed for the Windows installation. You can download the installation files for your device from GPD by following the link below.
| DEVICE | DOWNLOAD |
| GPD WIN Mini 2023 & 2024 (7640U, 7840U, 8840U) | DOWNLOAD HERE |
| GPD WIN Mini 2025 (8840U / HX 365 / HX 370) | DOWNLOAD HERE |
| GPD WIN 4 2022 (6800U) | DOWNLOAD HERE |
| GPD WIN 4 2023 & 2024 (7640U, 7840U, 8840U) | DOWNLOAD HERE |
| GPD WIN 4 2025 (8840U / HX 370) | DOWNLOAD HERE |
| GPD WIN MAX 2 2022 (6800U) | DOWNLOAD HERE |
| GPD WIN MAX 2 2023 & 2024 (7640U, 7840U, 8840U) | DOWNLOAD HERE |
| GPD WIN MAX 2 2025 (8840U / HX 370) | DOWNLOAD HERE |
| GPD POCKET 3 (1195G7) | DOWNLOAD HERE |
| GPD POCKET 3 (N6000) | DOWNLOAD HERE |
| GPD POCKET 4 (8840U / HX 365 / HX 370) | DOWNLOAD HERE |
| GPD MICROPC 2 (N250/N300) | DOWNLOAD HERE |
When you’ve found the installation for your device click on ‘Download’. You will be taken to the download page on Google Drive.
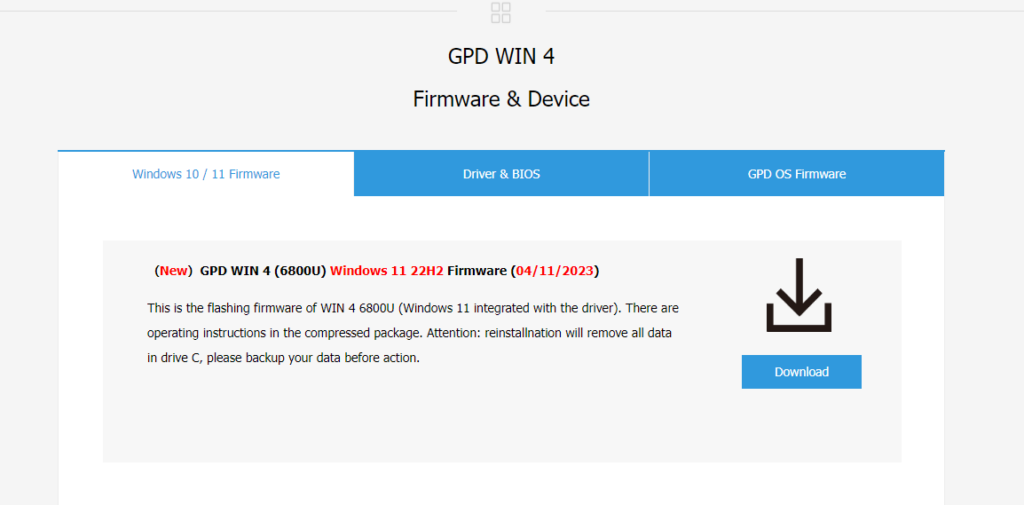
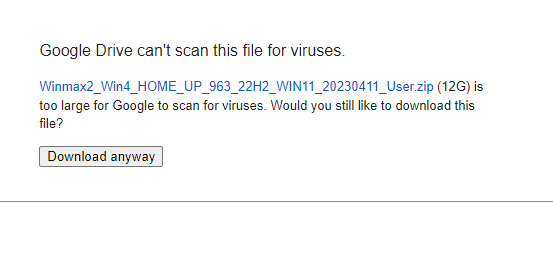
Click on ‘Download’ again, and you will be taken to a page to confirm.

Click on ‘Download anyway’ to download the file. It will download a ZIP to your computer.
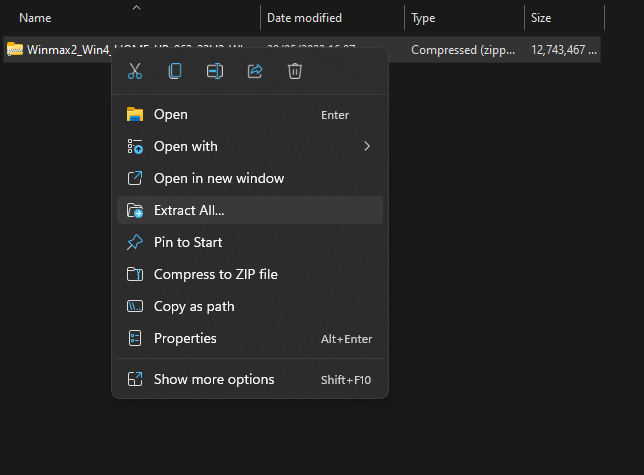
Locate the ZIP file, then right-click and select ‘Extract All…’. This will open a new window.
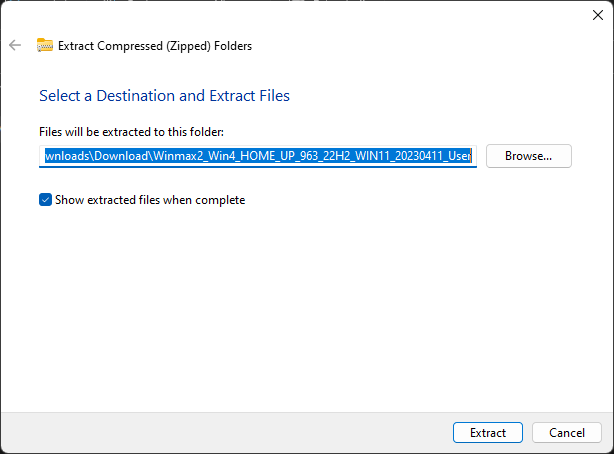
Once the Extraction window opens up click on ‘Extract’. A progress bar detailing how long it will take will pop up.
Once the files have been extracted, open up the new folder and the contained folder until you find the installation files, as seen in the photo below. Select all of the files and copy them over the newly formatted USB stick. This can be done by opening the USB stick in a new window. Press Ctrl+A to select all of the files and drag them over to the USB stick. Another progress window will show you how long the copying will take.
If the file is and ISO file, please follow the guide here to write the file to a USB drive, and continue below once completed.
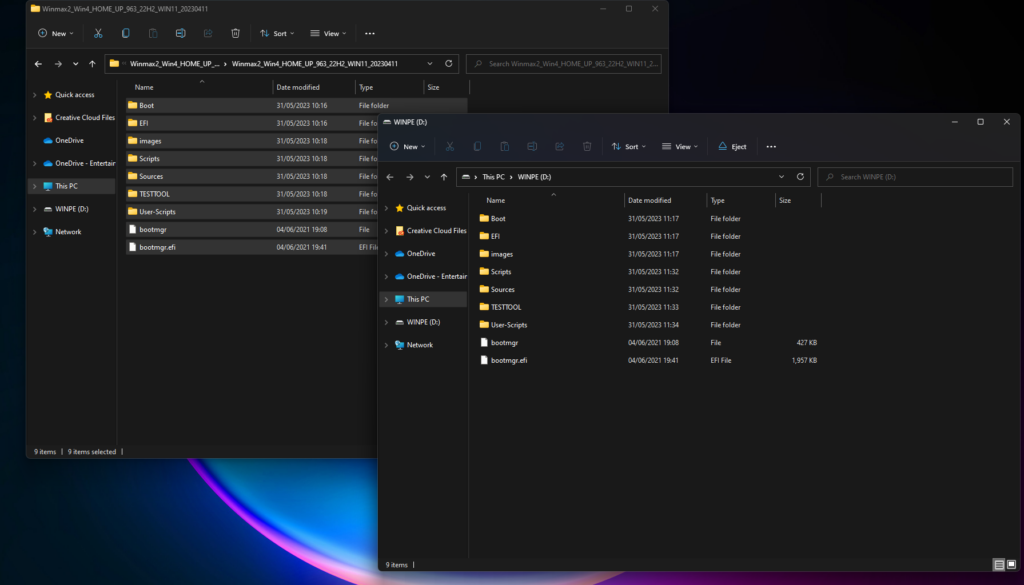
Once all of the files have been copied over, if you’re using a separate computer, you’re free to eject the USB Stick by right-clicking on it and clicking ‘Eject’.

Installing Windows on your GPD Win Device
You are now ready to install Windows onto your GPD device.
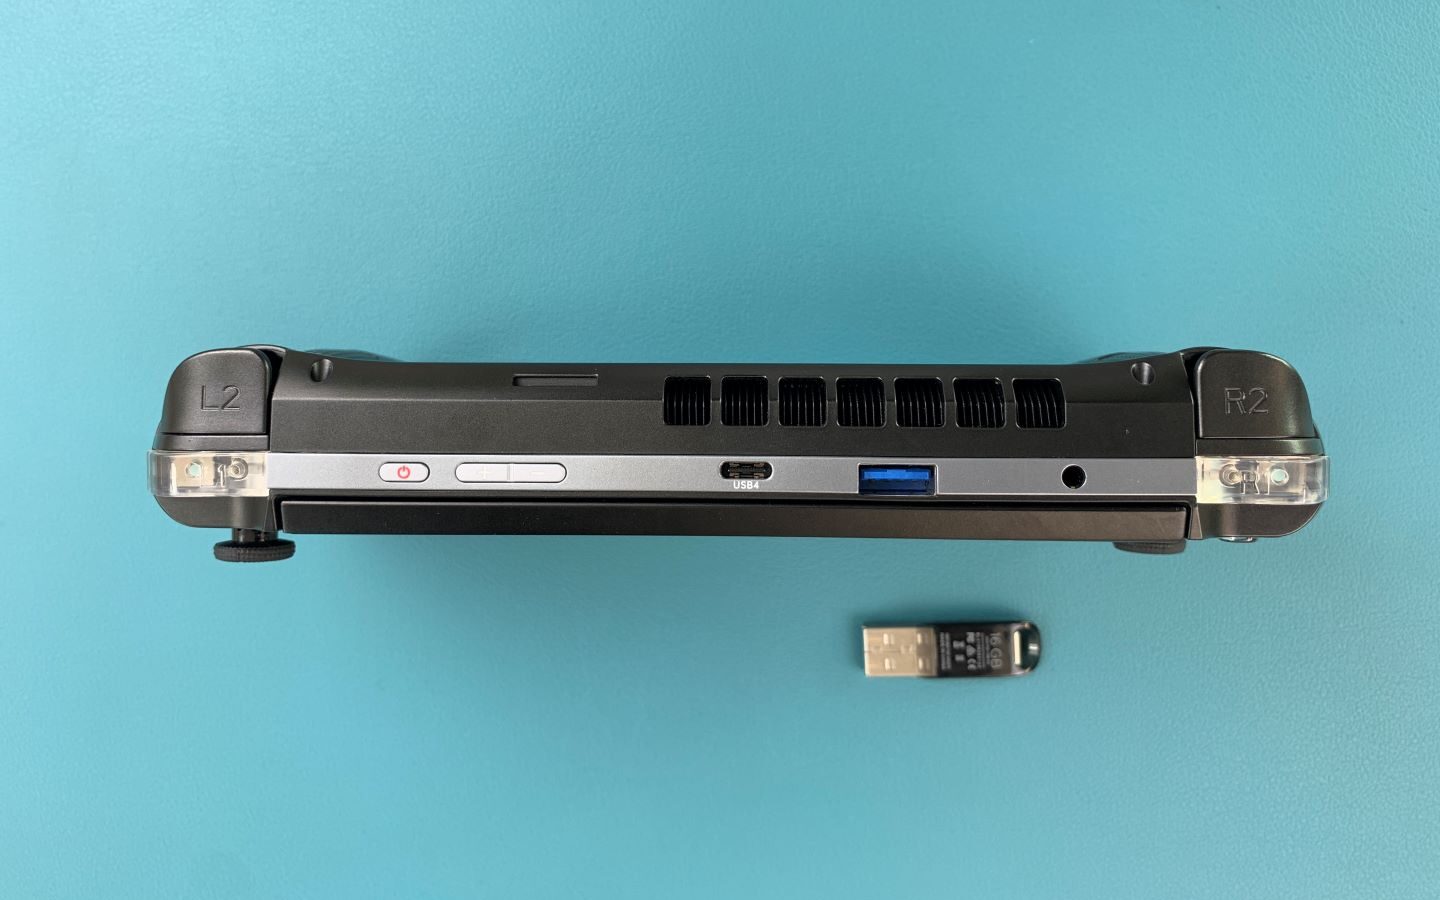
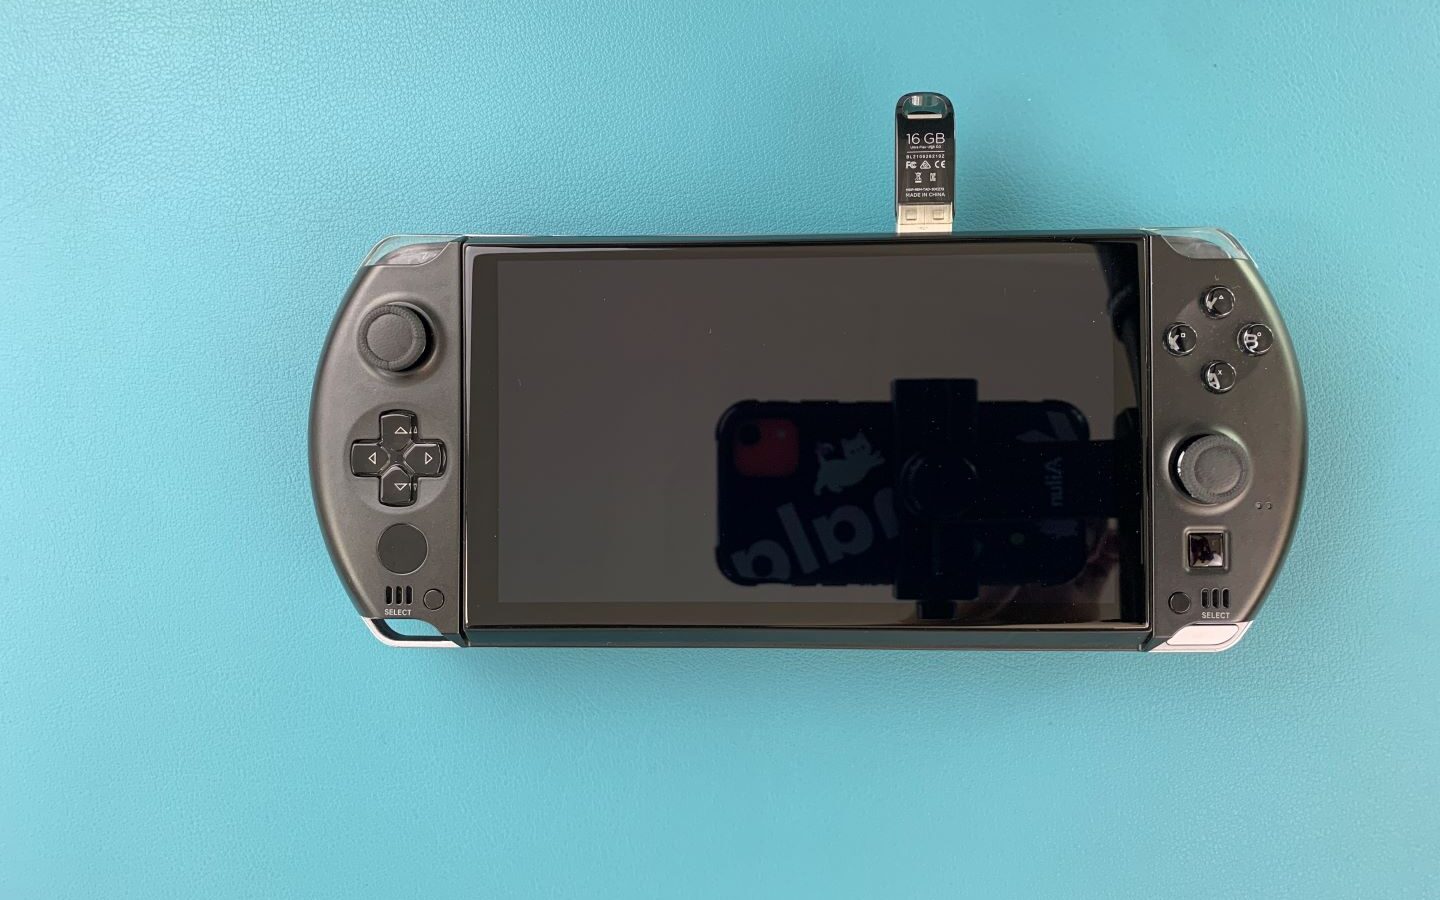
Ensure your USB Stick is plugged into the USB Port at the top of the device. You can then press the power button on the top of the device. You will need the keyboard for the next section, and slide the screen up.
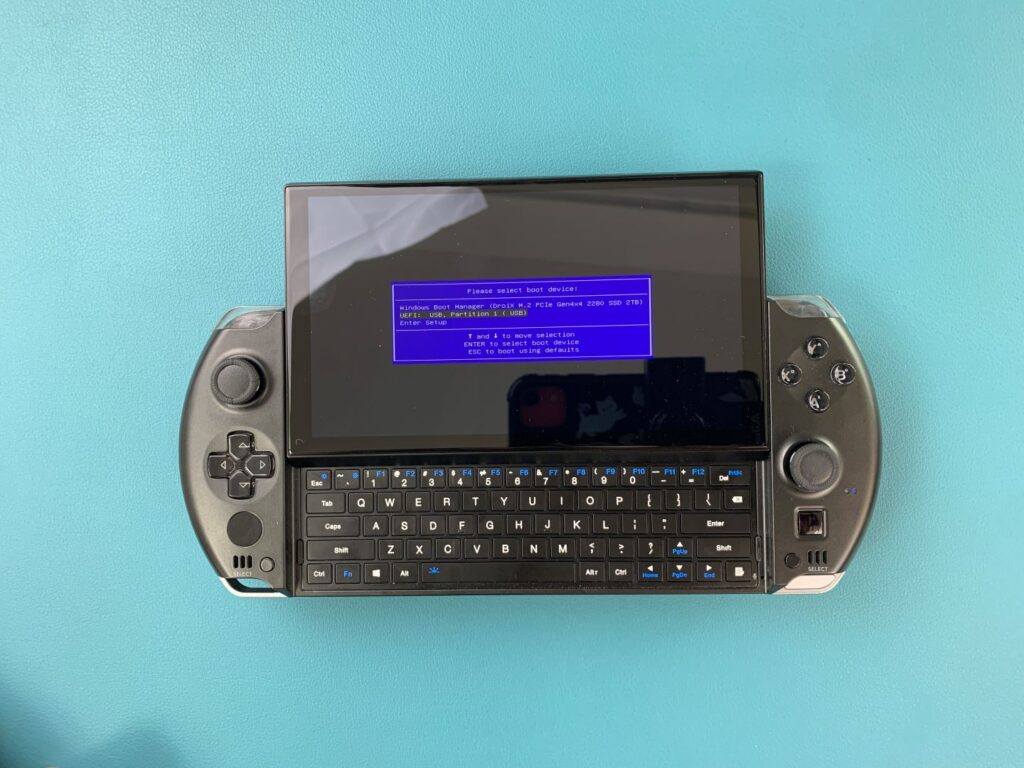
Hold down Fn and the 7(F7) key until you get to the boot menu, as seen above. Click on the Down Arrow key to highlight the USB Stick and click Enter to select and boot from it.
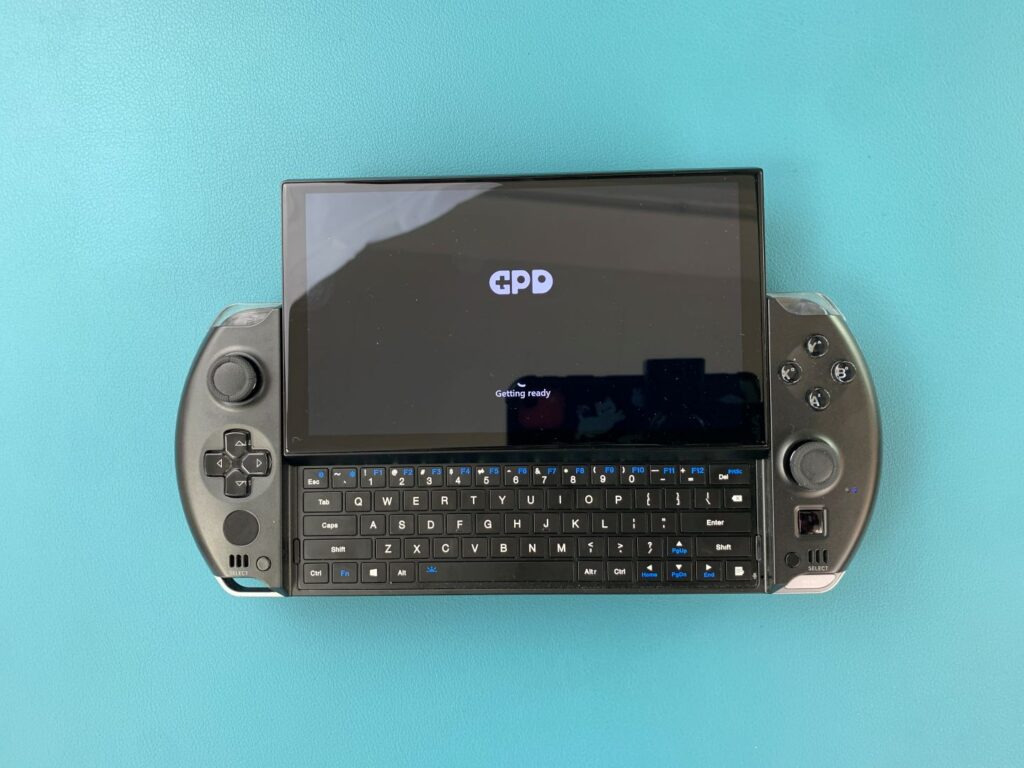
You will be greeted with a GPD loading screen as the device gets ready.
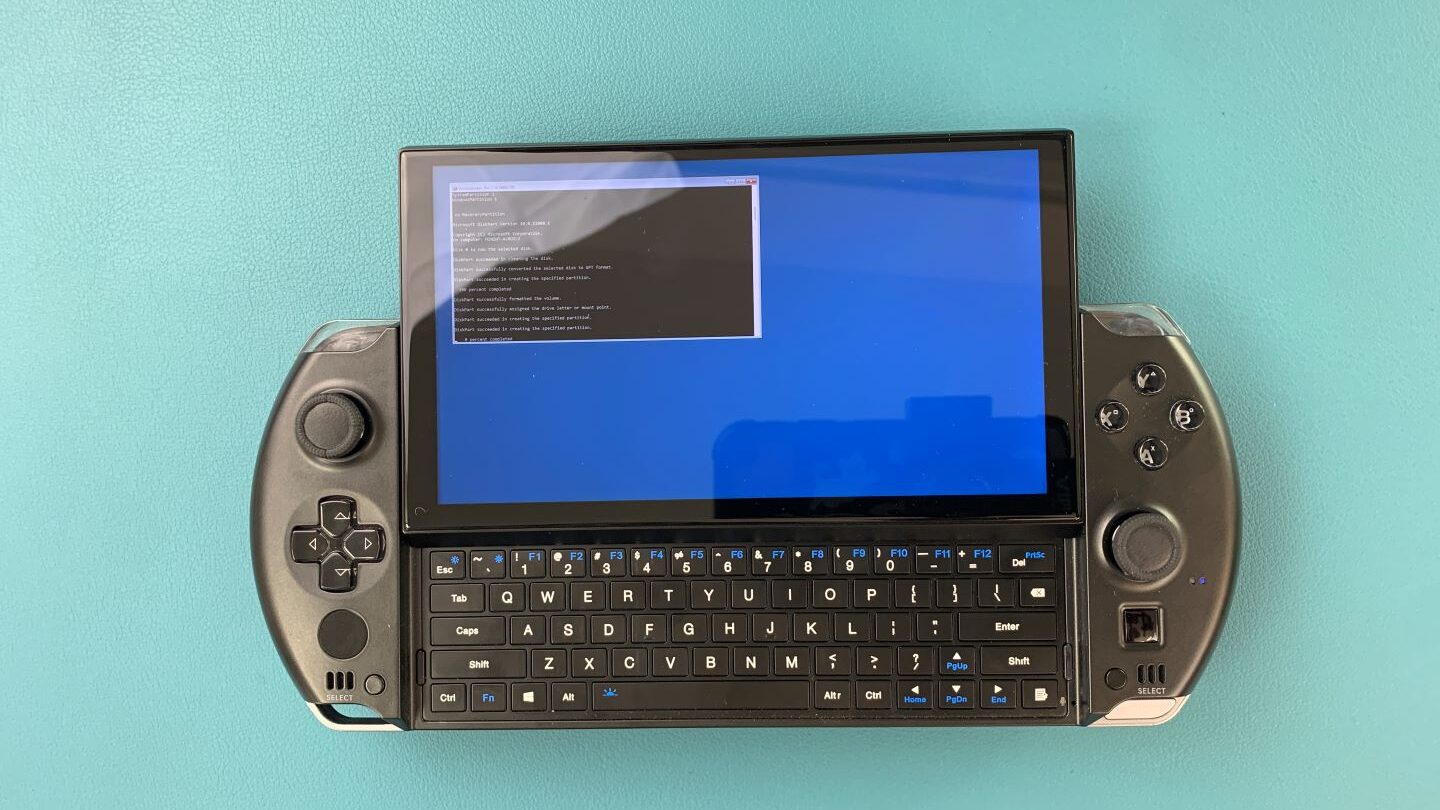
The device will boot from the USB Drive and automatically load and run a script to install a fresh copy on Windows. Let it run when this is happening.
Once it is completed you will taken to the Windows setup process. Go through it with your preferred settings as you would any PC.
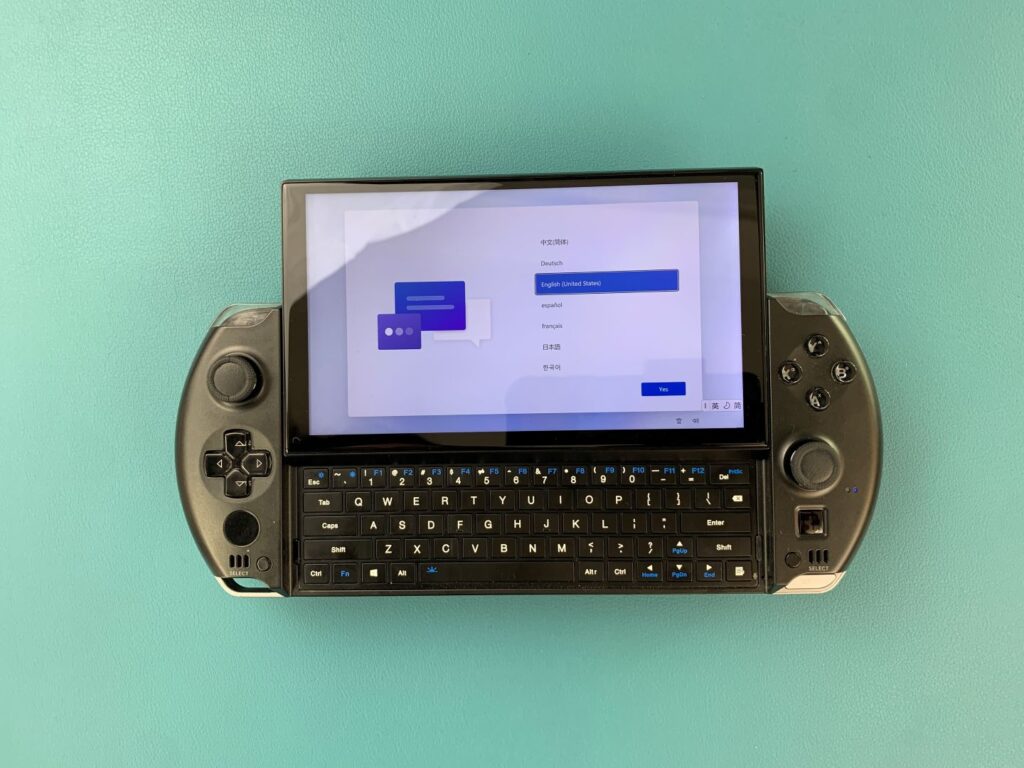

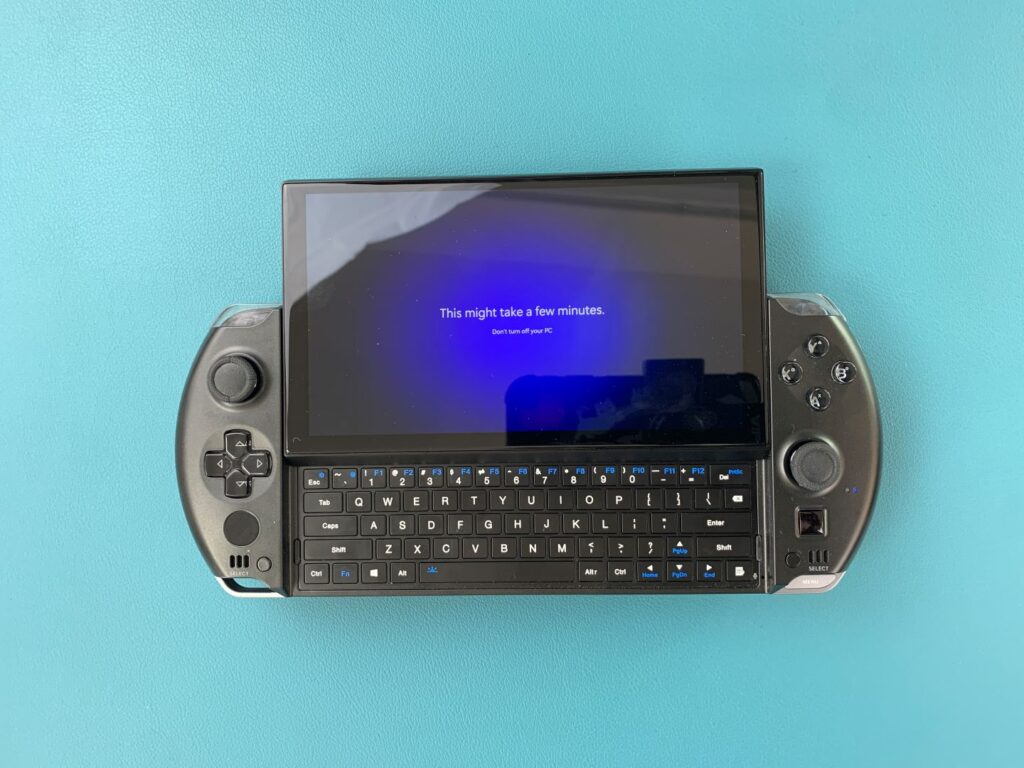
The setup process will need to be finalised, wait for a few minutes as it does.
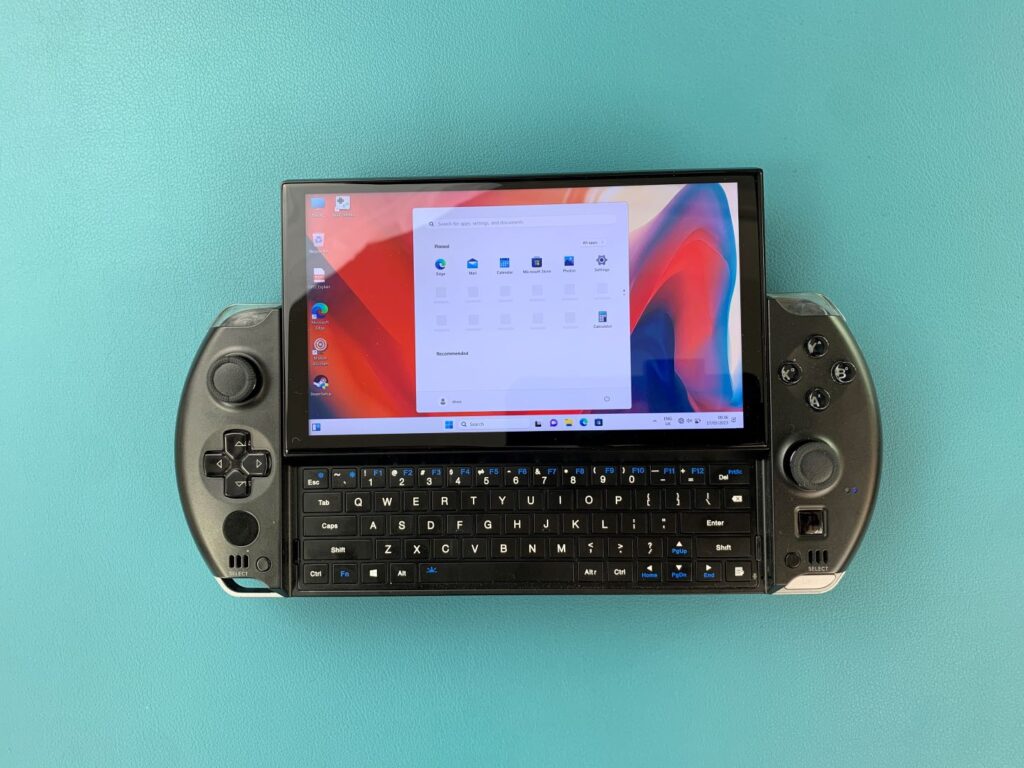
You will be taken to the Windows home screen. Congratulations, you have successfully reinstalled Windows on your GPD Device. You are free to remove the USB Stick and get to gaming!
To learn more about your device check out the product page here.
To learn more about our other offerings and products take a look at other Knowledge Base articles here.


