If you have a Go v3 projector and want to use an HDMI cable to connect your laptop/console, this post has the details for you.
If you have not already tried this launcher, please install it from the DroiX Market.
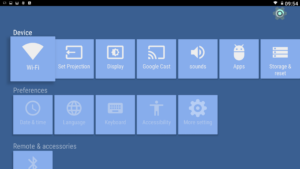
With this launcher, (which keeps access to all the other DroiX applications still) we have an alternative launcher for access to HDMI In selection.
It will continue to allow access to the DroiX launcher for people who prefer the look/use the projector itself for Kodi, rather than connect to consoles/laptops etc
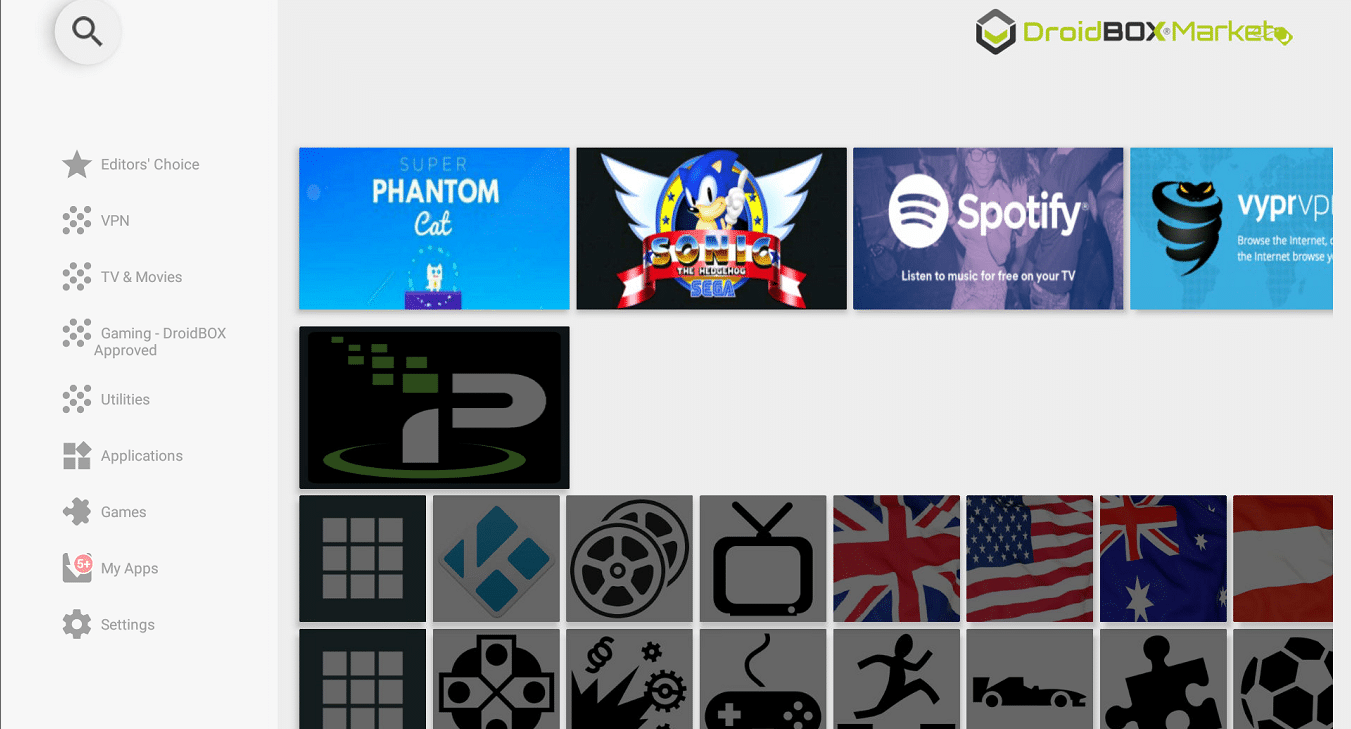
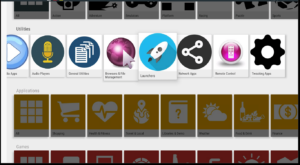
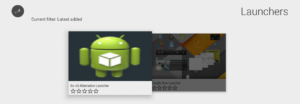
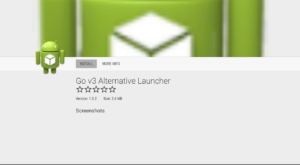
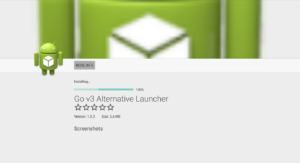
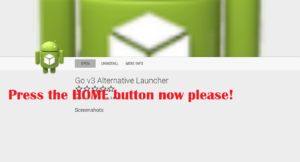
To use the DroiX Market, open the application drawer (a circle with six dots), click on the DroiX Market entry, then scroll down to Utilities and click on. Scroll across and open the Launchers area, then open the “Go v3 Alternative Launcher” entry. Select install and follow the on screen instructions. At the very end, once installed, press the home button.
Once the launcher has installed, you can press the home button to try out each launcher in turn.
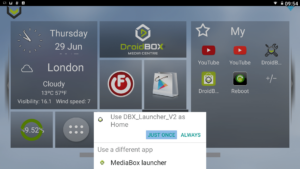
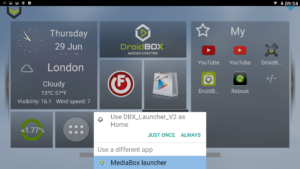
When you see this sort of option, until you’re certain which launcher you’d like to use, select the Just Once option.
Until you select the Always option, each time you press the home button on your remote control, you’ll be asked to confirm which one to use.
How To Change The Launcher
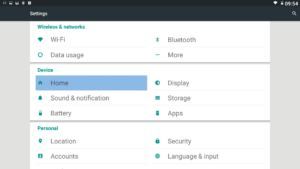
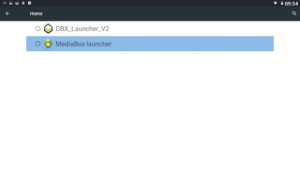
If you accidentally click the Always button and want to swap launchers again, the Settings icon from your launcher’s homescreen (both launchers have this shortcut). From here, we need to go to “Home” (in the Device section) entry, please click it. If you can’t see this entry, scroll down, look for More Settings and click that first.
Finally (your screen may show something slightly different), select the launcher you want to use instead of the current one, and return to the previous screen. Now press the home button to test everything has turned out well.
In terms of the DroiX launcher, from the left we have the time and date (if the internet is connected). Click the area to the right if you’d like weather reports. The six dots in a circle is the standard Android icon for the list of all applications installed – the app drawer.
The cogs take you to Settings, whilst on the right we have your favorite apps area. You can add and remove shortcuts to the apps (from the long list you’ll see when you click the six dots in a circle icon on the left). Tick or untick the apps you want after clicking the ± sign and then press the Return button on your remote to save the selection.


