
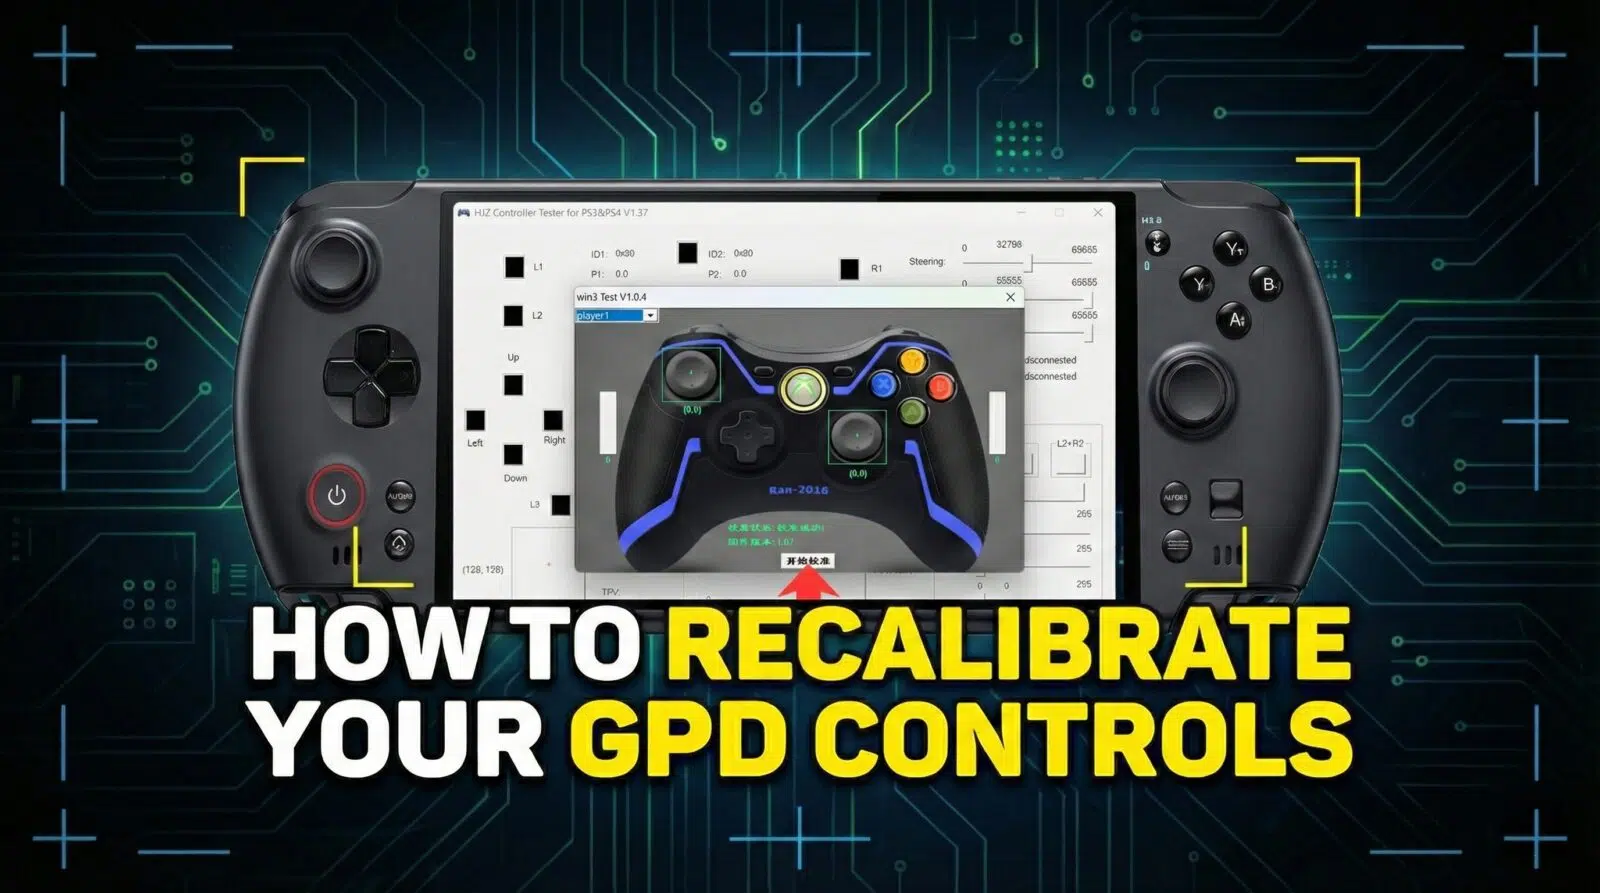
Occasionally the joysticks on devices such as controllers or handheld PCs can lose their calibration resulting in incorrect and inaccurate input. This guide will walk you through step by step how to install the necessary software and how to calibrate your GPD joysticks on all GPD devices.
This guide will work with:
Download the GPD Joystick Calibration Tool
Download and extract the latest version of the GPD Joystick Calibration Tool here. Extract the .zip file and you will have the Win3TestV1.04.exe file, run this file.
GPD Joystick Calibration
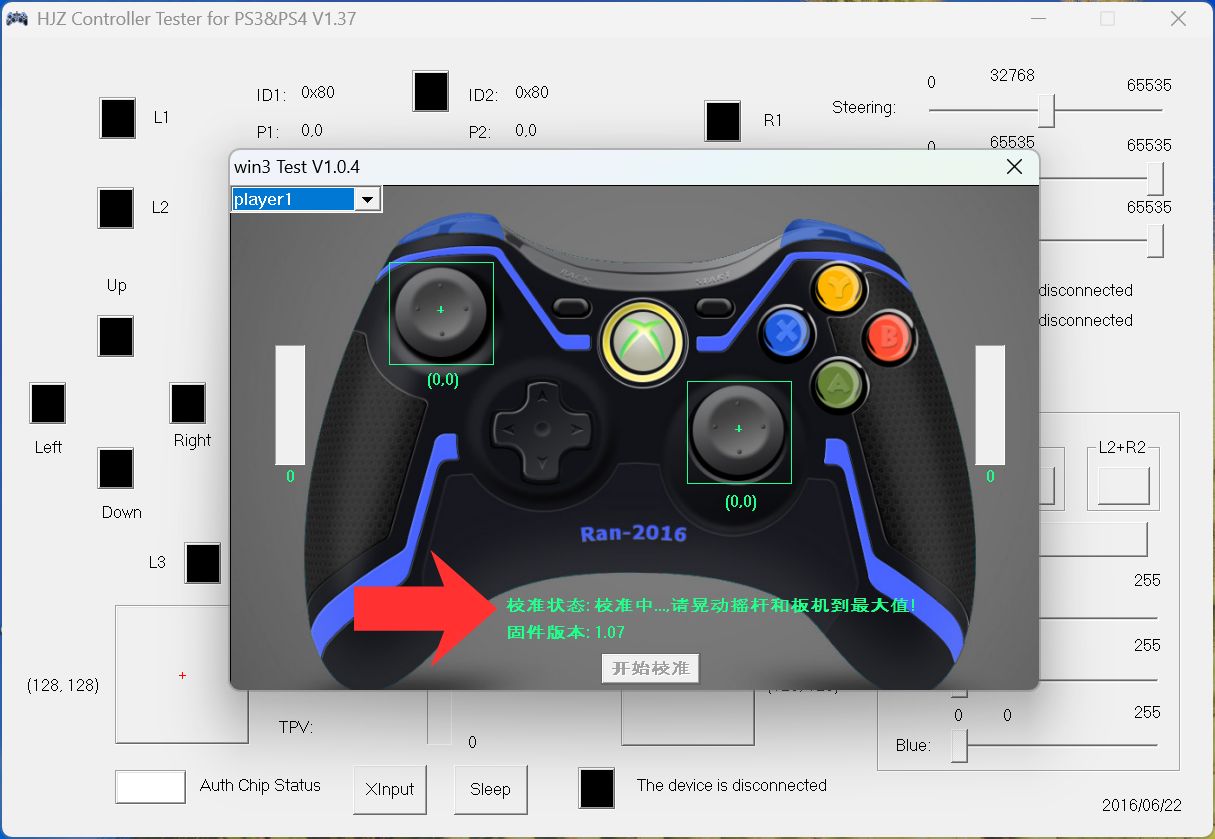
Two windows will open, and they will look like this. Press the button indicated in the below image to start the calibration process.

After pressing the button. The software will instruct you to push both analogue joysticks to their edges and spin them constantly while fully pressing and releasing the left and right analogue trigger buttons. The actions will be reflected on their respective on screen areas.
Once the calibration has completed, the green text will update to as what is shown below to indicate the calibration has been successful.
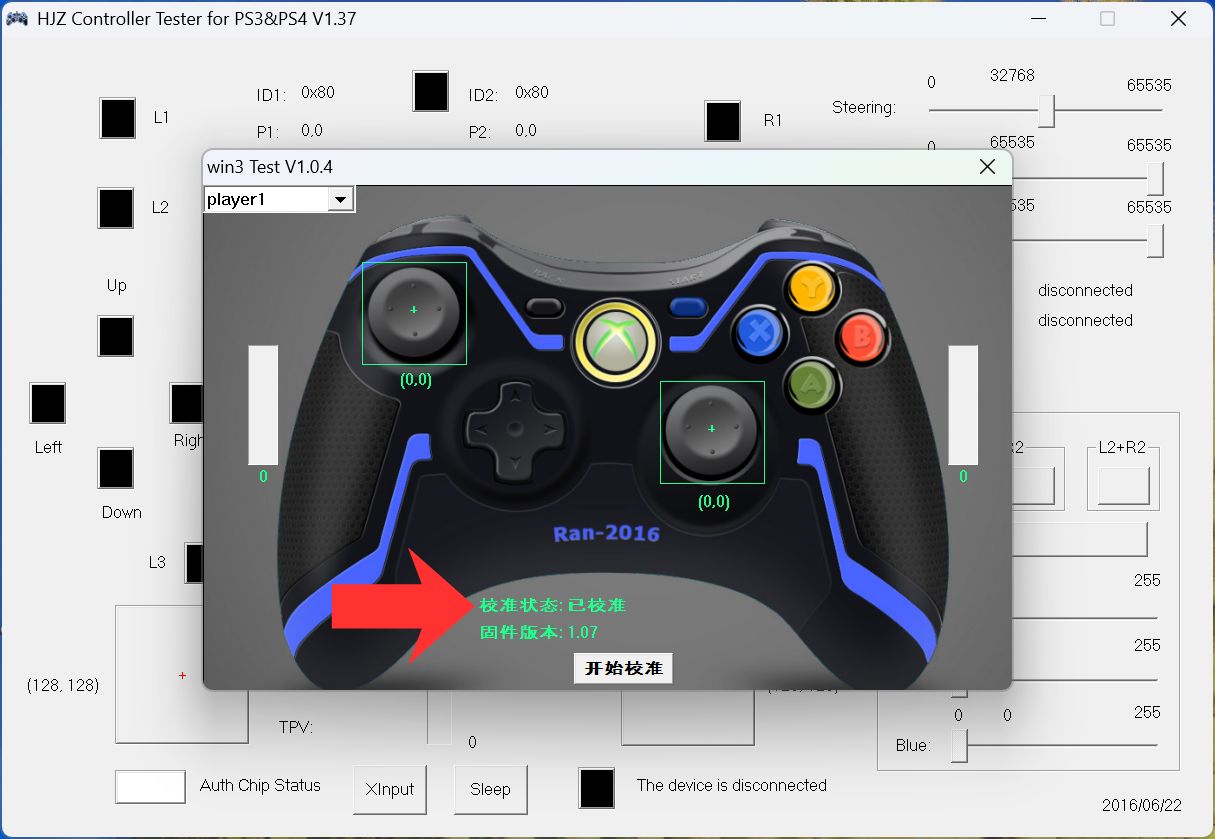
If you feel that you didnt fully push the edges or the triggers, you can press the button and repeat the calibration. You can also test the calibration has worked by pressing any of the analogue sticks or triggers and the values will appear in their respective areas.
Windows Calibration
If the above method doesn’t work, there is a calibration method built into Windows which is detailed below.
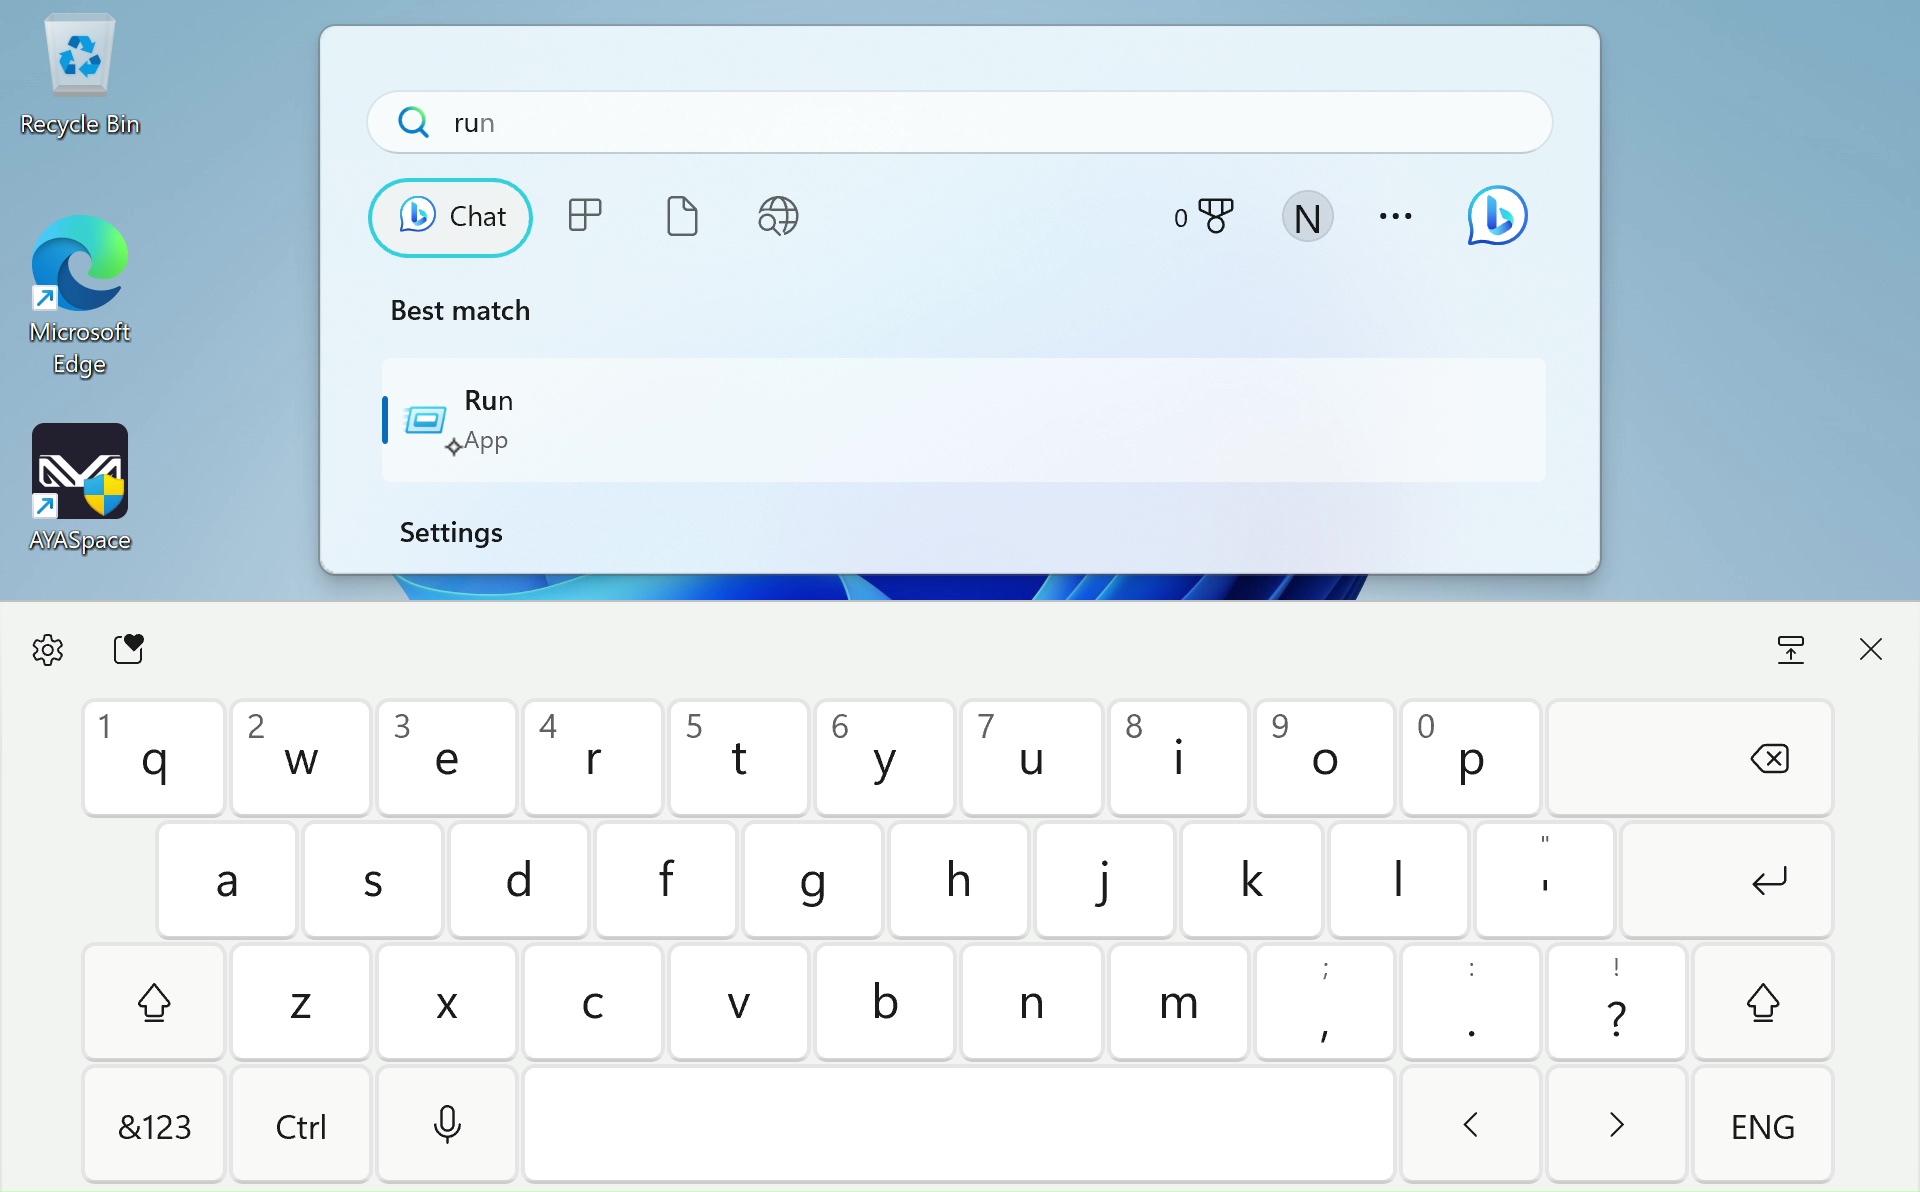
To calibrate within Windows we need to first open up Windows Run, if you have a keyboard attached this can be done by pressing Windows+R, if not open the start menu and search for ‘Run’. Once open type in joy.cpl and click ‘OK’.

It will open this window, Windows will see your controller as an XBOX 360 controller, and that’s okay. Click on ‘Properties’. It will open up this screen.

You can use this to test your controller.
- Z Axis is the Trigger buttons
- X Rotation is the Right Joysticks horizontal movement
- Y Rotation is the Right Joysticks vertical movement
- X-Axis / Y-Axis is the Left Joysticks movement
- Point of Video Hat is the D-Pad
- Buttons are all the buttons on your device: A, B, X, Y, LB, RB, LS, RS, LC and RC. They will light up when pressed.

If they all work fine then chances are you don’t need to calibrate your device. But if you do, click over to ‘Settings’ and you’ll see this screen. Click on ‘Calibrate’ to be taken through the calibration process.

Go through the process following the instructions to calibrate your controller. Once you’re done, you’ll be taken back to the Settings page, you can go over to the Test page to see how your work panned out. If you’re unhappy go back to Settings and click ‘Restore Default’. If you are then you can carry on and use your newly calibrated controller.

Gamepad-Tester.com
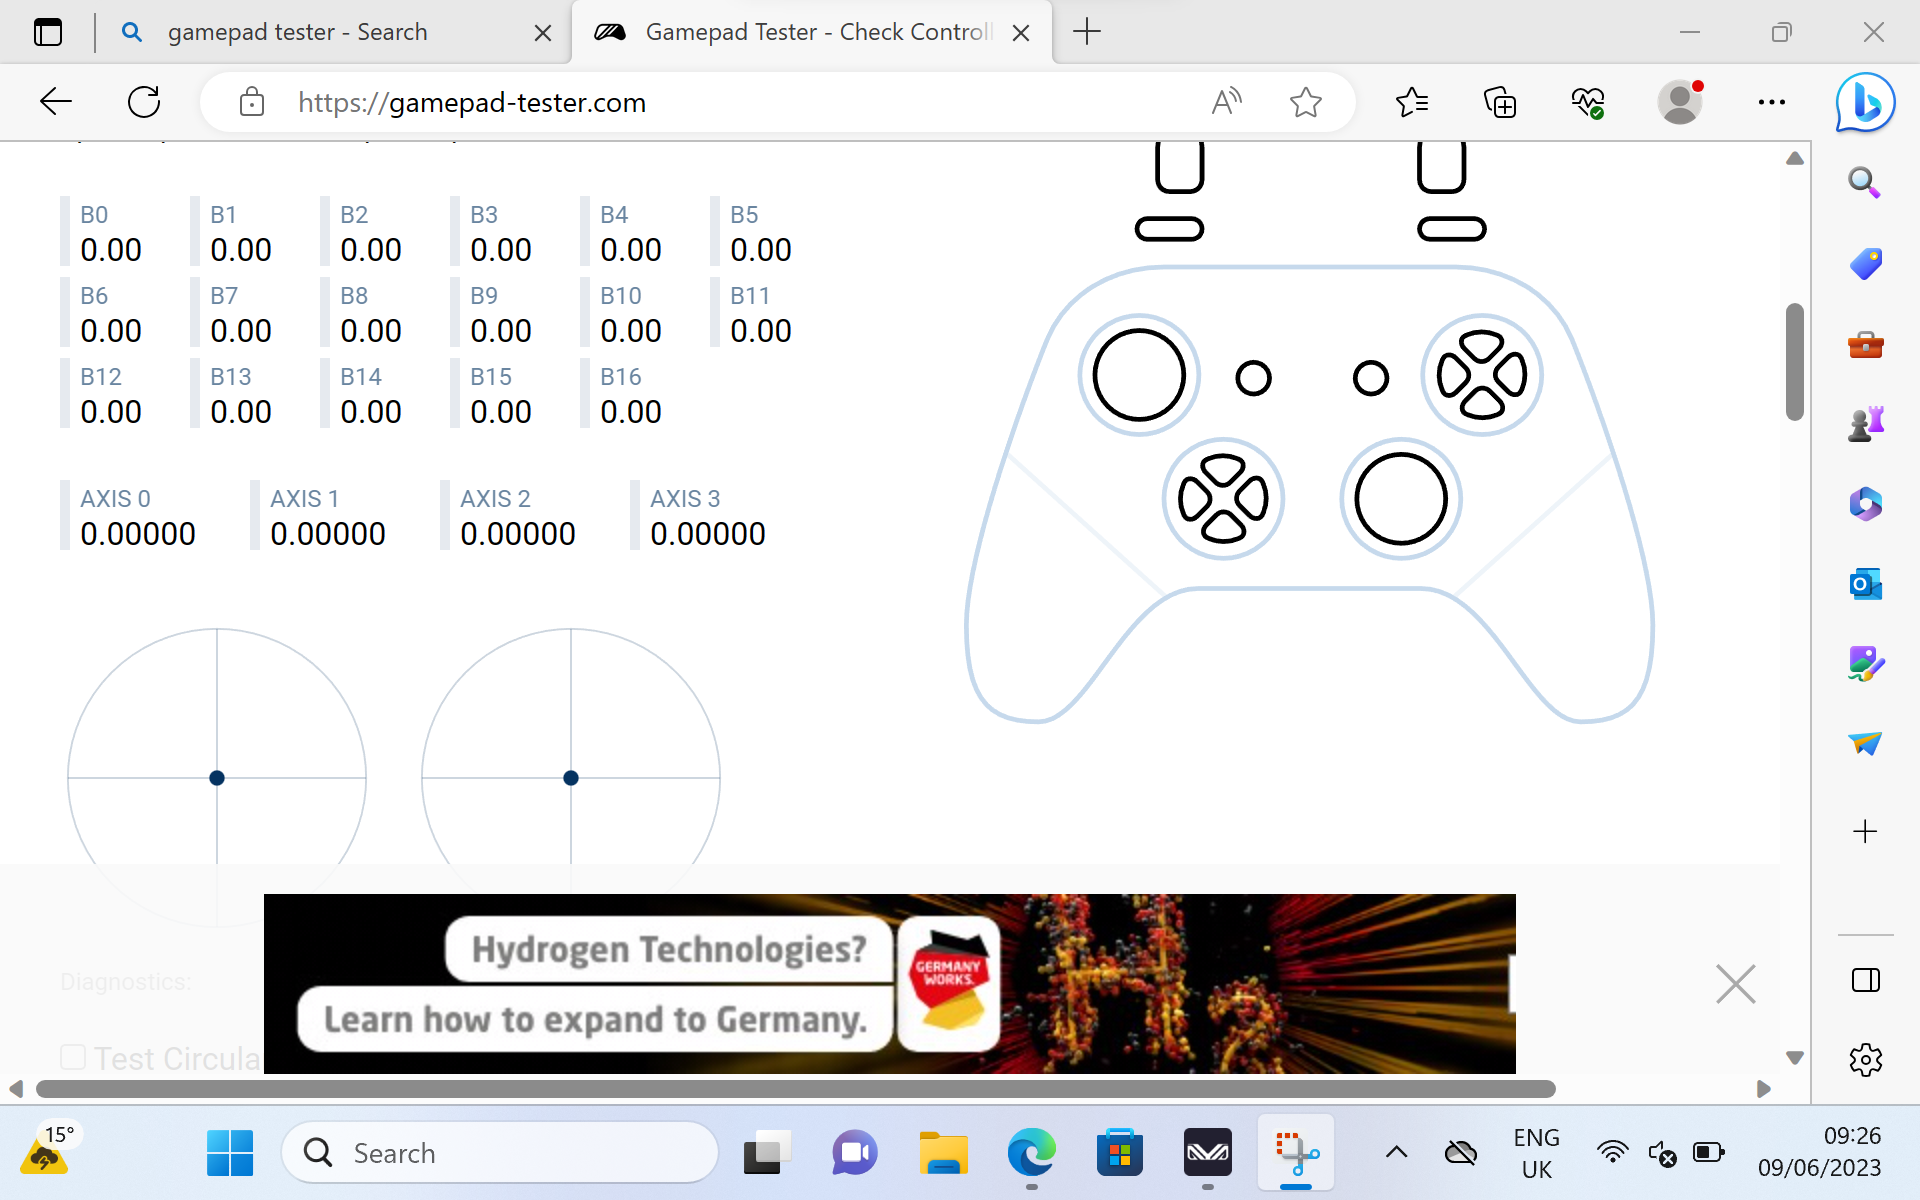
Gamepad Tester is a well-known website in the community, it offers an easy and accessible way to test your gamepad controllers. It even offers additional and more in-depth information than Windows. Head over to the site. You’ll be greeted with this screen.

Press any button to begin, and the testing interface will load. From here you can see precisely the angle and force that the joysticks, triggers and buttons are being registered. With this information, you can find faults and properly calibrate your device.
To learn more about your GPD handhelds check our site here. To learn more about our other offerings and products take a look at other Knowledge Base articles here
