In this article
With the GPD Win 3 now available to buy in the UK and worldwide, and firmly within the hands of many-a tech geek, we at DroiX felt it’d be a good idea to show you how to install RetroArch on the GPD Win 3!
What is RetroArch?
RetroArch – contrary to what you might believe – is not an emulator in and of itself. Rather, it is what is known as a “Front-end” for emulators. This means it provides a consistent set of options, features, and a general framework around which multiple emulators (called “cores” in this context) can function.
In other words, it’s a tool that you can use to easily configure and switch between multiple emulators at once.
This means that it does require a little bit more setup than your average emulator however, as you will need to come-to-grips with not just emulation in general, but also the RetroArch program itself.
[Video] GPD Win 3 RetroArch Guide
If you’re interested in how to install and set up RetroArch on the GPD Win 3, please check out the following video.
We’ll also go over the guide in a written format too!
Downloading & Installing RetroArch
First you will need to download the RetroArch software.
Open your browser and go to retroarch.com. You will see the “Download” menu option, choose this and scroll down a little.
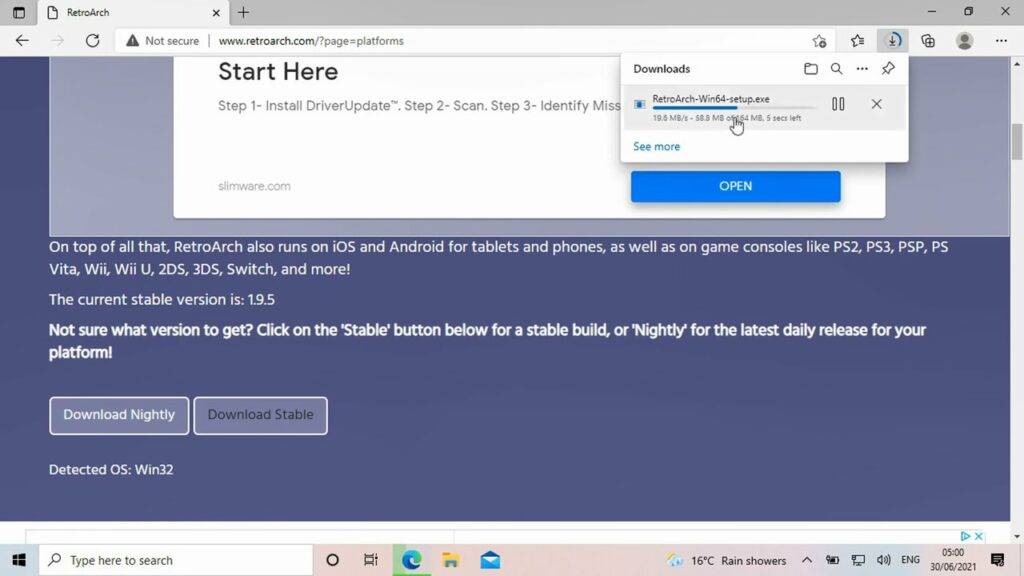
You will see an option to download “Nightly” which is the very latest version, but may have some bugs. Or “Stable”, which can be a slightly older version but should have no bugs. We recommend downloading the Stable version.
Once RetroArch has downloaded, click on the download to start the install.
Follow the prompts to proceed to install. You can optionally install DirectX if you already have it installed.
Setting up ROM Folders
Once the software is installed you can go ahead with setting up your ROM folders.
Make a new folder called “ROMS” and enter into it.
Next create a new folder for the system your ROMs are for, in this example we are using “Genesis” games.
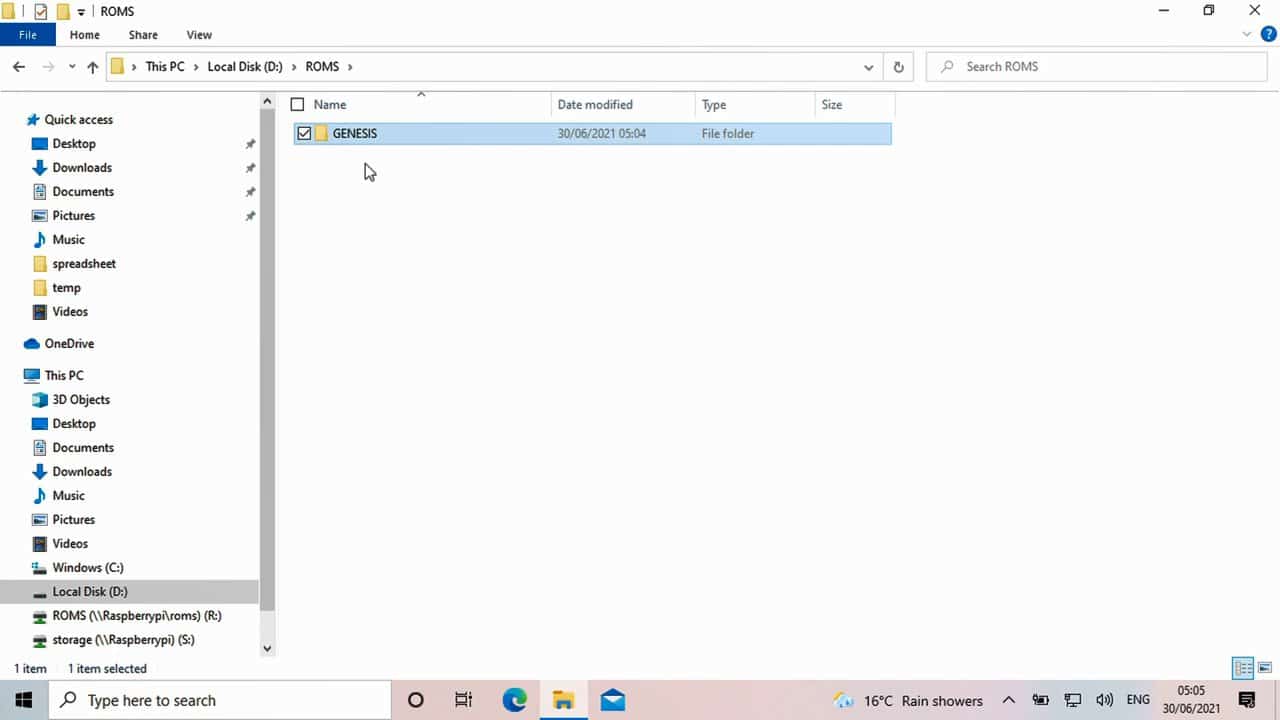
You can now copy your Genesis games to that folder.
Repeat the process for any other systems and games you may have.
Loading RetroArch
When you are ready you can load the GPD Win 3 RetroArch software.
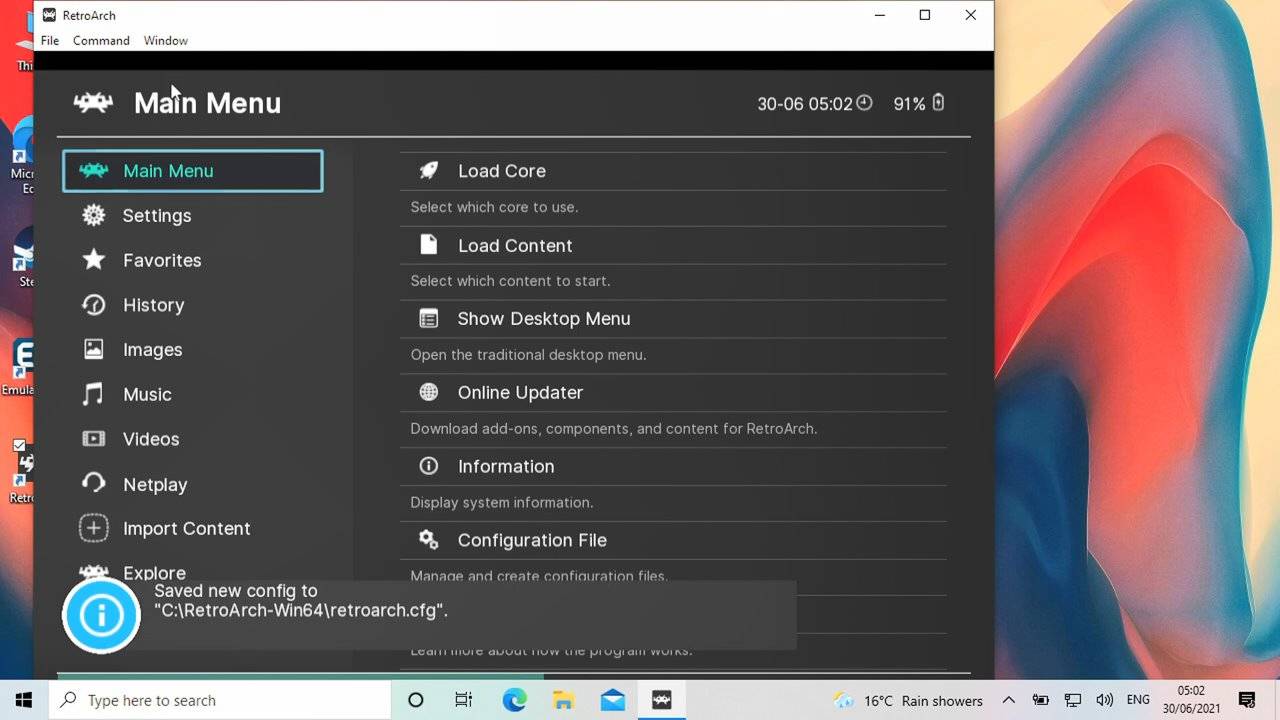
You can use the GPD Win 3 controls or keyboard to navigate the menus.
How to go full-screen in RetroArch
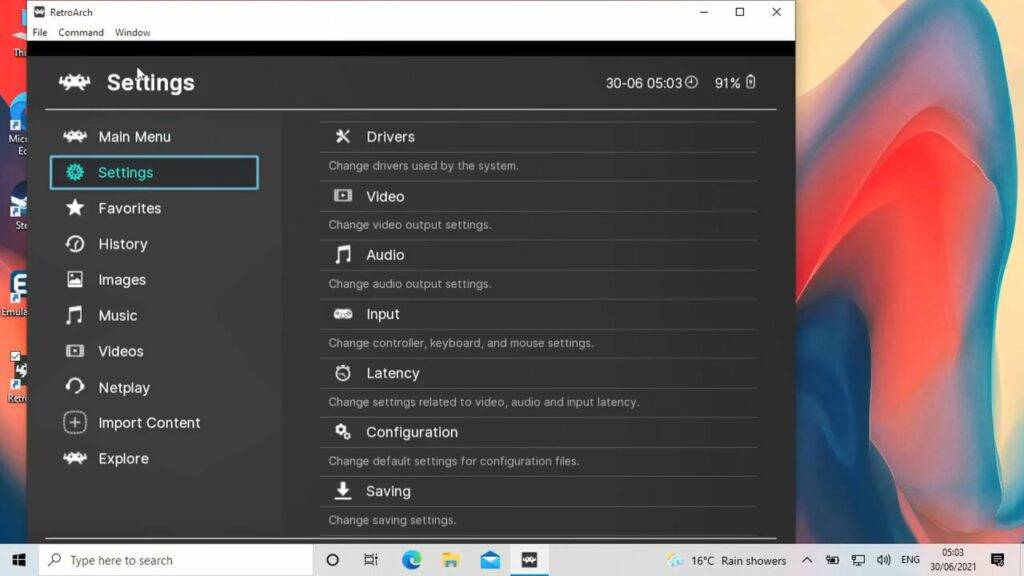
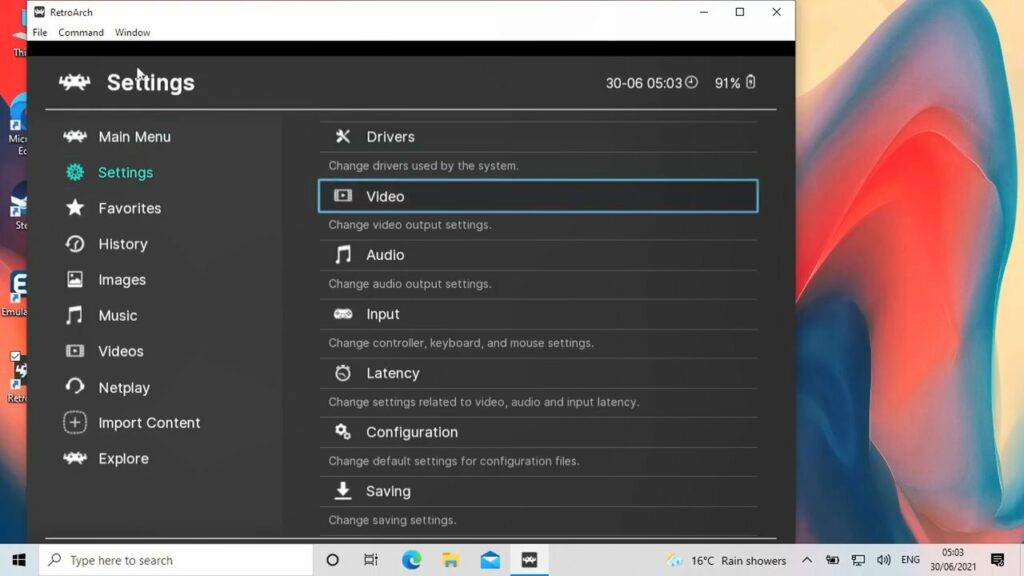
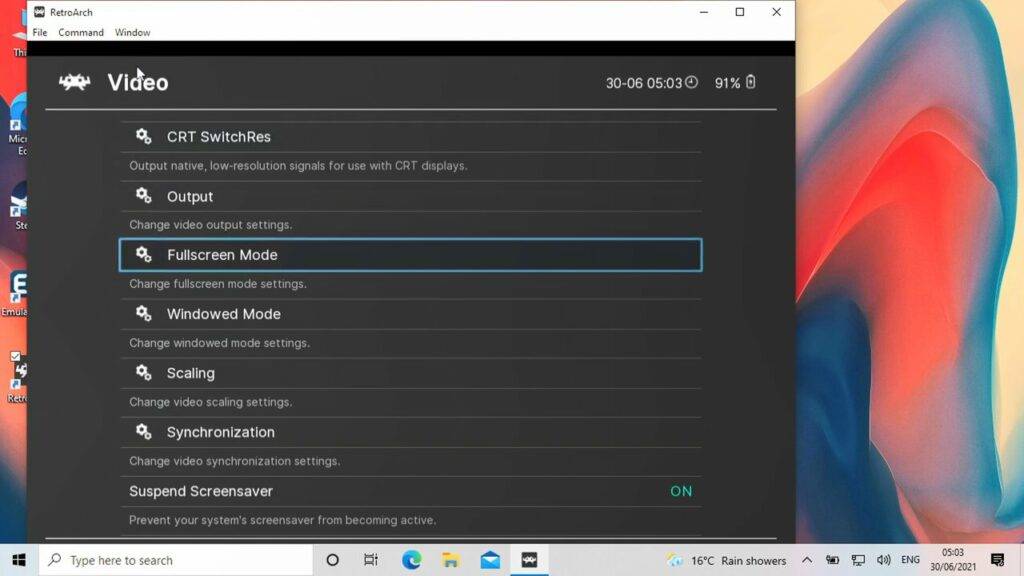
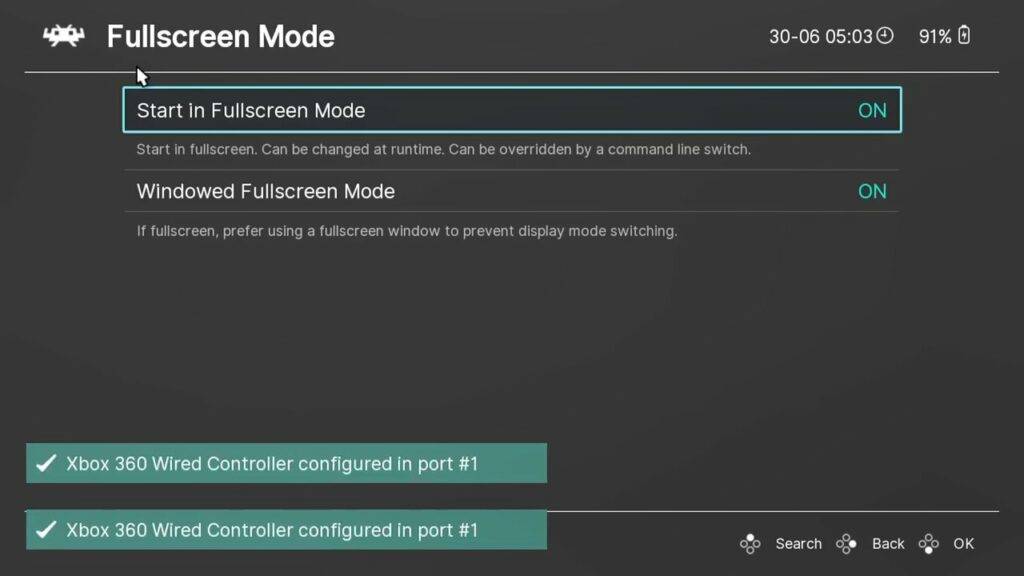
Firstly, you can make the Window full screen by going to “Settings”…. Then “Video”…. And then “Fullscreen Mode”. Then select Start In Fullscreen Mode and change it to ON. The software will restart and now be in full screen.
Installing RetroArch Cores
Next we want to install the emulators, known as Cores in RetroArch, for the systems you have games for.
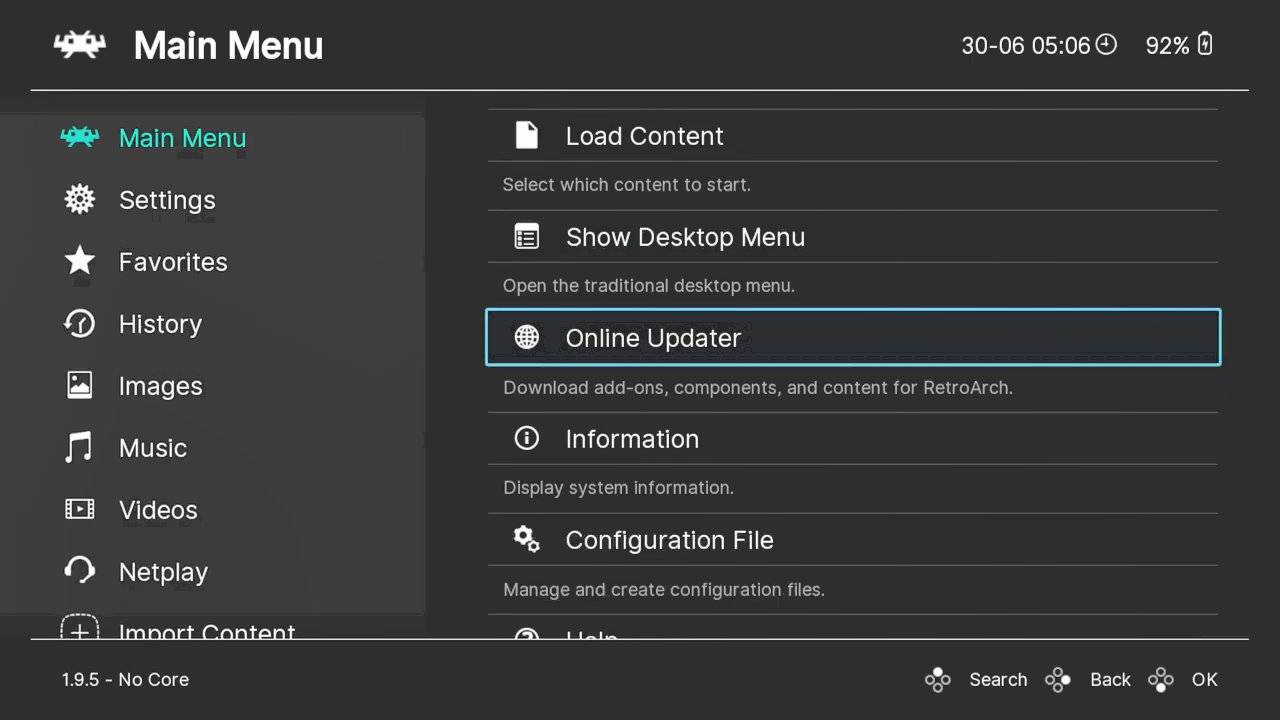
Choose “Main Menu”…. then “Online Updater”… then “Core Downloader”…. This will give you a list of all of the supported gaming systems and Cores available to download.
Navigate the list to your system, in this example we are downloading SEGA Genesis
There may be multiple cores available for your system. Pick one and give it a try, you can always download and try another later.
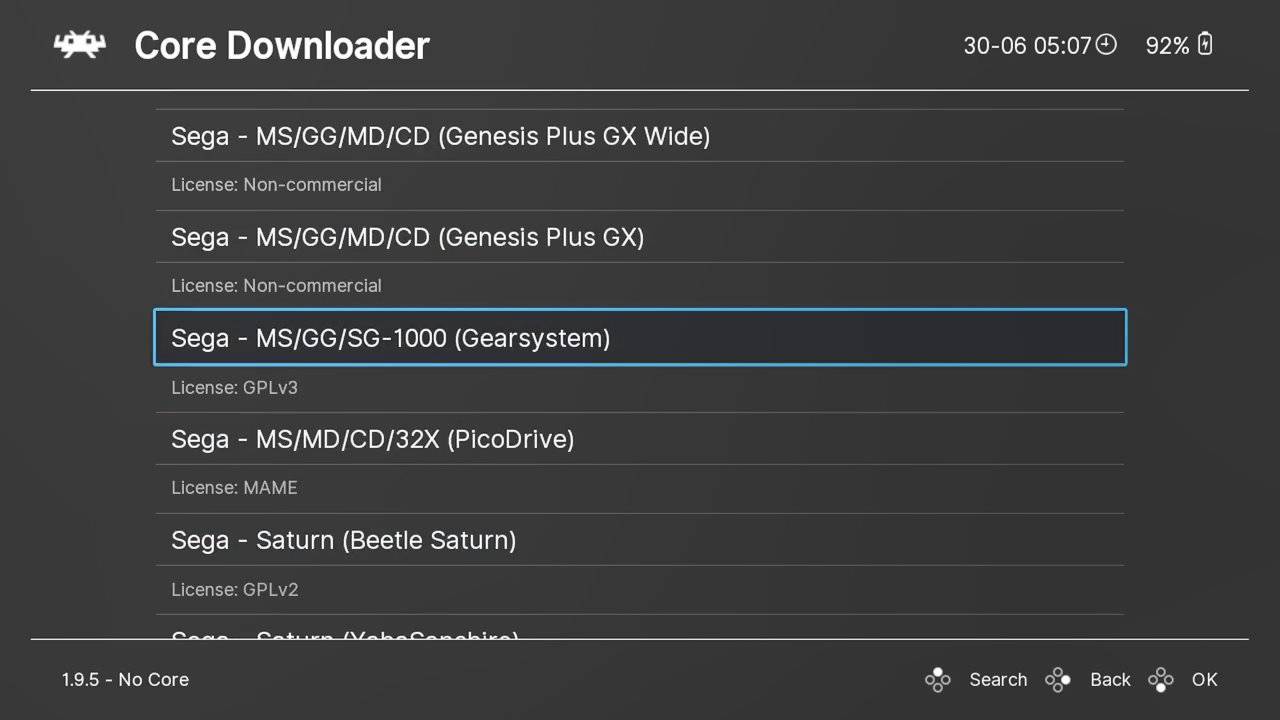
Download any cores that you need for the systems you have games for.
Scanning for your games
Next we need to add your games to the software so that you can access them without using any frontends.
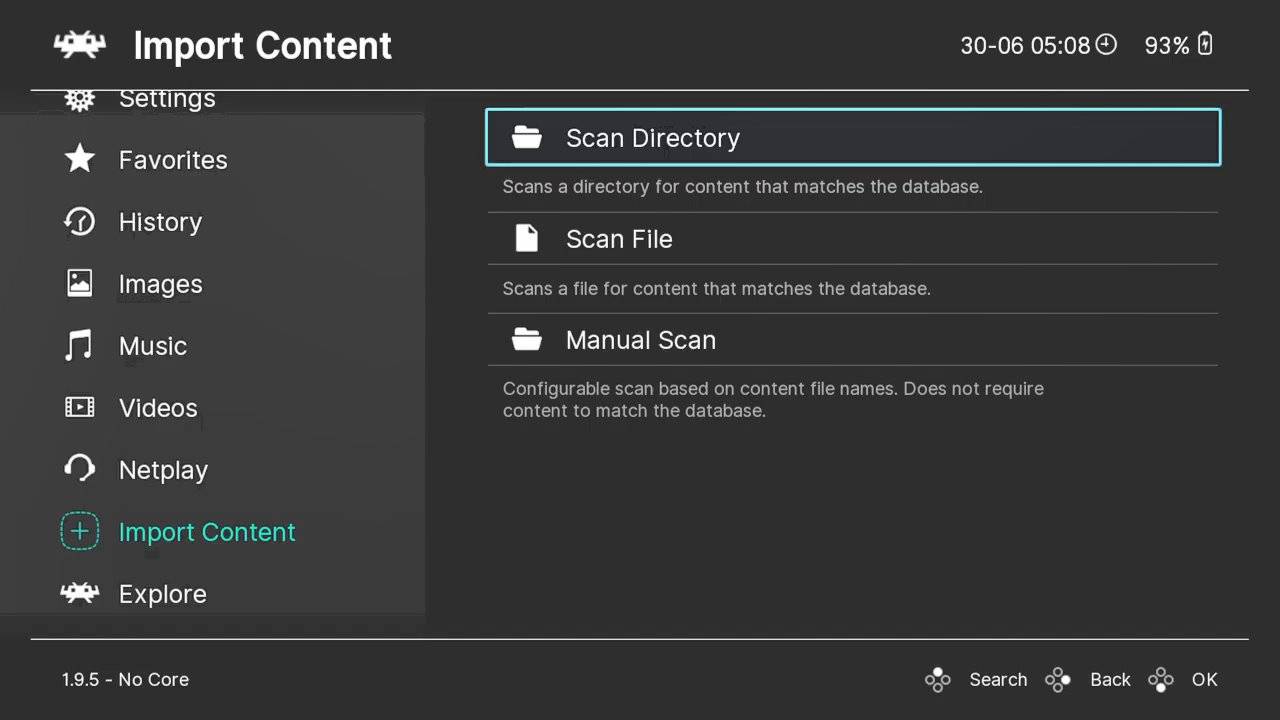
From the main menu, scroll down to “Import Content”…. Then “Scan Directory”. This will bring up a list of your drives and folders. Navigate to your ROMs folder created earlier.
Then choose the “Scan This Directory” option.
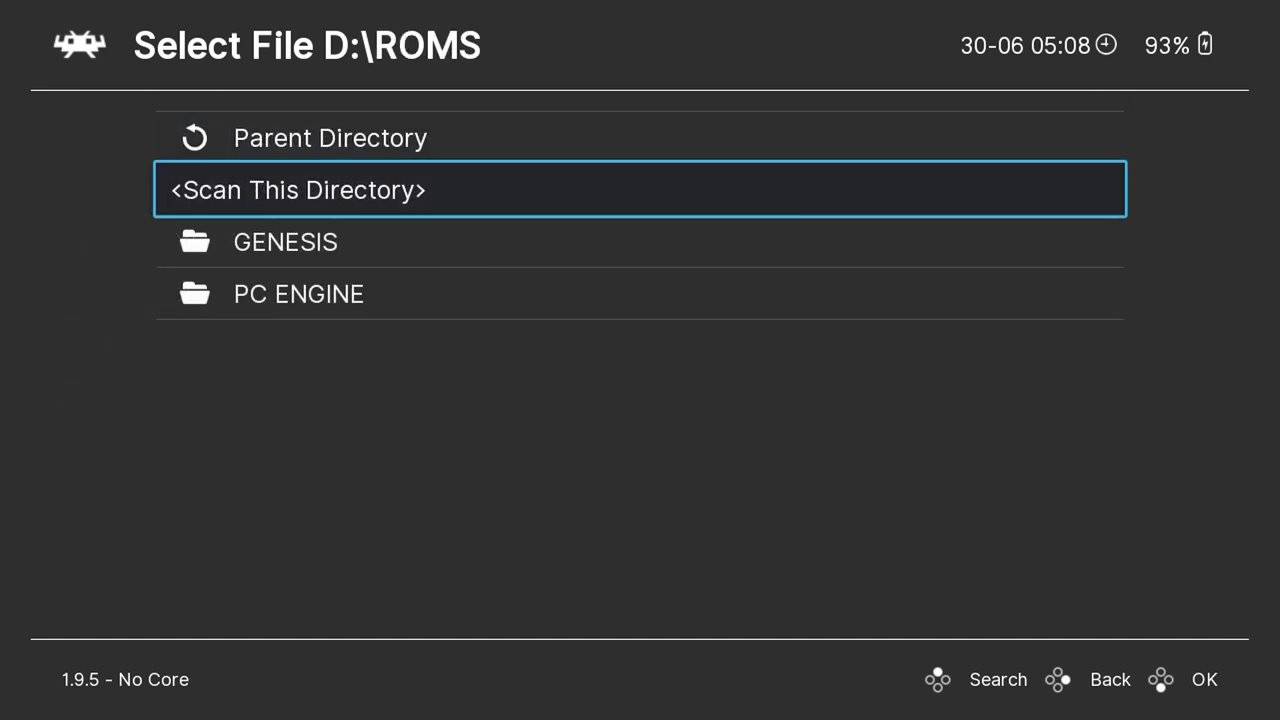
It will now proceed to scan the folders for recognised games and add them. Depending on how many games you have, this may take a few seconds to far longer. A progress bar will show to indicate the time.
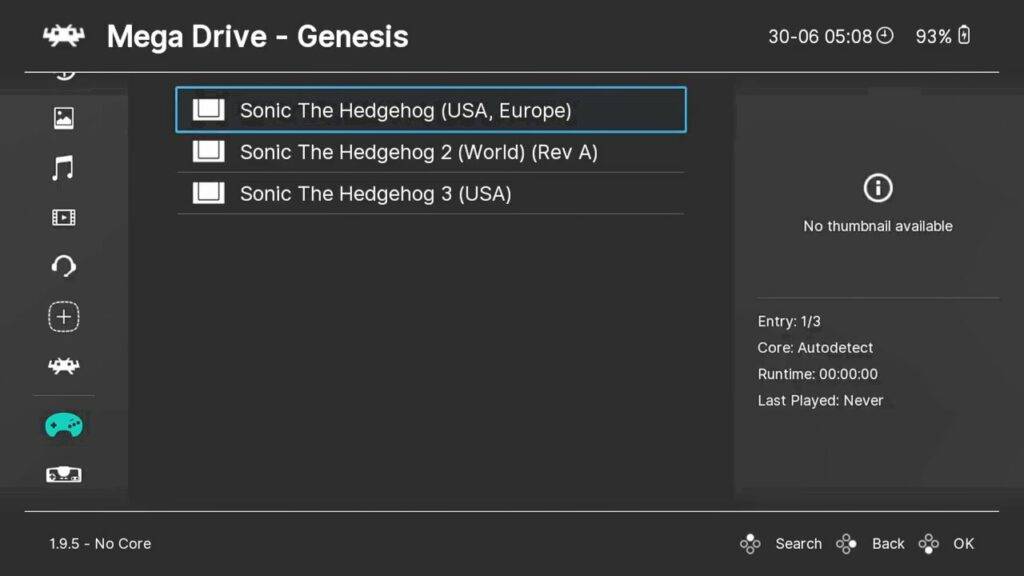
Loading a game
Once it has completed, return back to the main menu.
Scroll down the menu and below “Explore” you will now see any new Systems that were found in the scan. Choose a system and it will now show any games it found.
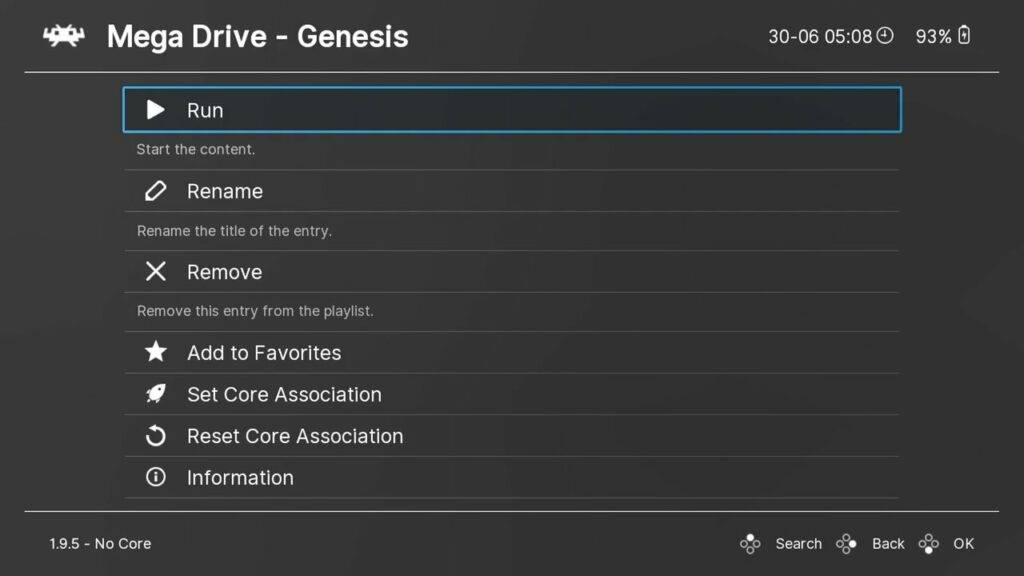
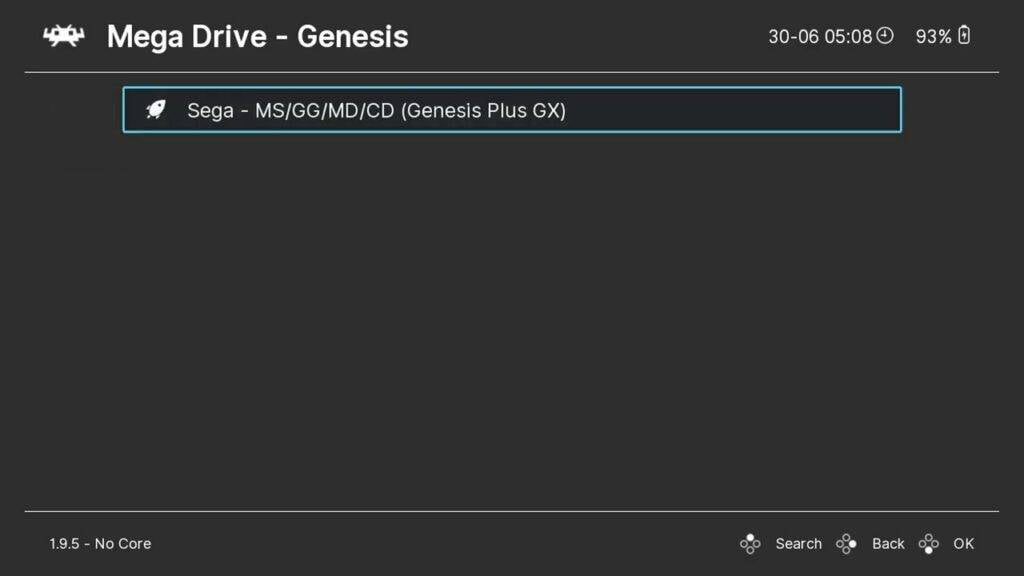
Choose a game and it will display a new menu. Select “Run” and it will then display a list of available Cores which can run the game. Select a Core and then Run to start the game.
You can set up “Core Association” with systems to skip having to choose one.
Some Hints and Tips
To exit out of RetroArch back to the desktop you press the ESCAPE key twice. Or if you want to go into the RetroArch menus, press F1. From here you can access various functions such as save and loading states, take screenshots and much more.

Enjoy GPD Win 3 RetroArch
Now sit back, relax and enjoy some GPD Win 3 Retro gaming!
We hope you have found this video useful in getting started with RetroArch on your GPD Win 3. Keep up to date with new videos by Subscribing, and don’t forget to Like if you have not already. Thanks for watching and we hope to see you in the next post.
Bringer of videos, text and images! AKA the social media guy at DROIX. Massive retro gaming fan and collector, with a far too large collection of consoles and computers from 1970's to modern. Contact me at [email protected]
Questions & comments
0Every question gets an answer. Ask before you buy — DaveC and the team reply within one working day, and answers stay public so they help the next reader too.