This article is for owners of a DroiX T8-S, T8-S Plus (v1 and v2) who have installed a hard drive.
Although you can remove the hard drive from your DroiX internal bay and attach it to a PC to check the partition(s), you can also leave it in place and use an Android application instead.
Warning: Do not click on options related to formatting, mounting, clearing or erasing unless you have a good reason to do so. You can lose access to your data if you click the wrong options.
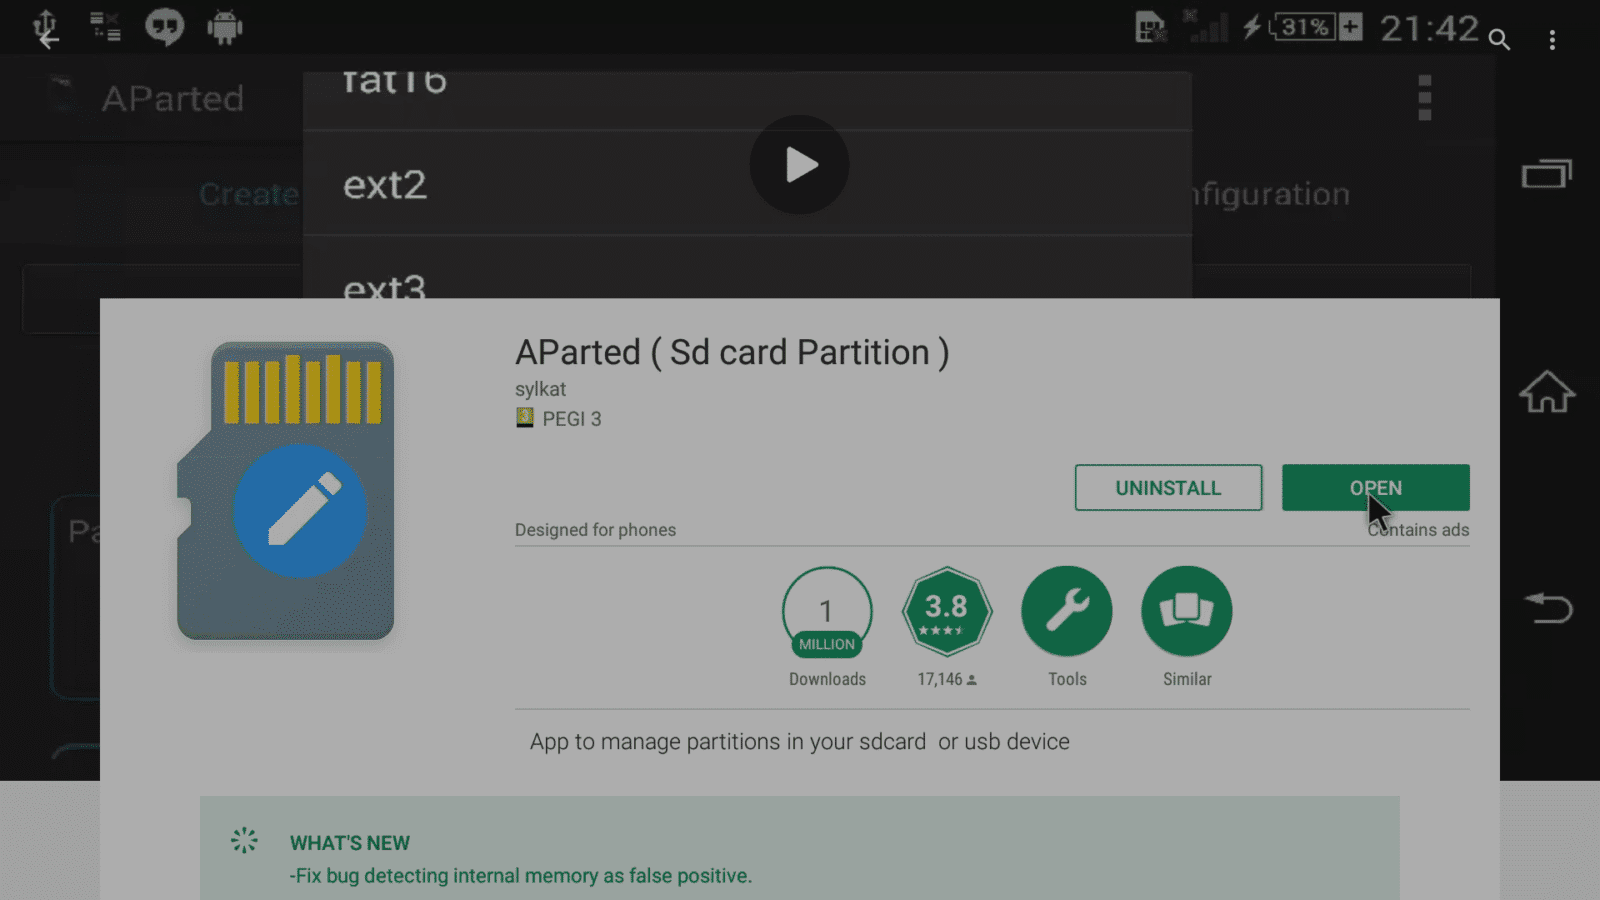
If you want to know more about the drive inside your T8-S, T8-S Plus v1 or DroiX® T8-S Plus v2 device, then AParted https://play.google.com/store/apps/details?id=com.sylkat.AParted is worth installing. With it you can check how many partitions are on your hard drive, and what type they are.
- Open the Play Store app on your DroiX device. If you've not signed in and used it before, you might want to click over to https://droix.zendesk.com/hc/en-gb/articles/360010555258-First-Run-Of-Google-s-Play-Store first.
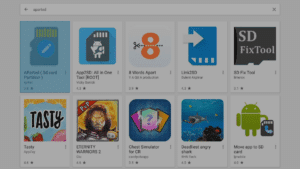
- In the search bar at the top, enter these words:
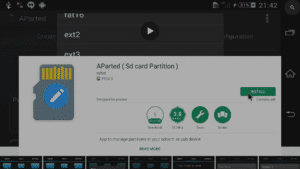
AParted - We want the app by sylkat. Don't worry about the reference to SD cards, it also works on hard drives.
- Once clicked on, select the Install button
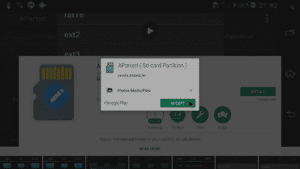
- Make sure you are happy accepting the permissions it requests (Android 5 users, Android 6 users will be asked when the app is opened)
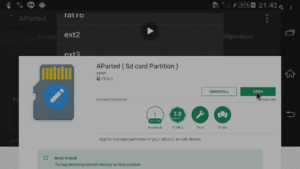
- Following the application's installation, click the Open button
What Now?
You will now need to open the application
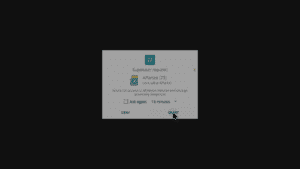
Carefully watch the screen for the window shown above, be sure to click the Grant button in time.
If done correctly, the app will open with a confirmation shown as a toast notification towards the bottom of the screen.
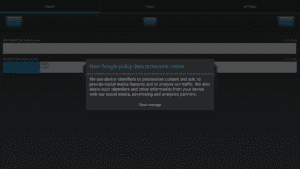
You will see the application author's explanation for one of the permissions his work requires.
Offer to read the AParted manual, worth browsing first.
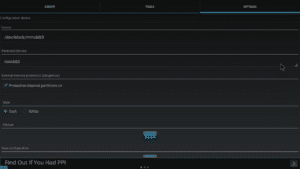
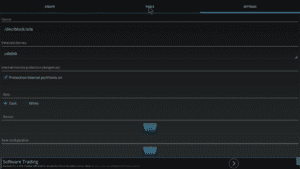
Click the Settings tab and you will see this screen
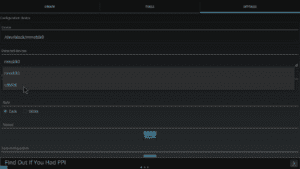
Click the entry under "Detected Devices" and select the USBDisk entry.
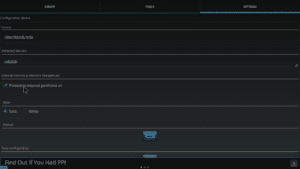
If everything has gone OK so far, the USBDisk will now show as the selected device.
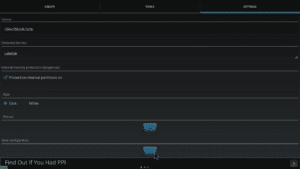
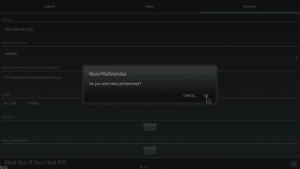
Scroll down and click the Save button.
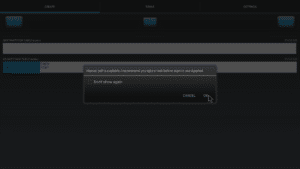
Now confirm you are certain you want to save this change of configuration.
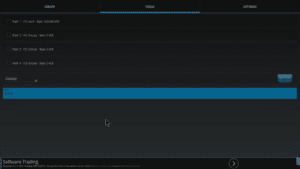
Now click the Tools entry at the top
You can now see the number, size and type of partition(s) to be found on the hard drive. Remember not to change anything on the Create tab.
Alternative application
Another possibility is to use Parted4Android (SD Partition), see https://play.google.com/store/apps/details?id=com.giis.parted4Android for details. The interface is a little more modern looking and easier to use, however there was less information (specifically identifying as EXT rather than EXT4) when compared to the AParted.


