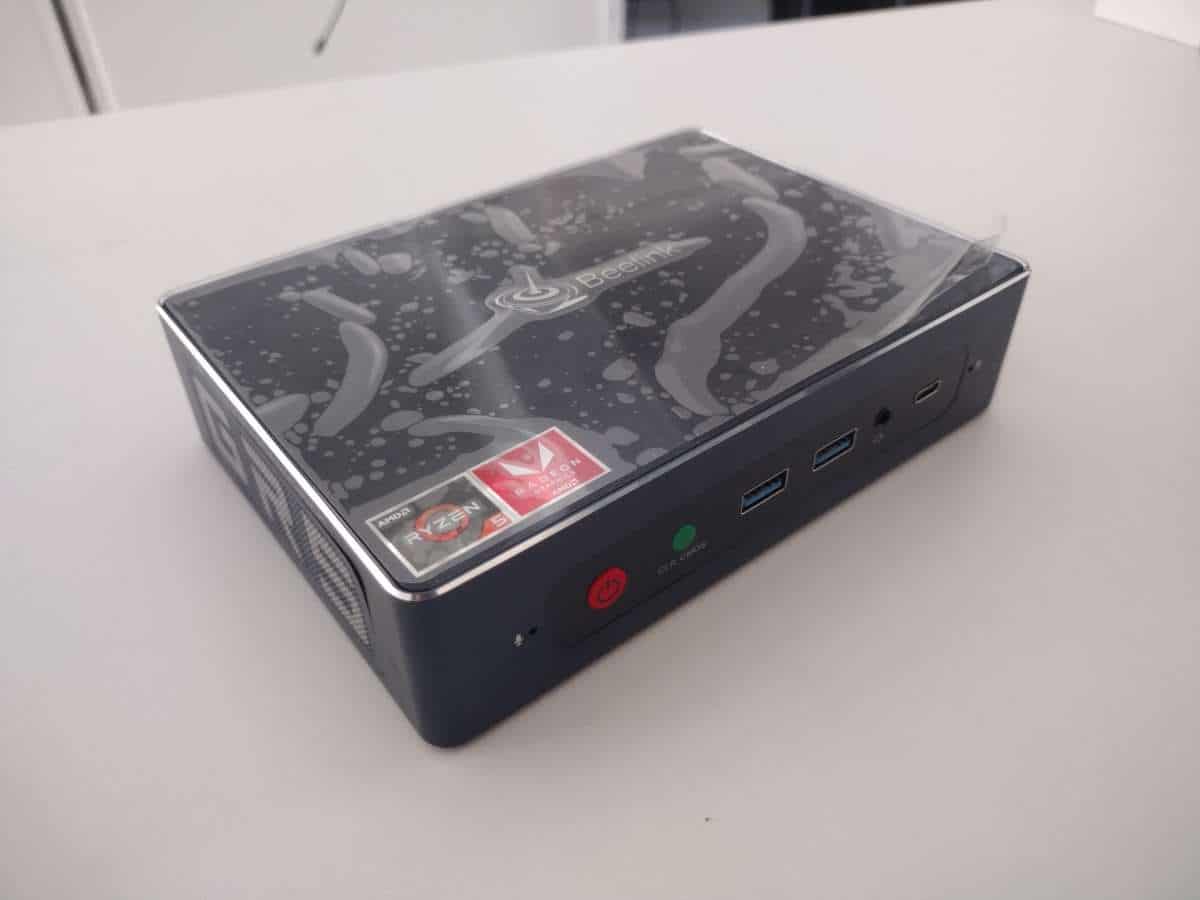
If you are looking to upgrade your Beelink GT-R, we at DroiX have put together a short guide to help you disassemble the unit and upgrade your device as soon as possible.
Step 1 – Remove the rear plate

To access the GT-R, first you must remove the bottom of the unit.
The bottom of the GT-R 4 is held in place by four cross-head screws, one in each corner of the device (circled in red). Once these screws are removed, you can easily lift the rear plate by pulling on the rubber tab (circledin yellow) that sticks up.
Step 2 – Remove the Heatsink/Mounting Bracket

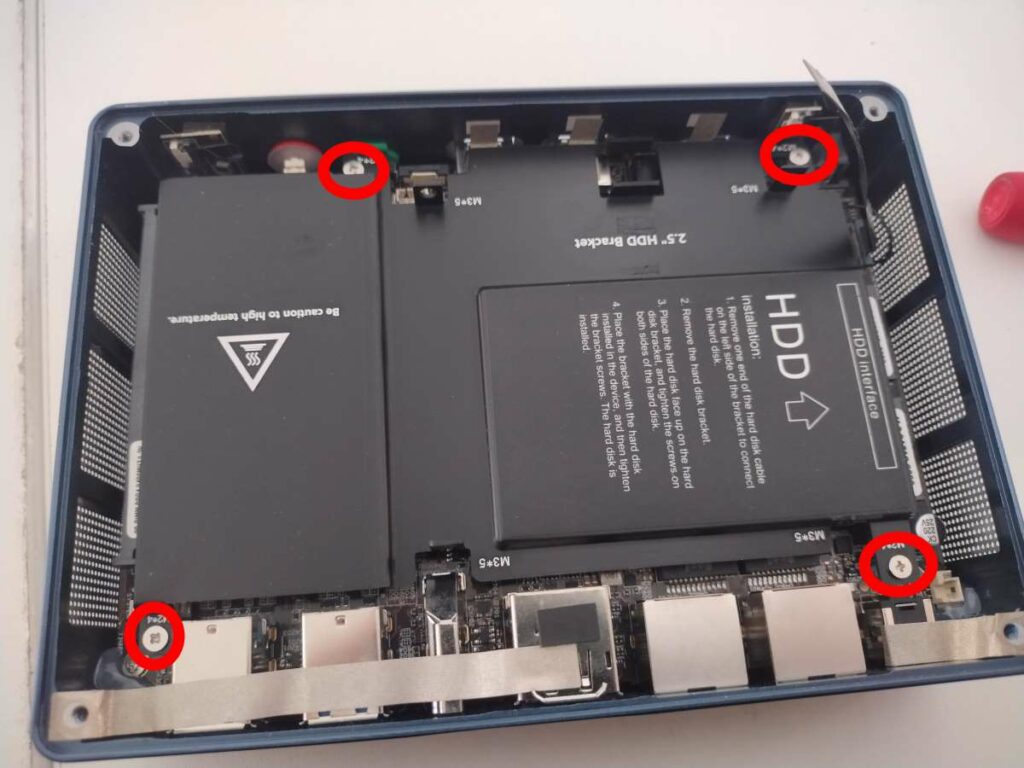
Inside the GT-R is a large metal plate that serves as both the mounting bracket for a 2.5-inch drive, and a heatsink for the SSD and RAM.
To remove this metal plate, you will once again need to unscrew four cross-head screws (circled in red). These are different than the ones used to fasten the metal plate, so don’t mix them up!
Once the screws are removed, you will be able to lift out the plate.
Note: The metal plate has two thermal cooling pads located where the SSDs are. Overtime, these can “stick” to the SSD, so you may need to use some light force to lift the plate. This is normal.
Step 3 – Replacing Components

You will now be at the heart of the Beelink GT-R. From here, you can upgrade and replace the components as you wish.
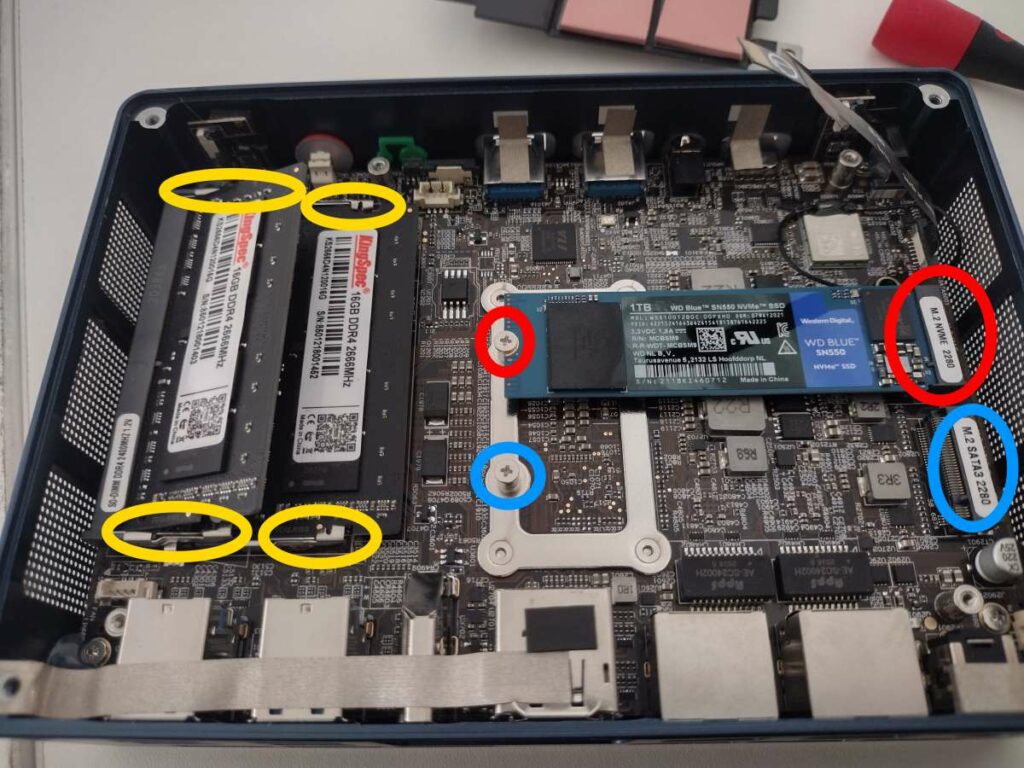
To remove the RAM, lightly pull the securing clips (outlined in yellow) outward until the stick springs up by itself. You can then pull it out without resistance.
To insert RAM, align the connectors with the slot, then once it is sitting in the socket comfortably, gently push it down until the securing clips “click” into place.
There are two separate M.2 SSD slots, and both can be in use simultaneously. However, they do not have the same specifications.
The slot circled in red is for an NVMe M.2 SSD. Newer and faster, but cheaper.
The slot circled in blue is for an M.2 SATA3 SSD. Slower and older, but cheaper.
Both slots require you to first remove the screw holding the SSD in position before you can change the SSD.
Afterword
With the above in mind, you should now be able to upgrade or strip your Beelink GT-R to your preferred configuration.
Thanks for reading our guide on how to upgrade the Beelink GT-R’s RAM and SSD.
We hope that you’ve found this guide to be of use. If you’re looking to purchase a Beelink GT-R of your own, you can buy a Beelink GT-R from DroiX — with top-class customer support, affordable prices, and fast shipping, there’s no better seller of mini PC’s around!


