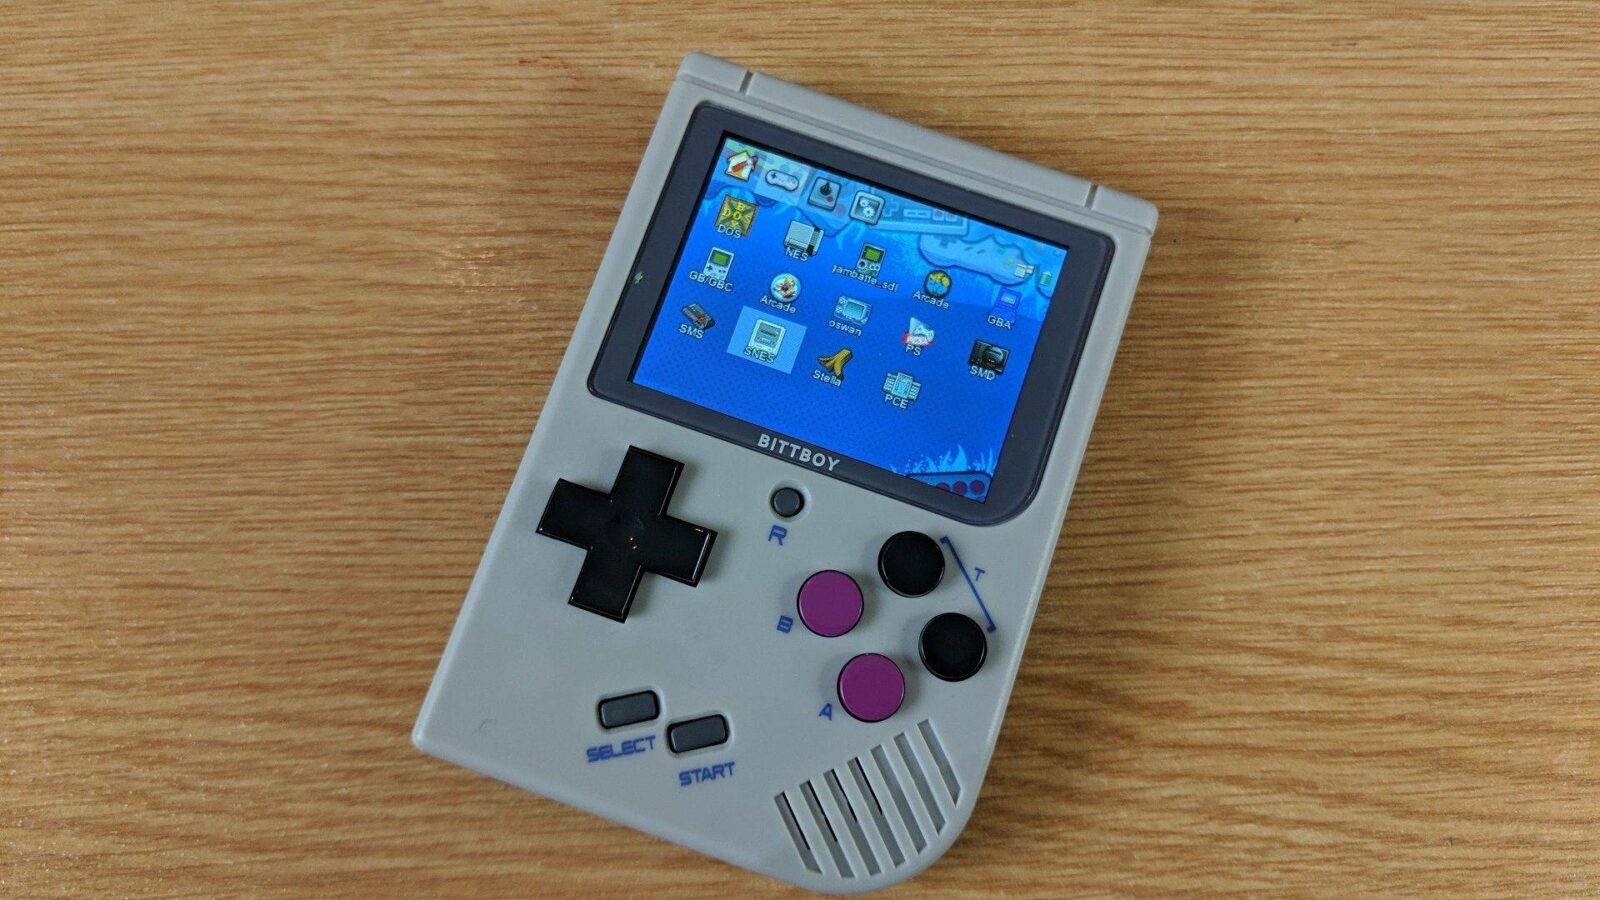
Where to buy the BittBoy v3?
You can purchase the BittBoy v3 from us at https://droidbox.co.uk/bittboy-v2-retro-gaming-emulator-portable-handheld.html
If you already have the Bittboy Custom Firmware installed, you can save some time by updating the Micro SD Card with the new files instead of fully writing the firmware image file as described here. This saves time as you will not need to copy any of your game files back on the SD Card afterwards.
You will need
- 7-Zip Archive Manager – https://www.7-zip.org/
- The latest Custom Firmware, you can find it at https://www.droidboxforums.com/forums/bittboy-retro-gaming-handheld.145/
How to update the Custom Firmware
First download and install 7-Zip from https://www.7-zip.org/.
Download and unzip the latest Custom Firmware. You should have the firmware image file with the filename extension .img
Right Click on the .img file
Choose 7-Zip from the menu then Open archive
You will see a number of files. Highlight 3.fat and Right Click on it, then choose Open
A new window will appear showing all of the files available for extraction. Highlight all folders and files except the roms folder as shown in the image below.
Note: If you are having trouble highlighting the correct files/folders then click the first file/folder at the top, hold the Shift keyboard button, then click on the bottom file/folder. Release the Shift key, then press the CTRL key and click once on the roms folder. They should all now be highlighted except the roms folder.
(Click image for larger version)
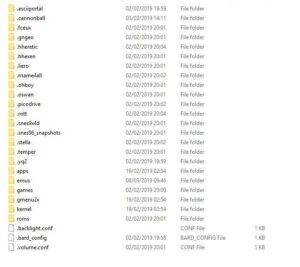
Insert your Bittboy Micro SD Card into your PC and cancel any prompts to Format, we do not want to do this. Navigate to the drive named main. You will see files/folders similar to below.
(Click image for larger version)
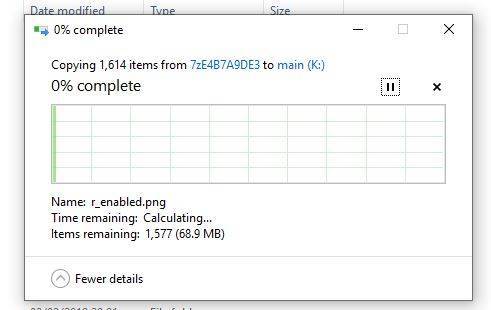
Now, drag and drop all the files/folders that you highlighted on to the Micro SD Card main drive. You will get a prompt to overwrite files/folders, choose Yes To All and it will proceed to copy over all of the files/folders. This process may take a few minutes to complete.
Once the file copying process has completed, Right Click on the Micro SD Card and choose Eject.
You can now remove the Micro SD Card, insert it back into the Bittboy and enjoy the updated firmware.


