
Updating the BIOS on your GPD WIN 5 is a crucial step for optimizing performance, improving system stability, and ensuring compatibility with the latest software. While the idea of flashing firmware can sometimes seem technical, GPD has provided a user-friendly utility that automates most of the work. This guide will walk you through the entire procedure step-by-step—from extracting the files to the final reboot—ensuring you can safely upgrade your device without any guesswork.
Please note that while BIOS updating is generally fine, there are risks. Please ensure you follow all steps correctly, identify that you are installing the correct BIOS for your device, have a fully charged battery and also connected to a charger. Do not switch off the device unless instructed to. We do not accept responsibility if something goes wrong.
Download the BIOS Update
Begin by downloading the GPD WIN 5 BIOS update here. Unzip or extract the folder’s contents directly onto your device’s storage. Inside, you will locate an executable file with a name resembling BIOS_WIN5_V2.25_GPD.exe, though the specific numbers may change based on the version you are installing.
Changes in v2.25 are:
- Upgrade codebase to PI1.0.0.2a_110 from PI1.0.0.2_109.
- Update DDR ID mapping.
BIOS Update First Stage
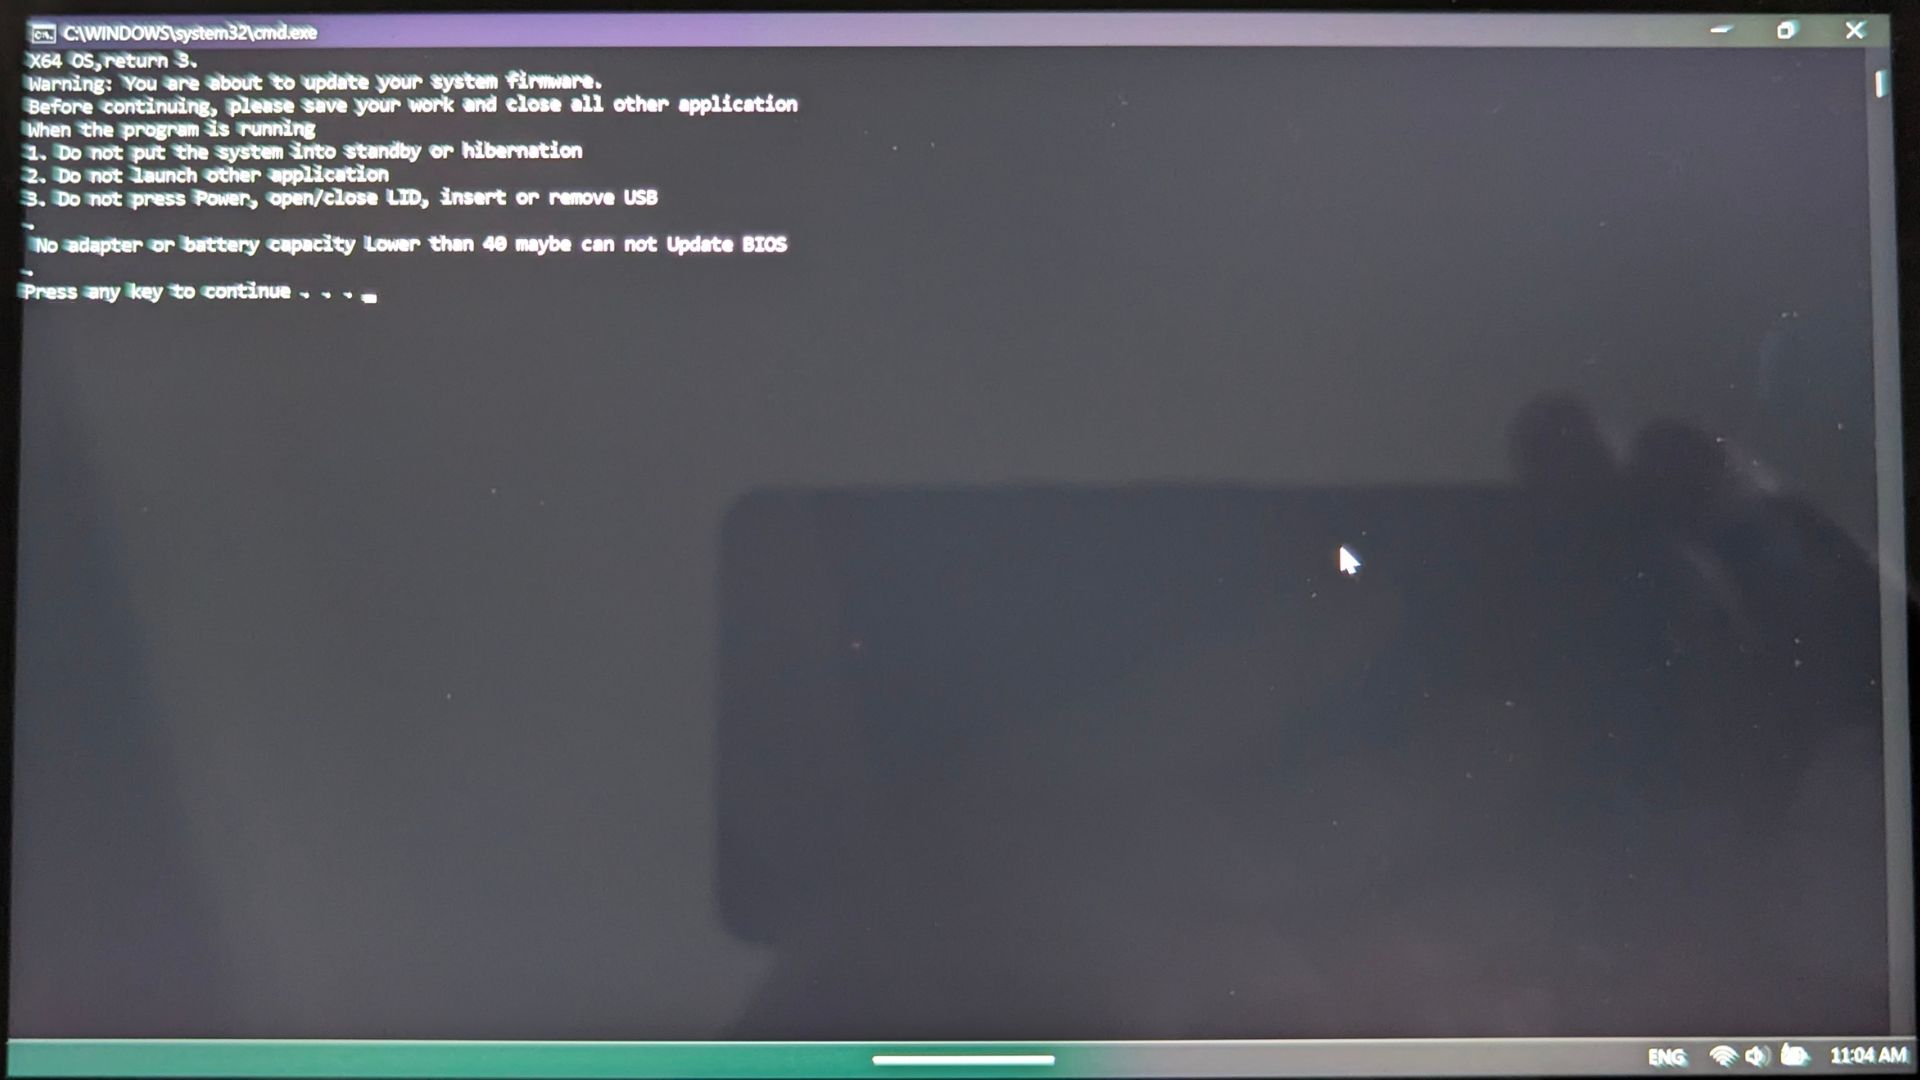
Launch the BIOS_WIN5_V2.25_GPD.exe application. After a brief pause, a command window will pop up displaying system information and a request to press a key to proceed. Take a moment to review the text on the screen, and when you are prepared, press any key on the keyboard to move forward.
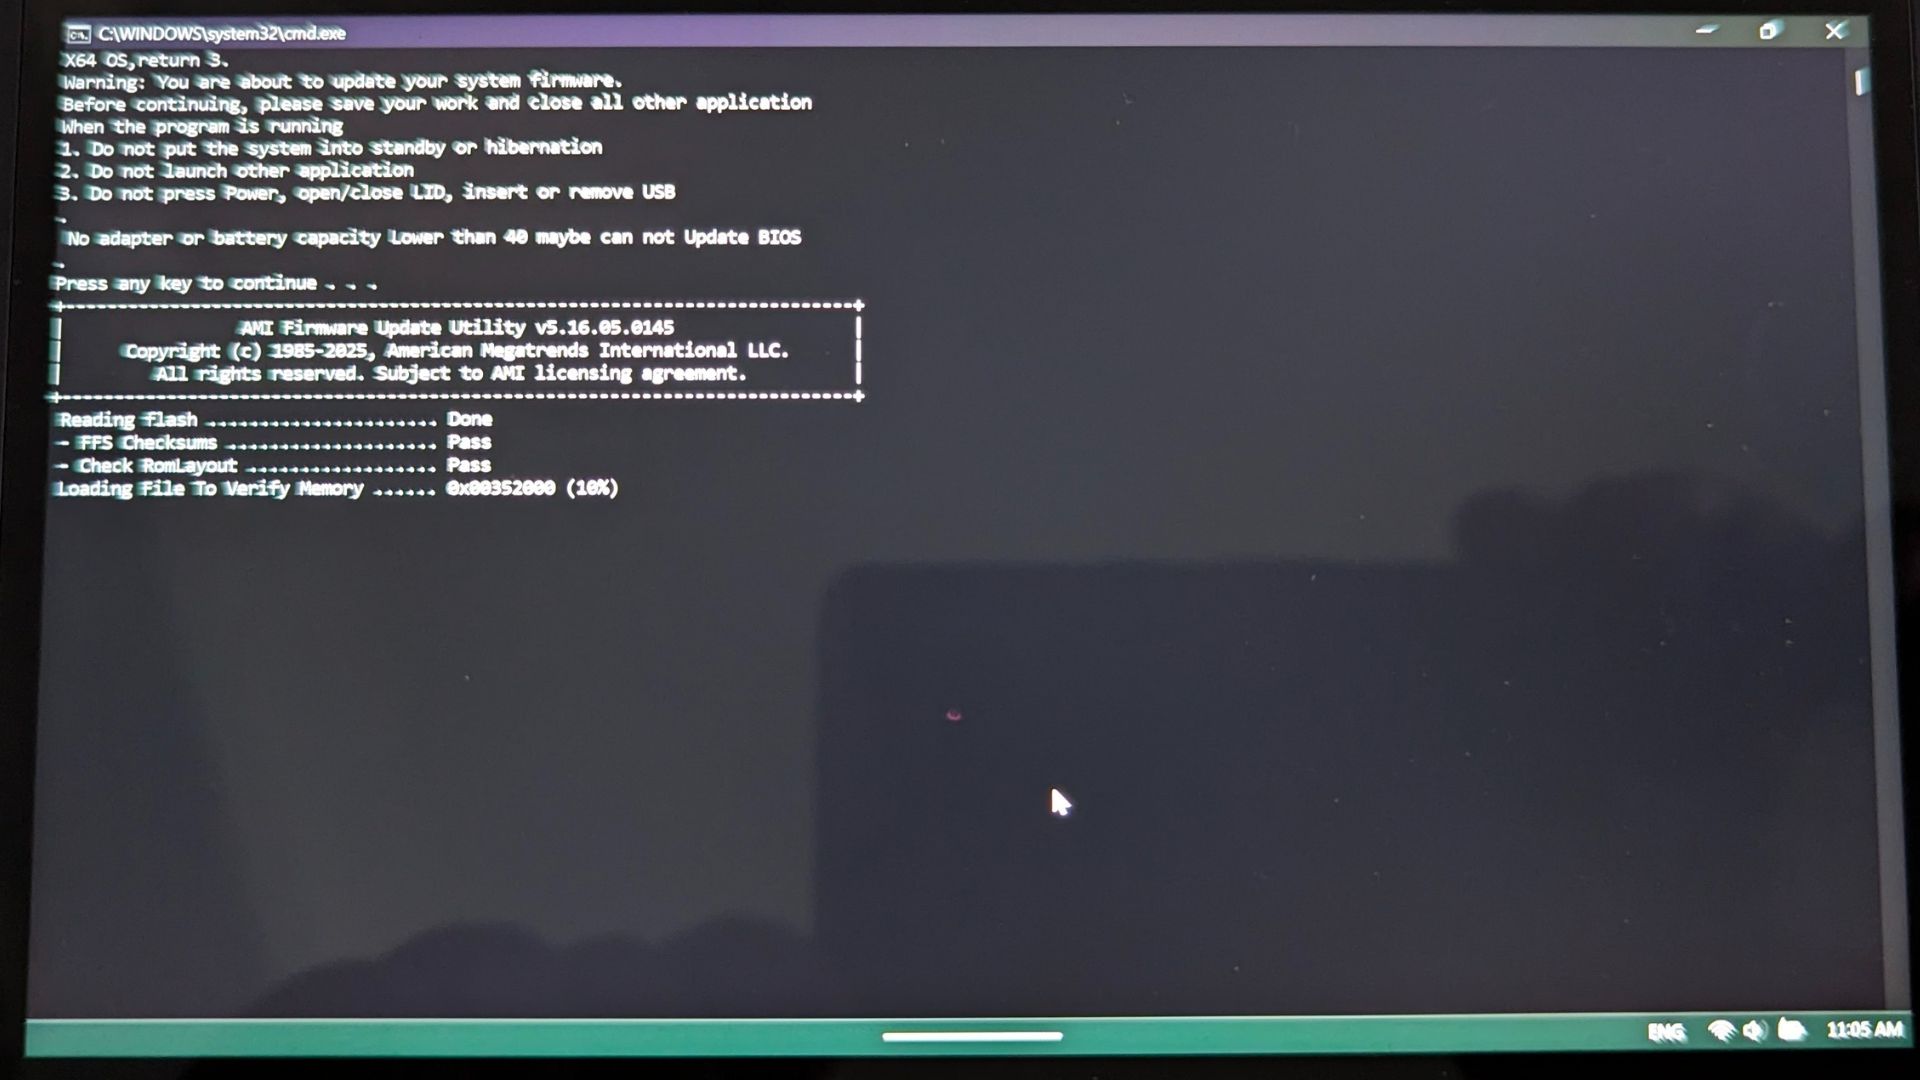
The utility will immediately begin a series of diagnostic checks to verify system integrity. You can expect this validation phase to last only a few minutes.
When the diagnostics are finished, the system will ask for confirmation to restart the device and finalize the installation. You will see a prompt asking for a YES or NO response. Simply type Y to proceed with the reboot or N if you wish to abort the process.

BIOS Update Second Stage
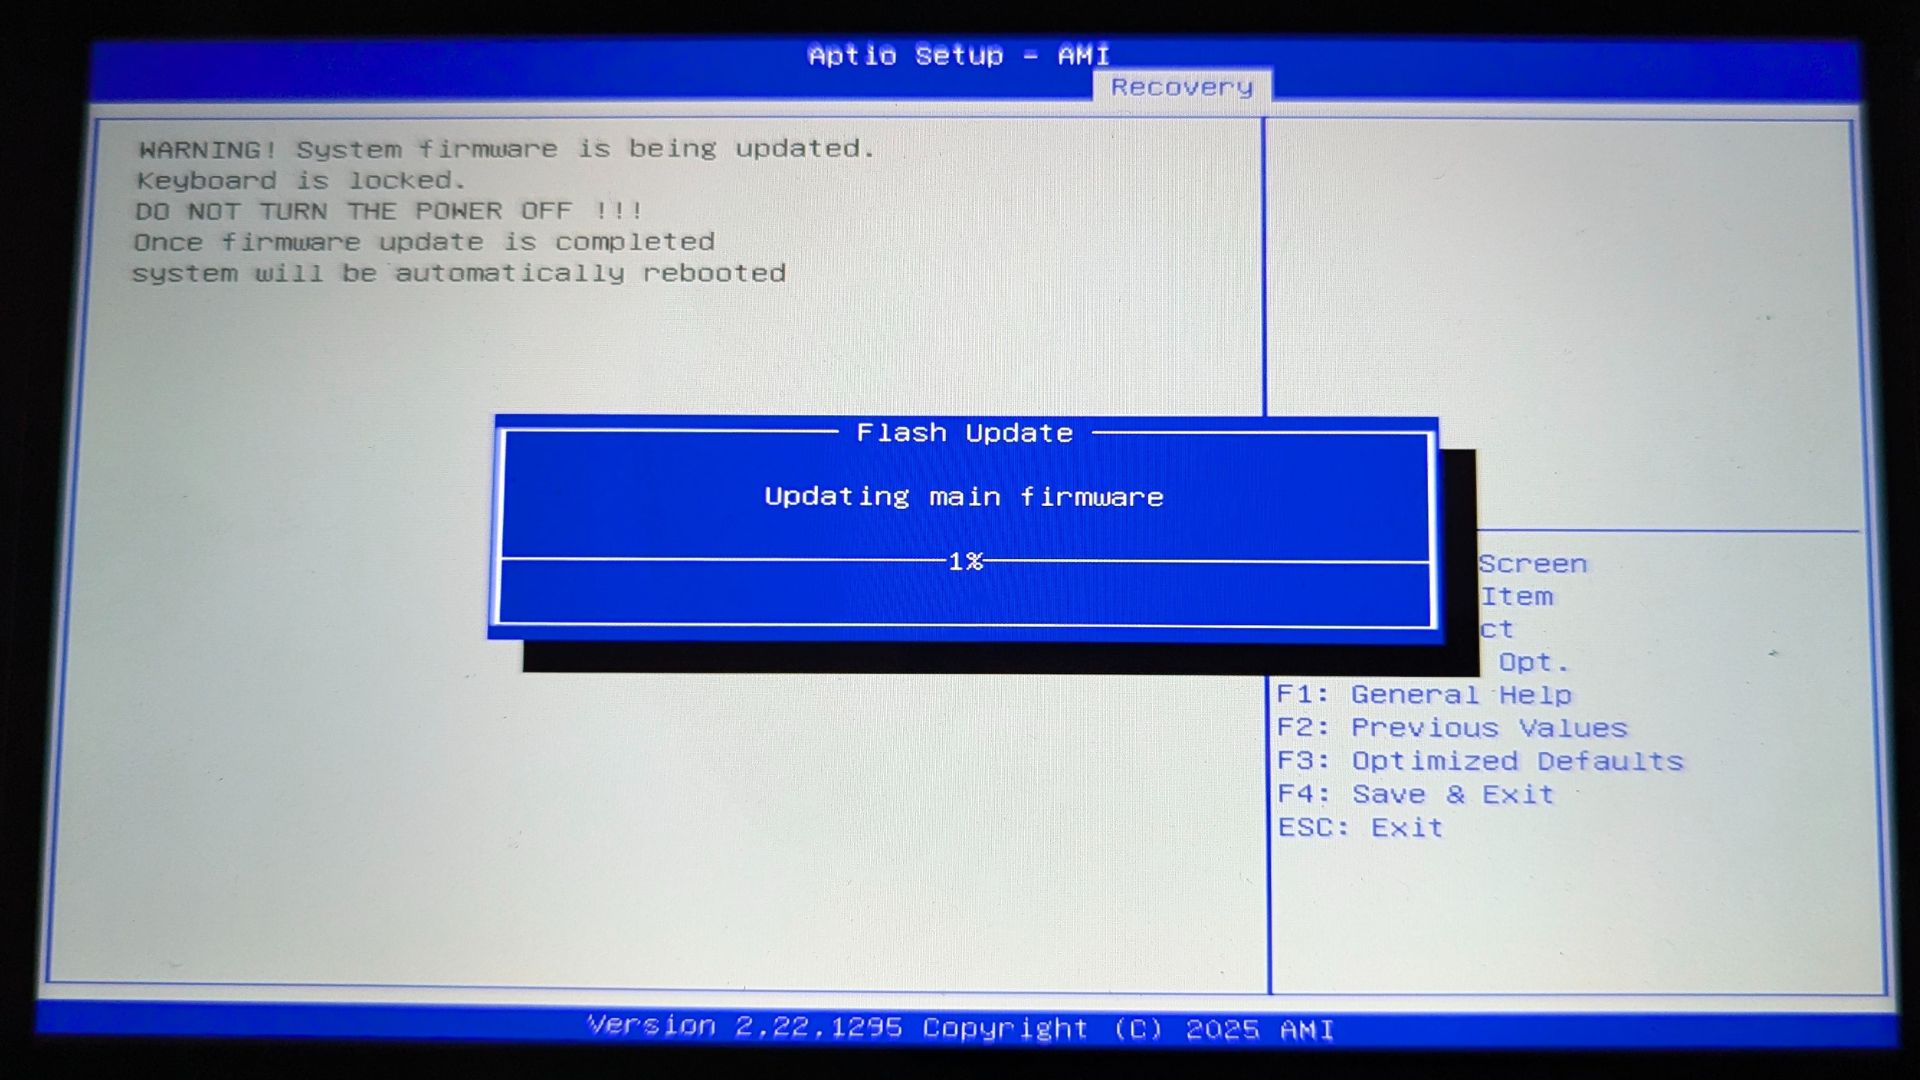
Your GPD WIN 5 will restart and enter the dedicated BIOS flashing interface. There will be a short delay before the actual procedure kicks in; it might appear as if the device is idle, but please be patient and allow it to run its course.
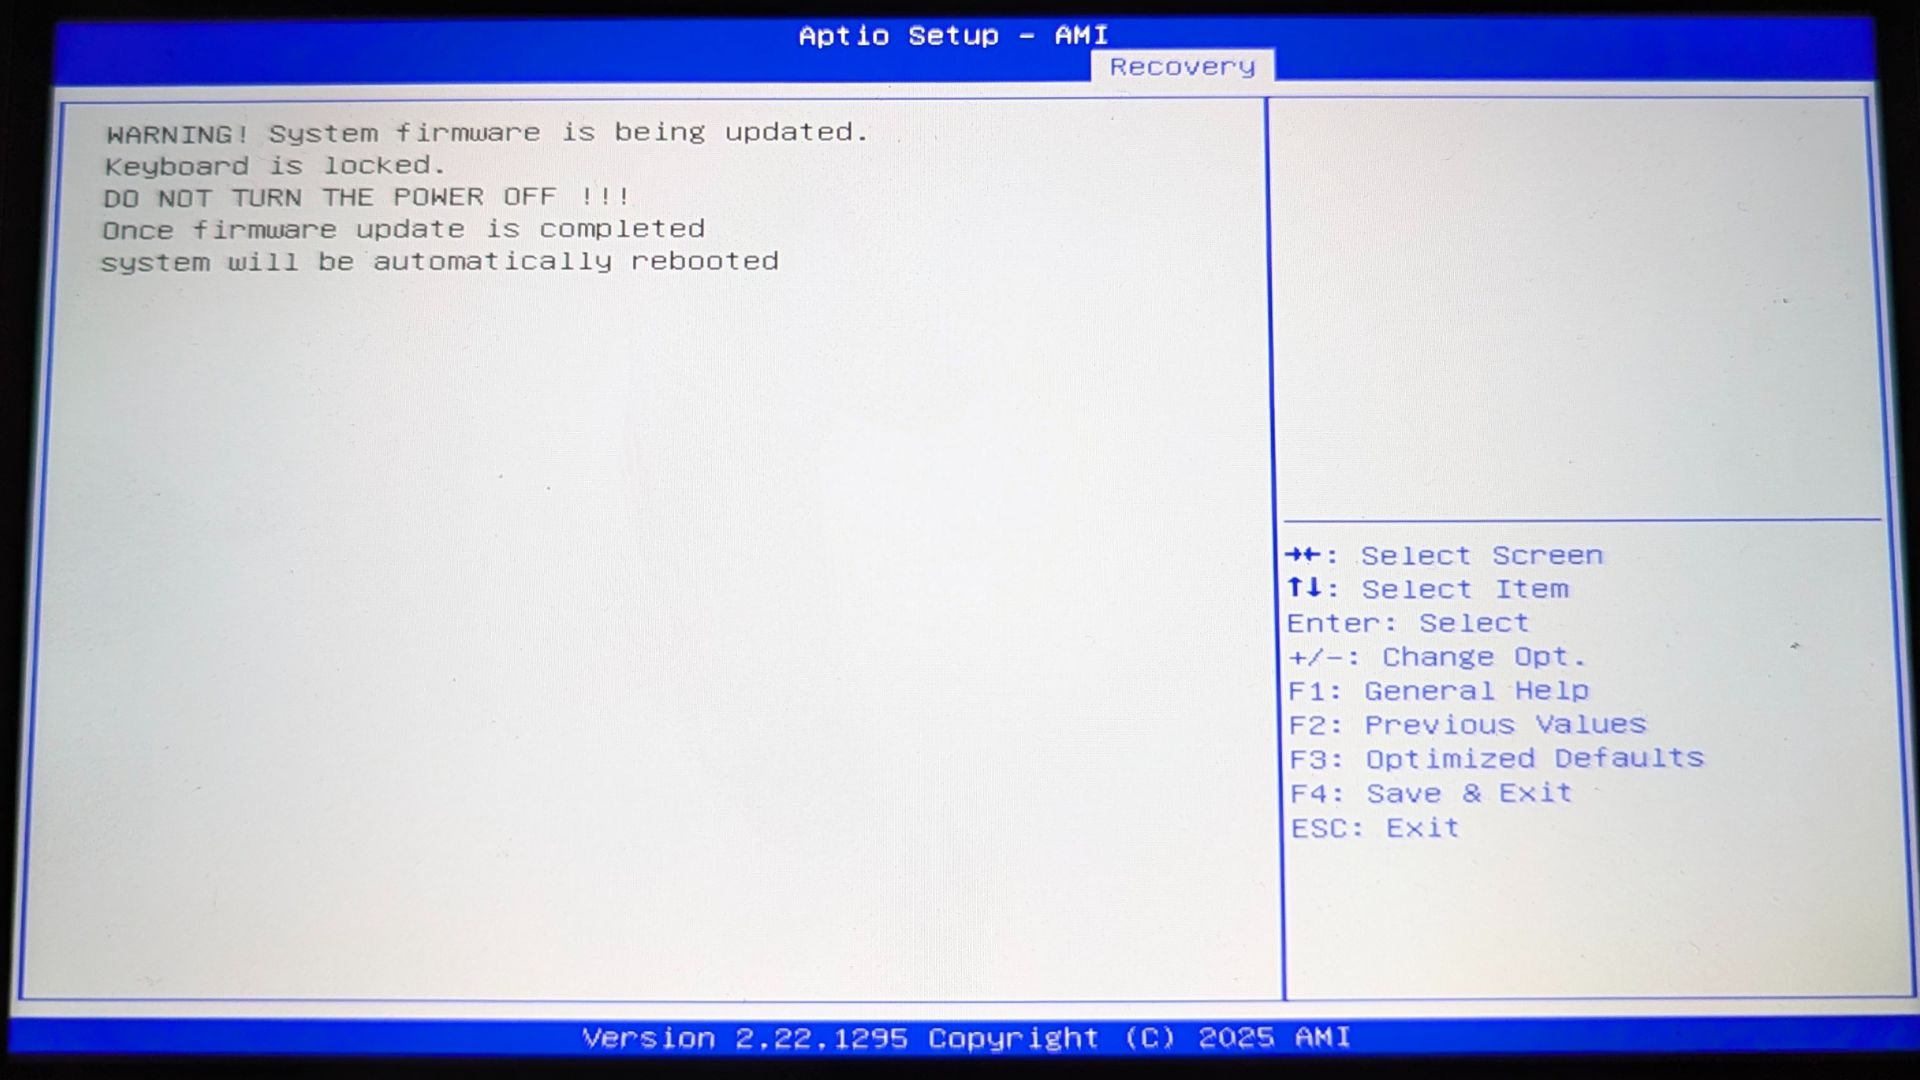
The firmware installation will officially start, showing a progress bar or status indicators on the display. It is absolutely critical that you do not turn off the device or interact with any buttons, joysticks, or the touchscreen while this operation is active.
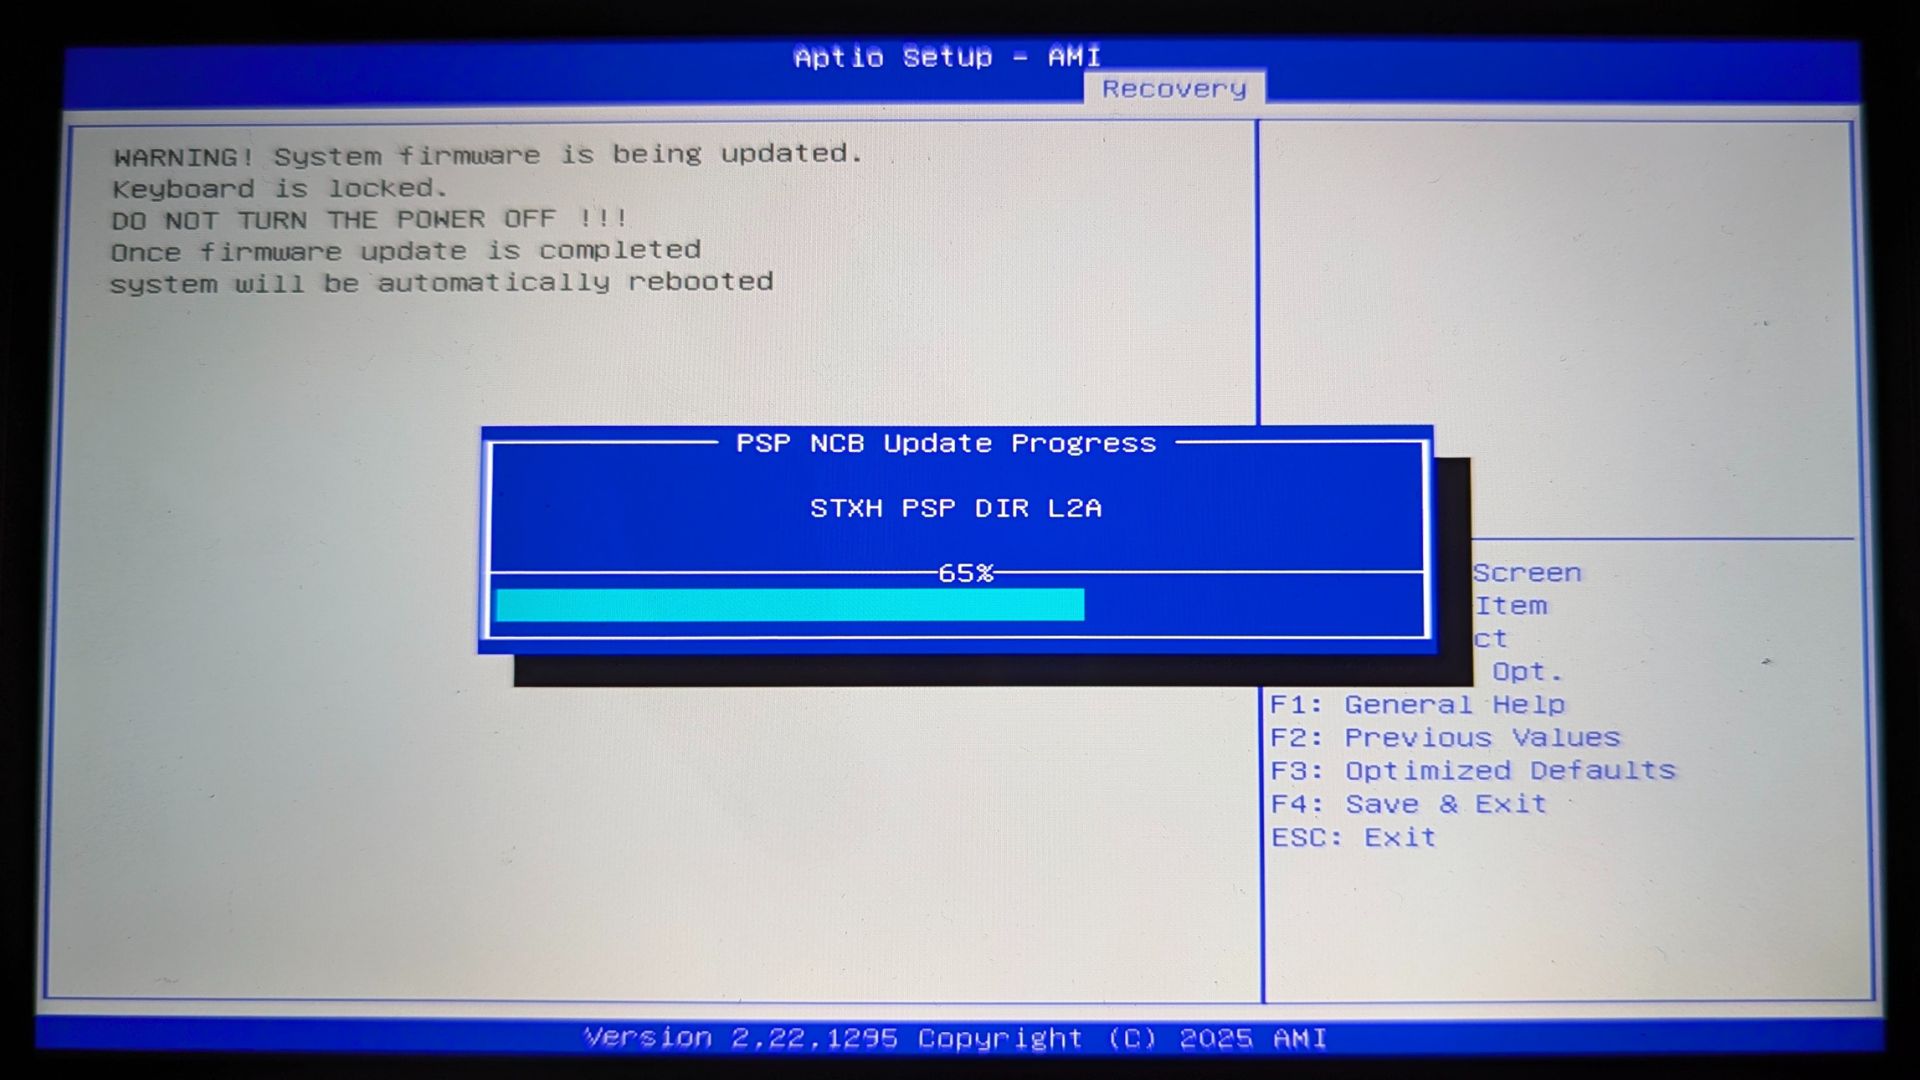
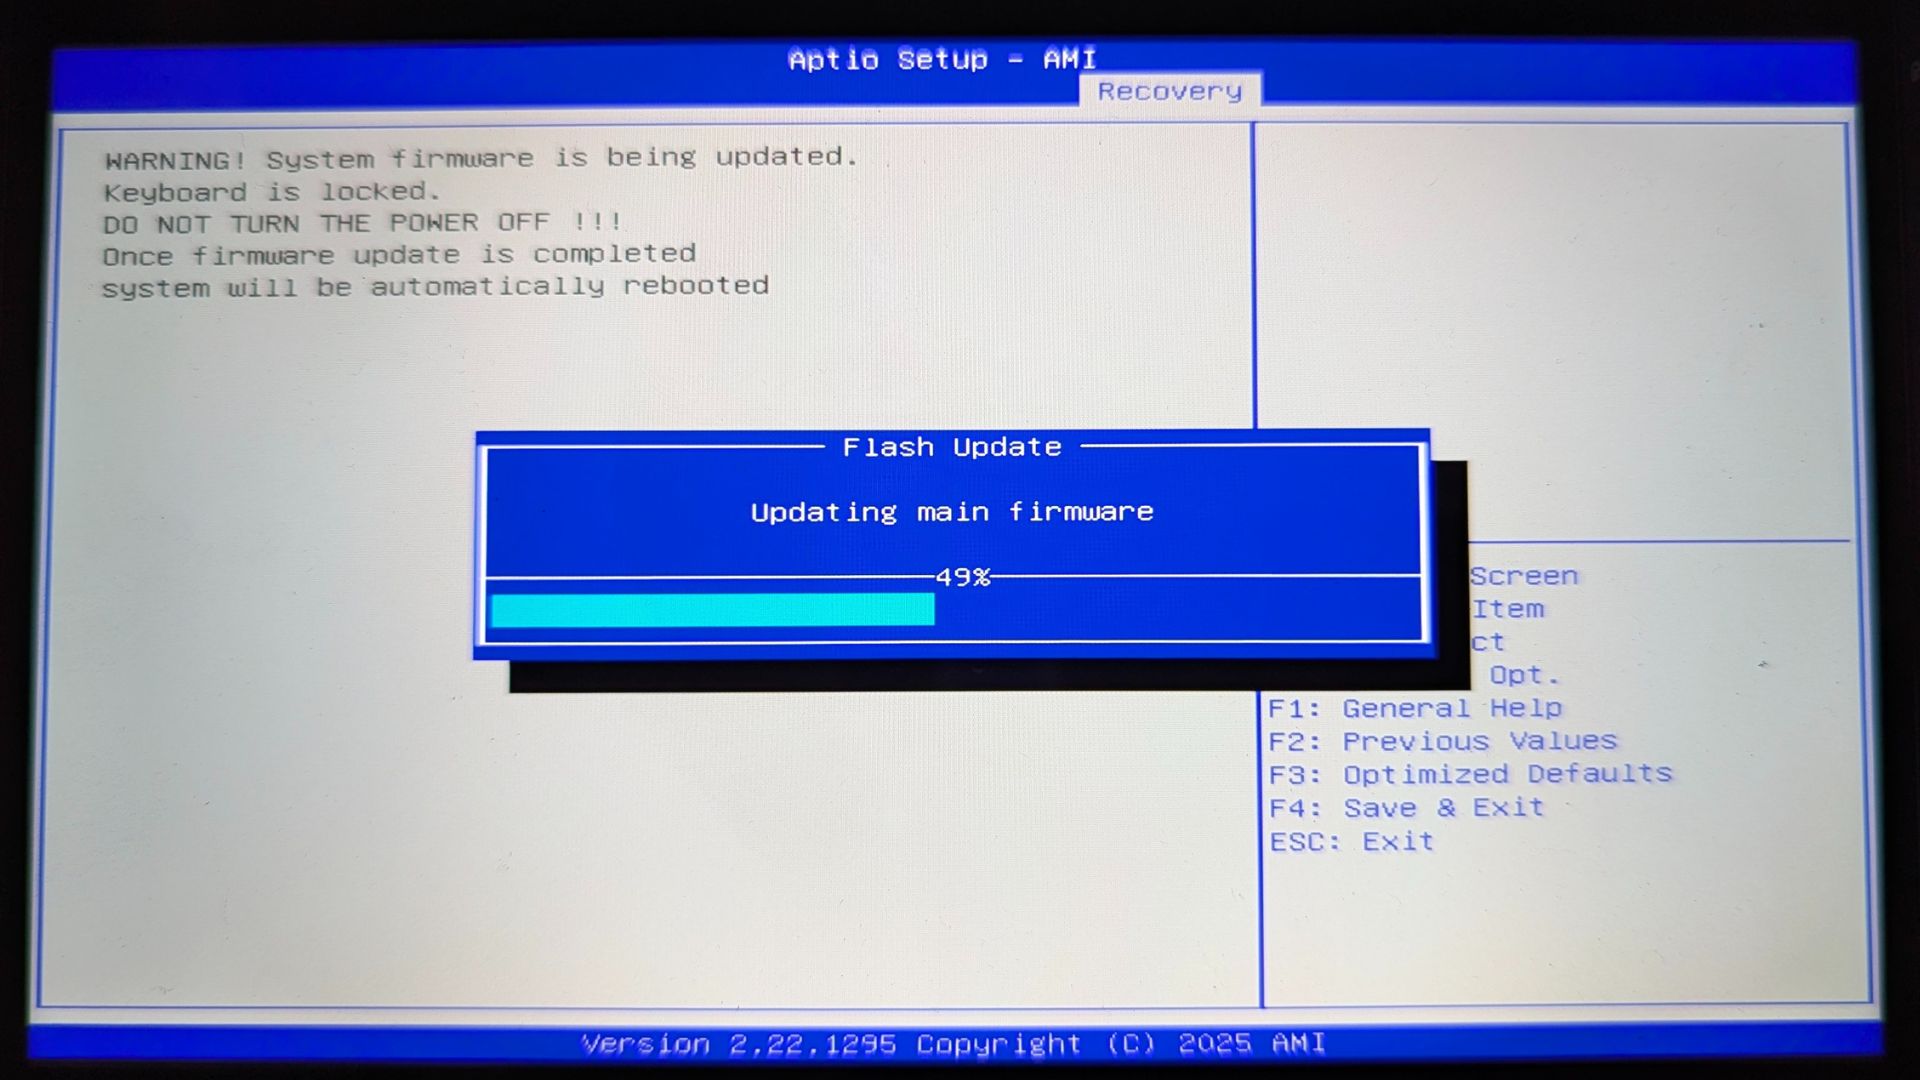
Second Stage Updating BIOS
Once the installation phase concludes, the device will reboot automatically, resulting in a black screen that persists for one or two minutes. As before, refrain from touching any controls or forcing a shutdown during this sensitive phase. The process is only finished when the device completely powers down; you will know it is safe when the internal cooling fan stops spinning and the noise ceases.

BIOS Update Third Stage
Verify that the GPD WIN 5 has completely shut down. Next, press and hold the power button for a few seconds to turn it back on. Be aware that this initial boot will be slower than a standard startup because the system is performing final configurations and checks. Do not attempt to power off or press buttons while waiting for the screen to activate.

When these checks are done, Windows will boot up as usual, indicating the process is successful and you are free to resume using your handheld.

Checking the BIOS version
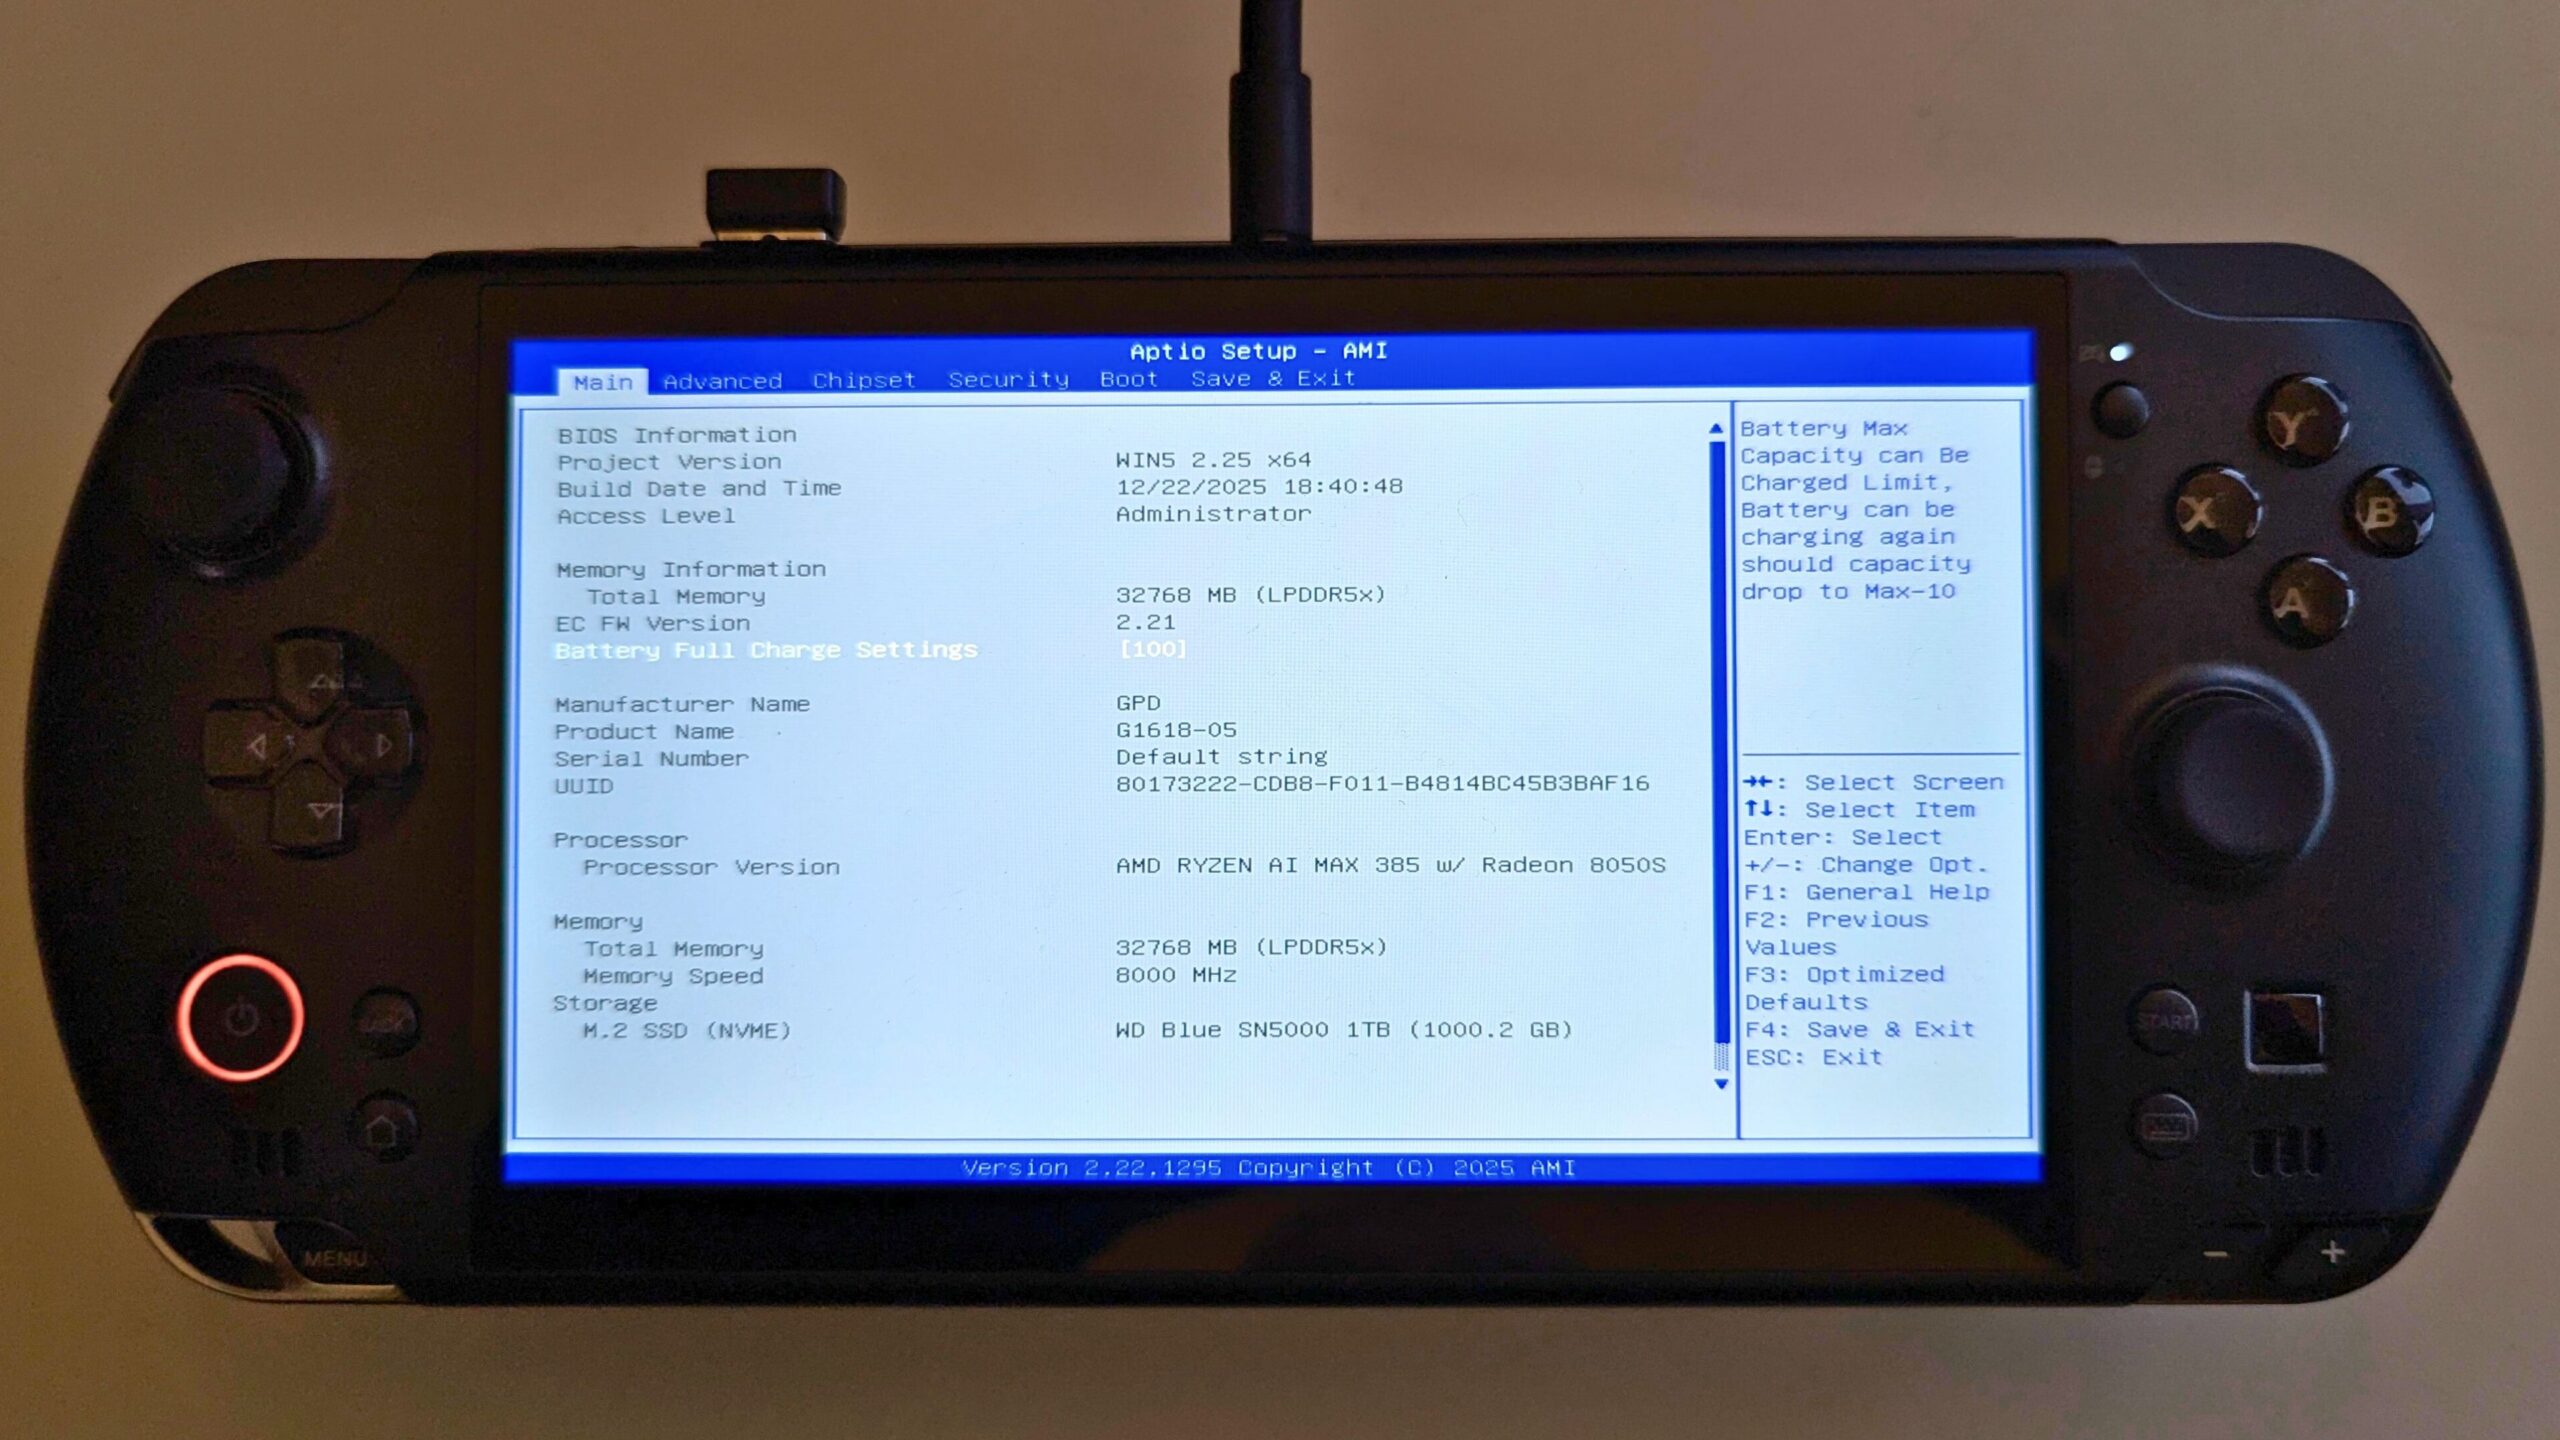
To verify the installation was successful, you must access the BIOS menu. This requires plugging in an external keyboard via USB to the GPD WIN 5. Power on the device and immediately tap the ESC key repeatedly.
In the BIOS menu, you can verify the update by looking at the Project Version (e.g., WIN5 2.25 x64) and the EC FW Version (e.g., 2.21).