Installing a 2.5″ HDD or SSD into your DroiX Proteus 11 takes just a few minutes. Below we have a video guide and step by step text guide if you prefer to use that.
Video Guide
Text Guide
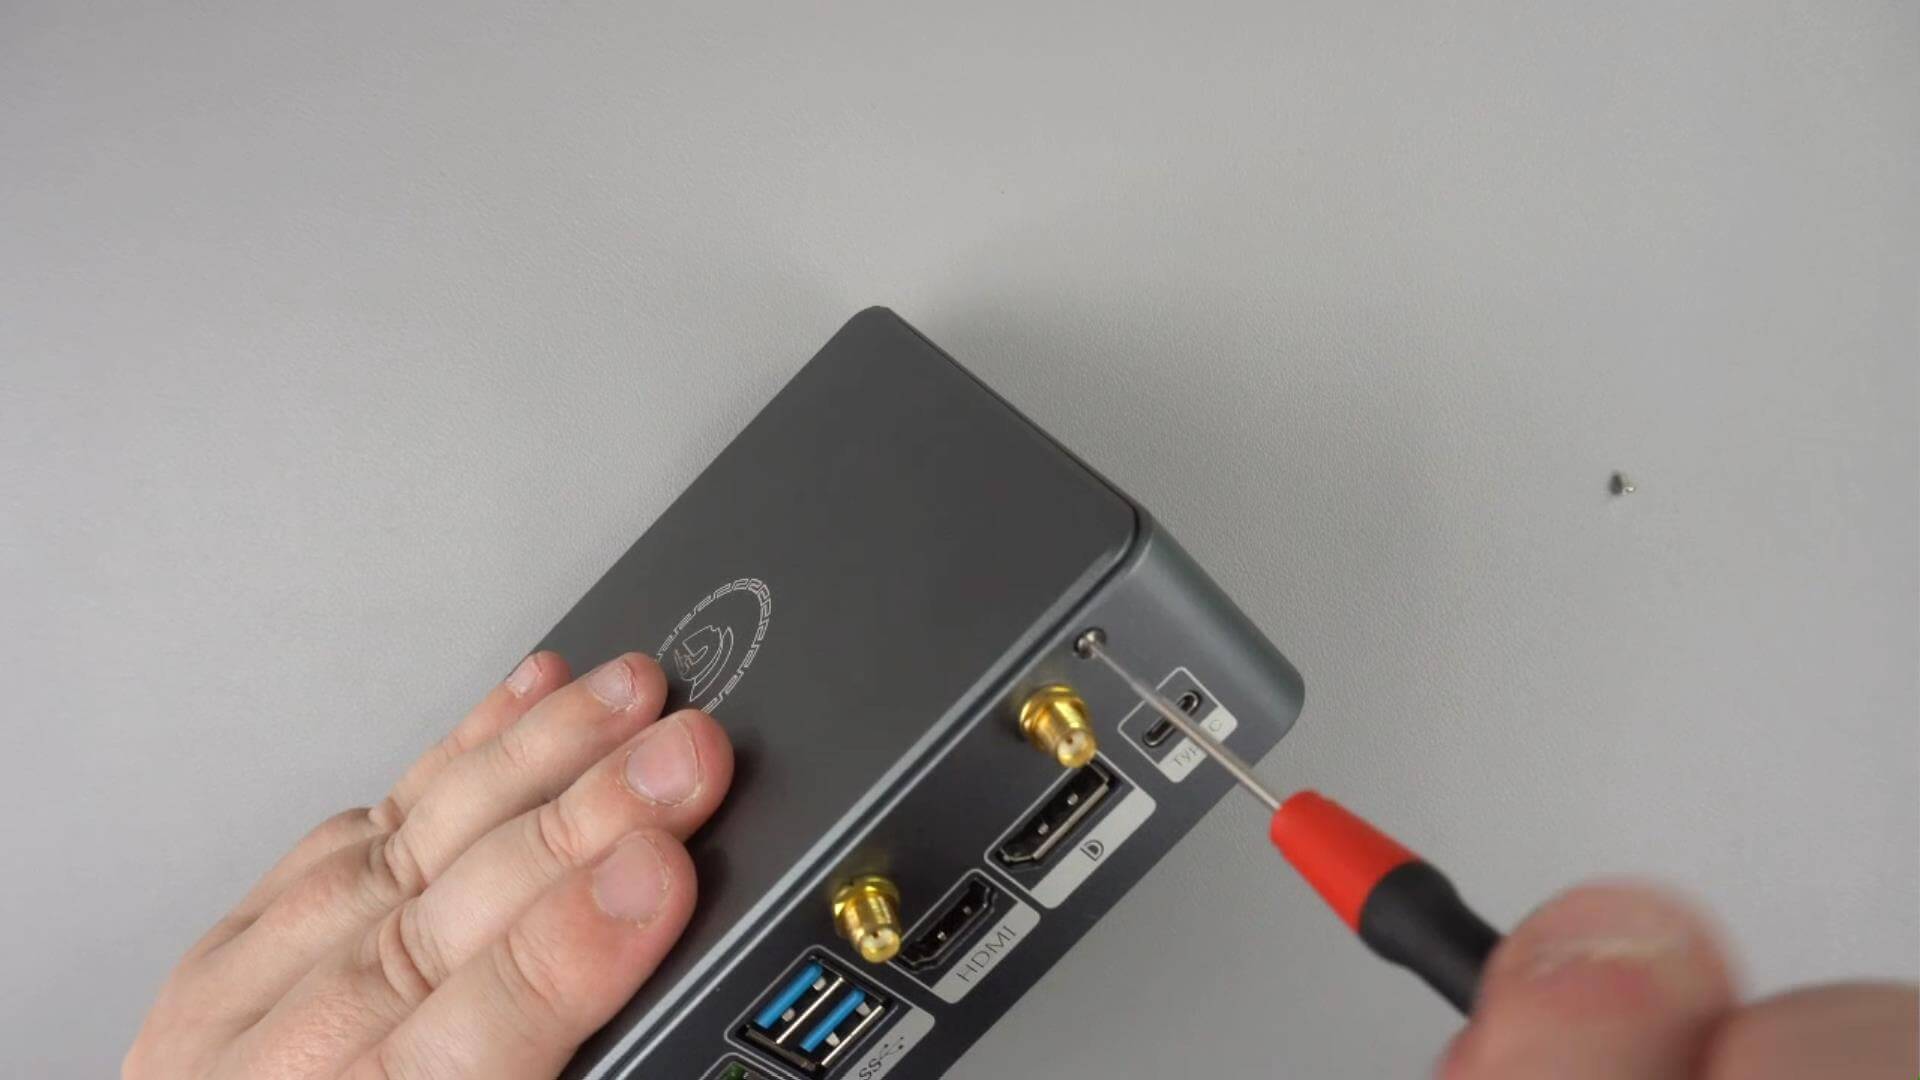
Remove the two screws located on the back on the DroiX Proteus 11.
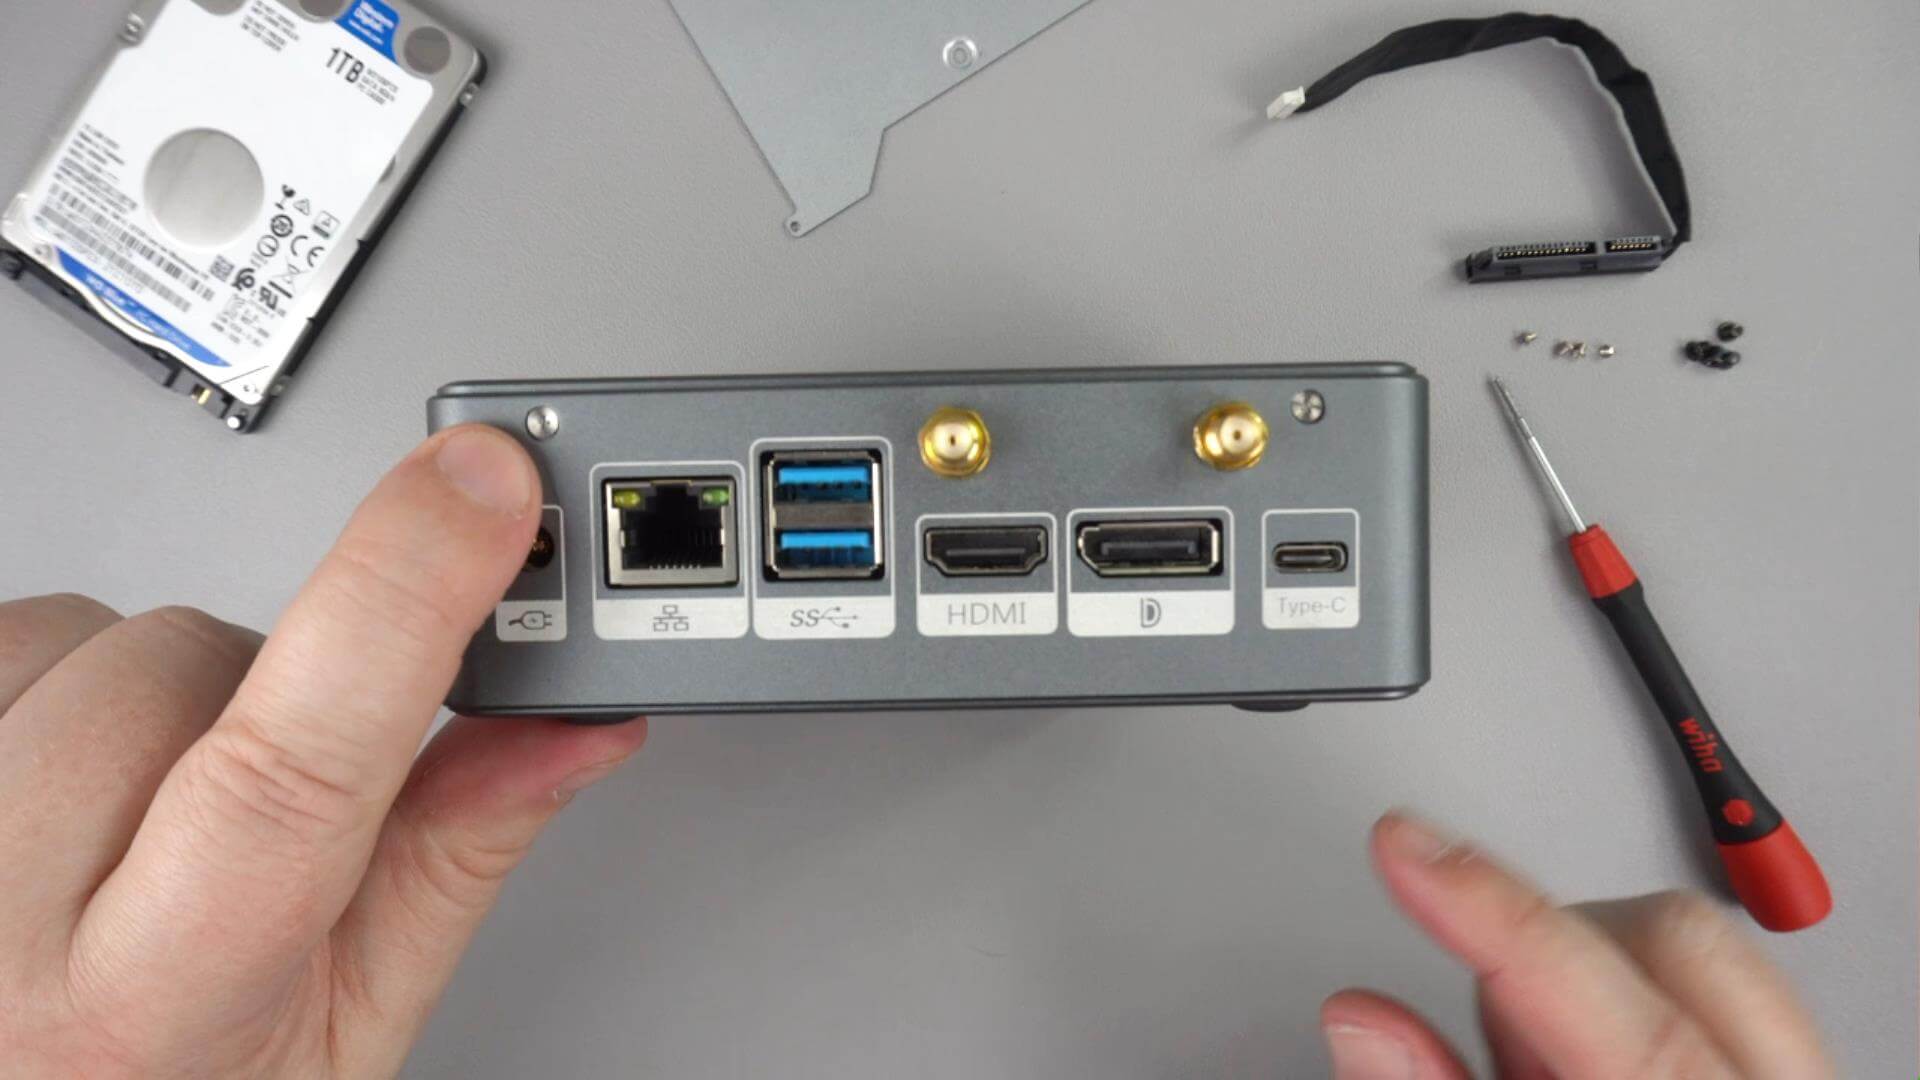
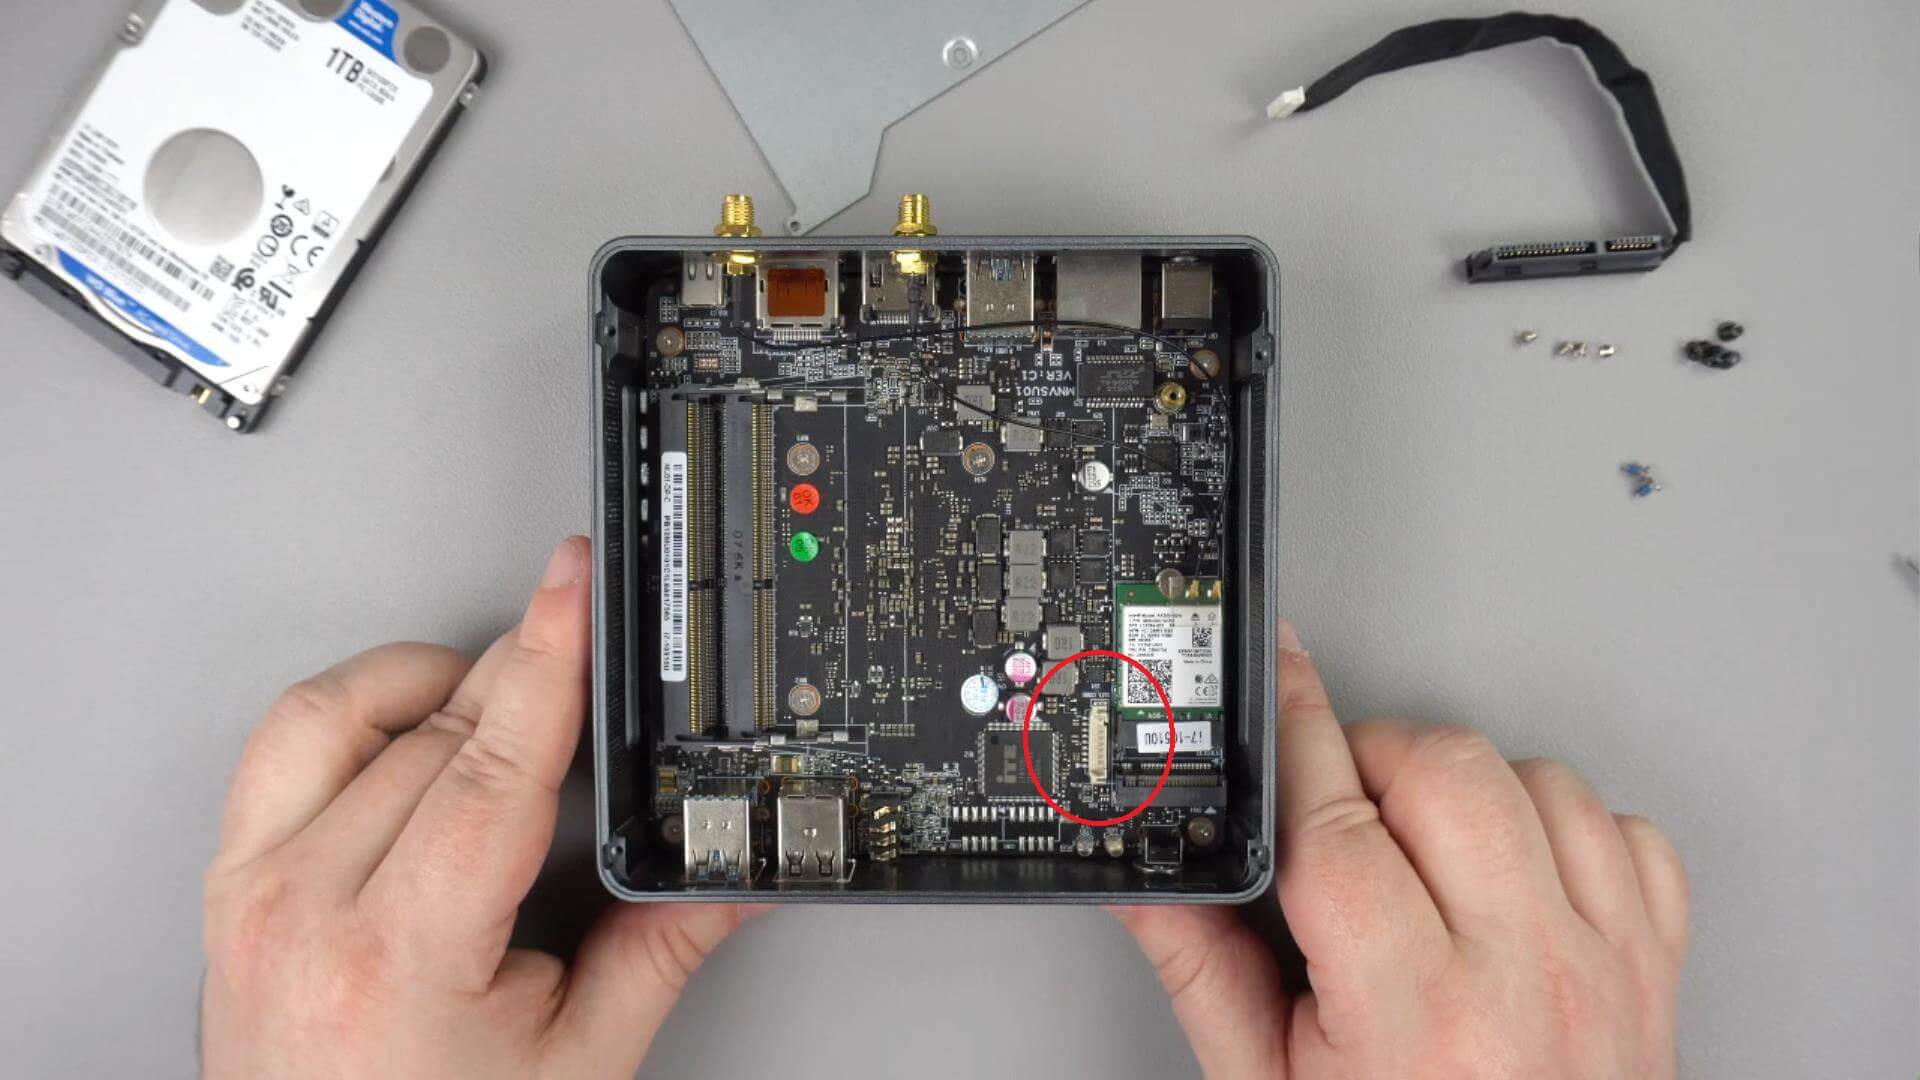
Connect the SATA cable to the indicated port on the motherboard. It can only be inserted one way.
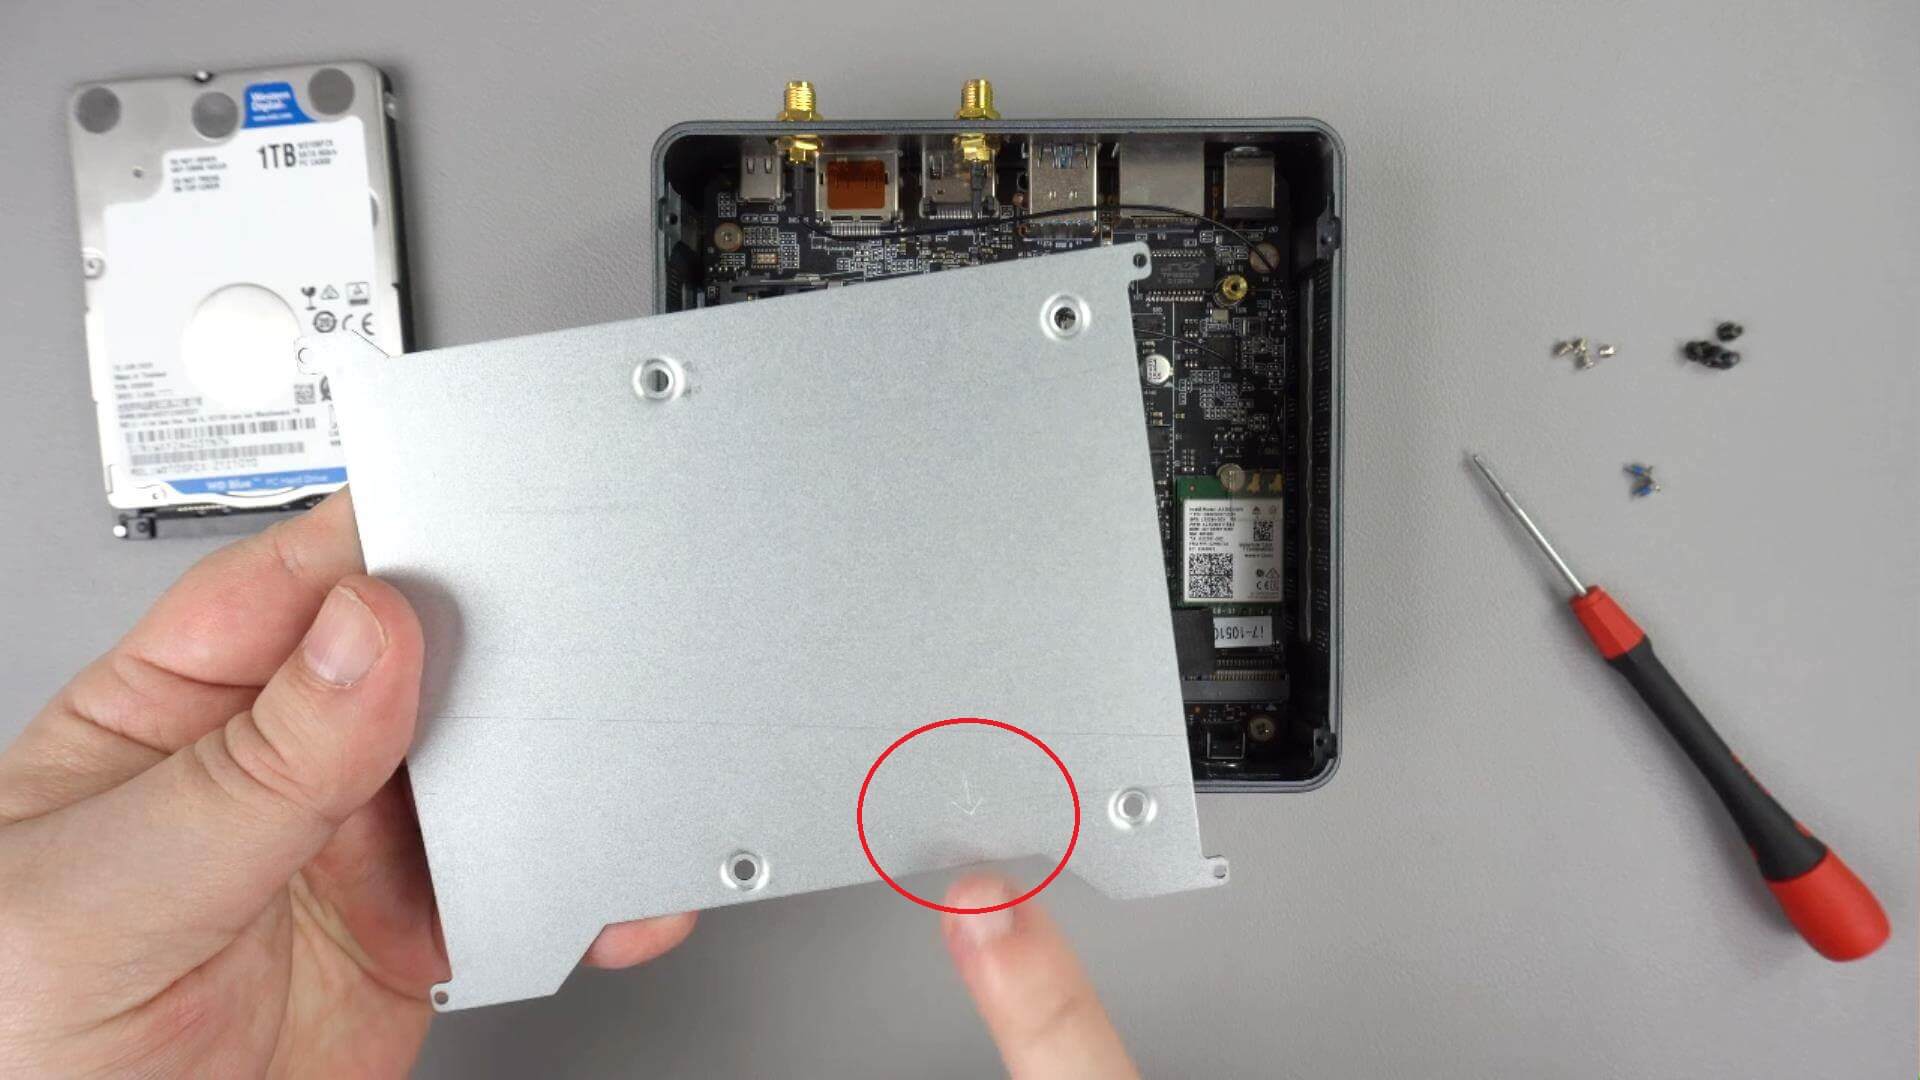
The metal plate which holds the HDD or SSD will have an arrow on one side indicating the direction that it should be fitted to the Proteus 11 case. The arrow should be facing the front of the case and visible from the top.
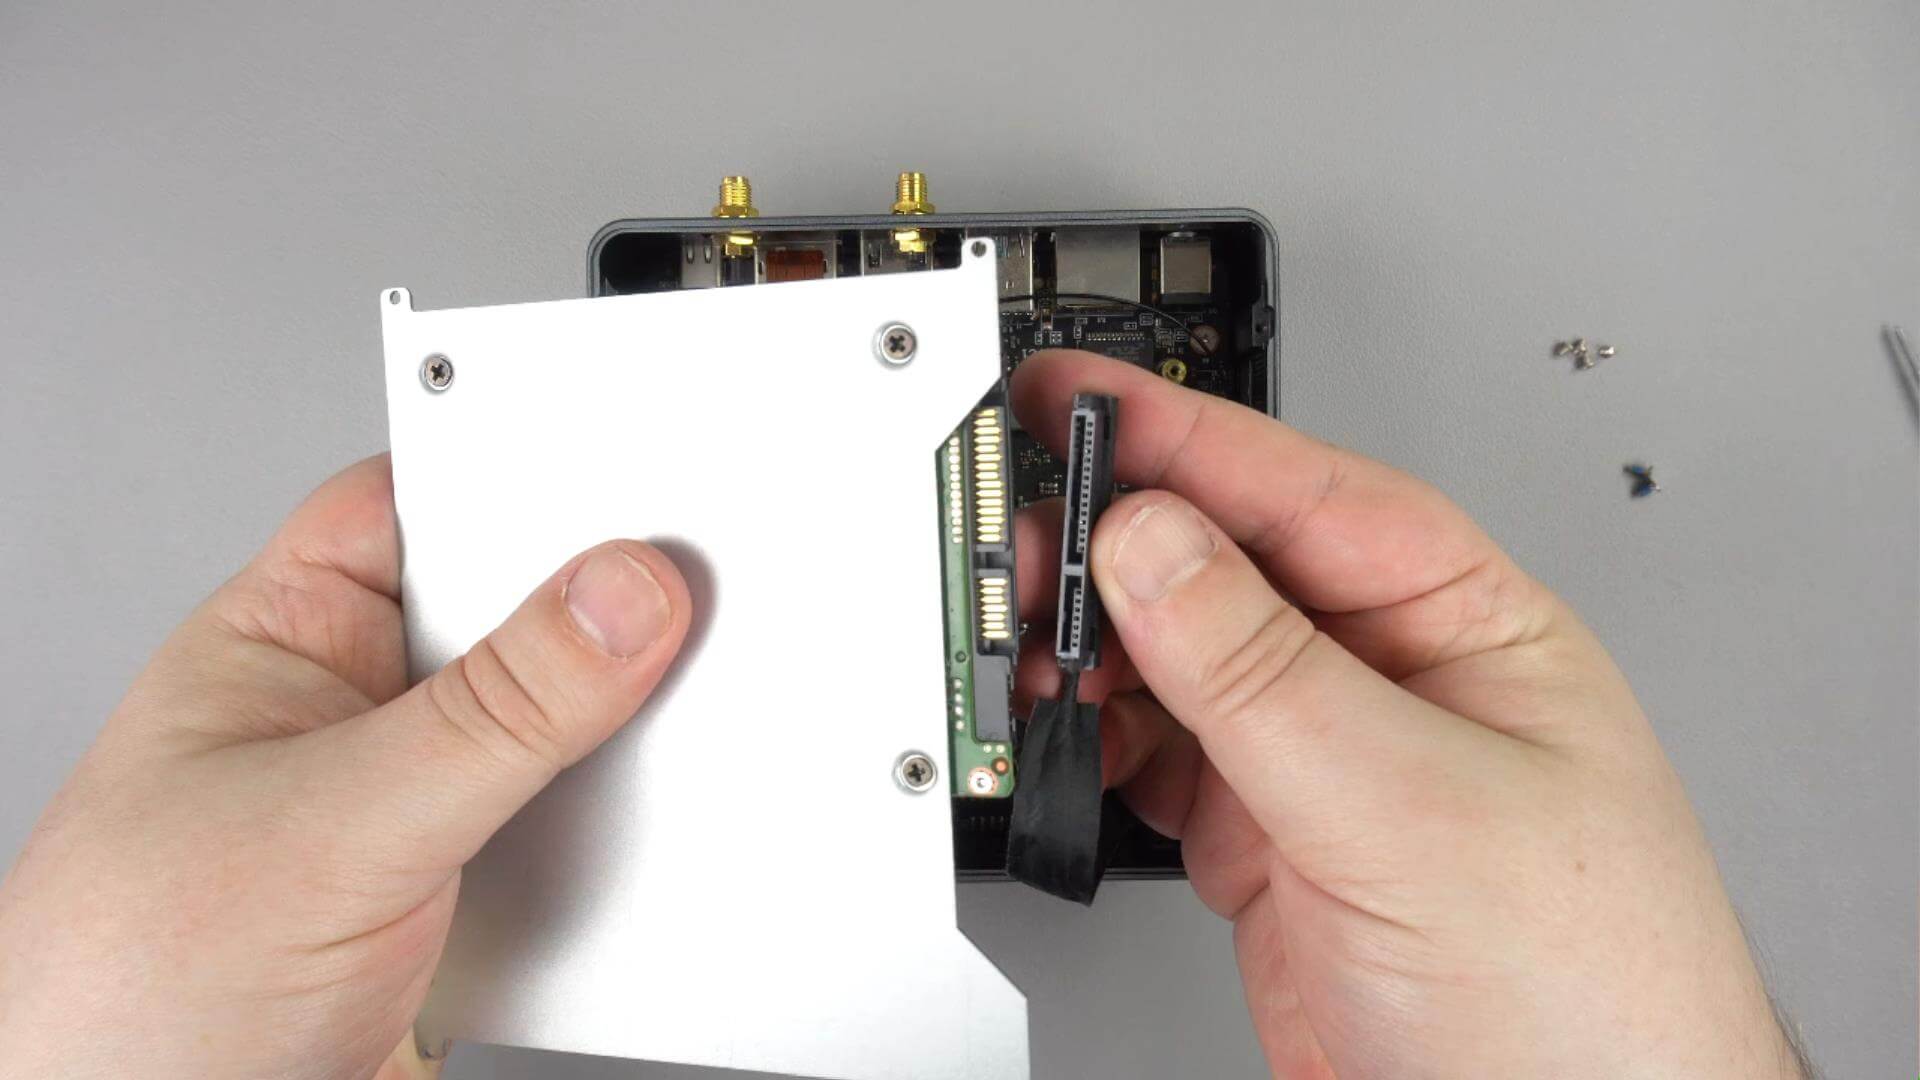
Turn over the metal plate and attach the four provided black screws to the HDD or SSD. The drive connector ports should be closest to the arrow.
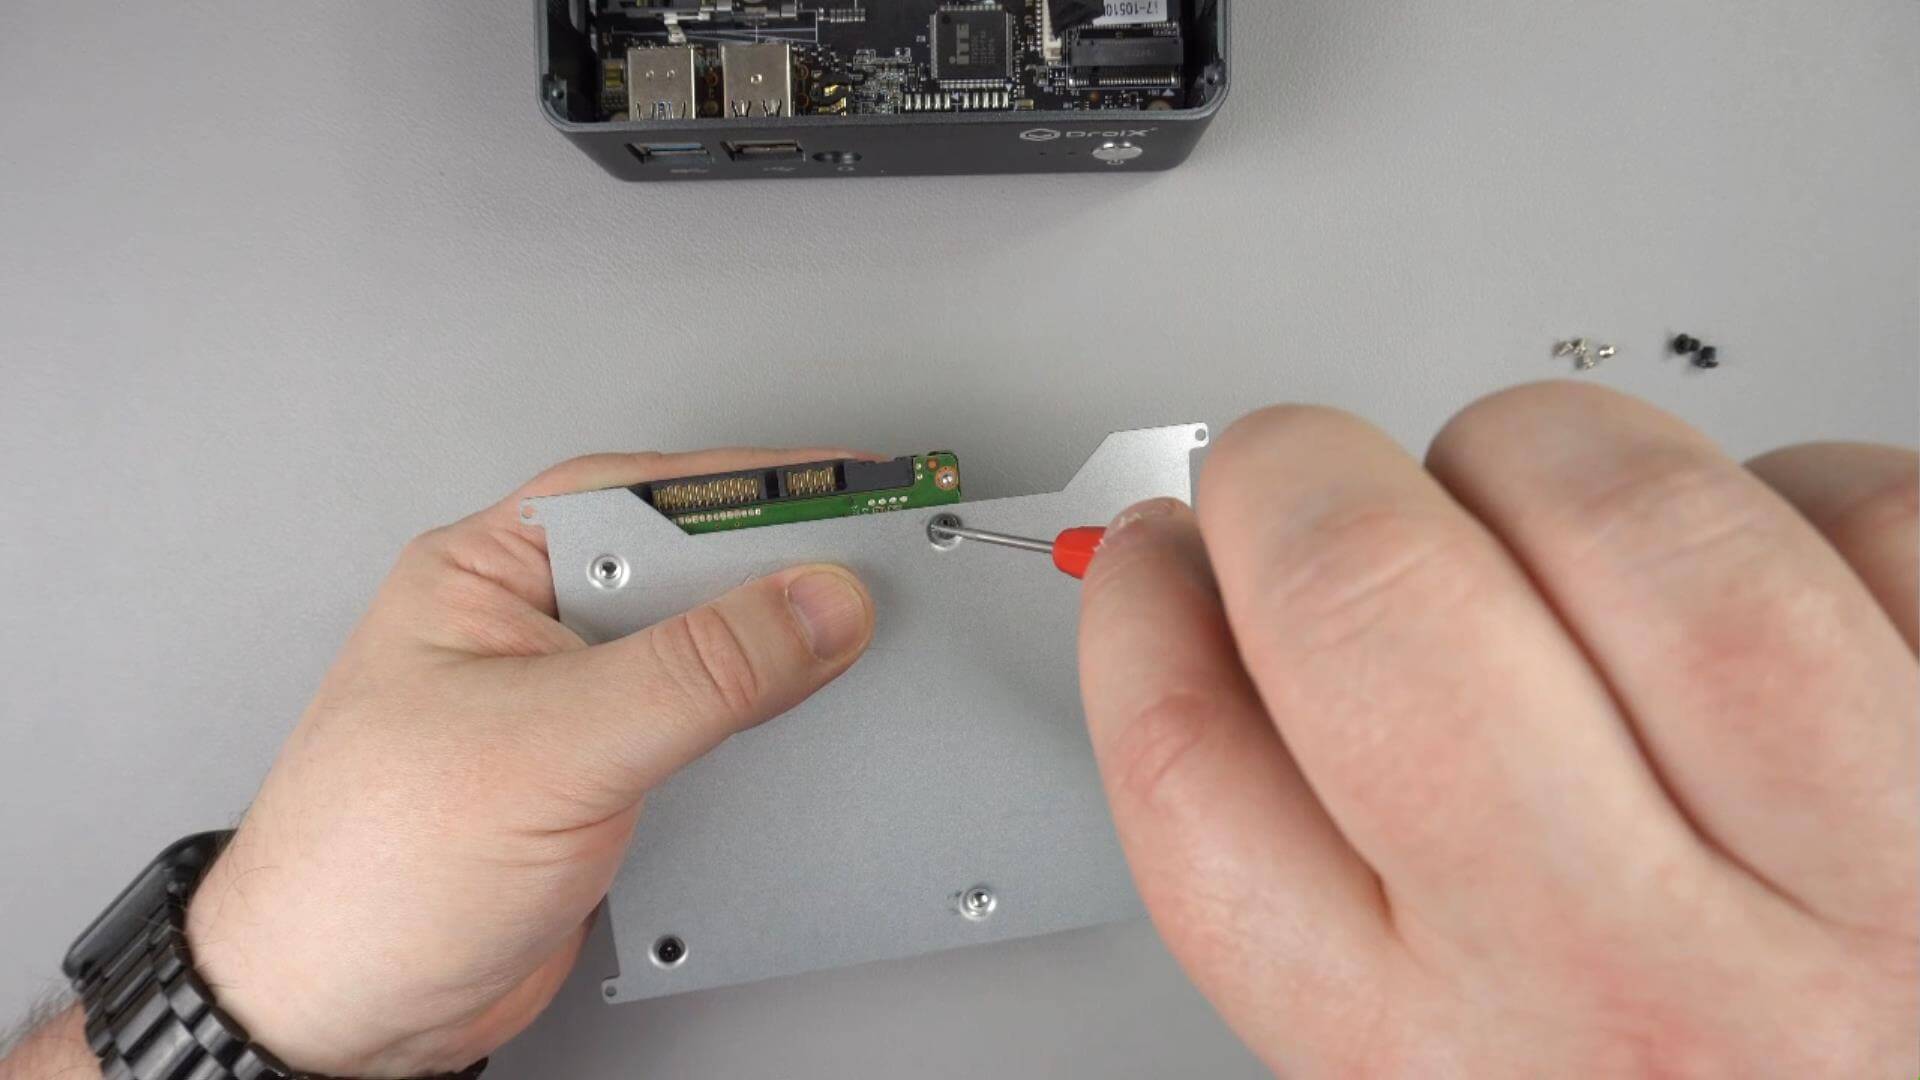
Connect the SATA cable to the HDD or SSD, it can only be inserted one way.
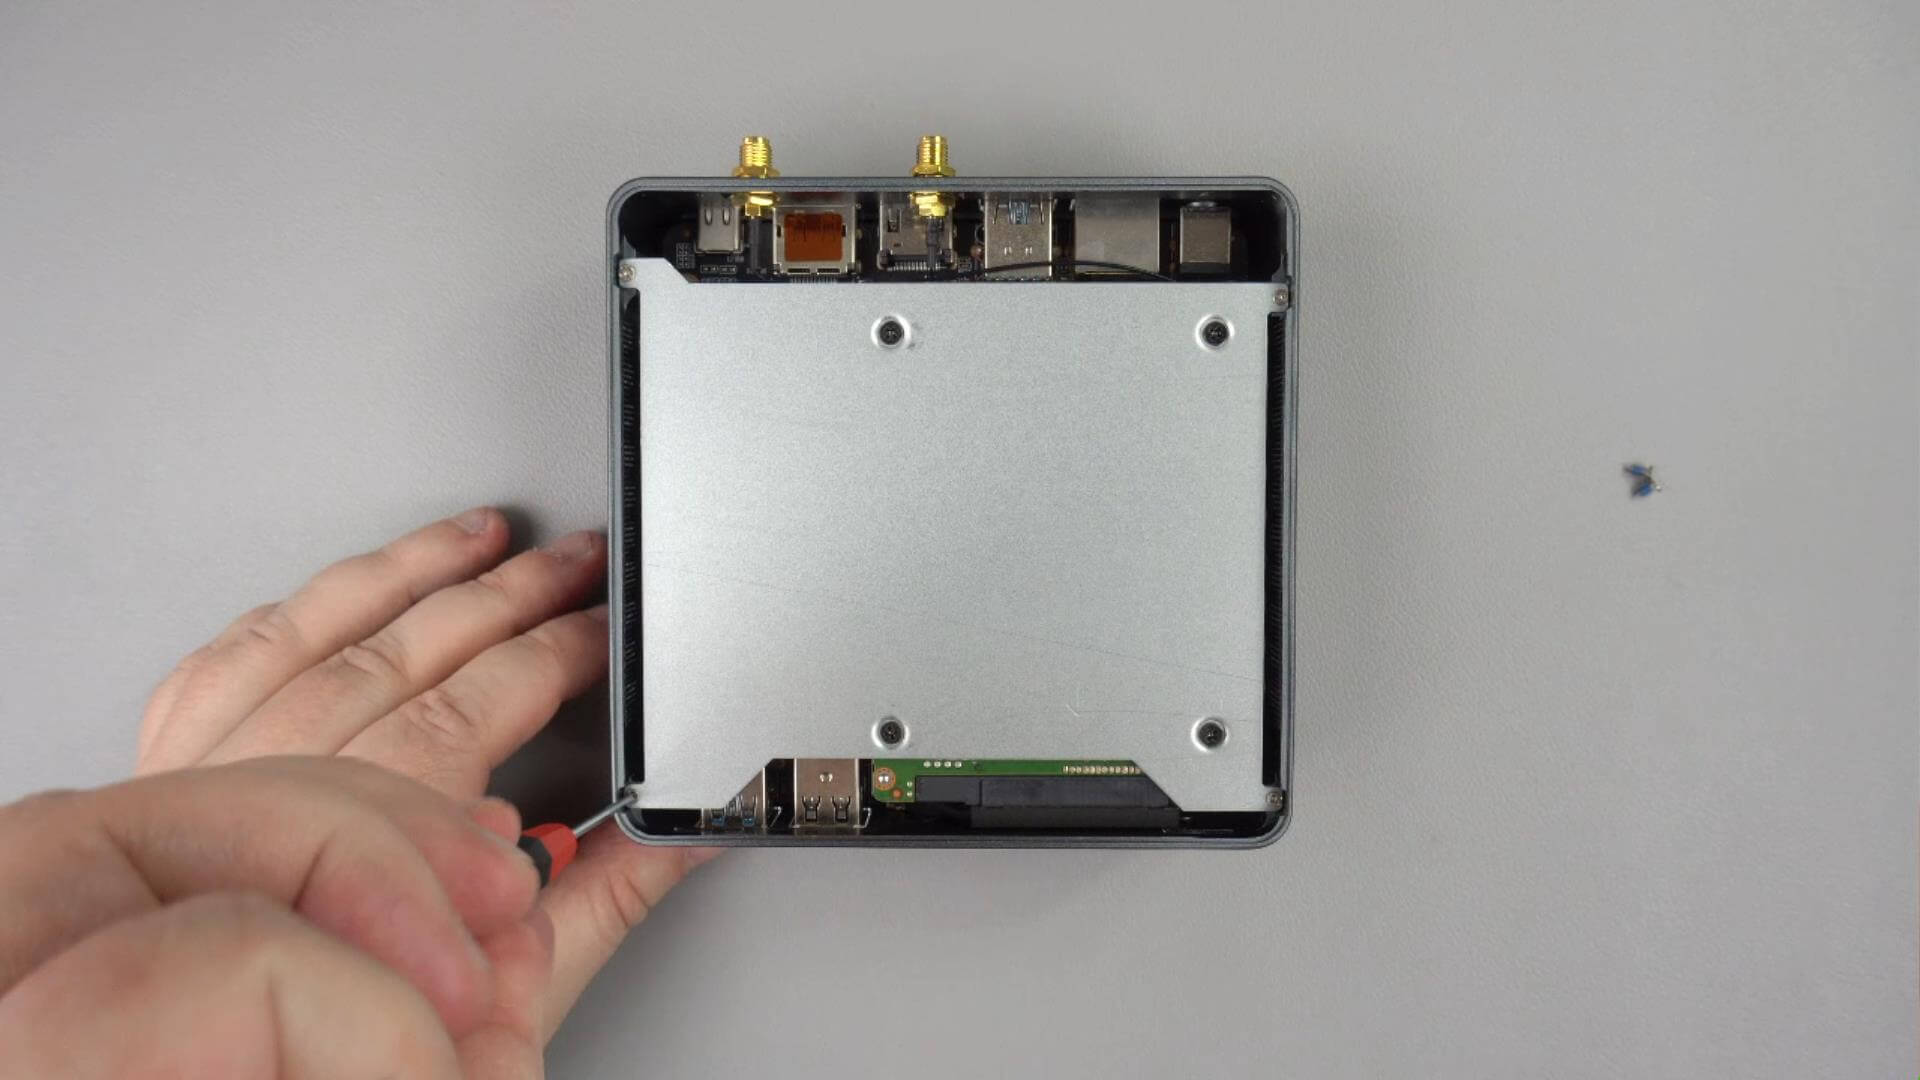
Fit the metal plate to the Proteus 11 case, the arrow should be facing towards the front of the case.
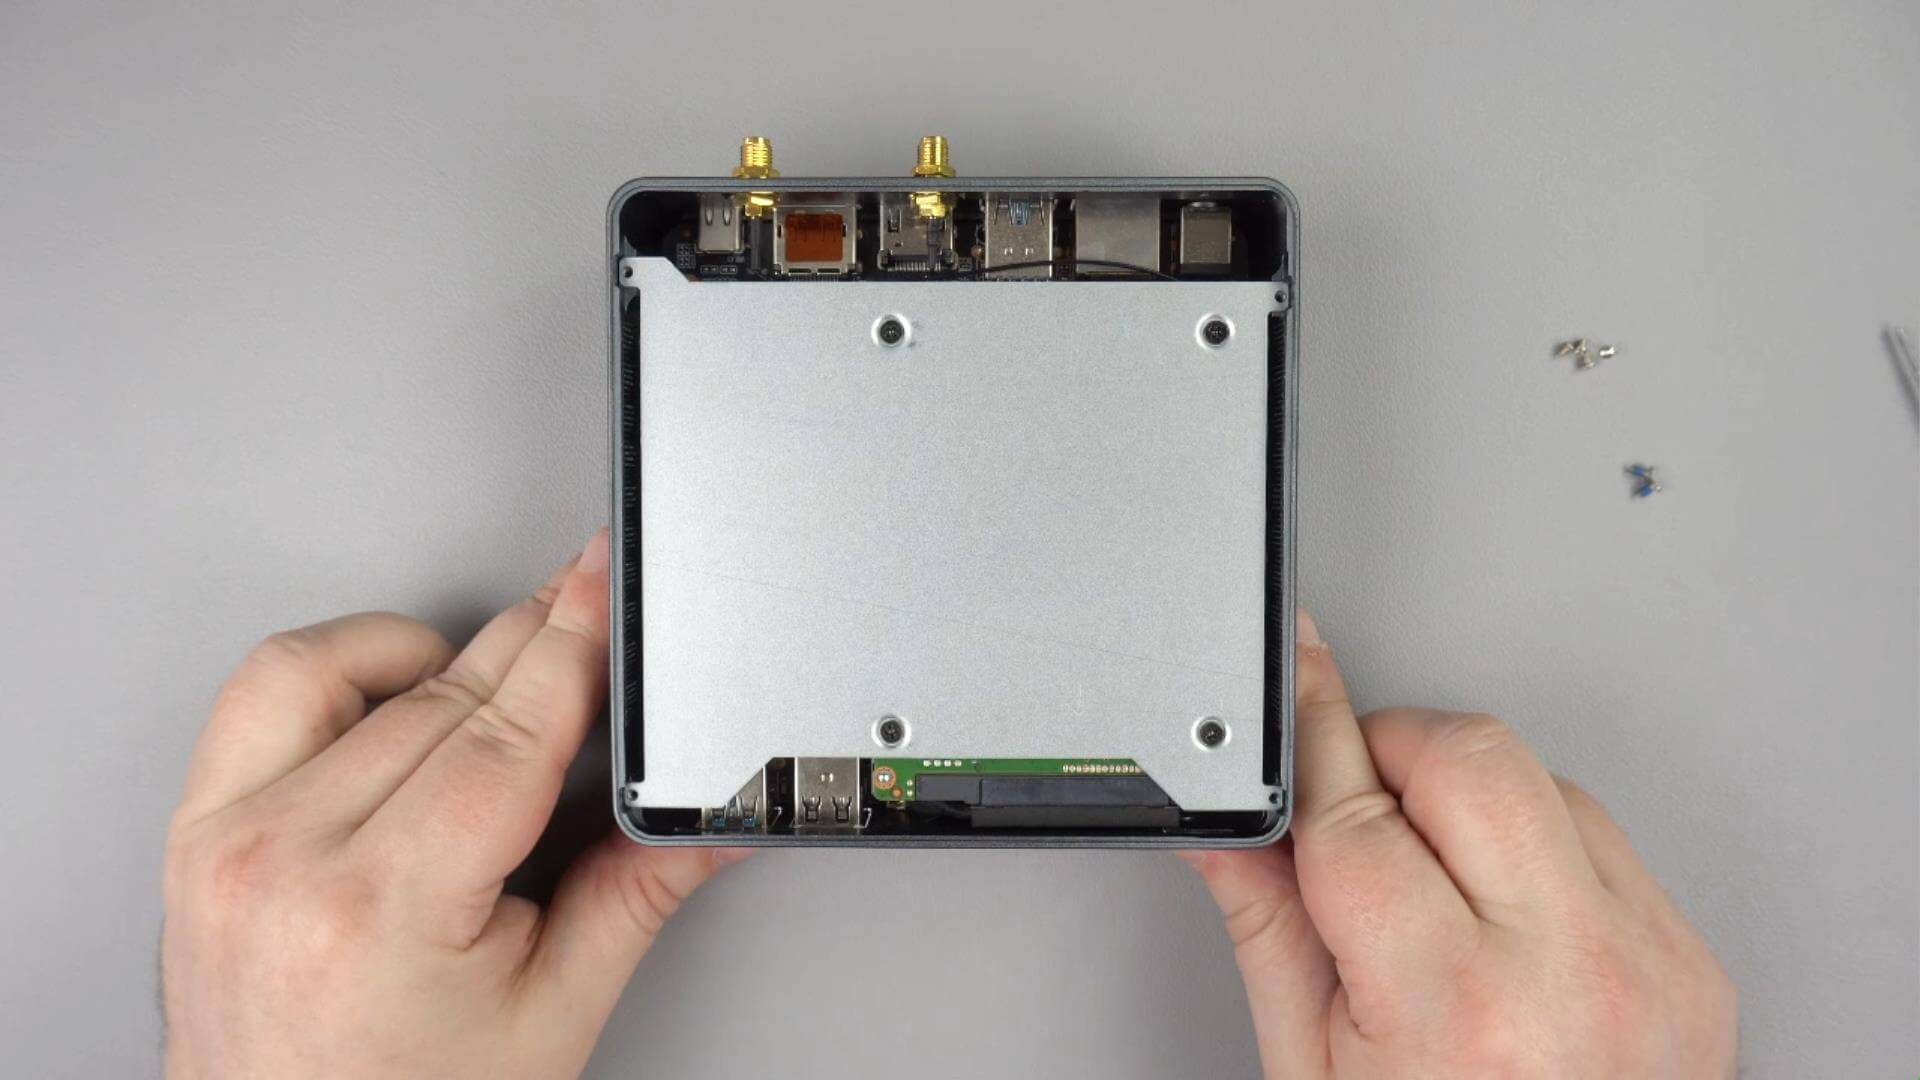
Attach the four provided silver screws to the corner tabs to keep the metal plate secure.
Put the Proteus 11 lid back on the case and attach the two screws on the back of the case
Your HDD or SSD is now installed and ready to be used.
You may need to format your HDD or SSD in Windows before it is recognised. You can use Disk Manager to do this.
You can learn more about the DroiX Proteus 11 here.
Questions & answers