




First thing to do is not panic. Normally there is a simple solution, so check the basics first:
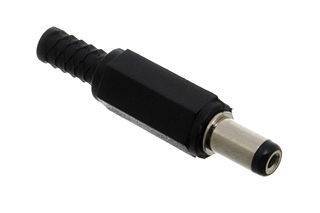
Check the plug (power supply) is properly seated in the mains socket. Swap to another socket or plug in a lamp to double check. At the other end of the lead, make sure the round plug is securely attached to the DroiX®.
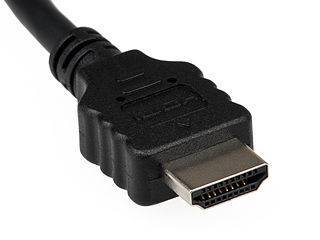
From here, move on to the video cables, again checking at both ends of the HDMI cable to ensure the DroiX® and TV or monitor both have a proper connection present. If possible, try a different HDMI socket on your TV, or temporarily connect the DroiX® to a different TV. If you have an HDMI cable from a Sky box, BluRay player etc then swap it for the DroiX®’s to see if that helps.
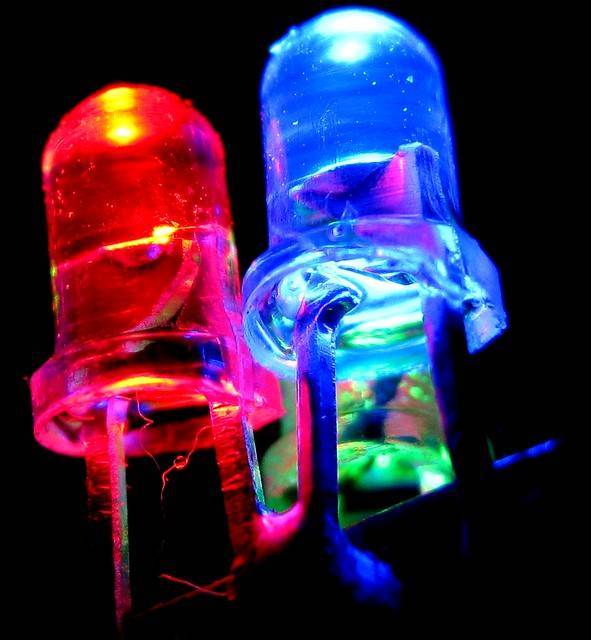
If all of the above have been checked, and your TV is set to view the HDMI input socket that the DroiX® is attached to, please do let us know what is happening (including the status of any LEDs) via [email protected] including your order details.
Latest from the blog
Visit the blog EPOMAKER Carbon X Review – 46 g Carbon-Fibre 8K Wireless Mouse for Competitive FPS
2 November 2026
 GPD WIN Mini Ultra – A Bigger 8-inch 120Hz Screen, Intel Arc G3 Extreme and Dual USB4 v2.0
27 October 2026
 RockTek PJ500 Ultra Review – A 1080p Home Cinema Projector for Streaming and Gaming
27 October 2026
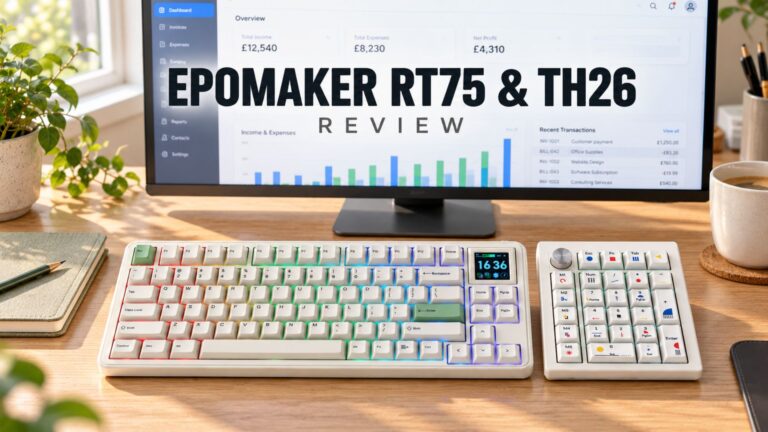 EPOMAKER RT75 and TH26 Review – Retro 75% Keyboard with Detachable Screen and 5-Key Macro Numpad
26 October 2026
Questions & answers