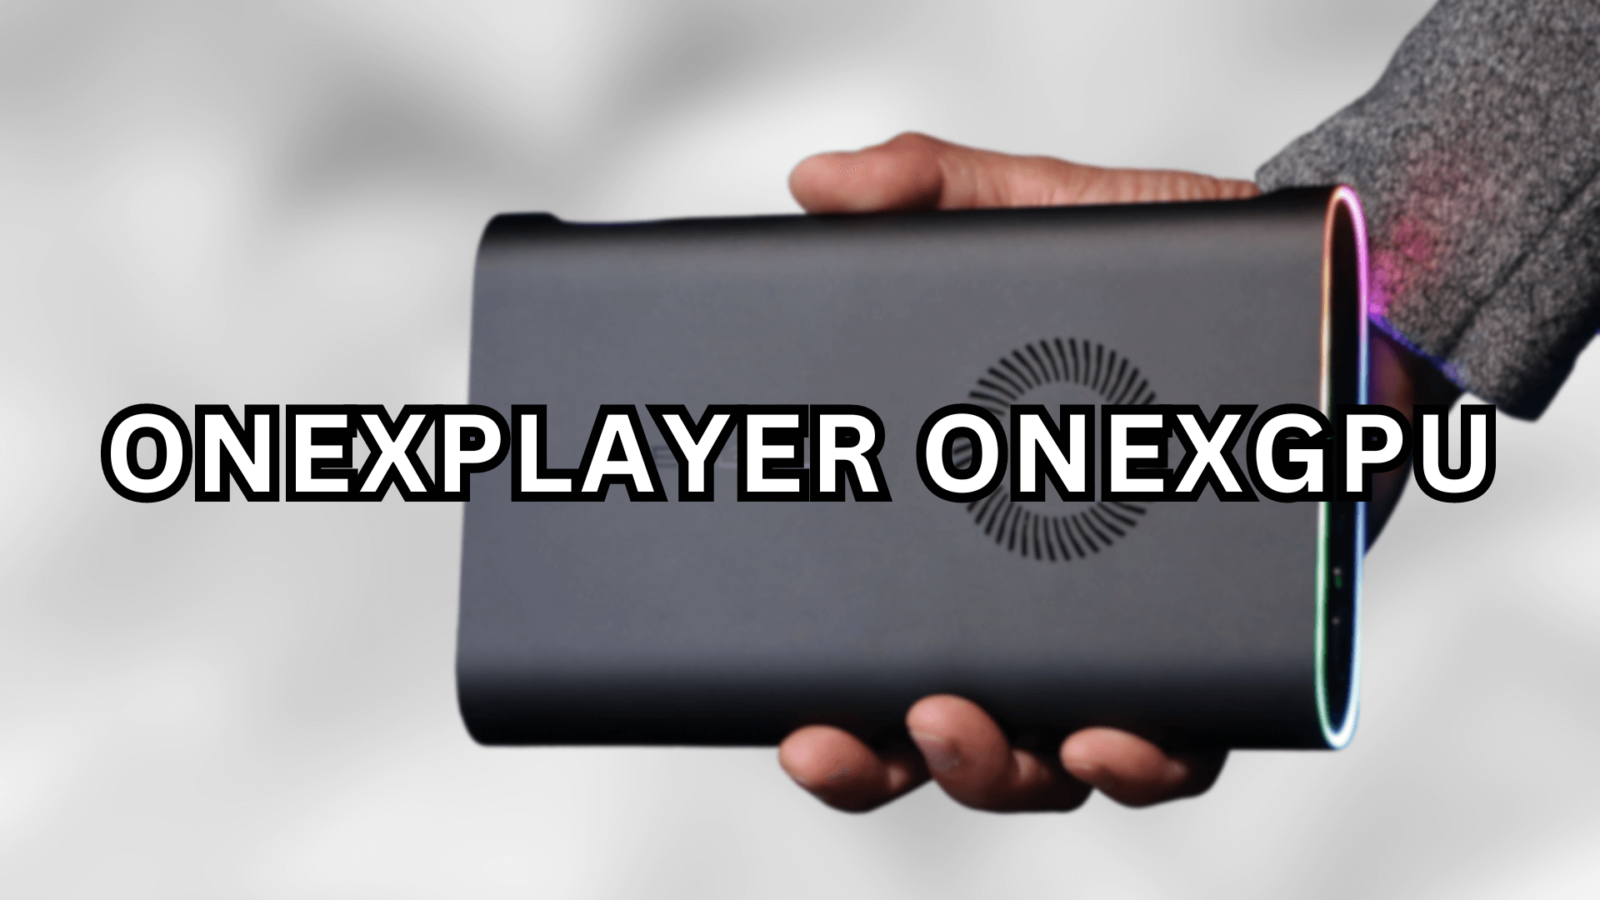
Congratulations on the purchase of the ONEXPLAYER ONEXGPU eGPU! This powerful external GPU docking station is designed to enhance your Windows gaming handheld and computing experience significantly. By utilising all the features, you can transform your ONEXPLAYER or any compatible handheld into a full-fledged gaming powerhouse through direct question using the USB 4.0 or Oculink port.
This Getting Started guide is here to help you set up, use, and troubleshoot your ONEXGPU effectively. Should you encounter any issues not covered in this guide or require additional assistance, please do not hesitate to Contact Us. We are here to ensure your experience is smooth and enjoyable!
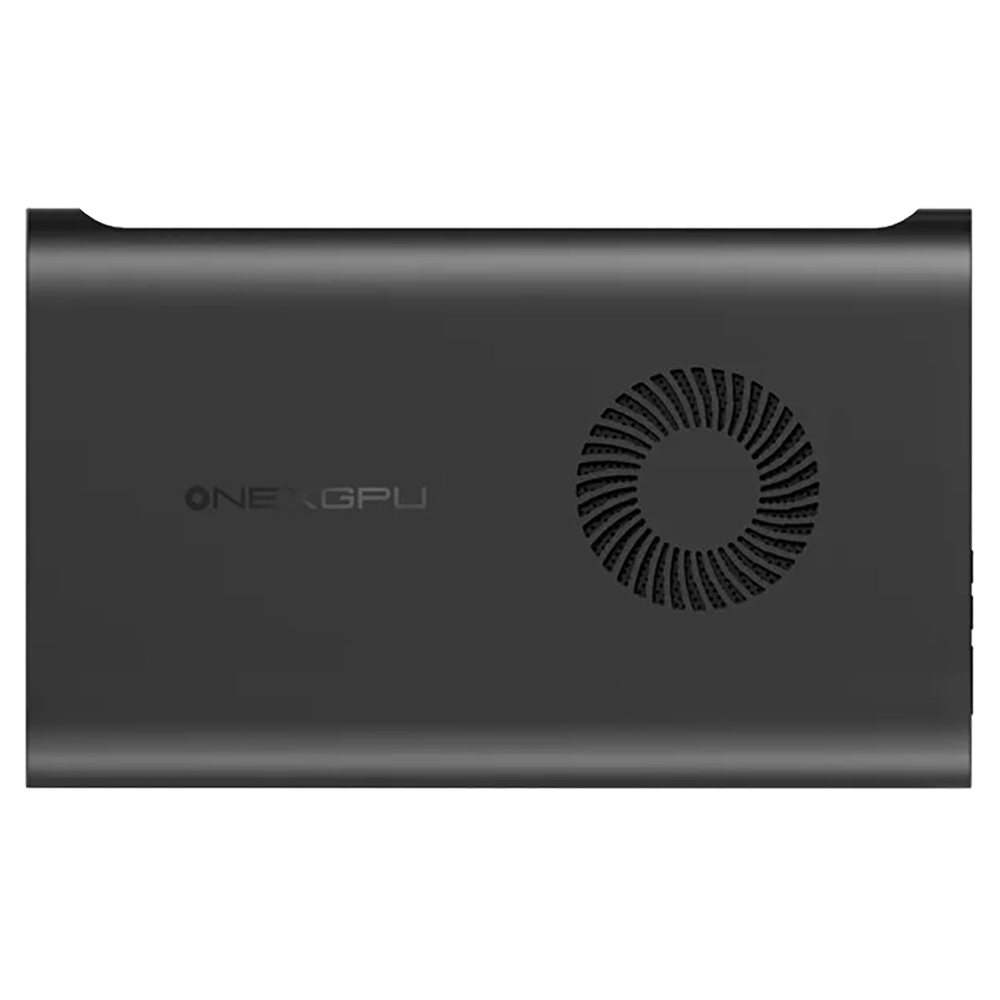
Device Overview
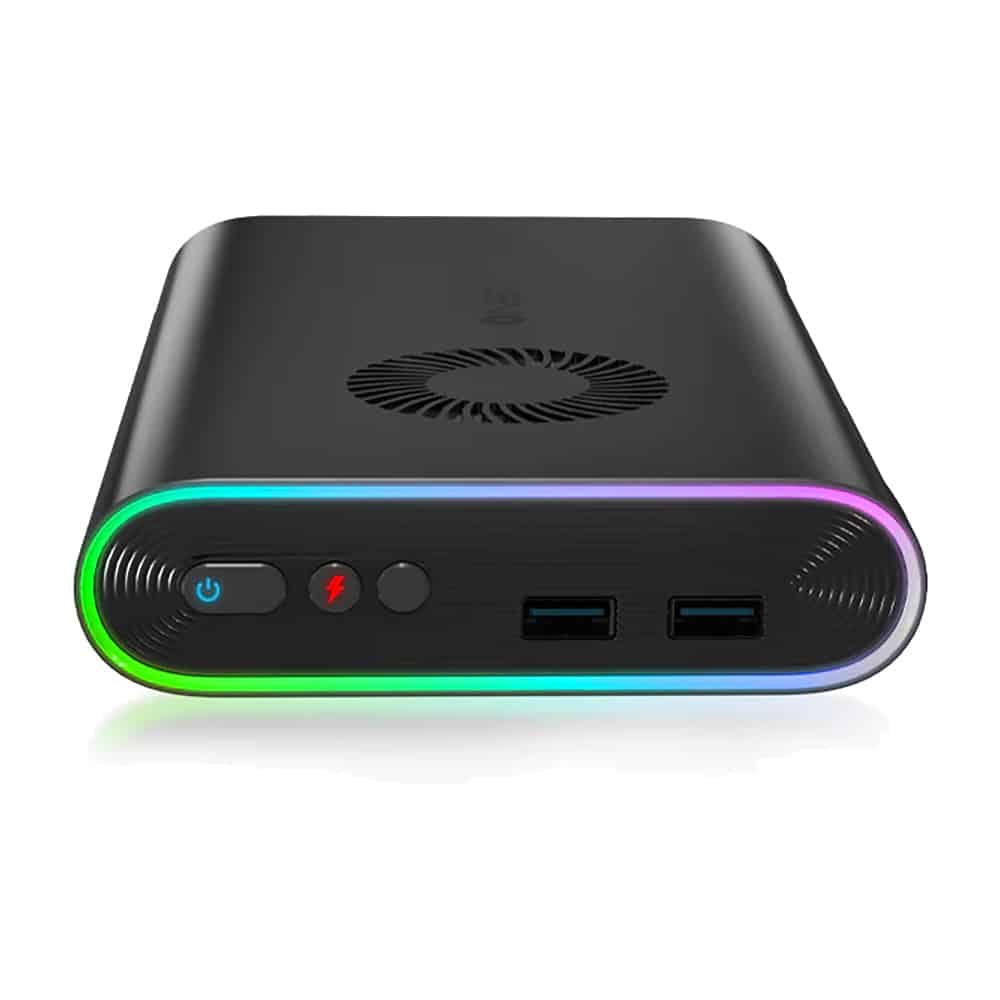
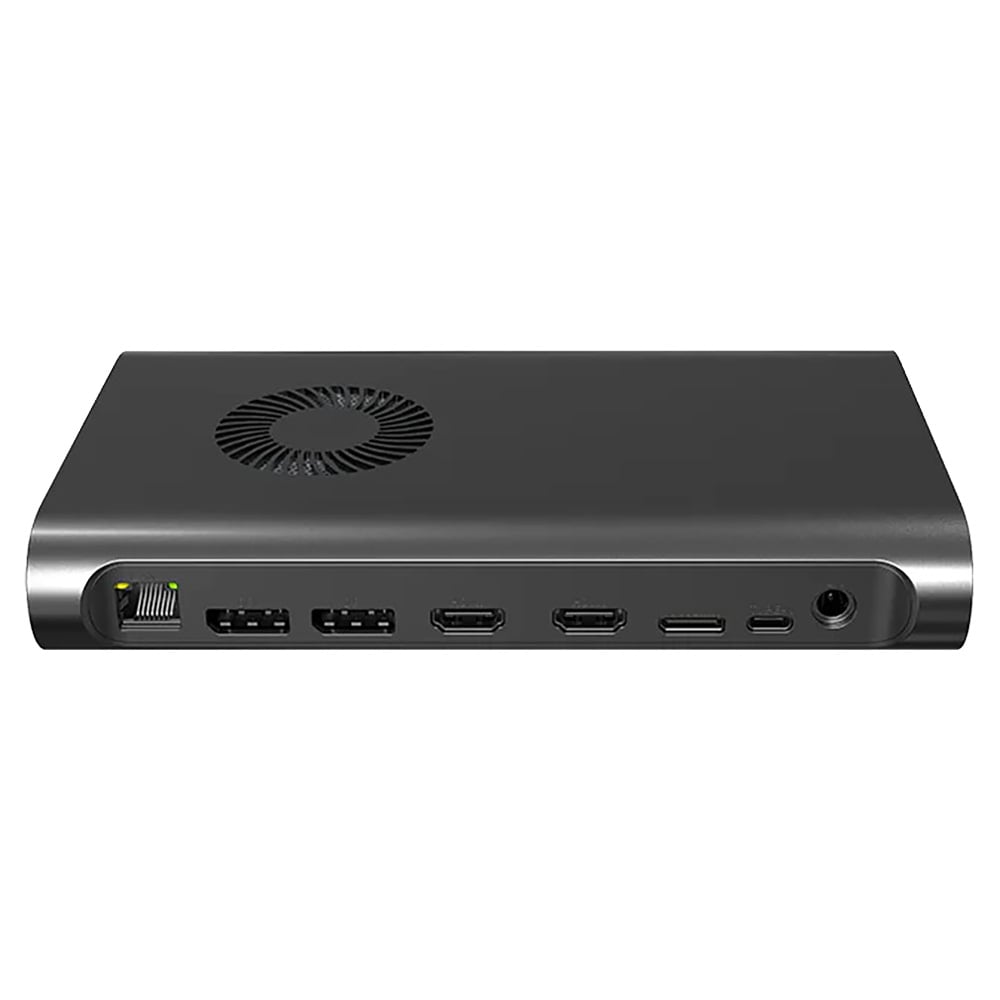
Setting Up The ONEXPLAYER ONEXGPU eGPU
Connect Power Supply
The ONEXGPU docking station takes little to no time to set up – simply connect the power supply to the eGPU and ensure there is a connection between your ONEXGPU and device via USB-C 4.0 or Oculink.
Connect USB 4.0
Next, connect the USB-C 4.0 cable to the ONEXGPU and your device. Make sure to plug the USB cable into the USB 4.0 port on both the ONEXGPU and your device. If you are uncertain which port is USB 4.0, as there might be multiple similar-looking ports, some of which may not be compatible, please double-check your device’s manual or specifications to accurately identify the correct USB 4.0 port. This step is essential to ensure optimal performance and compatibility of your setup.
(Optional) Connect OCuLink
The ONEXPLAYER ONEXGPU also supports OCuLink. If you are using an OCuLink connection, you will need to connect both the OCuLink and the USB 4.0 cables if you wish to use the docking station’s ports, as the USB connection is required for the USB peripherals to function. Ensure both your ONEXPLAYER ONEXGPU and the device are switched off. Then, connect the OCuLink and/or USB 4.0 cables to your device.
Connect Peripherals
Afterwards, feel free to connect any peripherals such as Portable Monitors, or any other USB devices, to any of the 2x DisplayPort, 2x HDMI, or 2x USB-A ports. When connecting external displays, we recommend using the DisplayPort if you have a high-resolution display, otherwise, the HDMI ports will work fine.
Once ready, power on the ONEXPLAYER ONEXGPU docking station, wait a couple of seconds and then switch on your device. After a few moments, it will boot Windows.
Updating & Installing AMD Graphics Drivers
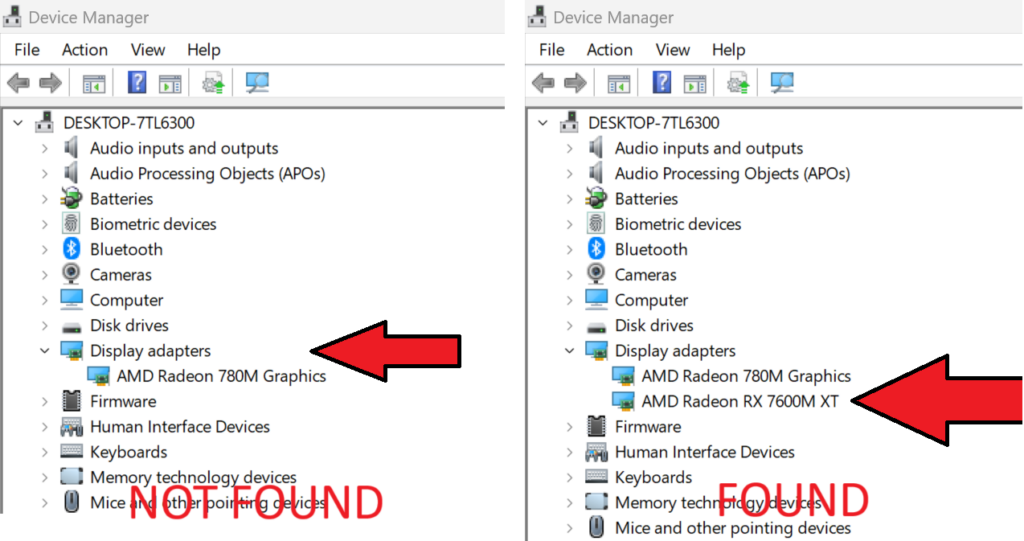
If you have the latest AMD graphics drivers, your ONEXGPU may automatically set up and install the necessary drivers. You can verify this by checking in the Windows Device Manager. If you see “AMD Radeon RX 7600M XT” listed under “Display adapters,” then the drivers have been successfully installed.
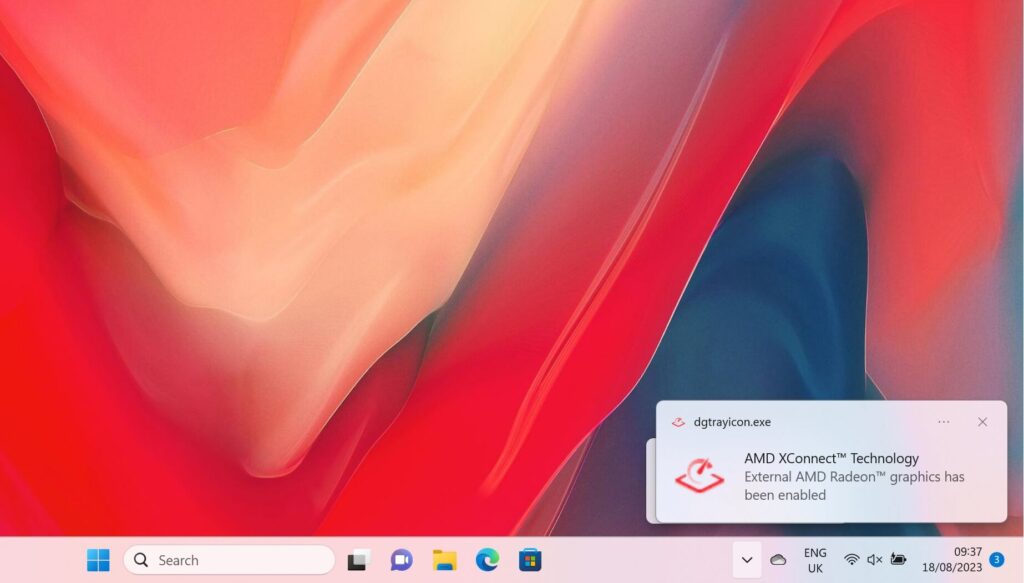
When using only a USB 4 connection, you will get a notification that the AMD XConnect Technology has been enabled.
If the ONEXGPU is not detected or appears as a generic name, you simply wish to update to the latest drivers. You can follow our guide here and it is also embedded below.
Troubleshooting Your ONEXPLAYER ONEXGPU
Games Running Slower Than Expected?
There are a few possible reasons why games are running slower than expected. Here are a few things to look for while troubleshooting:
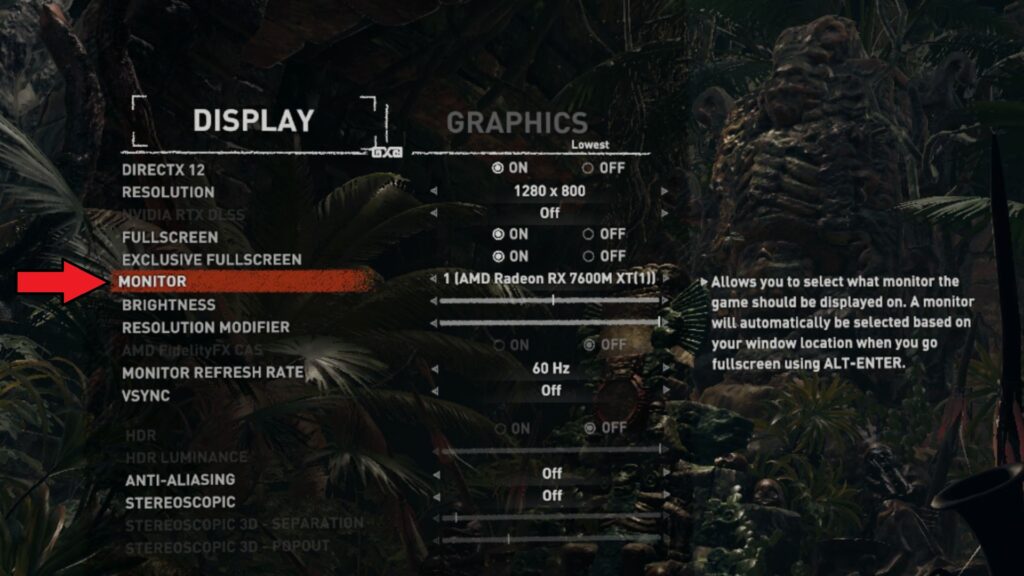
Check that the game is using the AMD Radeon RX 7600M XT eGPU rather than the internal graphics, for example, an AMD Radeon 780M. Check in the game’s Video or Display settings and see if there is an option to select which graphics card. It may be under different names such as GPU, Monitor etc.
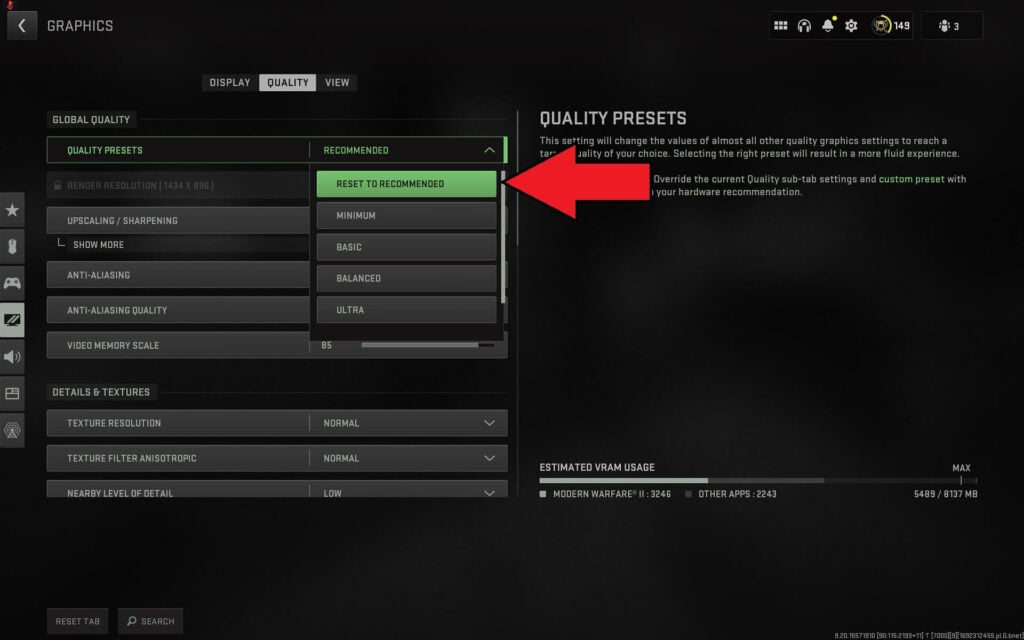
Check that the game video settings are not too high. Many games have Recommended graphics settings which you can select and it will automatically set the graphics based on the hardware. If you are still having issues, try running at a lower screen resolution such as 1440P, 1080P or 720P. Alternatively, change to the default lower graphics settings and increase them until you feel the game is running slow, then revert to the previous settings.
Using the internal display on your handheld does reduce the efficiency of the eGPU. When using an internal display, the data is sent from the handheld to the ONEXGPU, then back to the handheld to display on the internal screen.
AMD Radeon RX 7600M XT Not Detected
Firstly ensure that your device is either OCuLink or USB 4 compatible. Check that the cables are fully inserted into the ports on both ends. If you do not have an OCuLink port, ensure that you are connecting to a USB 4 port. Refer to the device user manual if there are multiple Type-C ports for confirmation which is the correct USB 4.0 port.
You may need to switch off the ONEXGPU docking station, wait a few moments, and then switch back on for Windows to recognise the device. You may hear the Windows default USB device connected noise once it connects. When using only USB 4, you will also get a notification that the AMD XConnect Technology has been enabled.
Try reinstalling the drivers. Occasionally there may be some conflicts with newer driver updates and older drivers lurking on your device. See the above guide for how to fully uninstall the current drivers and then install them fresh.
Resolving ONEXGPU Dock Connectivity Issues
The USB cable needs to be connected to use any of the additional ports on the ONEXGPU. The OCuLink cable only transfers data to/from the GPU. There is a USB 4.0 cable included with the ONEXGPU box. We recommend using this one as other cables may be USB 3.0 or charge cables for example.


