Šiame straipsnyje aptariame „Android" ir „Linux" RG552 programinės įrangos atnaujinimą. Kur atsisiųsti naujausią RG552 programinės aparatinės įrangos atnaujinimą ir žingsnis po žingsnio pateikiamas vadovas, kaip įdiegti „Linux" ir „Android" operacinių sistemų programinę įrangą RG552 iš „Anbernic".
RG552 „Linux" OS programinės įrangos atnaujinimas
„Linux" operacinė sistema yra 16 GB „Micro SD" kortelėje. Atnaujinant RG552 „Linux" operacinę sistemą tereikia į 16 GB „Micro SD" kortelę įrašyti atvaizdo failą.
Failų atsisiuntimas
Balena Etcher - https://www.balena.io/etcher/
Naujausia Linux OS programinė įranga, skirta Anbernic RG552 - RG552-EN-20211209.zip (2021 m. gruodžio 9 d.)
Atsisiųskite vaizdų rašymo programinę įrangą „Balena Etcher" (galima naudoti „Windows", „MAC" ir „Linux") ir ją įdiekite. Tada išskleiskite programinės įrangos atnaujinimo .zip failą. Pamatysite programinės aparatinės įrangos atvaizdo failą pavadinimu anbernic-29-rockpro64-English-8g.img arba panašiu, priklausomai nuo programinės įrangos versijos.
Programinės įrangos atvaizdo įrašymas
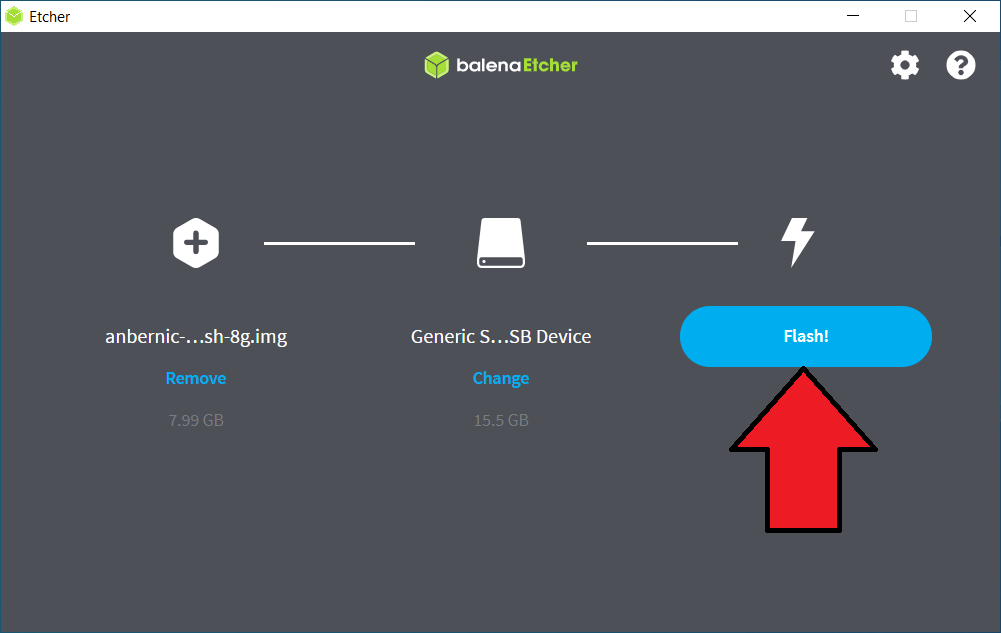
Įdėkite 16 GB „Micro SD" kortelę į kompiuterį ir įkelkite „Balena Etcher" programinę įrangą. Spustelėkite mygtuką Flash from file (blykstė iš failo ) ir suraskite bei pasirinkite RG552 programinės aparatinės įrangos atnaujinimo .img failą, kurį ištraukėte iš .zip failo.
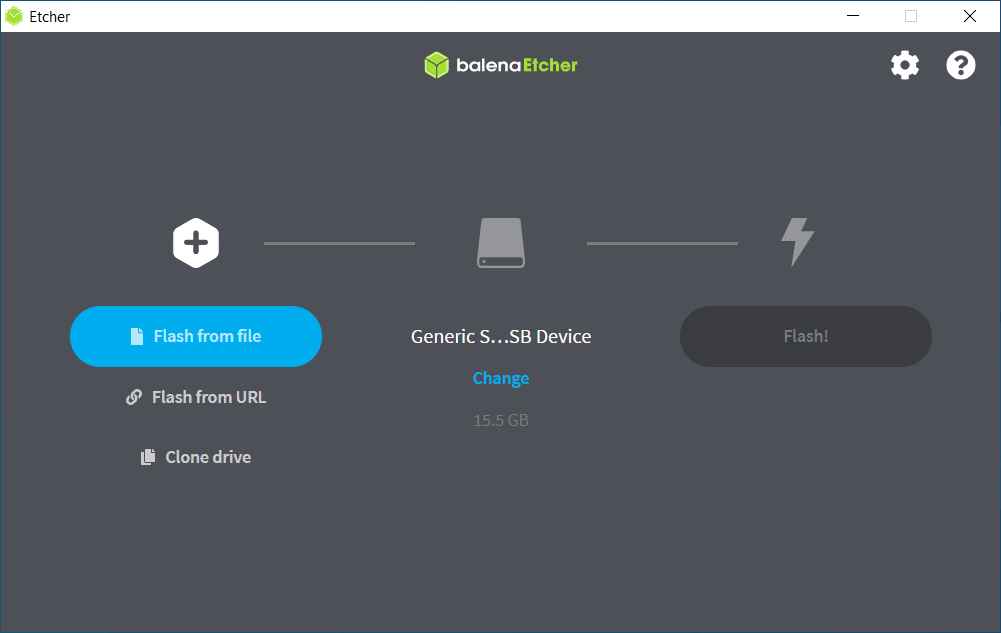
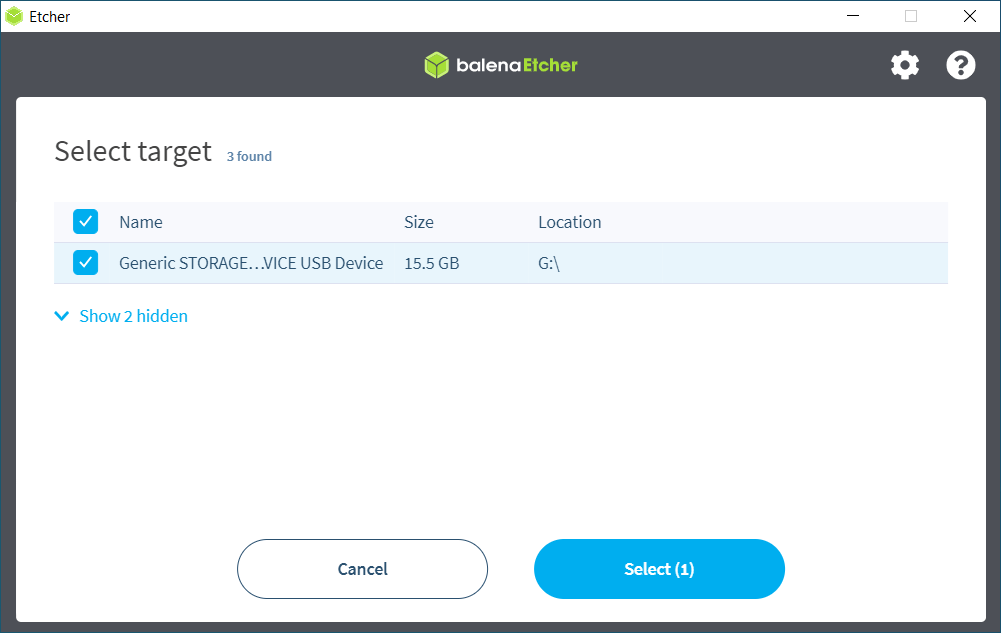
Viduryje spustelėkite Keisti USB įrenginius.
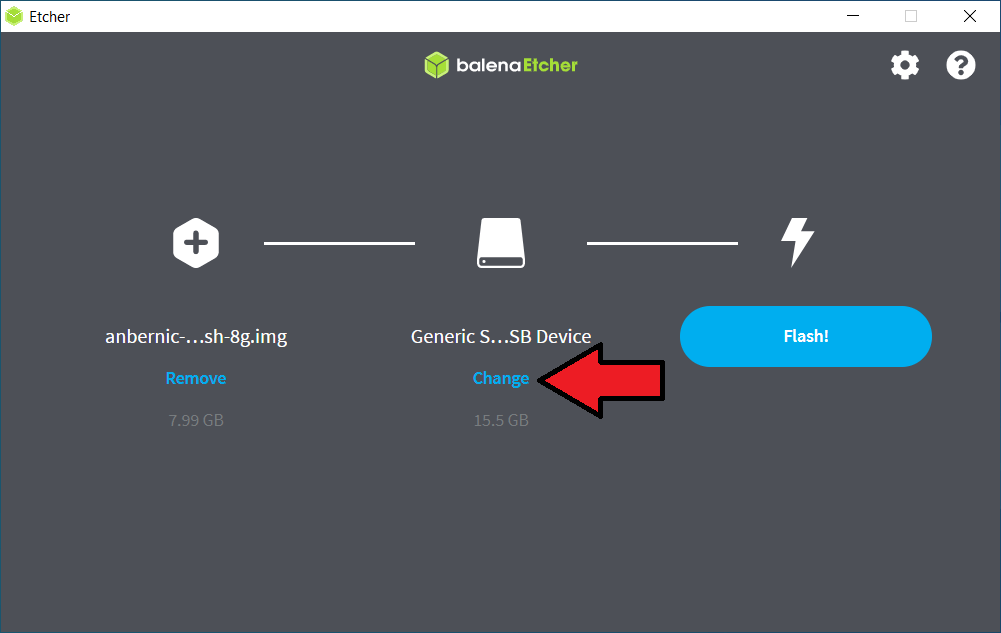
Patvirtinkite, kad pasirinkote 16 GB „Micro SD" kortelę, o ne kietąjį diską ar kitus saugojimo įrenginius.
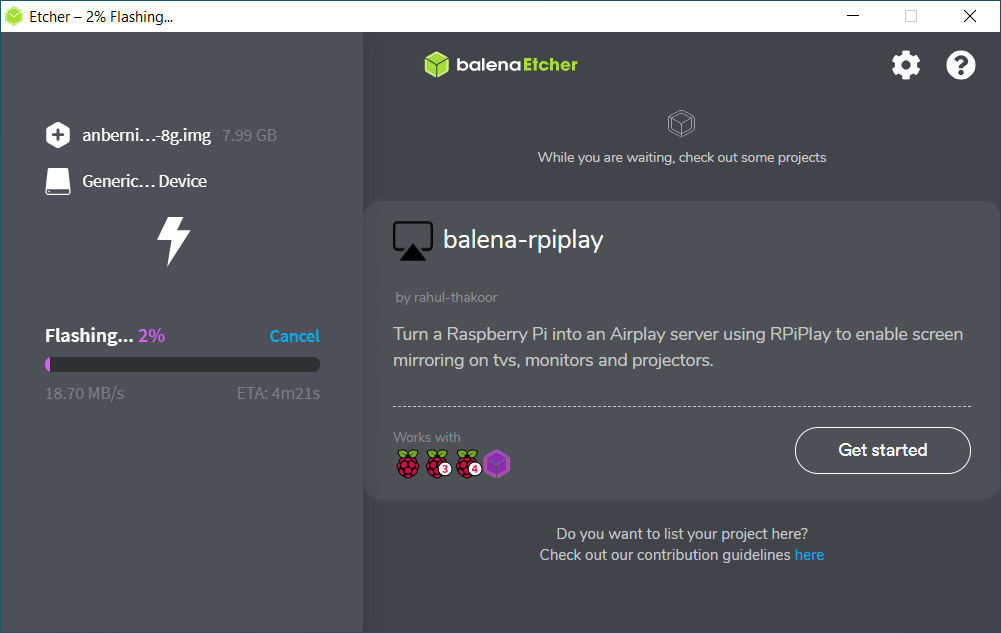
Spustelėkite Flash (blykstė) , kad pradėtumėte vaizdo įrašymo į „Micro SD" kortelę procesą.
Procesas užtruks apie 5 minutes, priklausomai nuo „Micro SD" kortelės ir kompiuterio spartos. Šio proceso metu neuždarykite programinės įrangos ir neišimkite „Micro SD" kortelės.
Kai procesas bus baigtas, galite saugiai išimti „Micro SD" kortelę iš kompiuterio.
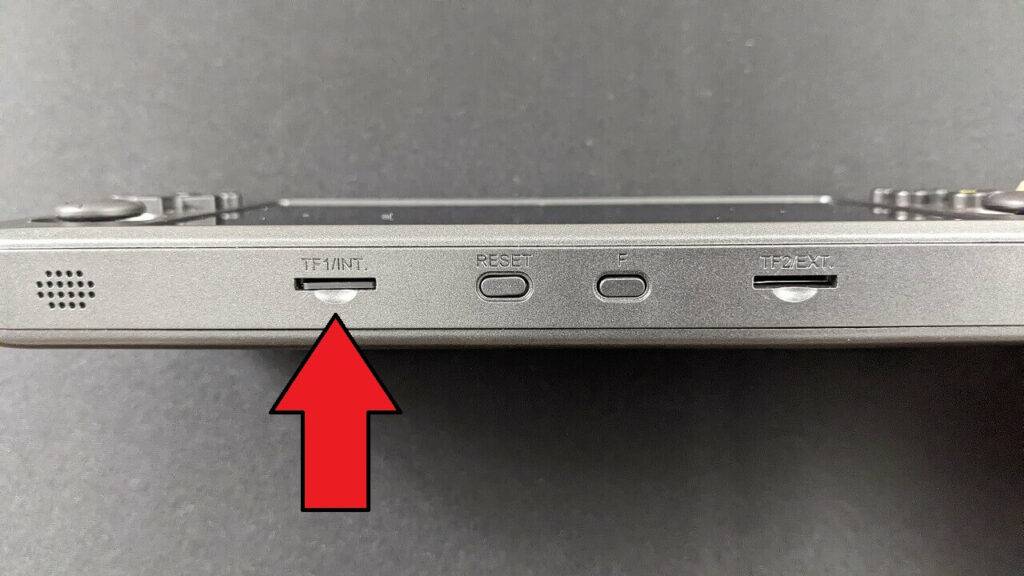
Įdėkite „Micro SD" kortelę į pirmąjį RG552 lizdą (TF1).
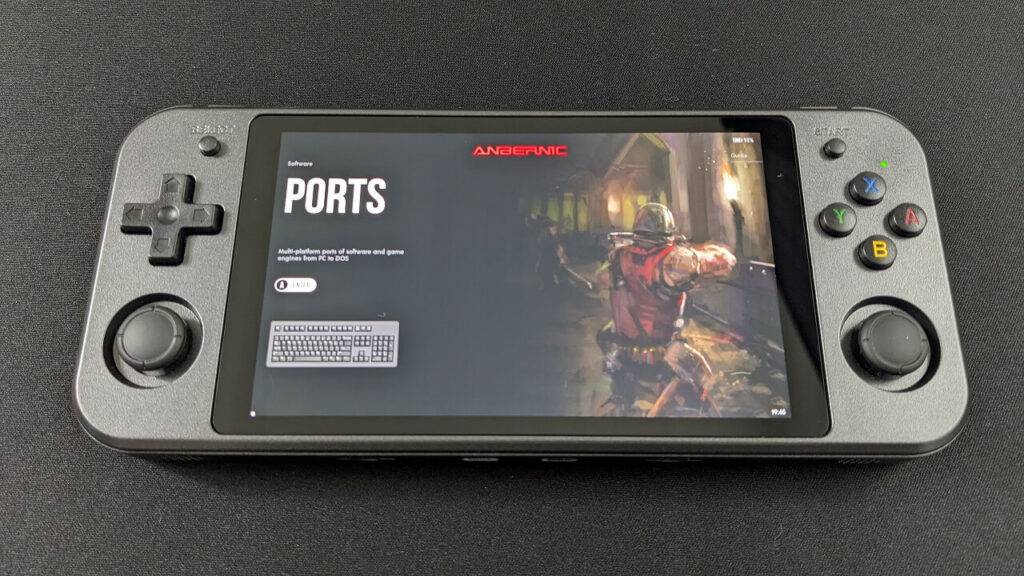
Įjunkite RG552 ir po kelių akimirkų bus paleista naujausia RG552 skirta „Linux" versija.
Mėgaukitės!
RG552 „Android" OS programinės įrangos atnaujinimas
PASTABA: Atnaujinant „Android" OS programinę įrangą bus ištrintos visos vidinėje atmintyje esančios papildomos programos ar failai. Prieš atnaujindami „Android OS" programinę įrangą sukurkite visų svarbių failų atsargines kopijas.
Failų atsisiuntimas
Naujausia ANBERNIC RG552 Android OS firmware - RG552-Android-v1.11e.zip (2021 m. gruodžio 14 d.)
ARBA
„Android 11″, skirta ANBERNIC RG552 - https://go.droix.co.uk/RG552-ANDROID-11 (2022 m. balandžio 8 d.)
Programinės įrangos atvaizdo įrašymas
„Android" operacinė sistema yra vidinėje atmintyje. Norint nukopijuoti naujinį į kortelę, reikės nuo 4 GB iki 32 GB „Micro SD" kortelės. Turėjome problemų su programine įranga, formatuojančia 128 GB korteles, todėl rekomenduojame naudoti ne didesnes nei 32 GB. Įdėkite tuščią „Micro SD" kortelę į kompiuterį.
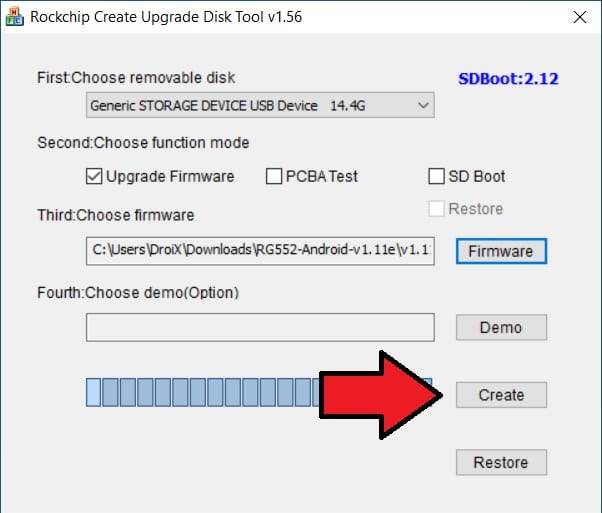
Ištraukite „Android OS" programinės įrangos atnaujinimo failo turinį į kompiuterį. Pamatysite aplanką, pavadintą SDDiskTool_v1.56. Atidarykite šį aplanką ir įkelkite programą SD_Firmware_Tool.exe.
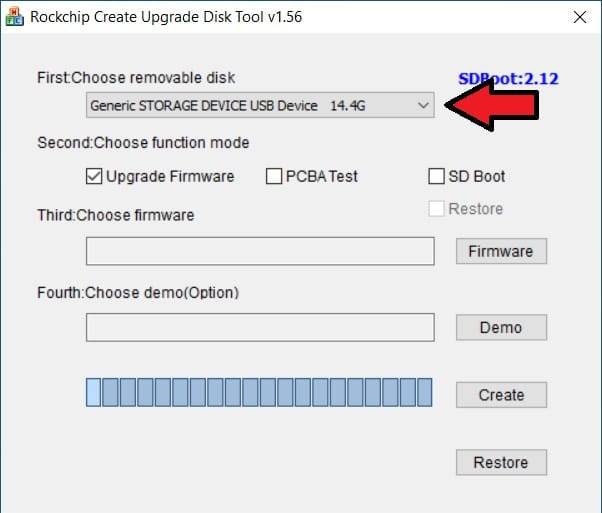
Pirmiausia patvirtinkite, kad išimamas diskas yra „Micro SD" kortelė, į kurią norite įrašyti programinę įrangą.
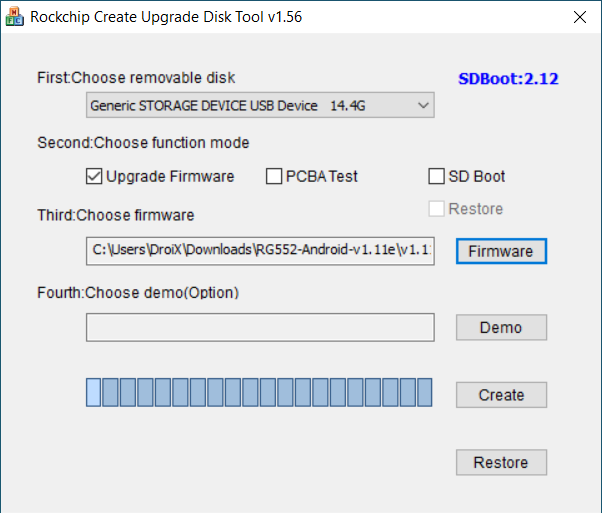
Tada spustelėkite mygtuką Firmware (programinė įranga) ir pasirinkite ištrauktą „Android OS" .img failą. Jis bus pavadintas update_en.img arba panašiai, priklausomai nuo programinės įrangos versijos.
Patikrinkite, ar viskas teisingai nustatyta, ypač diskas, į kurį norite rašyti.
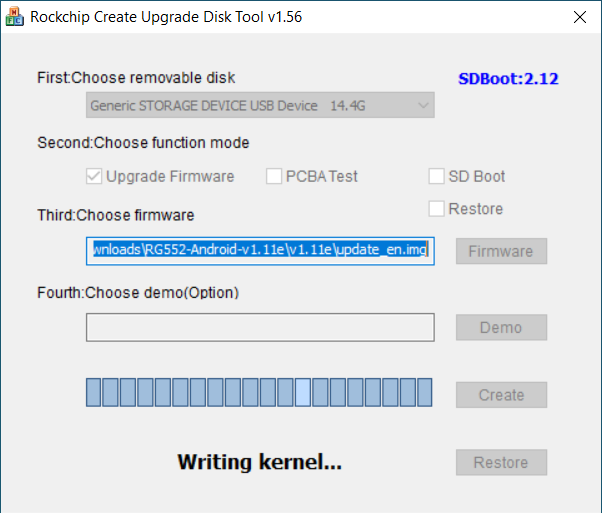
Spustelėkite mygtuką Sukurti , kad pradėtumėte RG552 „Android" OS programinės aparatinės įrangos atvaizdo rašymo procesą.
Rašymo procesas užtruks apie 5 minutes. Šio proceso metu neišimkite „Micro SD" kortelės ir nestabdykite programos.
Kai procesas bus baigtas, galite išimti „Micro SD" kortelę iš kompiuterio ir įdėti ją į RG552 1-ąjį lizdą (TF1).
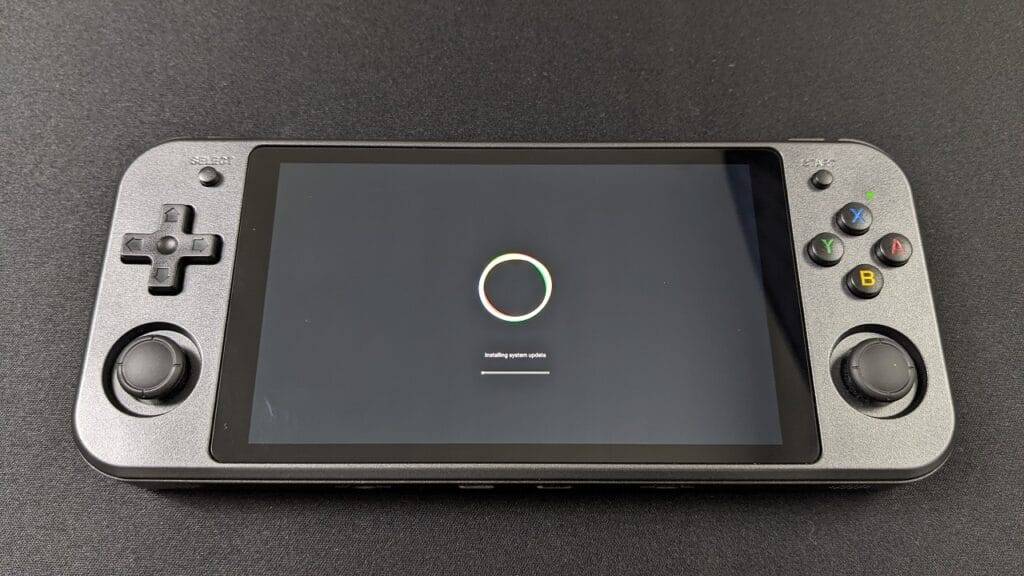
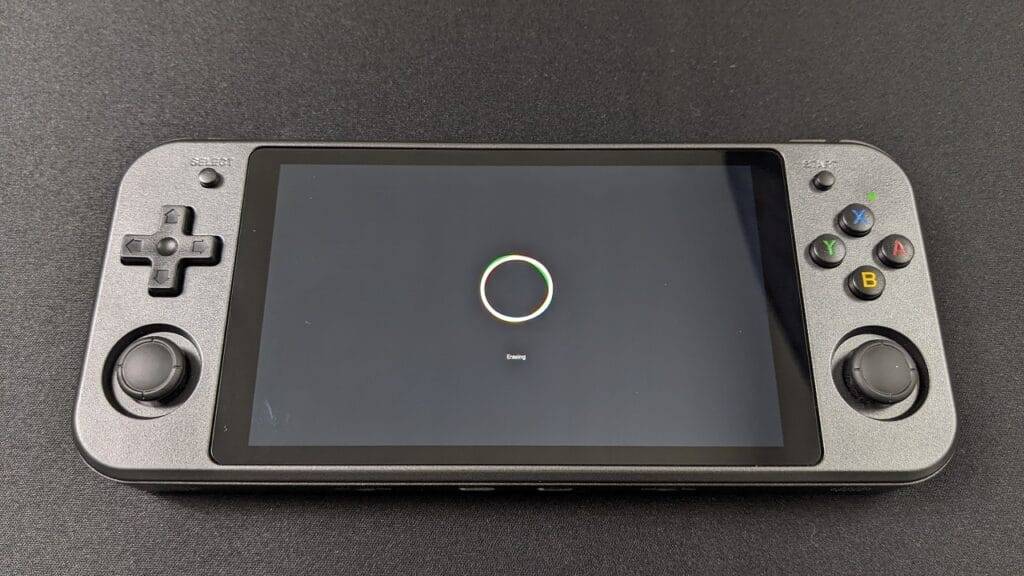
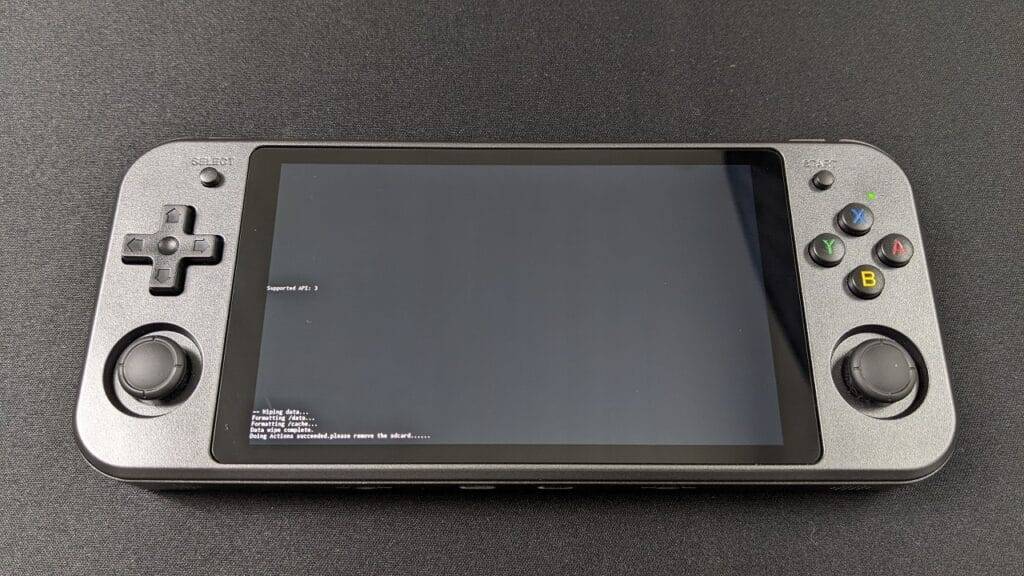
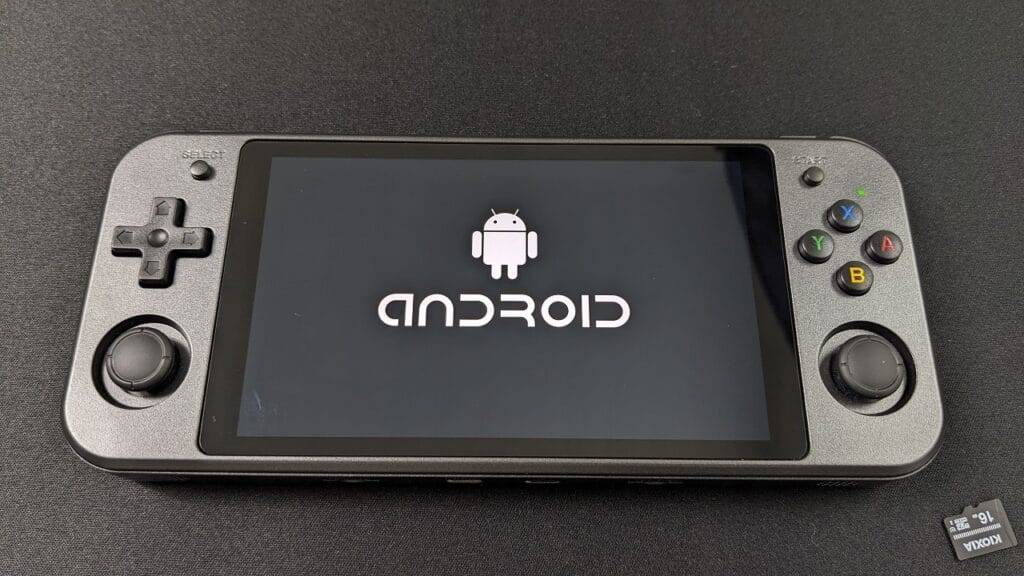
Įjunkite RG552 ir bus pradėtas „Android" OS atnaujinimo procesas, kuris turėtų užtrukti apie 10-15 minučių. Pirmoje dalyje bus rodoma pažangos juosta, paskui pasirodys pranešimas apie ištrynimą, kuris užtruks šiek tiek laiko. Šio proceso metu neišjunkite prietaiso ir neišimkite „Micro SD" kortelės.
Atnaujinimui pasibaigus, pamatysite tekstą, raginantį išimti „Micro SD" kortelę. Išėmus kortelę prietaisas bus automatiškai perkrautas.
Pirmasis „Android" įkrovimas po OS atnaujinimo užtruks ilgiau nei įprastai, kol bus baigtas nustatymas. Šio proceso metu neišjunkite prietaiso.
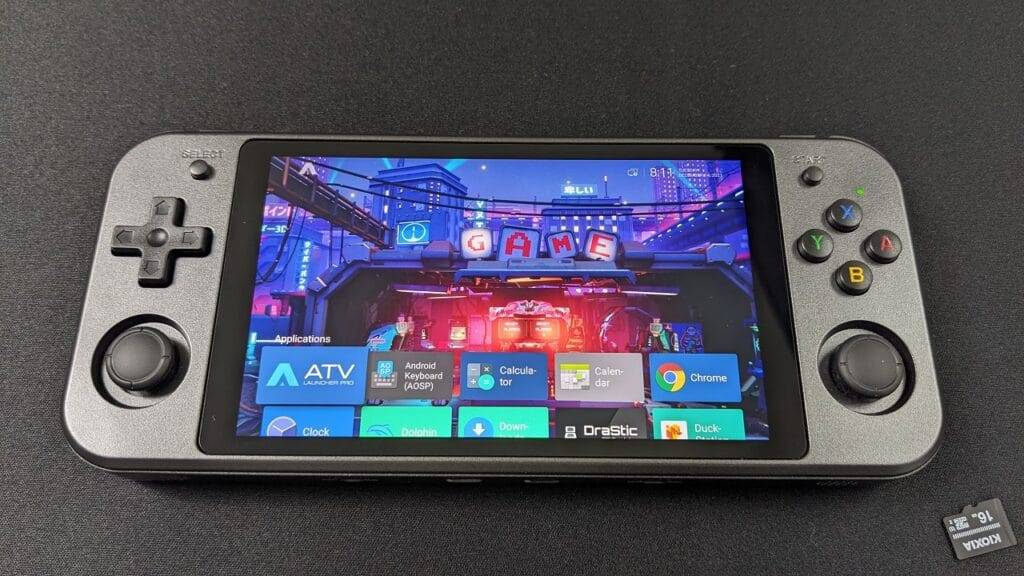
Po minutės ar dviejų turėtumėte grįžti į pagrindinį ekraną, kuriame įdiegta naujausia RG552 „Android" OS programinė įranga.
Mėgaukitės!
Jei dar neturite savo RG552, kodėl gi ne? Daugiau sužinoti ir įsigyti RG552 galite čia, o retro žaidimų delninių kompiuterių asortimentą galite peržiūrėti čia.
[azp_custom_product id="13″]


