Files used in this guide
Changelog
- Source guide: How to Reinstall Stock Firmware on Retro Gaming Handhelds
Older versions stay downloadable for rollbacks — every version keeps its own verified file.
You’ve made a fantastic choice with your new Anbernic RG35XX Plus! Welcome to the thrilling world of retro gaming handhelds, unlocking a universe of classic gaming nostalgia combined with modern technology. This device brings back the charm of old-school consoles but with modern-day performance. Our Getting Started guide ensures you make the most of your RG35XX Plus!
At DroiX, we celebrate and support the spirit of retro gaming. We also stand by the principle of empowering our users. So, if you find any issues and feel confident enough to handle them, we fully support your Right to Repair! With no effect on your device warranty! But remember, DroiX Customer Support is always happy to help with any queries or assistance you might need.
Let’s begin your Anbernic journey with the device setup. We’ll guide you through the hardware components, connections, and any additional information you might need while preparing for a modern-day retro gaming experience.
What’s Inside the Box?
When setting up your RG35XX Plus, ensuring you have all the necessary components and accessories for a smooth start is important. Additionally, please remember to check underneath the main compartment, and thoroughly inspect the entire box, to find all the components you need for a complete and enjoyable setup experience. With your purchase, you should find:
- 1x RG35XX Plus
- 1x USB Type-C Cable
- 1x Screen Protector
- 1x MicroSD Card (Linux OS & Storage)
- 1x User Manual

Device Overview
The Anbernic RG35XX Plus comes equipped with the ARM Cortex-A53 CPU and the popular Mali-G31 MP2 GPU. With plenty of LPDDR4 RAM, you will efficiently handle multiple tasks and games. With Wi-Fi 5 and Bluetooth 4.2, Your Anbernic RG35XX Plus ensures you are always connected.
RG35XX Plus Setup
Before embarking on your retro gaming journey, you’ll need to get your device set up and running. We’ll walk you through each essential step. We aim to make the setup process as smooth and hassle-free as possible, allowing you to focus on the excitement and nostalgia of retro gaming. Follow these simple steps, and you’ll soon be reliving the golden era of gaming.
Charge Device
It is crucial that the first thing to do is to fully charge your Anbernic RG35XX Plus. You can do this by plugging a charger into your device or connecting your RG35XX Plus to another device via the USB-C cable. The USB-C Port is located at the bottom of your device (refer to Device Overview above).
A complete charge ensures that your device won’t power off unexpectedly during the initial setup, which can include vital checks and configurations – such as calibrating the device’s battery. This initial charge sets a strong foundation for the battery’s long-term health and efficiency, aligning with the best practices for preserving the device’s longevity.
Insert MicroSD Card
Next, let’s prepare your device’s storage. You may need to insert the MicroSD card into the TF1/INT slot, which is conveniently located and labelled on the right side of the device (refer to Device Overview above). This MicroSD card is where all your data will be stored, including the Linux OS, so make sure it’s properly inserted. With your storage in place, your device is almost ready to whisk you away into the world of retro gaming.
Power On Device
Now, let’s bring your RG35XX Plus device to life! Hold down the power button, located on the right side, to power your device (refer to Device Overview above). Keep in mind, that the first boot might take a bit longer than usual — this is completely normal and part of the setup process. Once this initial setup is complete, subsequent boot times will be quicker, getting you into games faster. Patience is key here; your retro gaming experience is just moments away!
Linux OS
The Anbernic RG35XX Plus runs on the Linux Operating System, which means it’s essentially plug-and-play – you’ll have instant access to any games and apps if you have ROMs saved onto your storage device without the need for convoluted emulator setups.
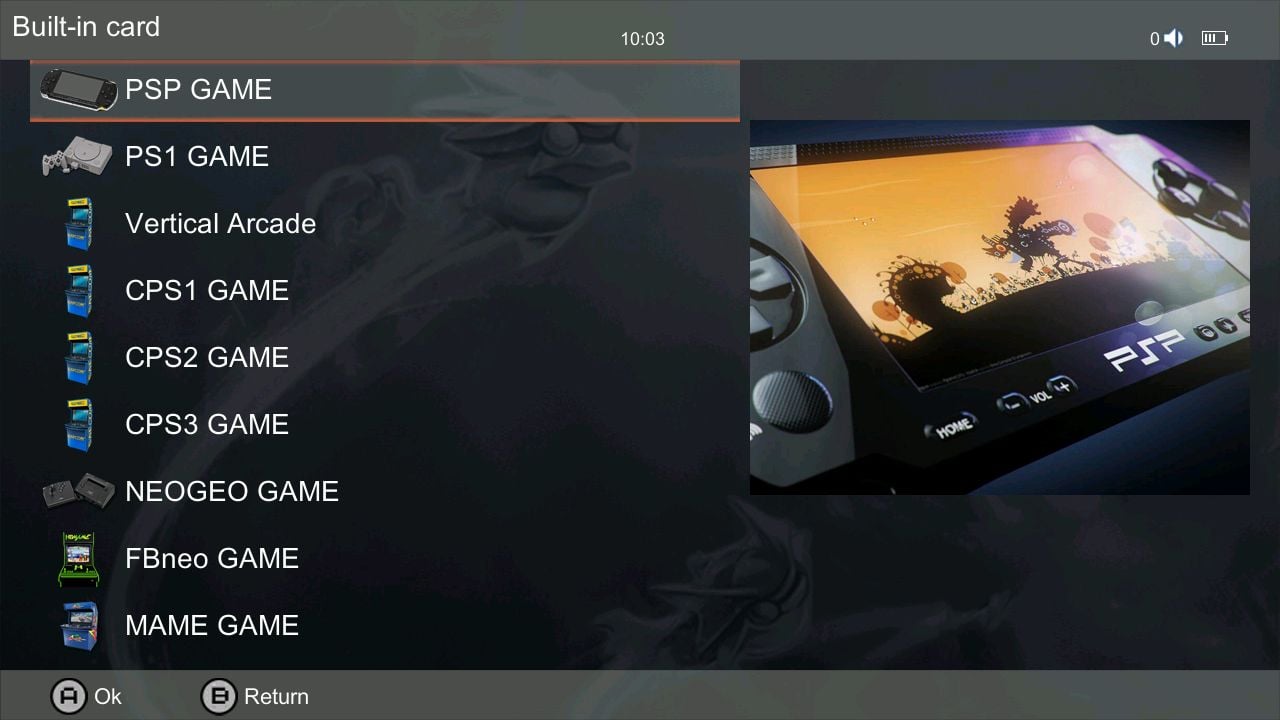
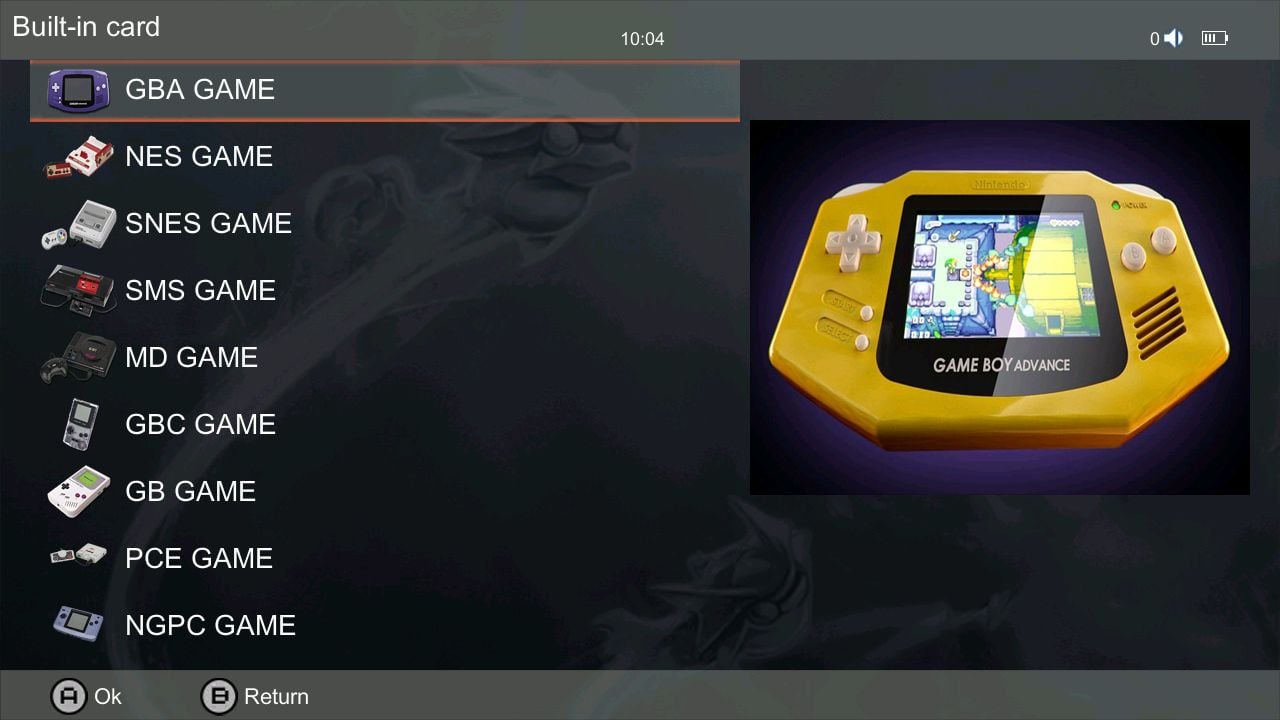
Game Rooms (Emulators)
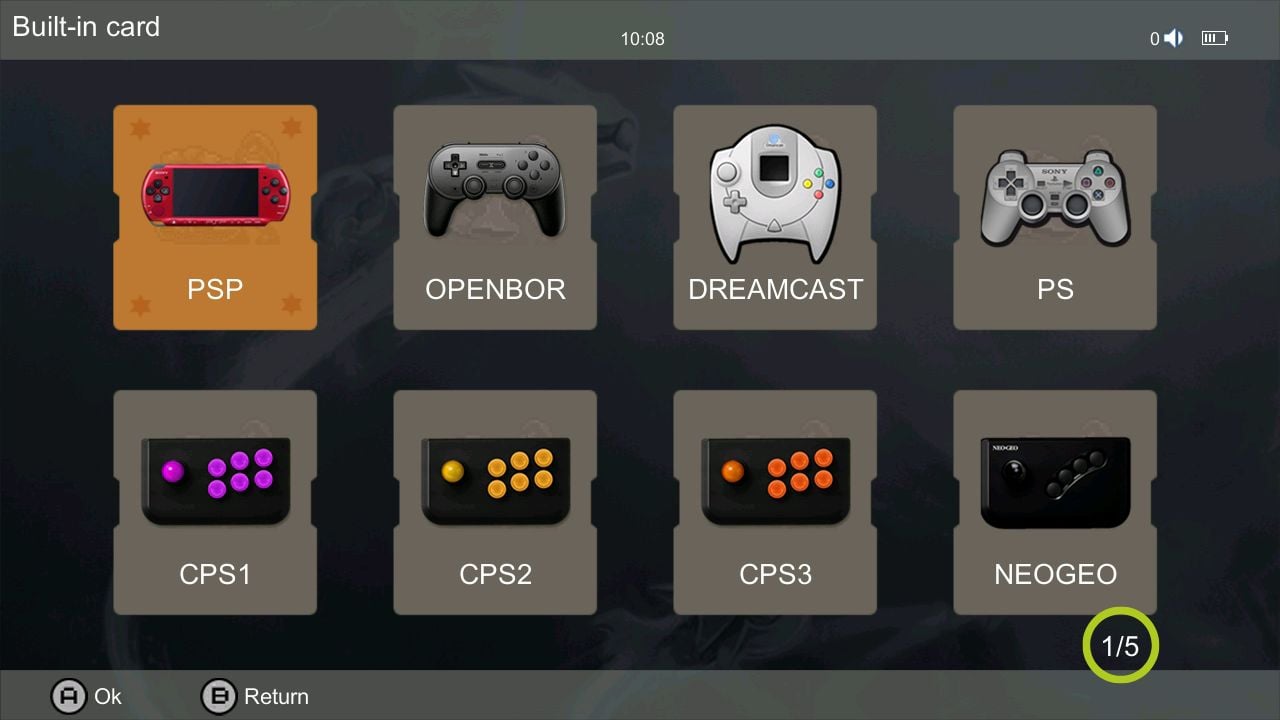
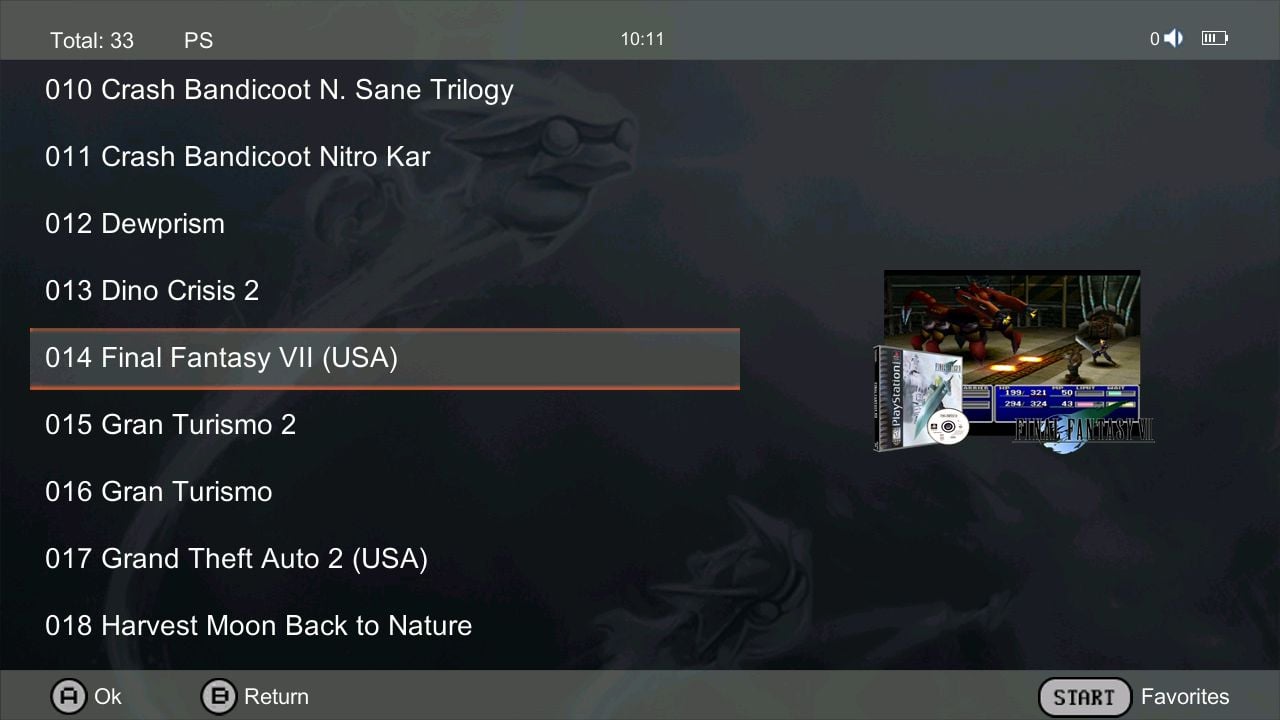
Select Game Rooms from the main menu and you will be presented with a list of different consoles/emulators (see Images 1, 2 & 3 below). If you have inserted more than one MicroSD Card into your Anbernic device, you will be asked to select which storage device you wish to access each time you enter this menu. Selecting the console/emulator will present you with a list of compatible games that are saved onto that storage device.
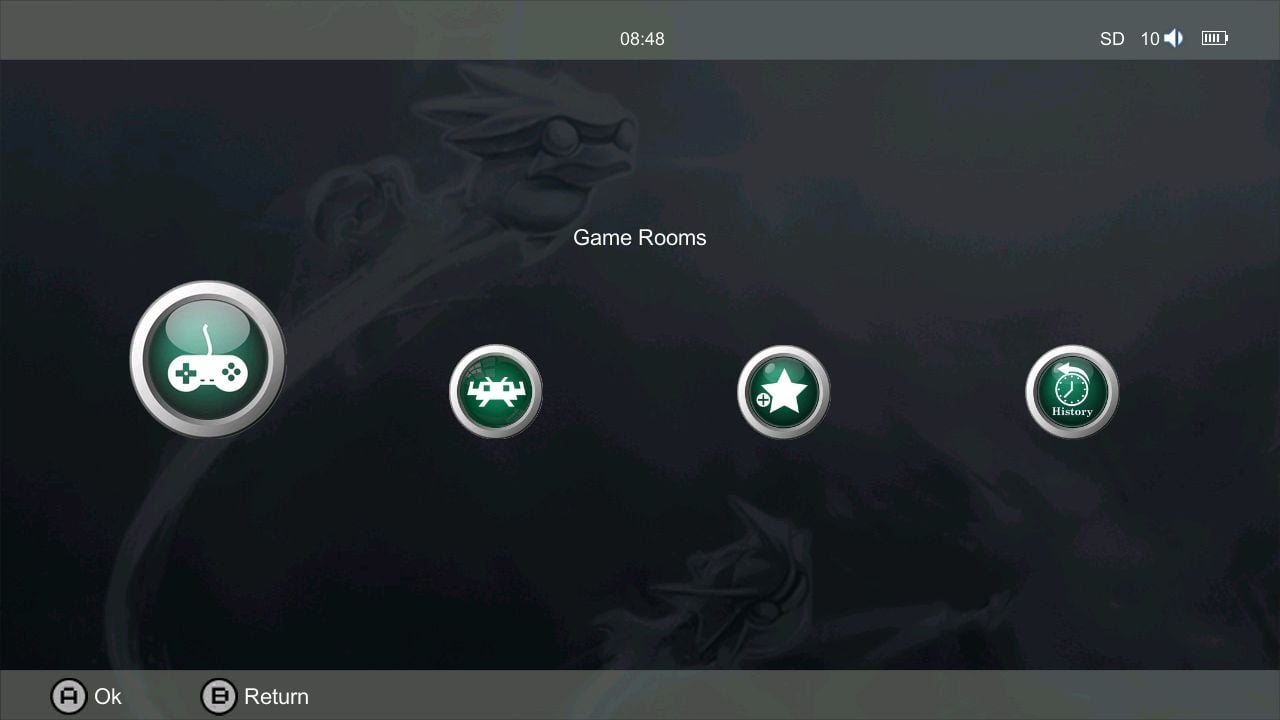
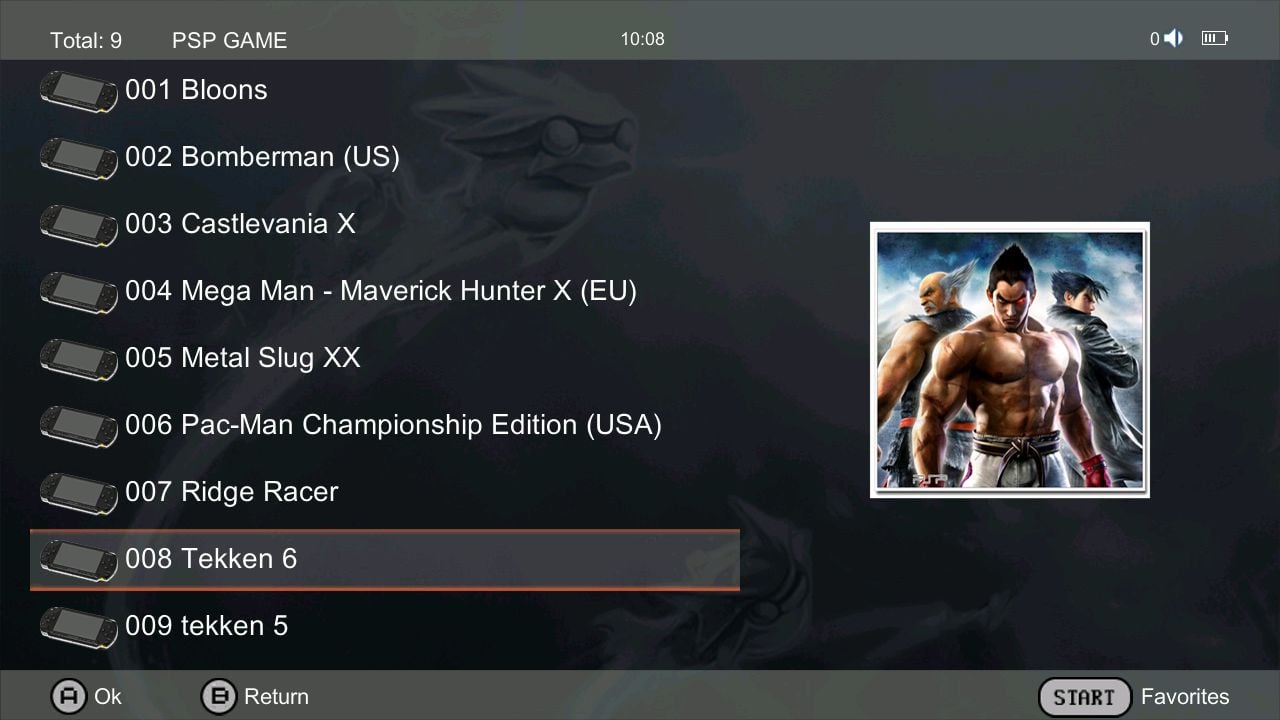
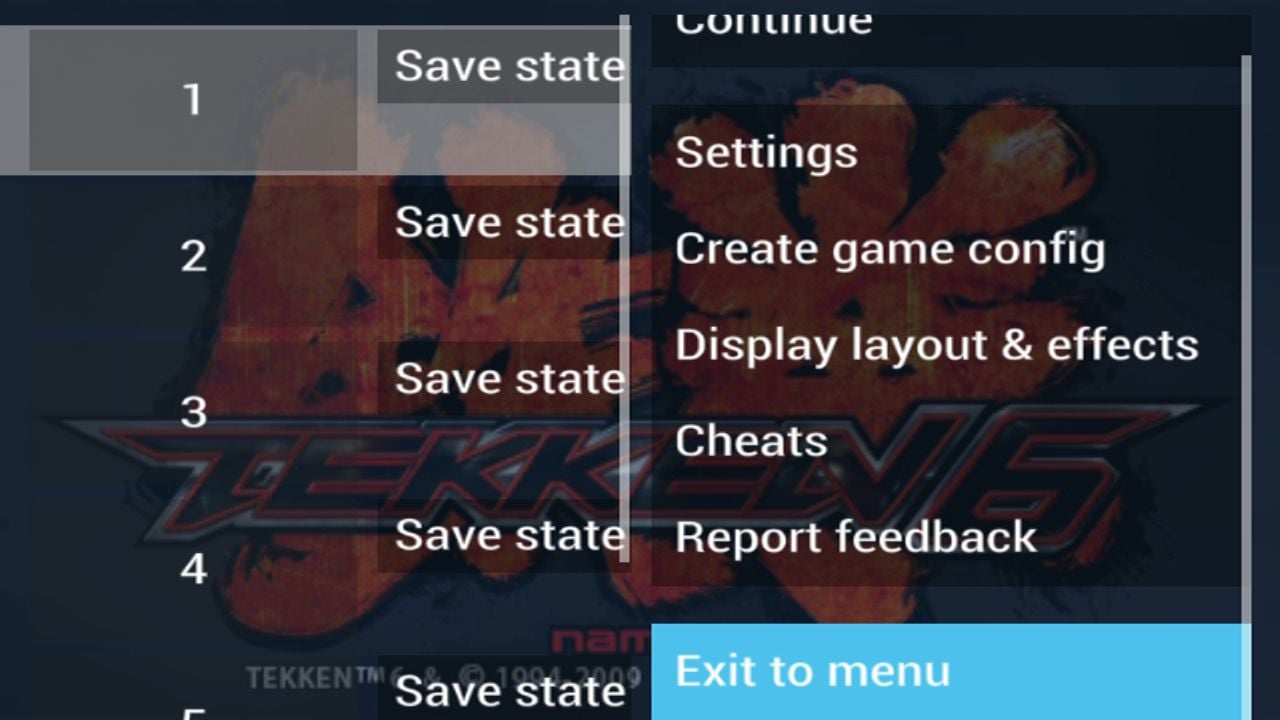
Selecting a game will launch you straight into the game’s title screen (refer to Images 4 & 5 below). Press the Function button, conveniently located on the front of the controller to bring the emulators menu, where you can state save, exit and more (see Image 6 below).

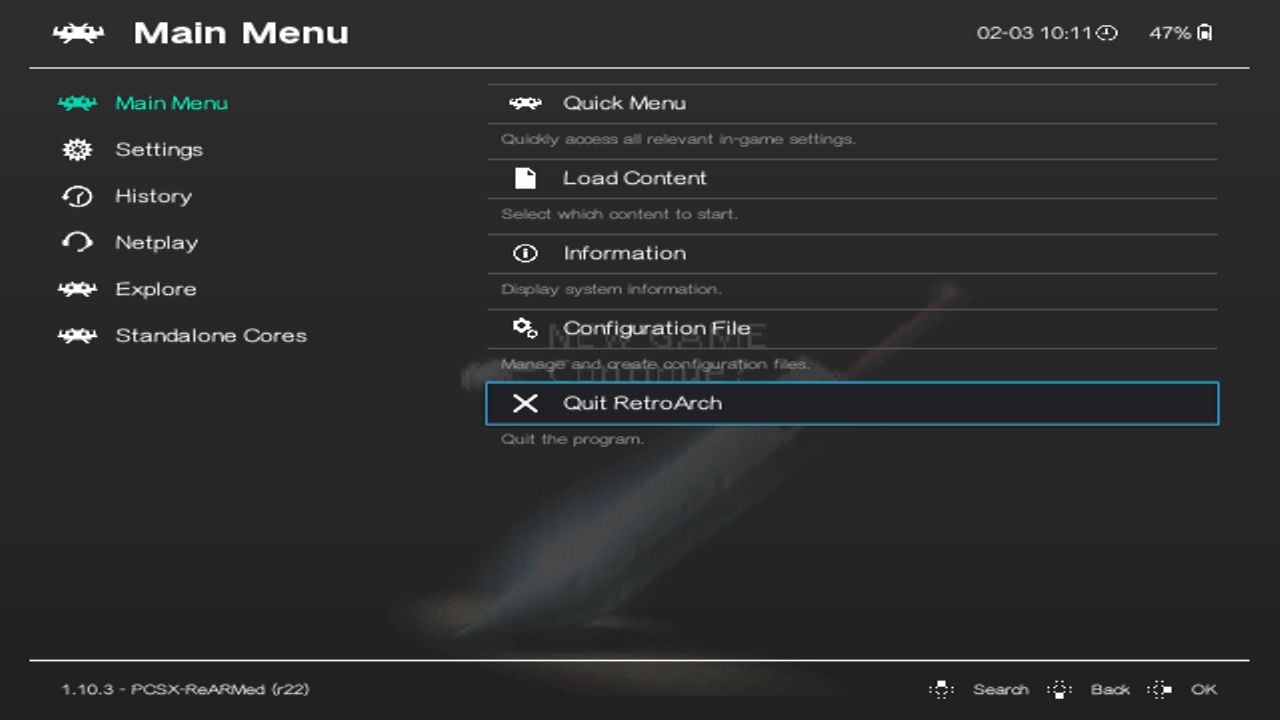
RetroArch
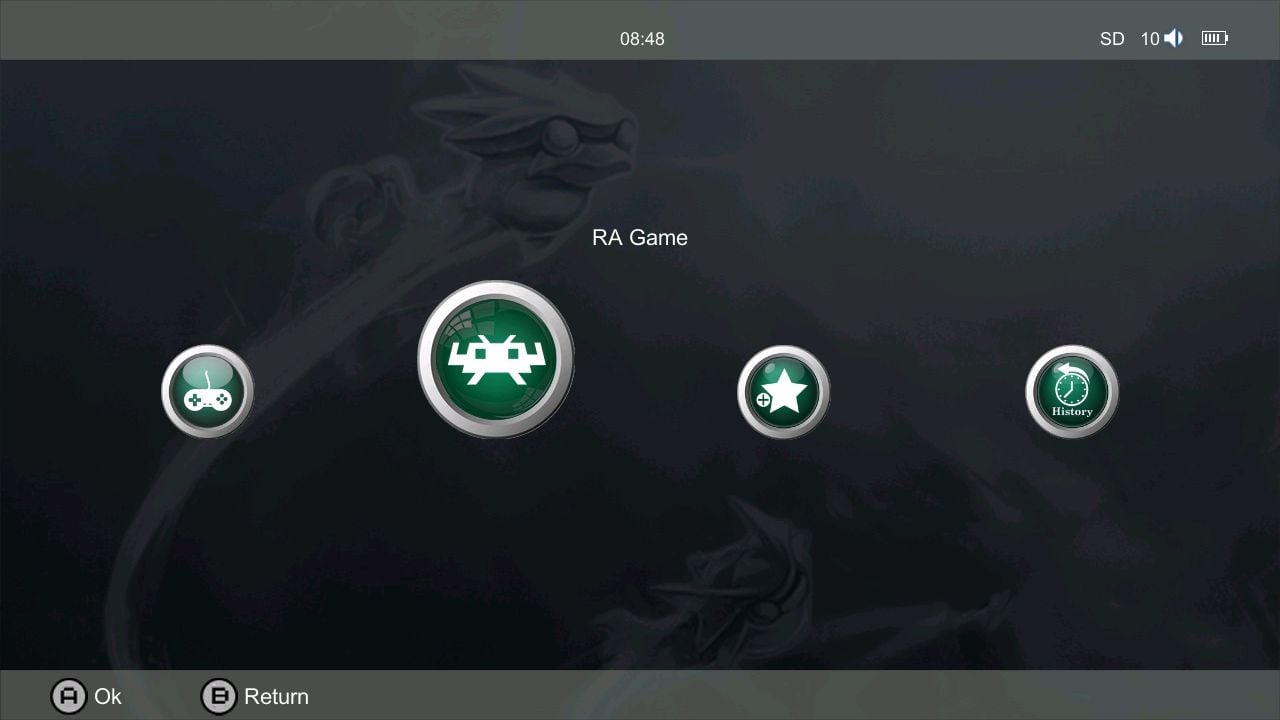
You can also emulate games through the RetroArch frontend – luckily for you, it’s already installed and set up on the RG35XX Plus. All you need to do is simply select RA Game from the main menu (see Image 1 below). Doing so will present you with a list of the RetroArch cores that have been installed (see Image 2 below).
Similar to launching individual emulators via the Game Rooms option, after selecting an emulator, you will find a list of compatible games – simply select the game to be launched to the title screen (as shown in Images 3 & 4 below).

Press the Function button at any point during a game to open up the RetroArch menu (see Images 5 & 6 below). From this menu you can access state saves, configurations, net play and much more.

Favourites
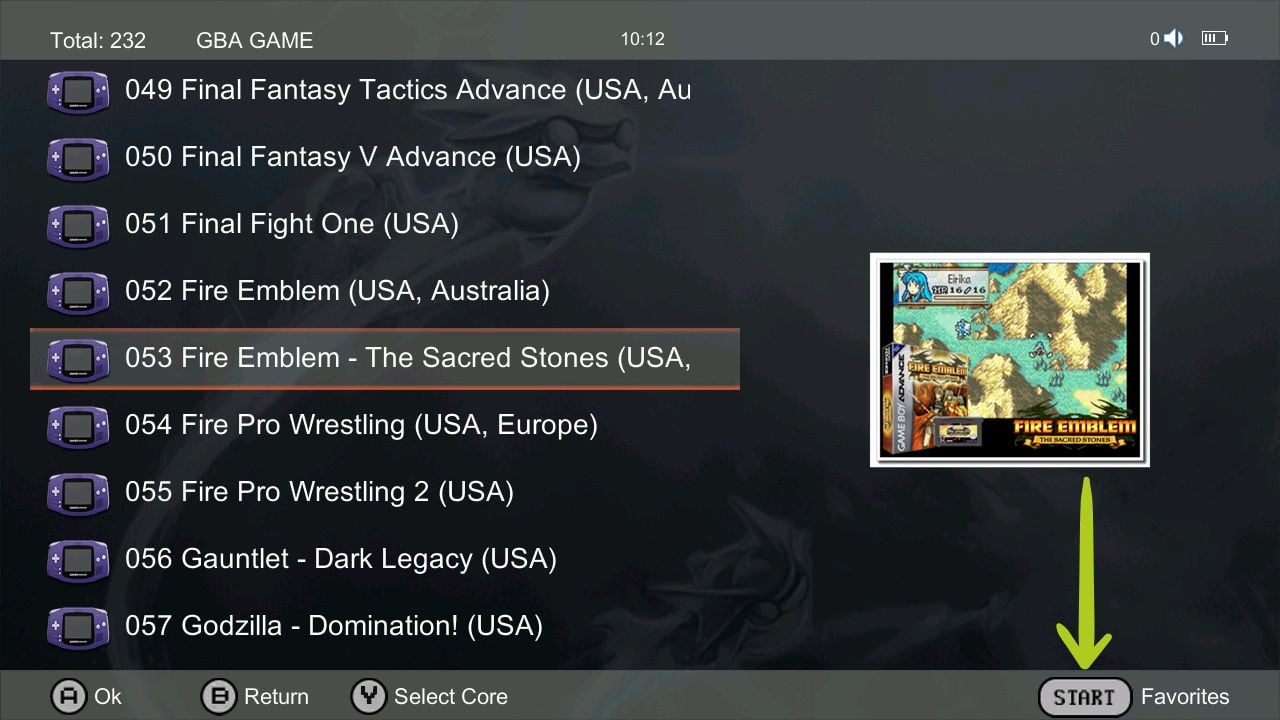
Favouriting games is a good method to quickly and easily access all of your favourite games in one place. This becomes increasingly more useful, the more games and emulators you have by reducing the number of menus and time wasted trying to find these games.
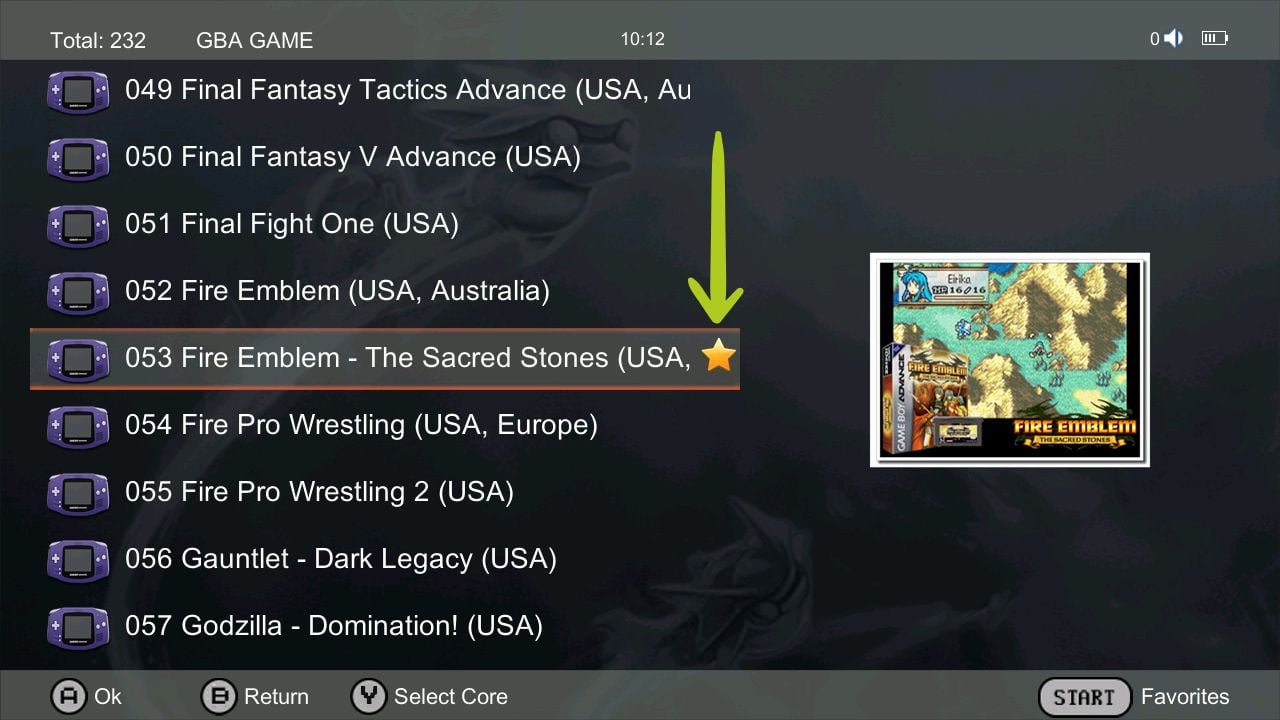
To favourite any game, simply press the Start button before launching it (see Image 1 below). A game that has been added to your favourites will be represented by a gold star at the end of the game name (refer to Image 2 below).
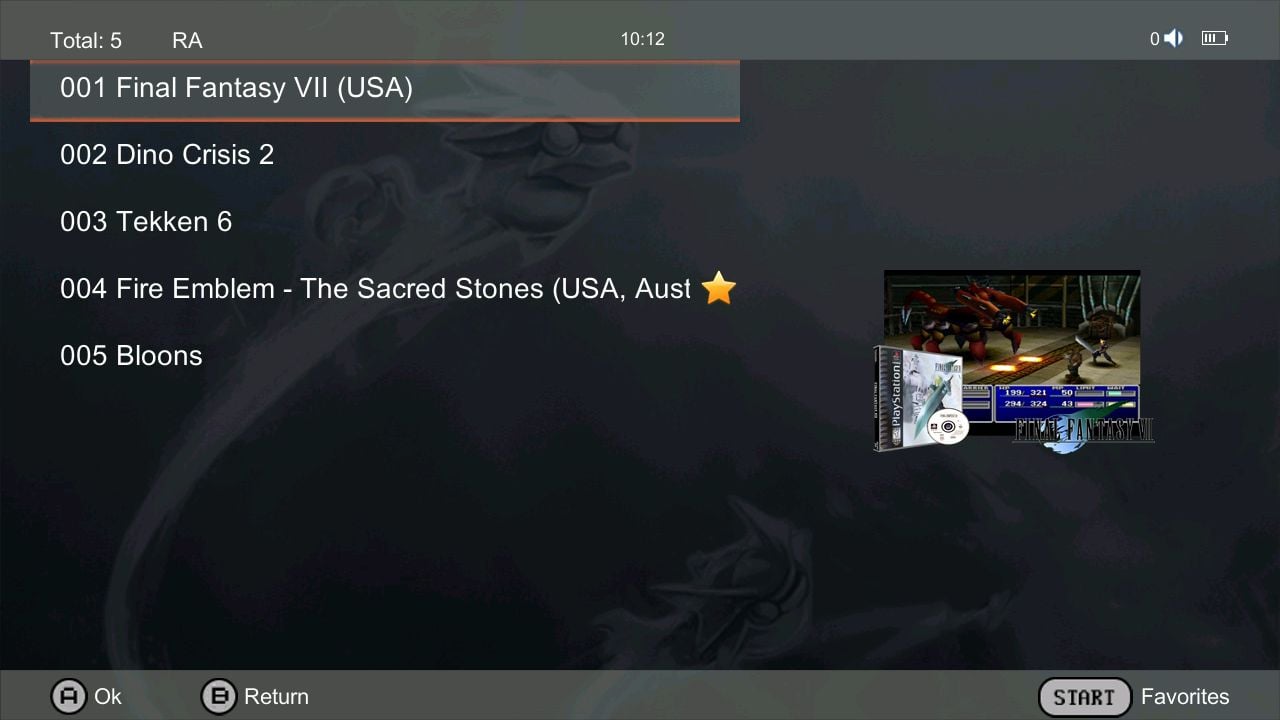
Once you have favourited a few games and you want to now find them, all you need to do is select Favourites from the main menu (refer to Image 3 below). This will open a separate menu which will display all of your favourite games (refer to Image 4 below).


History (Recently Played)
You can select History from the main menu to see a list of all the games you most recently and frequently revisit (as shown in Images 1 & 2 below). This is another way to quickly access games if you have a big library.

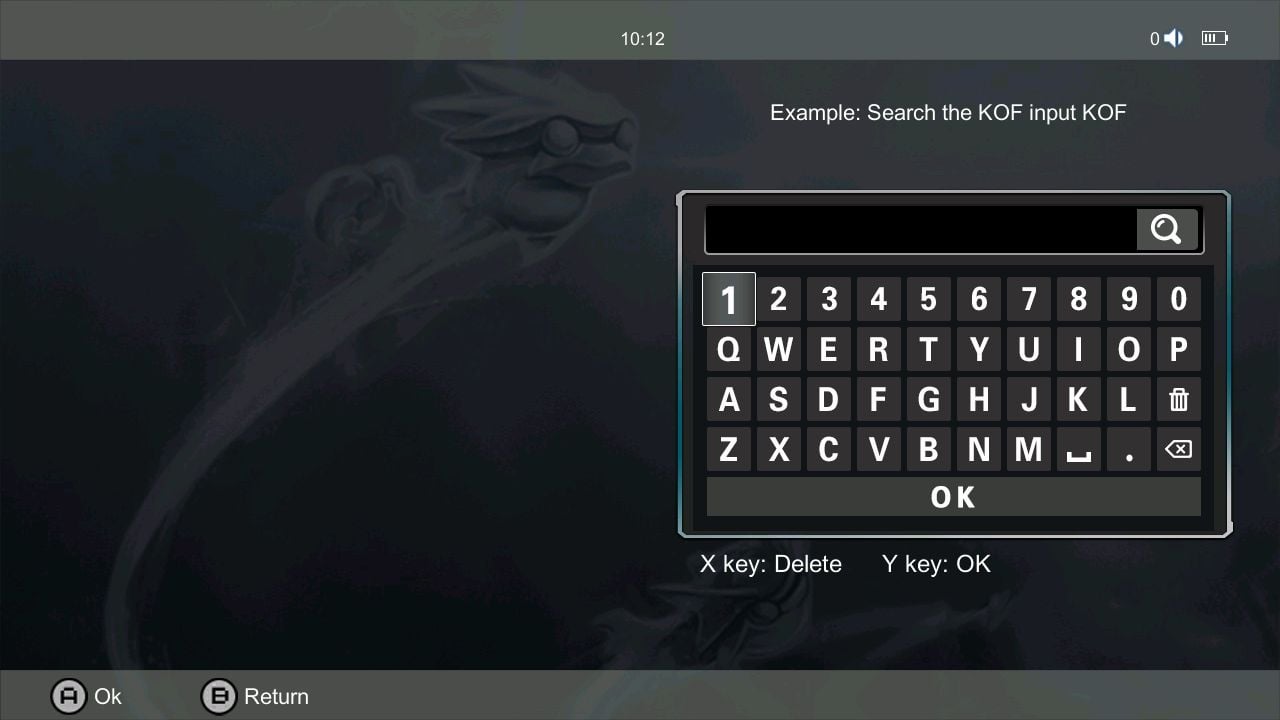
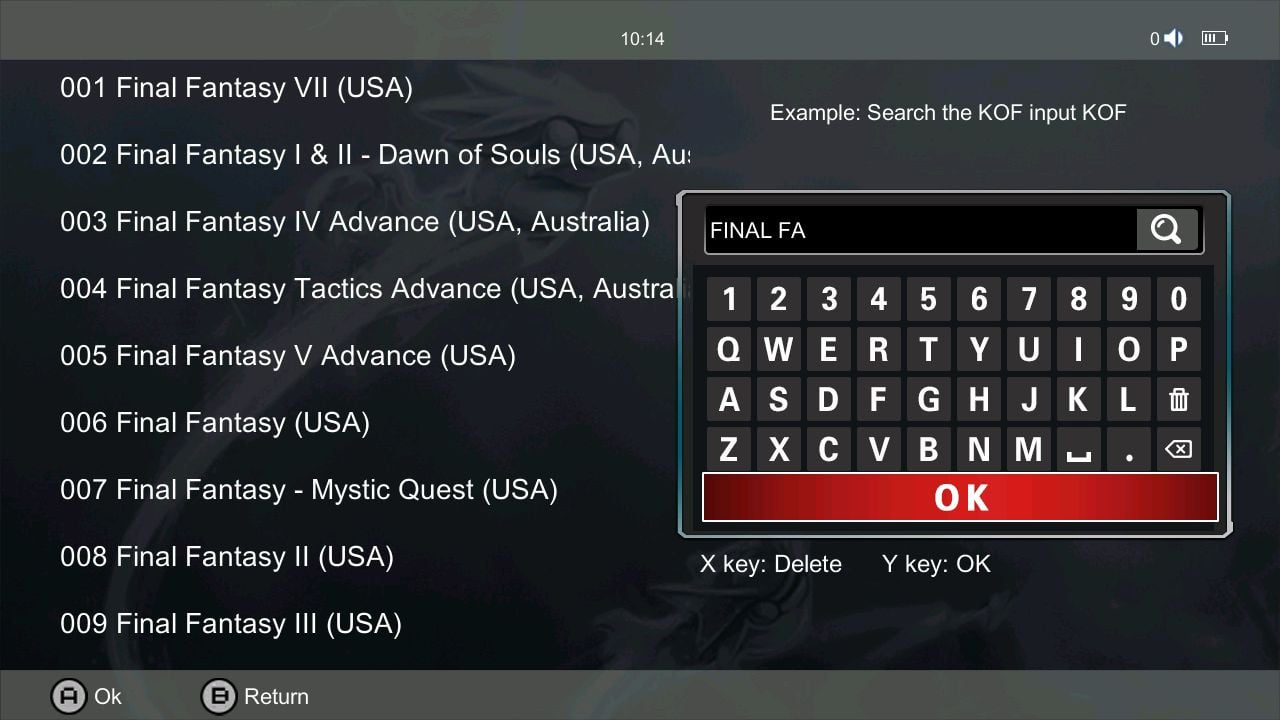
Search
To search for a game, select the Search button from the main menu (as shown in Image 1 below). This will bring up a search menu which will let search for any games within your library (as seen in Images 2 & 3 below).

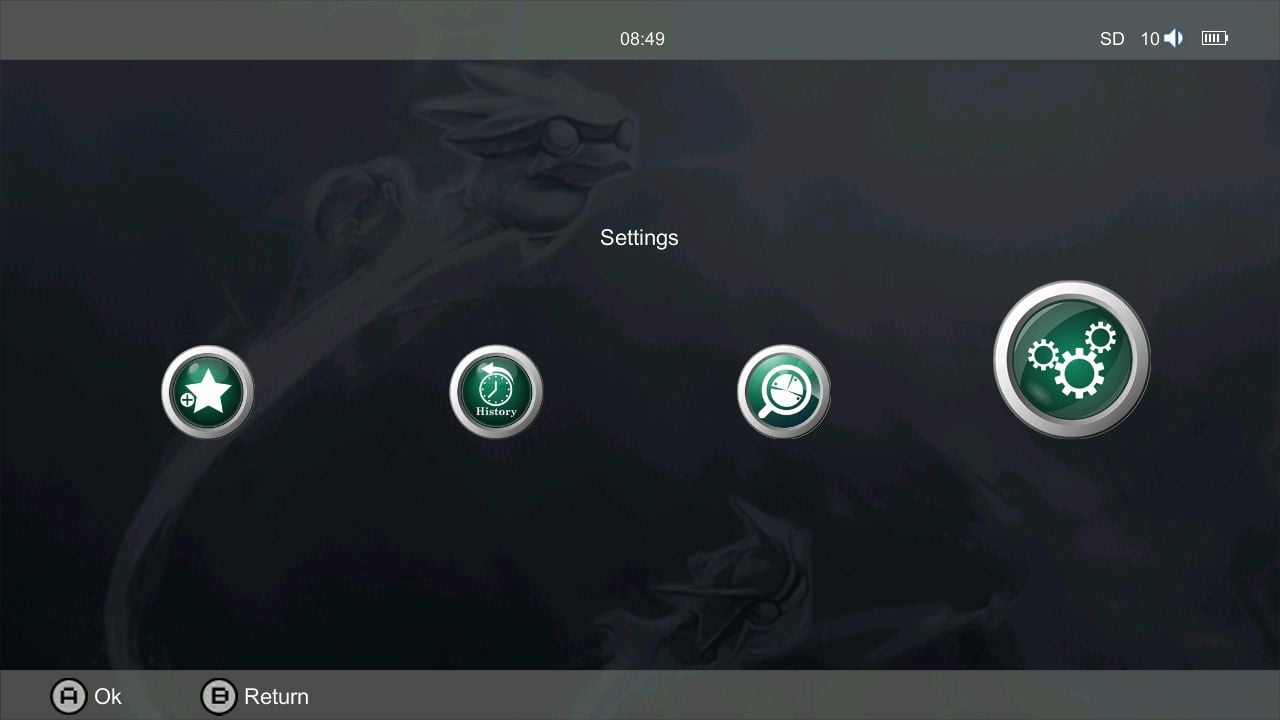
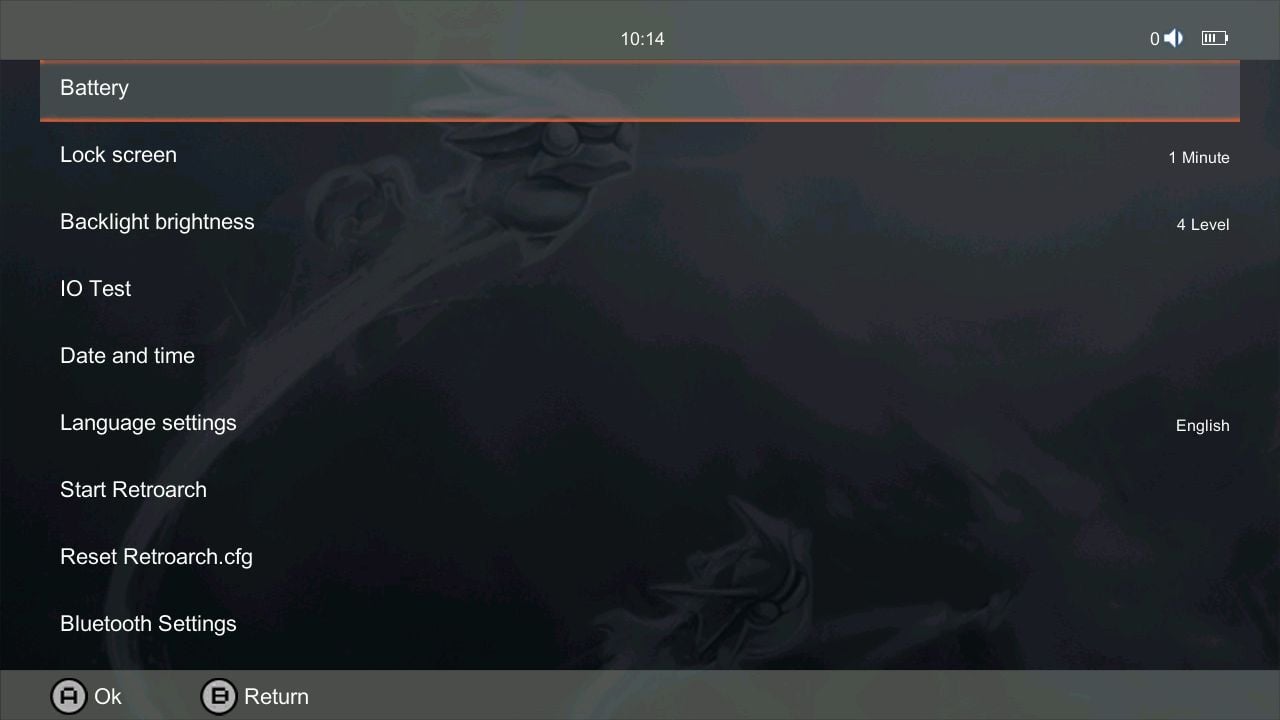
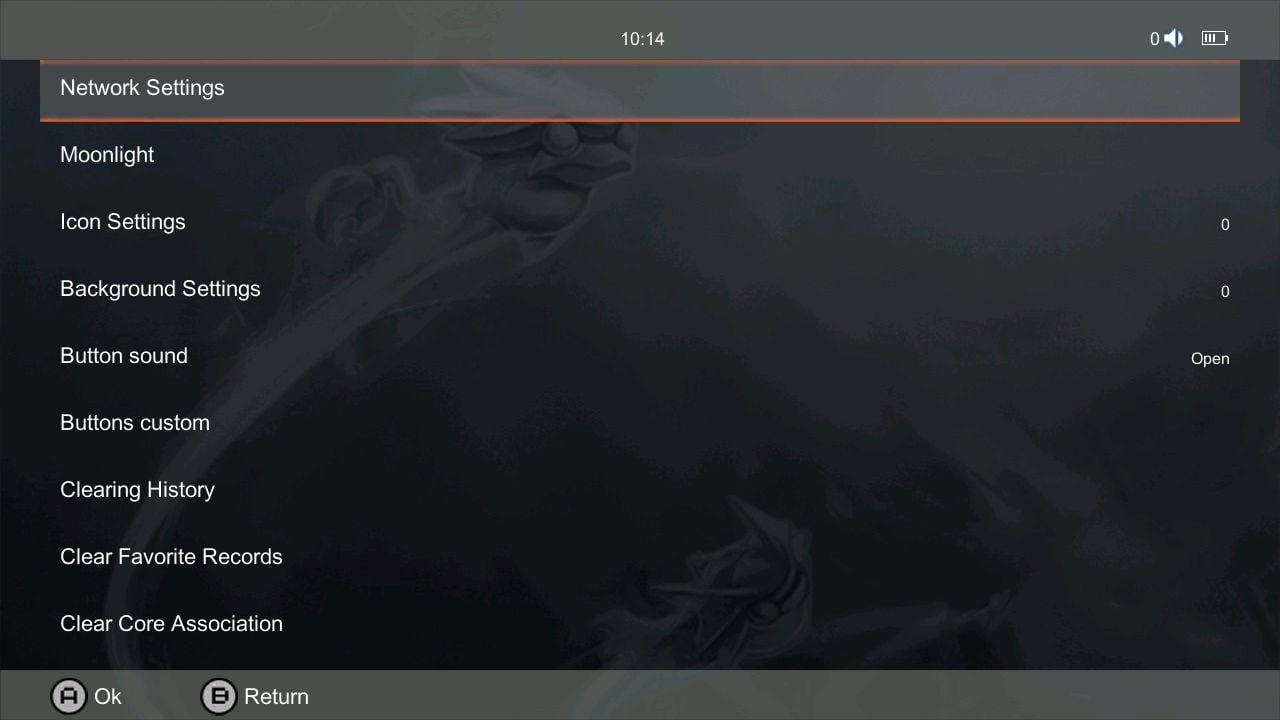
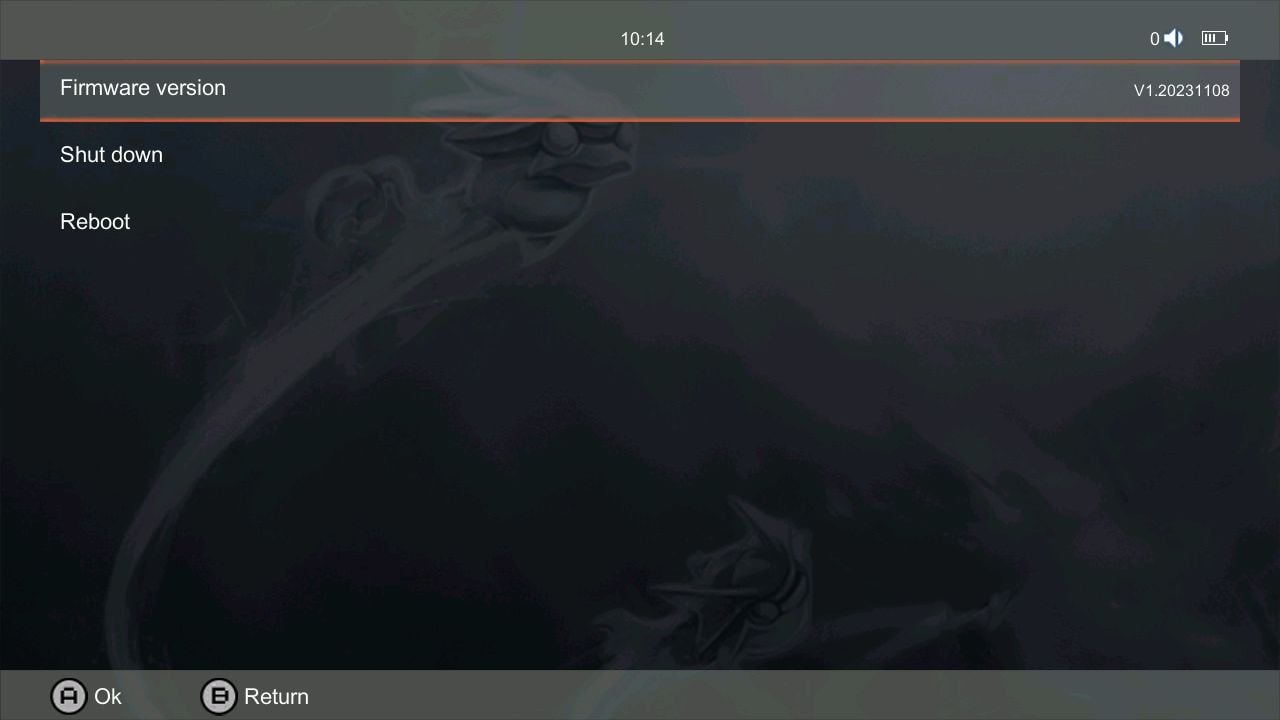
Settings
Select the Settings button to access the Anbernic RG355XX Plus Settings. From here you will be able to change the global device settings such as Network, Bluetooth and more. you will also be able to power off and reboot your device from this menu (check Images 2, 3 & 4 below).
Installing New Games & ROMs
We fully support those who are eager to build their game library on the Anbernic RG35XX Plus. However, at DroiX, we do not personally preload or preinstall any games onto our devices. Nor can we provide links on where to download ROMs and Games – you can find a wealth of sites on Google. Instead, we have a detailed, reusable guide on the process of how to add, install, and update games (and ROMs) on your device.
Follow the instructions in the guide below to begin personalising a collection of games that cater to your unique gaming tastes and preferences.
Update Firmware
| Firmware | Download Link |
| OS v20240118 | Download |
That’s the end of our Anbernic RG35XX Plus guide – we hope you’ve managed to correctly set up and get started with your new mini PC. In case you still have any questions or queries, please feel free to leave a comment below or message our dedicated Support team. We’re committed to helping you and will also amend this page accordingly.
Charging your handheld
Please refer to the included guide on the best practises for charging your handheld.
Questions & answers