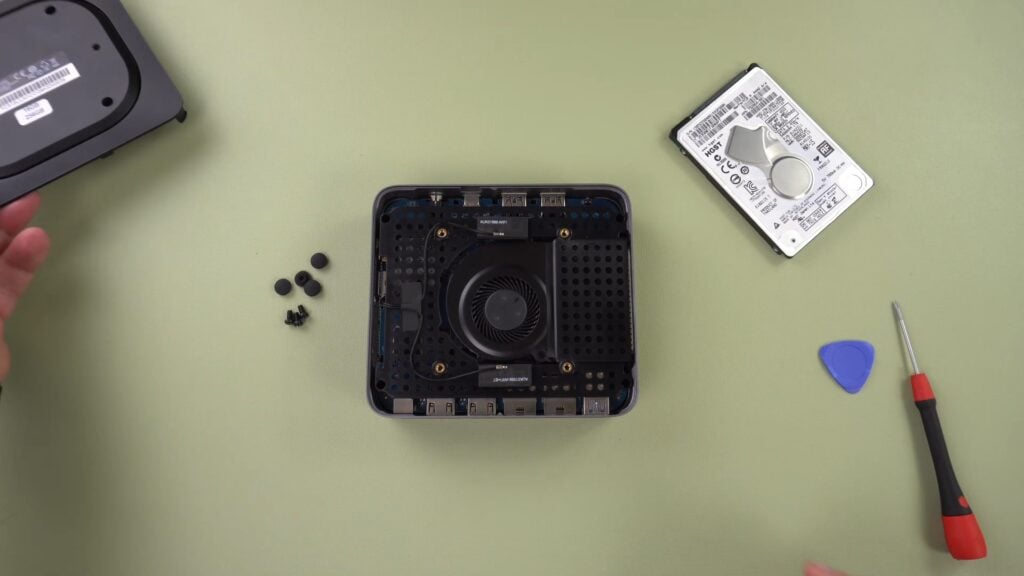
The Minisforum UN100 has space inside for a 2.5″ HDD or SSD to expand the storage. This guide will show how to open your mini PC and install the drive.
Remove the four rubber feet caps and screws.

Lift the base off the mini PC. You may need to use a plastic spudger to free it.
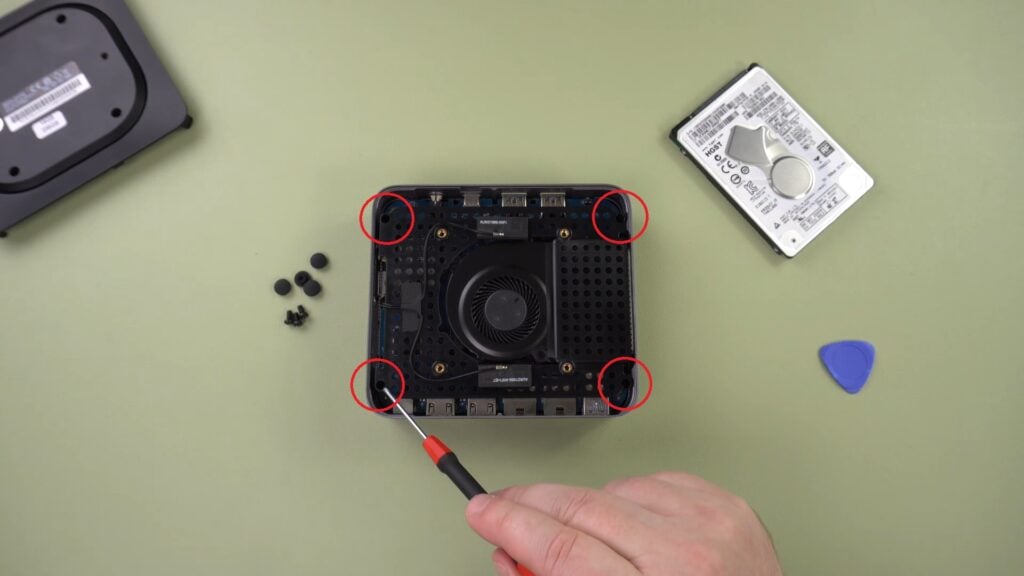
Remove the four screws as indicated.
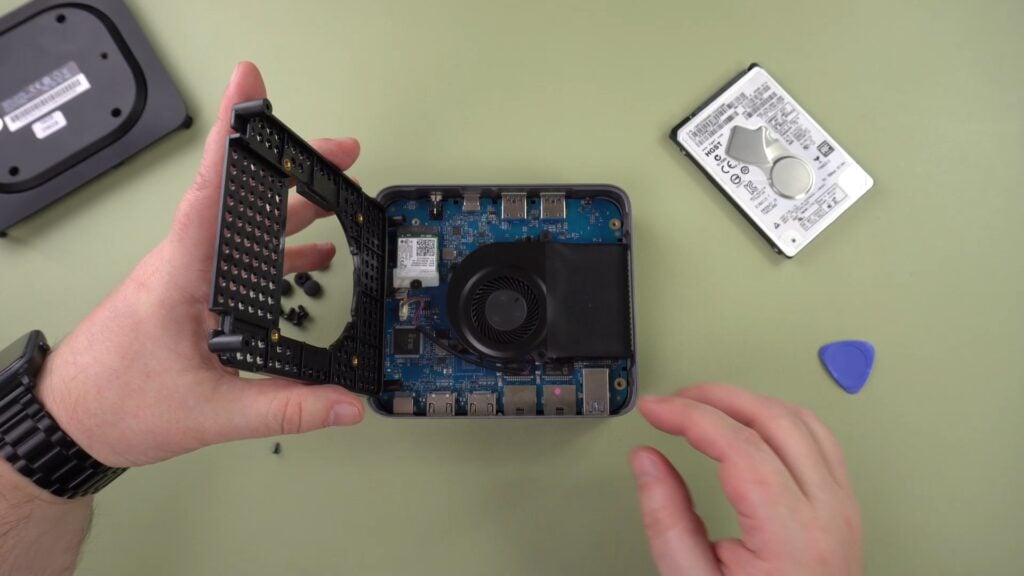
Gently lift the tray to the side. There is a short cable which you should lift to.
Remove the screw and remove the component.
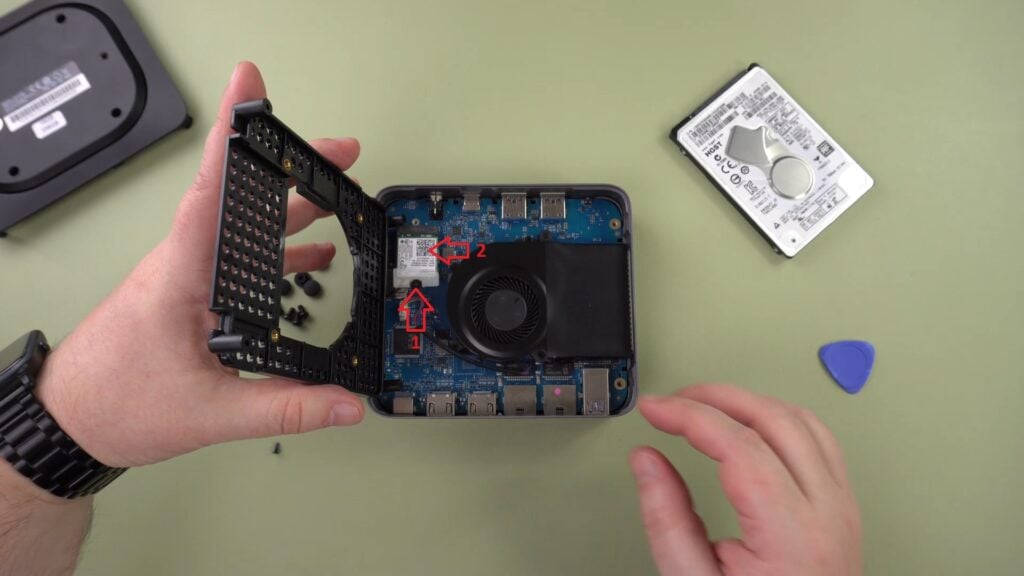
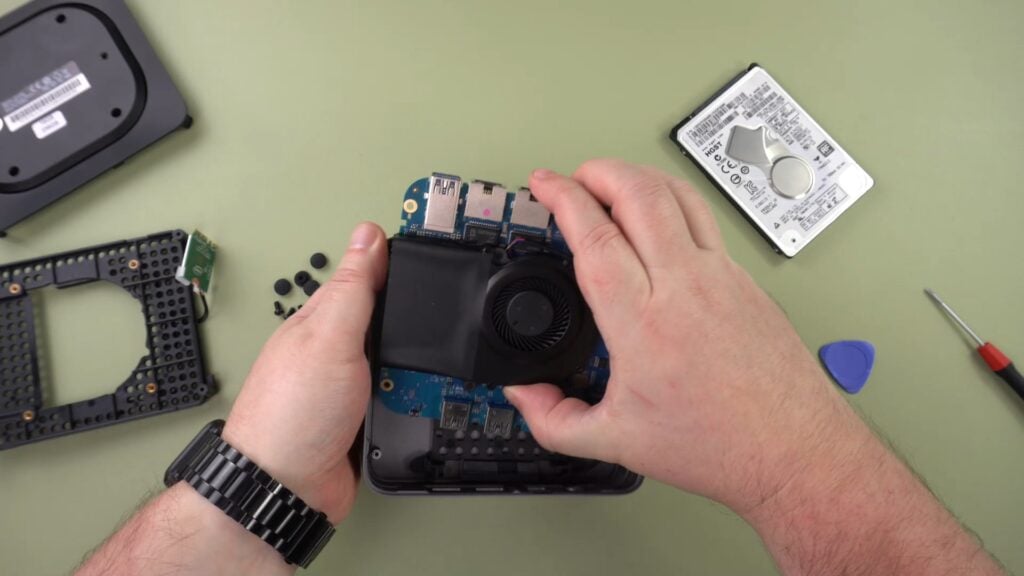
Gently lift the main board from the case.
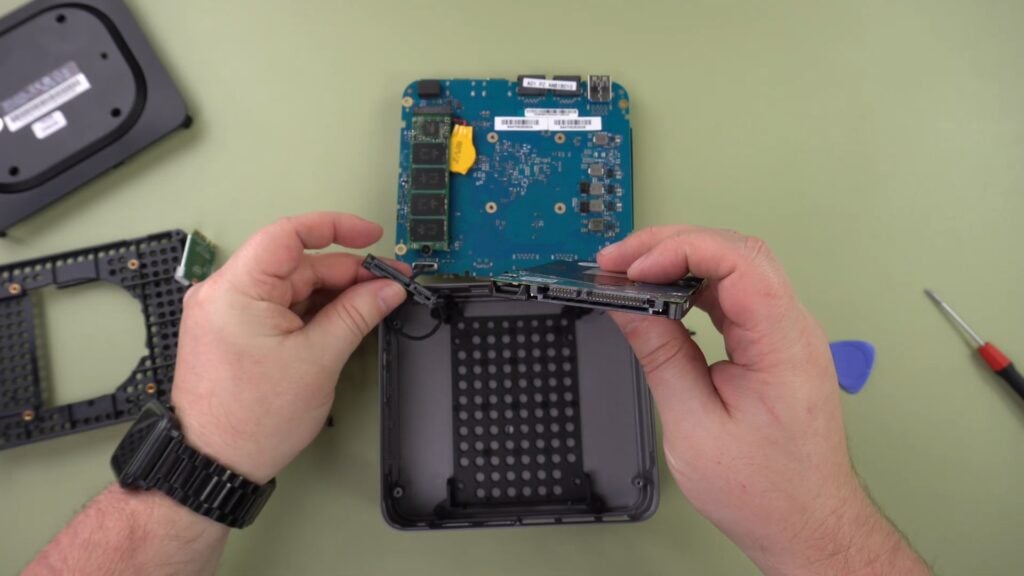
Match the ends of the SATA cable to the drive and connect them.
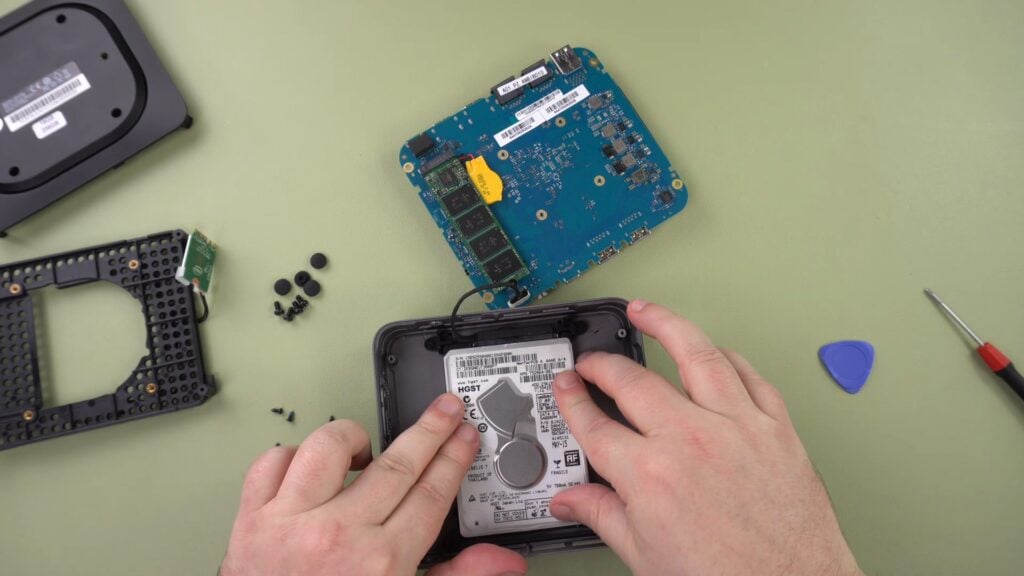
Place the drive into the holding tray.
Repeat the process for reinserting the main board, the tray, screws, lid, screws and rubber feet caps.
Was this article helpful?
Questions & answers