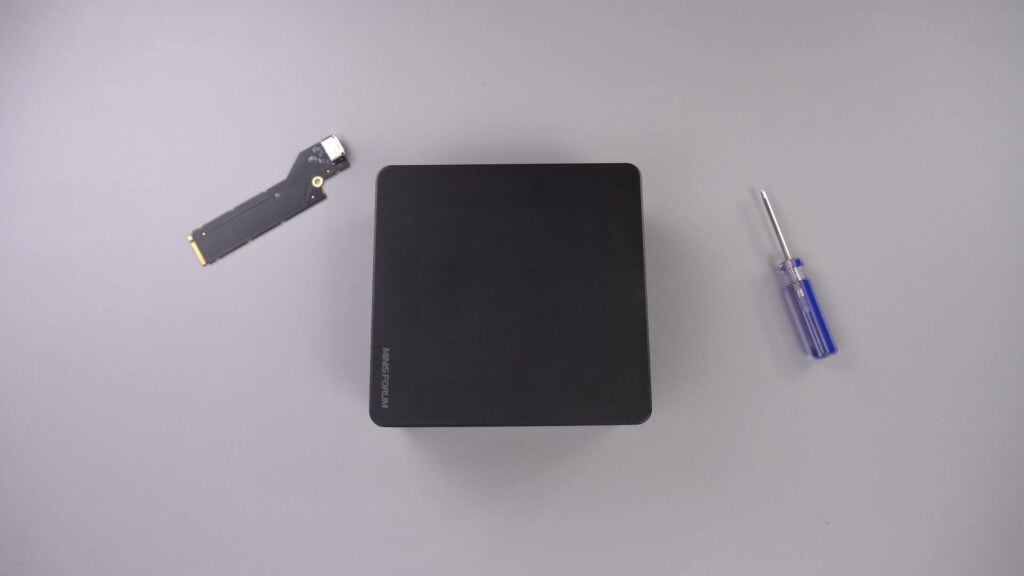
This guide will show the process to install the PCIe to Oculink adapter board on the Minisforum UM780 XTX gaming mini PC.
Remove the top lid, it is held with magnets and will come off with little force.
There are four screws in the corner which hold the LED component in place, remove these screws.

You can now carefully lift the LED component out of the case. There is a short cable as indicated below which you will need to disconnect.
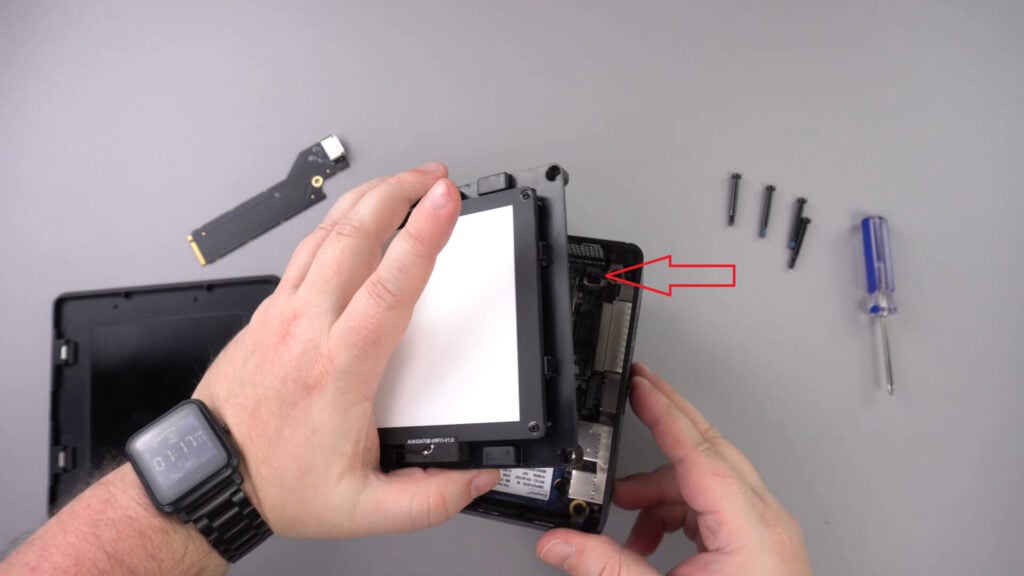
Move the LED component to one side, you shouldn’t need to remove the other cables.
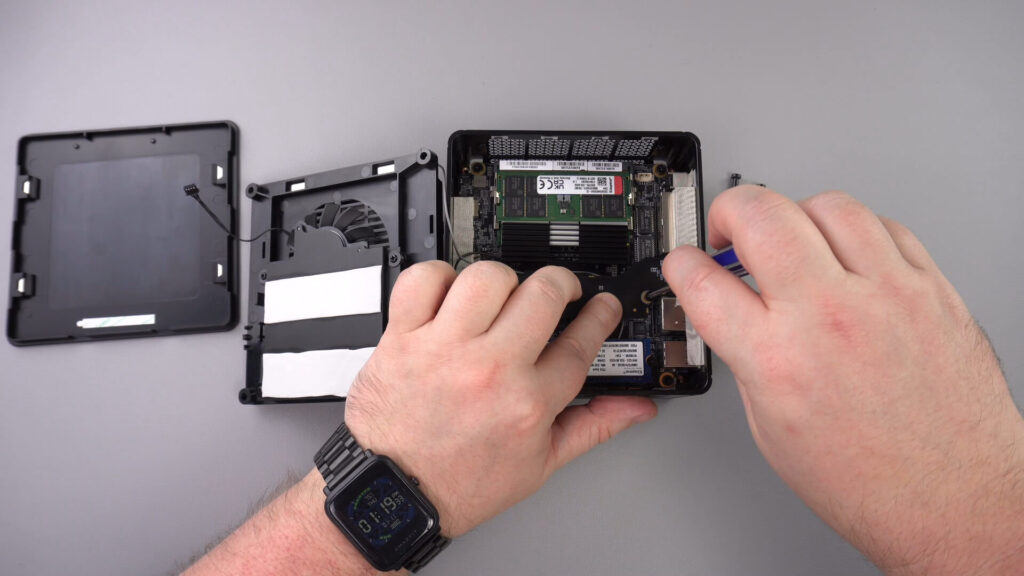
Unscrew the screw indicated below, this screw will keep the PCIe to Oculink adapter secure.
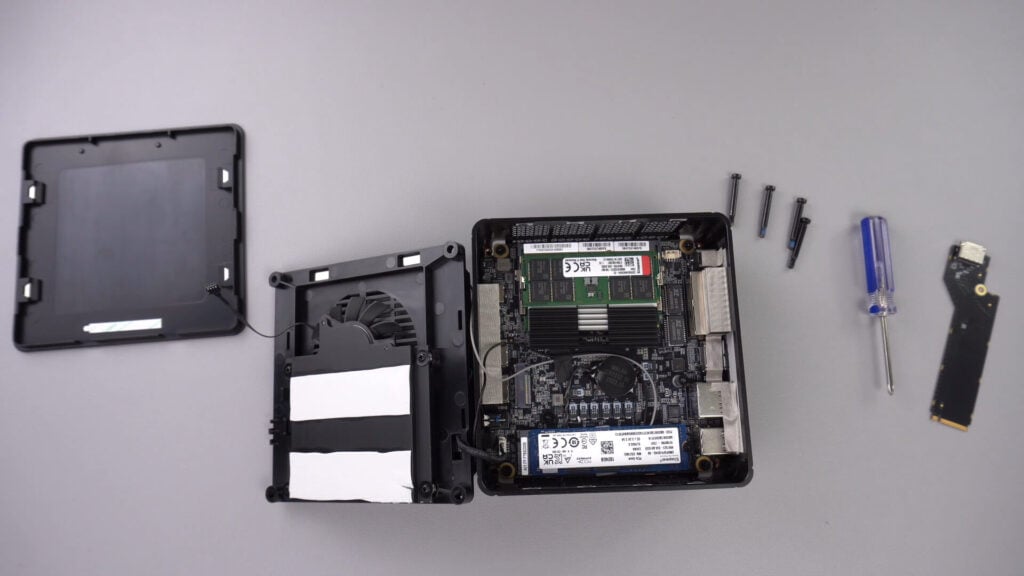
Insert the PCIe to OcuLink adapter into the PCIe slot. It can only go in one way into the slot.
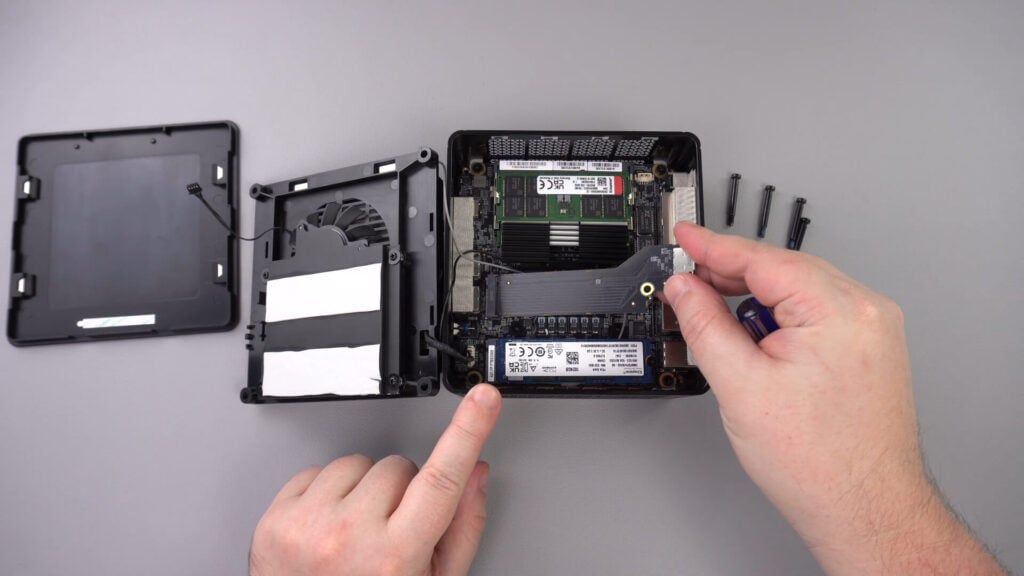
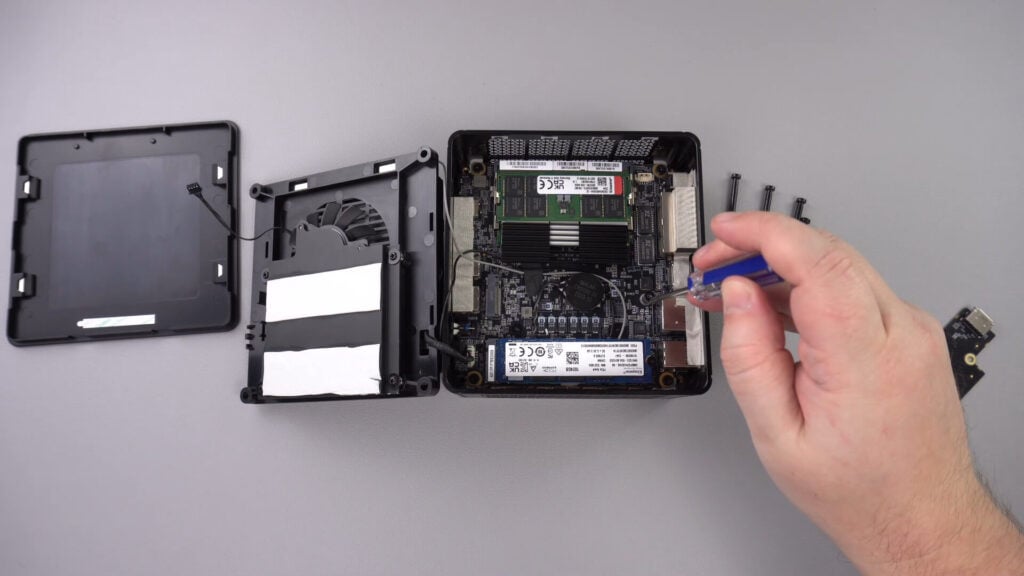
Fit the PCIe screw back to keep the adapter secure
You can now reassemble the mini PC.
Questions & answers 3
I have installed this Oculink adaptor and tried using it with both my GPD G1 and OneXGPU using Oculink. However, when I boot up my machine, the external GPU is not detected. I alraedy have the latest AMD drivers installed on my machine, and I have tried establishing the connection using the official Oculink cables from OneXPlayer and GPD, but to no avail.
To establish the connection, I turn off both the miniPC and the eGPU, then I connect the Oculink cable at both ends of the spectrum, and then I power on the eGPU, followed by the miniPC.
However, none of these settings have worked.
Could you kindly suggest what I may be doing incorrectly?
Muchas gracias. Por desgracia compre un Minisforum de este modelo y no me entregaron el adaptador de Oculink, es posible por favor compartirme la referencia para adquirirlo, muchas gracias.
Si lo compró en DroiX, envíe un correo electrónico a [email protected] con su número de pedido para que podamos analizarlo. Si lo compró en otro lugar, deberá comunicarse con el vendedor.