




Sveiki! Vienas mūsų draugas čia, DroiX, sukūrė naudingą vaizdo įrašą, kuriame aptariamas procesas, kaip įdiegti „RetroPie“ atvaizdį SSD diske (arba 2,5 colio HDD), todėl manėme, kad bendruomenei būtų naudinga paskelbti jį mūsų žinių bazėje!
Jei esate susipažinę su mūsų RETROFLAG NESPI 4 DIY rinkiniu, galite pastebėti, kad jis komplektuojamas su tuščiu „kasetės“ korpusu. Ši kasetė skirta laikyti 2,5 colio SSD arba HDD diską, kurį galima įstatyti į sistemą, kad būtų paleista bet kuri OS, kurią įdiegėte. Panašu į kasetėmis pagrįstą sistemą, kuria stilizuotas NESPI 4!
Dažniausia OS, kurią žmonės renkasi paleisti NESPi sistemoje, yra RetroPie. Atvirojo kodo projektas, kurio tikslas – paversti „Raspberry Pi“ kompiuterių seriją pilnavertėmis retro žaidimų mašinomis.
Mes suteikiame savo rinkinį su microSD kortele, nes tai lengviausias ir paprasčiausias būdas, tačiau tiems, kurie nori naudoti savo SSD/HDD diską, peržiūrėkite žemiau esantį vaizdo įrašą, kad gautumėte daugiau informacijos apie tai, kaip įdiegti „RetroPie“ atvaizdį pasirinktame įrenginyje!
[Video] Kaip įdiegti „RetroPie“ atvaizdį
Taip pat parašėme vaizdo įrašo, kuriame paaiškinta, kaip įdiegti „RetroPie“ atvaizdą, transkriptą tiems, kurie gali prastai girdėti arba šiuo metu negali klausytis!
0:00 Intro
Hello and welcome to Retro Gaming Batner. In this brief video, I will be showing how to install  a pre-built RetroPie image onto your microSD card, hard drive or SSD.
The process is quite easy, but if you have never done it before, it can be a bit daunting. At the end, you get to enjoy some retro games. What's there to lose?

 0:31 Extracting Archive (.rar) files
Once you have downloaded the RetroPie image files. They may be in an archive format such as .rar. You will first need to extract the archive to get an image file. If you do not have an archive extractor, then you can download WinRar or 7zip. There are links to both in the description.
Right-click on the file, and depending on which software you are using, you will see options to extract the archive. Here they are for both WinRar and 7Zip.
Choose "extract here" and it will start to extract the file.
Depending on the size of the files and your drive speed, this may take some time. So while you're waiting, check out some more of our videos!

 1:19 How to write an image file to your storage

Once the extraction process has completed, you should now see a .img file in the same folder. Now, you can write the image file to your Raspberry Pi storage.
I recommend BalenaEtcher for writing images, as for me at least it's a bit faster than others, and it's also available on Mac and Linux.
Connect the pi's storage to your pc and run (Balena)Etcher in admin mode. Choose "flash from file" and it will bring up the file browser. Locate and select the image file.
Now, click on "select target", it should hide drives that are your Windows drive (for example), but it may not be 100% accurate. You need to select the one that is your microSD card, hard drive, or SSD. It won't be the same name as mine, so check the drive size matches up in particular.
Make sure you are 100% sure that it is the correct drive. Otherwise you could end up writing over your main drive for example.
Click on "flash" to begin the image flashing process. You will get a warning to ensure that you have chosen the correct device. Double and triple-check and if everything is good, click on "yes im sure" to begin flashing.
Depending on the image size and the speed of data transfer from your pc to the storage, the image writing may take some time. Just let it write the image and go and watch some more of our videos!

 3:05 After the image has been written
Once the process is complete, you can close etcher and safely eject the storage from your PC.
You can now connect the storage to your Raspberry Pi and start the first boot.

 3:27 Useful tips for when first booting a RetroPie image
The first time you boot up, the software needs to set up a few things such as re-sizing the disc partition. The time it takes can depend on the size of your storage; for example, resizing a 256GB partition to one TB and also the speed of the storage.
So just be patient, let it run for 15 minutes or so. It may also reboot the Pi a couple of times in-between.
And then it should boot up to RetroPie with no issues!
Future boots will be faster.
And the final step - enjoy some retro gaming classics!
Tikimės, kad šis vadovas, kaip įdiegti „RetroPie“ atvaizdą, jums buvo naudingas. Ačiū, kad skyrėte laiko sukurti vaizdo įrašą, „Retro Gaming Banter“!
Iki kito karto!
Latest from the blog
Visit the blog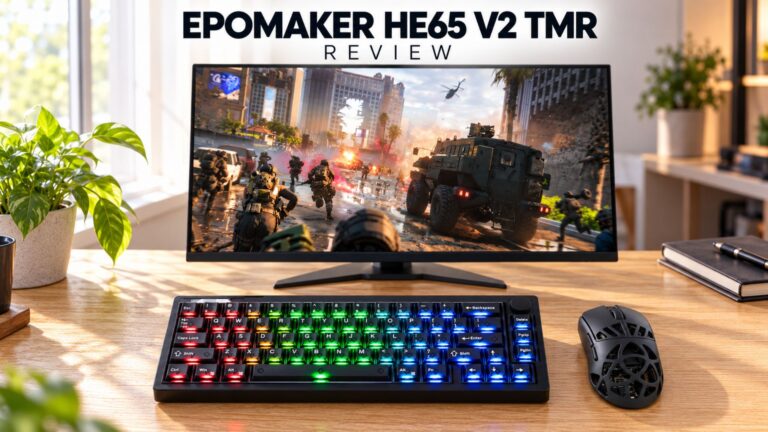 EPOMAKER HE65 V2 TMR apžvalga – 8K belaidis greitis ir hibridiniai jungikliai kompaktiškam žaidimui
2026 19 spalio
EPOMAKER HE65 V2 TMR apžvalga – 8K belaidis greitis ir hibridiniai jungikliai kompaktiškam žaidimui
2026 19 spalio
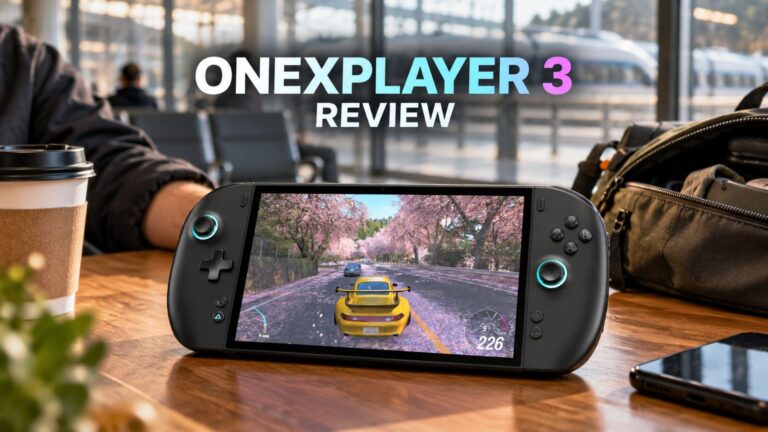 ONEXPLAYER 3 apžvalga – 8,8 colio AMOLED žaidimai, moduliniai valdikliai ir stebinantis baterijos veikimo laikas
2026 14 spalio
ONEXPLAYER 3 apžvalga – 8,8 colio AMOLED žaidimai, moduliniai valdikliai ir stebinantis baterijos veikimo laikas
2026 14 spalio
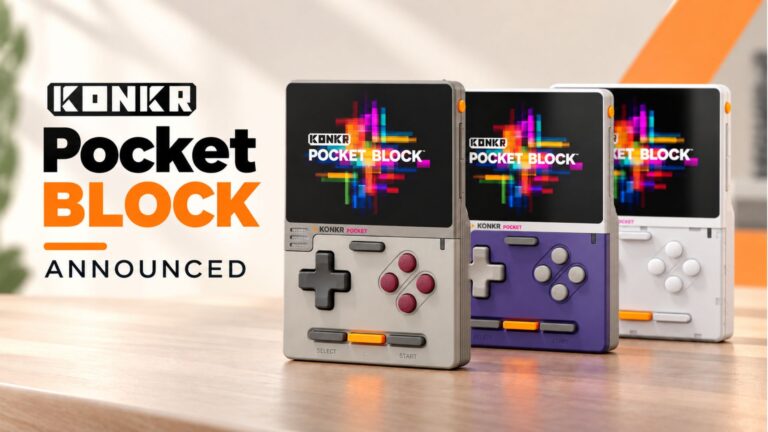 Paskelbtas KONKR Pocket BLOCK: mažytis vertikalus Android delninis įrenginys su 4:3 ekranu
2026 1 spalio
Paskelbtas KONKR Pocket BLOCK: mažytis vertikalus Android delninis įrenginys su 4:3 ekranu
2026 1 spalio
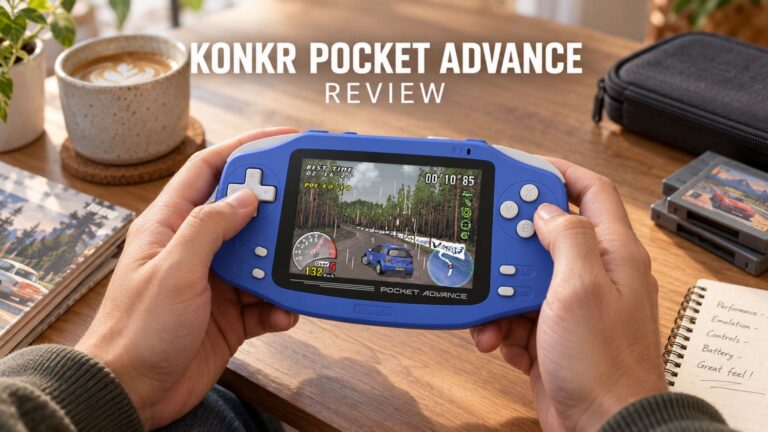 KONKR Pocket ADVANCE apžvalga – į GBA orientuotas kišeninio dydžio „Android“ žaidimų delninis kompiuteris
2026 24 rugsėjo
KONKR Pocket ADVANCE apžvalga – į GBA orientuotas kišeninio dydžio „Android“ žaidimų delninis kompiuteris
2026 24 rugsėjo
Klausimai ir atsakymai 1
Hi, cheers for the tutorial – very useful! I’m a beginner and would like to setup my own raspberry pi 4 B with an SSD, and i have a couple of questions.
Do i need to setup the ras pi with an SD card first before using an SSD?
If i flash an image file of games onto an SD or an SSD (as per the video), do i still need to install/flash retropie onto it first or is it all included in the image file bundle?
Cheers
Nick