




Hallo daar! Een vriend van ons hier bij DroiX heeft een handige video gemaakt over het proces van het installeren van een RetroPie-image op een SSD (of een 2,5-inch HDD), dus leek het ons nuttig voor de gemeenschap in het algemeen om deze op onze knowledge base te plaatsen!
Als u bekend bent met onze RETROFLAG NESPI 4 DIY Kit, merkt u mogelijk dat deze wordt geleverd met een holle “cartridge”. Deze cartridge wordt gebruikt om een 2,5-inch SSD of HDD te bevatten die vervolgens in het systeem kan worden geplaatst om welk besturingssysteem dan ook te gebruiken dat u erop hebt geïnstalleerd. Net als het cartridge-gebaseerde systeem van het apparaat waarop de NESPI 4 is gebaseerd!
Het meest voorkomende besturingssysteem dat mensen op de NESPi kiezen is RetroPie. Een open source-project met als doel de Raspberry Pi-serie computers om te vormen tot volwaardige retro gaming-machines.
Wij leveren onze kit met een microSD-kaart, omdat dit de lichtste en gemakkelijkst te hanteren methode is, maar voor degenen die hun eigen SSD/HDD willen gebruiken, bekijk de onderstaande video voor meer informatie over het installeren van een RetroPie-image op uw apparaat naar keuze!
[Video] Hoe u een RetroPie-image installeert
Wij hebben ook een transcriptie geschreven van de video over het installeren van een RetroPie-image, voor degenen die minder goed kunnen horen of op dit moment niet kunnen luisteren!
0:00 Intro
Hello and welcome to Retro Gaming Batner. In this brief video, I will be showing how to install  a pre-built RetroPie image onto your microSD card, hard drive or SSD.
The process is quite easy, but if you have never done it before, it can be a bit daunting. At the end, you get to enjoy some retro games. What's there to lose?

 0:31 Extracting Archive (.rar) files
Once you have downloaded the RetroPie image files. They may be in an archive format such as .rar. You will first need to extract the archive to get an image file. If you do not have an archive extractor, then you can download WinRar or 7zip. There are links to both in the description.
Right-click on the file, and depending on which software you are using, you will see options to extract the archive. Here they are for both WinRar and 7Zip.
Choose "extract here" and it will start to extract the file.
Depending on the size of the files and your drive speed, this may take some time. So while you're waiting, check out some more of our videos!

 1:19 How to write an image file to your storage

Once the extraction process has completed, you should now see a .img file in the same folder. Now, you can write the image file to your Raspberry Pi storage.
I recommend BalenaEtcher for writing images, as for me at least it's a bit faster than others, and it's also available on Mac and Linux.
Connect the pi's storage to your pc and run (Balena)Etcher in admin mode. Choose "flash from file" and it will bring up the file browser. Locate and select the image file.
Now, click on "select target", it should hide drives that are your Windows drive (for example), but it may not be 100% accurate. You need to select the one that is your microSD card, hard drive, or SSD. It won't be the same name as mine, so check the drive size matches up in particular.
Make sure you are 100% sure that it is the correct drive. Otherwise you could end up writing over your main drive for example.
Click on "flash" to begin the image flashing process. You will get a warning to ensure that you have chosen the correct device. Double and triple-check and if everything is good, click on "yes im sure" to begin flashing.
Depending on the image size and the speed of data transfer from your pc to the storage, the image writing may take some time. Just let it write the image and go and watch some more of our videos!

 3:05 After the image has been written
Once the process is complete, you can close etcher and safely eject the storage from your PC.
You can now connect the storage to your Raspberry Pi and start the first boot.

 3:27 Useful tips for when first booting a RetroPie image
The first time you boot up, the software needs to set up a few things such as re-sizing the disc partition. The time it takes can depend on the size of your storage; for example, resizing a 256GB partition to one TB and also the speed of the storage.
So just be patient, let it run for 15 minutes or so. It may also reboot the Pi a couple of times in-between.
And then it should boot up to RetroPie with no issues!
Future boots will be faster.
And the final step - enjoy some retro gaming classics!
Wij hopen dat u deze handleiding over het installeren van een RetroPie-image nuttig heeft gevonden. Dank u voor het maken van de video, Retro Gaming Banter!
Tot de volgende keer!
Latest from the blog
Visit the blog ONEXPLAYER 3 Review – 8,8-inch AMOLED-gaming, modulaire bediening en verrassend goede batterijduur
14 oktober 2026
ONEXPLAYER 3 Review – 8,8-inch AMOLED-gaming, modulaire bediening en verrassend goede batterijduur
14 oktober 2026
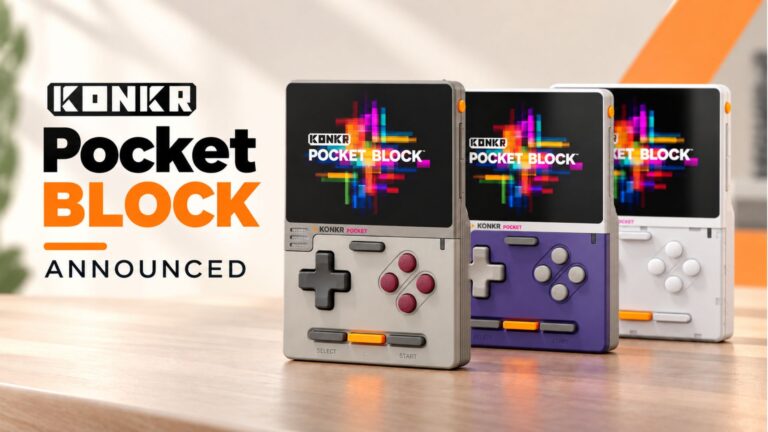 KONKR Pocket BLOCK aangekondigd: een piepkleine verticale Android-handheld met een 4:3-scherm
1 oktober 2026
KONKR Pocket BLOCK aangekondigd: een piepkleine verticale Android-handheld met een 4:3-scherm
1 oktober 2026
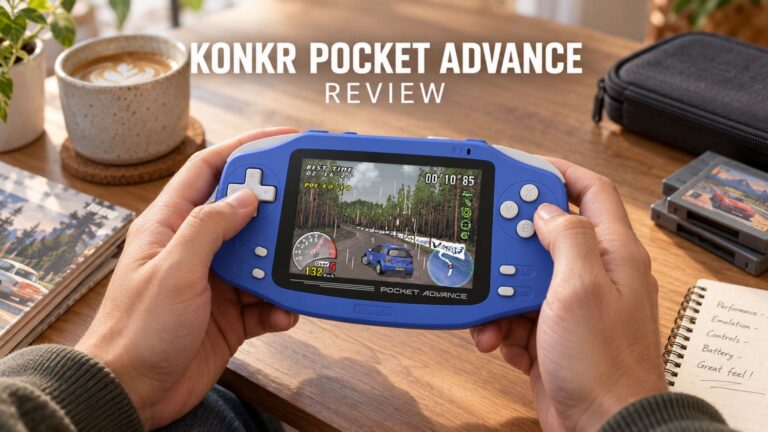 KONKR Pocket ADVANCE review – Een zakformaat Android gaming handheld gericht op GBA
24 september 2026
KONKR Pocket ADVANCE review – Een zakformaat Android gaming handheld gericht op GBA
24 september 2026
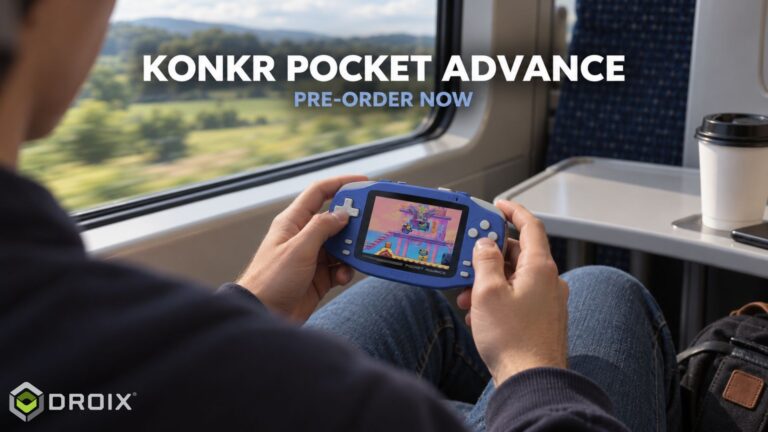 KONKR Pocket Advance pre-order: een compacte Android-handheld voor retro-gaming
23 september 2026
KONKR Pocket Advance pre-order: een compacte Android-handheld voor retro-gaming
23 september 2026
Vragen & antwoorden 1
Hi, cheers for the tutorial – very useful! I’m a beginner and would like to setup my own raspberry pi 4 B with an SSD, and i have a couple of questions.
Do i need to setup the ras pi with an SD card first before using an SSD?
If i flash an image file of games onto an SD or an SSD (as per the video), do i still need to install/flash retropie onto it first or is it all included in the image file bundle?
Cheers
Nick