
When reinstalling your mini PC, ultrabook or handheld gaming PC you may have an .ISO file that needs to be written to a USB drive, and afterwards boot your device from it to install Windows. This guide will show how to use Rufus for bootable USB drives.
First download and install the latest version of Rufus from the homepage here. You should already have your .iso file on your PC. And a USB drive large enough for the Windows install, 16GB is usually enough but 32GB to be on the safe side.
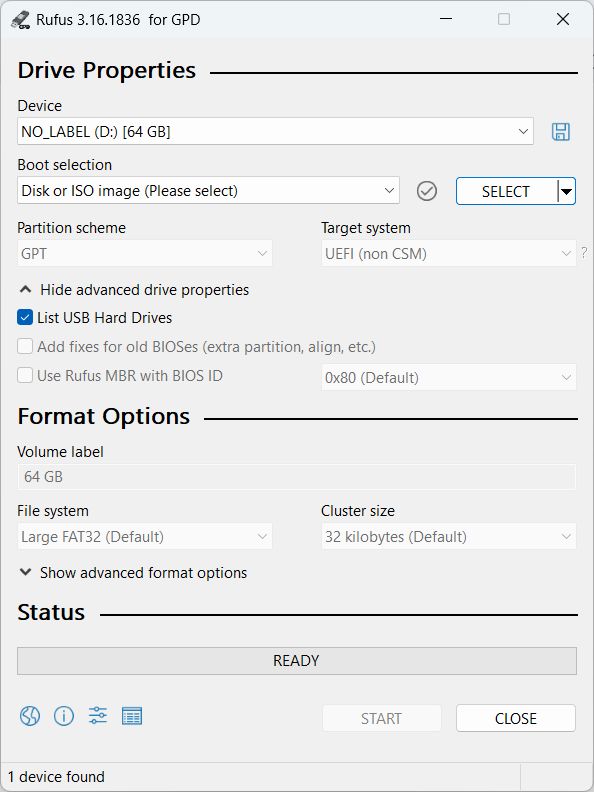
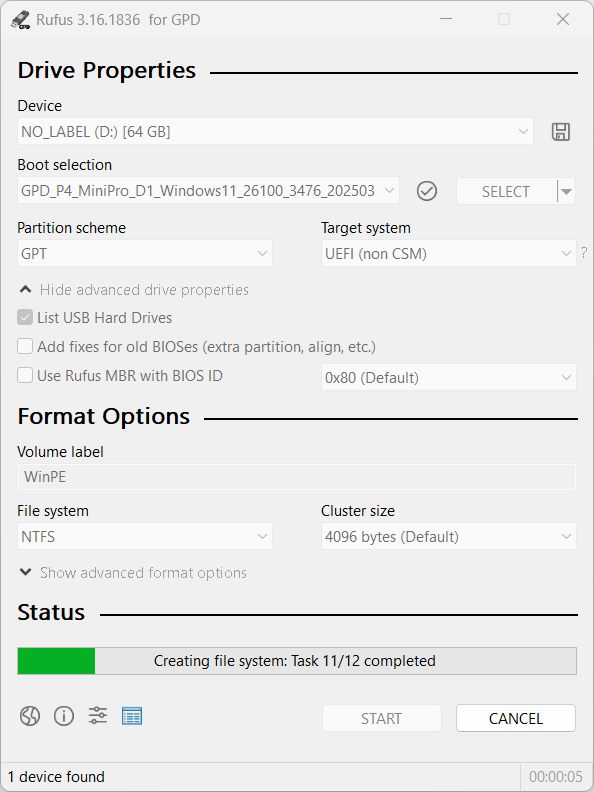
Open Rufus and you will be presented with the software similar to shown below.
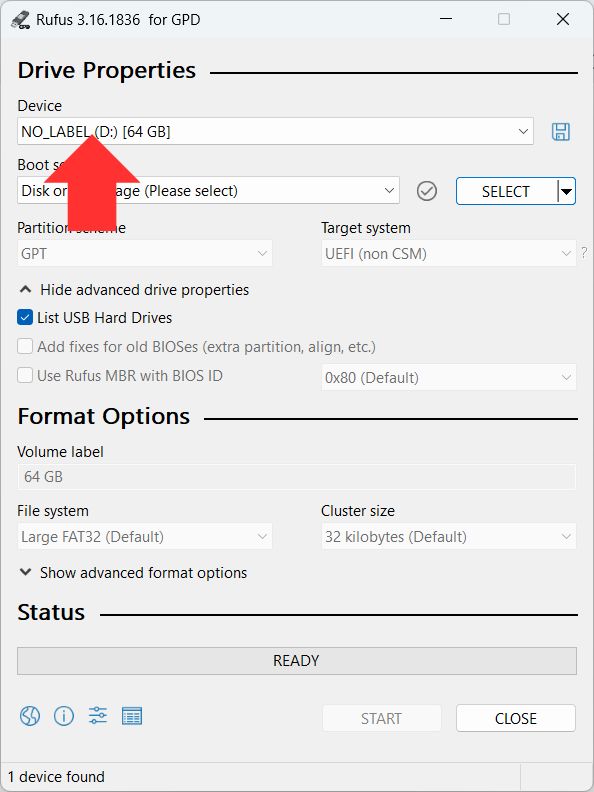
First, click on Device and select your USB stick from the list that you will be writing the ISO file to. Please double and triple check that you choose the correct drive because the incorrect drive could be your main Windows install on the device you are using.
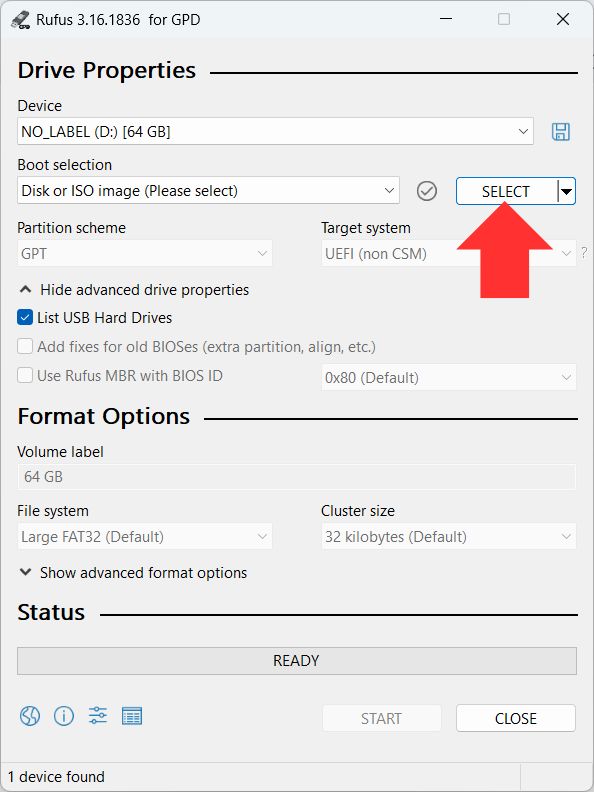
Next, click on the SELECT button, navigate to your ISO file and choose it.
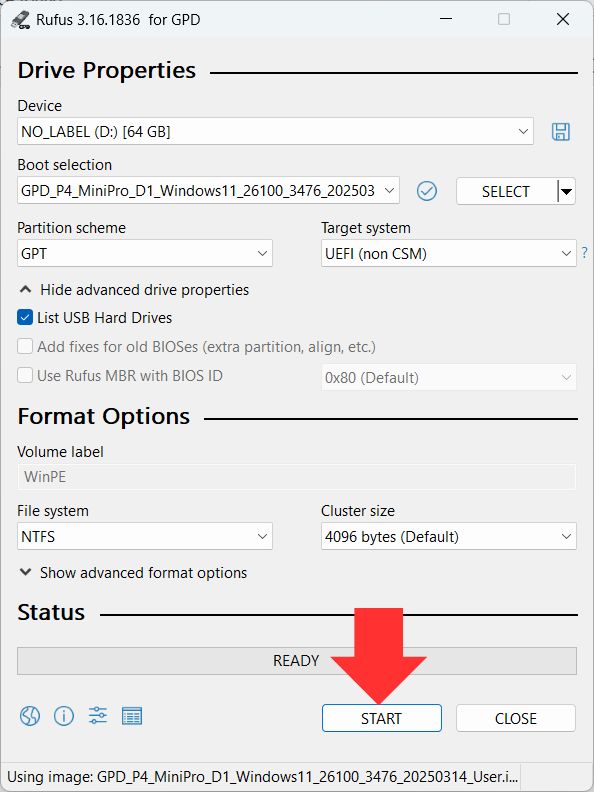
Click on the START button to begin the ISO file writing process.
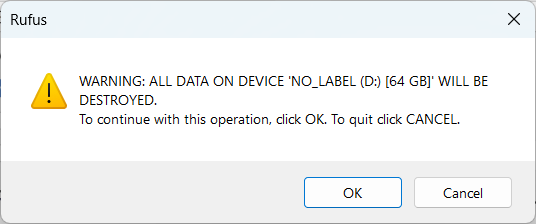
A final warning to check again that you chose the correct drive to write the ISO file to. Click OK to proceed and Cancel to go back to setting up.
The writing process will now begin. Depending on the size of the ISO file and your USB drives speed this may take several minutes or longer. Let it finish and the green bar will show READY


Once completed, you can Eject the USB stick and begin the Windows installation on your device.
