You will need
A Micro SD Card
For Windows you can use Win32 Disk Imager – https://sourceforge.net/projects/win32diskimager/
For macOS and Ubuntu you can use Imager – https://www.raspberrypi.org/downloads/
Retroflag GPi compatible SD Card Image – We have the latest popular images on our forums at https://www.droidboxforums.com/forums/retroflag-gpi.174/
Flashing Guides
For Windows OS you can find the guide immediately below. For macOS and Ubuntu please scroll down the page.
Windows OS Flashing Guide
Writing the Retropie Micro SD Card image
If the file is in an archive format such as .zip, .rar or .7z, you will need to extract it. Once extracted you will have an .img file
Open Win32 Disk Imager. Check that the Device letter is the same as your Micro SD Card.
Click on the Blue folder icon to select an .img file to write.
Select the .img file that you downloaded
Double check that the Device letter matches that of your Micro SD Card. If you choose the wrong one you could overwrite your Hard Disk for example. You can now click on Write to begin writing the .img file to the Micro SD Card.
Just one more confirmation that you are writing to the correct device. If you are 100% sure it is correct, click on Yes to proceed.
The image writing process will now begin. Depending on the size of the .img file and the speed of the Micro SD Card this may take some time.
Once the image has been written to the Micro SD Card you will see the below notification. Click on OK and you can now remove the Micro SD Card from your PC.
macOS and Ubuntu Flashing Guide
If the file is in an archive format such as .zip, .rar or .7z, you will need to extract it. Once extracted you will have an .img file
Load the Imager software. You will be presented with the main screen as below.
Click on Choose OS and scroll down to and select Use Custom.
Locate the .img file on your device and select it. Now Click on Choose SD Card option and choose the correct drive for the SD card.
Once select, confirm everything is correct such as the correct SD card. The choose the Write option. The image file will now be written to the SD card. Please do not shut down your device or remove the SD card until the process is completed. This may take some time depending on the size of the image file and the card speed.
Resizing the Micro SD Card
Before copying files to the Micro SD Card you will need to resize it. This is because there are various Micro SD Card sizes (16GB, 32GB, 256GB etc) and the image you have wrote may only be using 2GB of the available space and the remainder will not be available to use. Resizing the card will allow you to use the full available storage for your card.
Most Raspberry Pi images will have a script when you first boot to automatically resize the card and this is a quickest and easiest way to do it. Simply insert the Micro SD Card into your Retroflag GPi and switch it on.
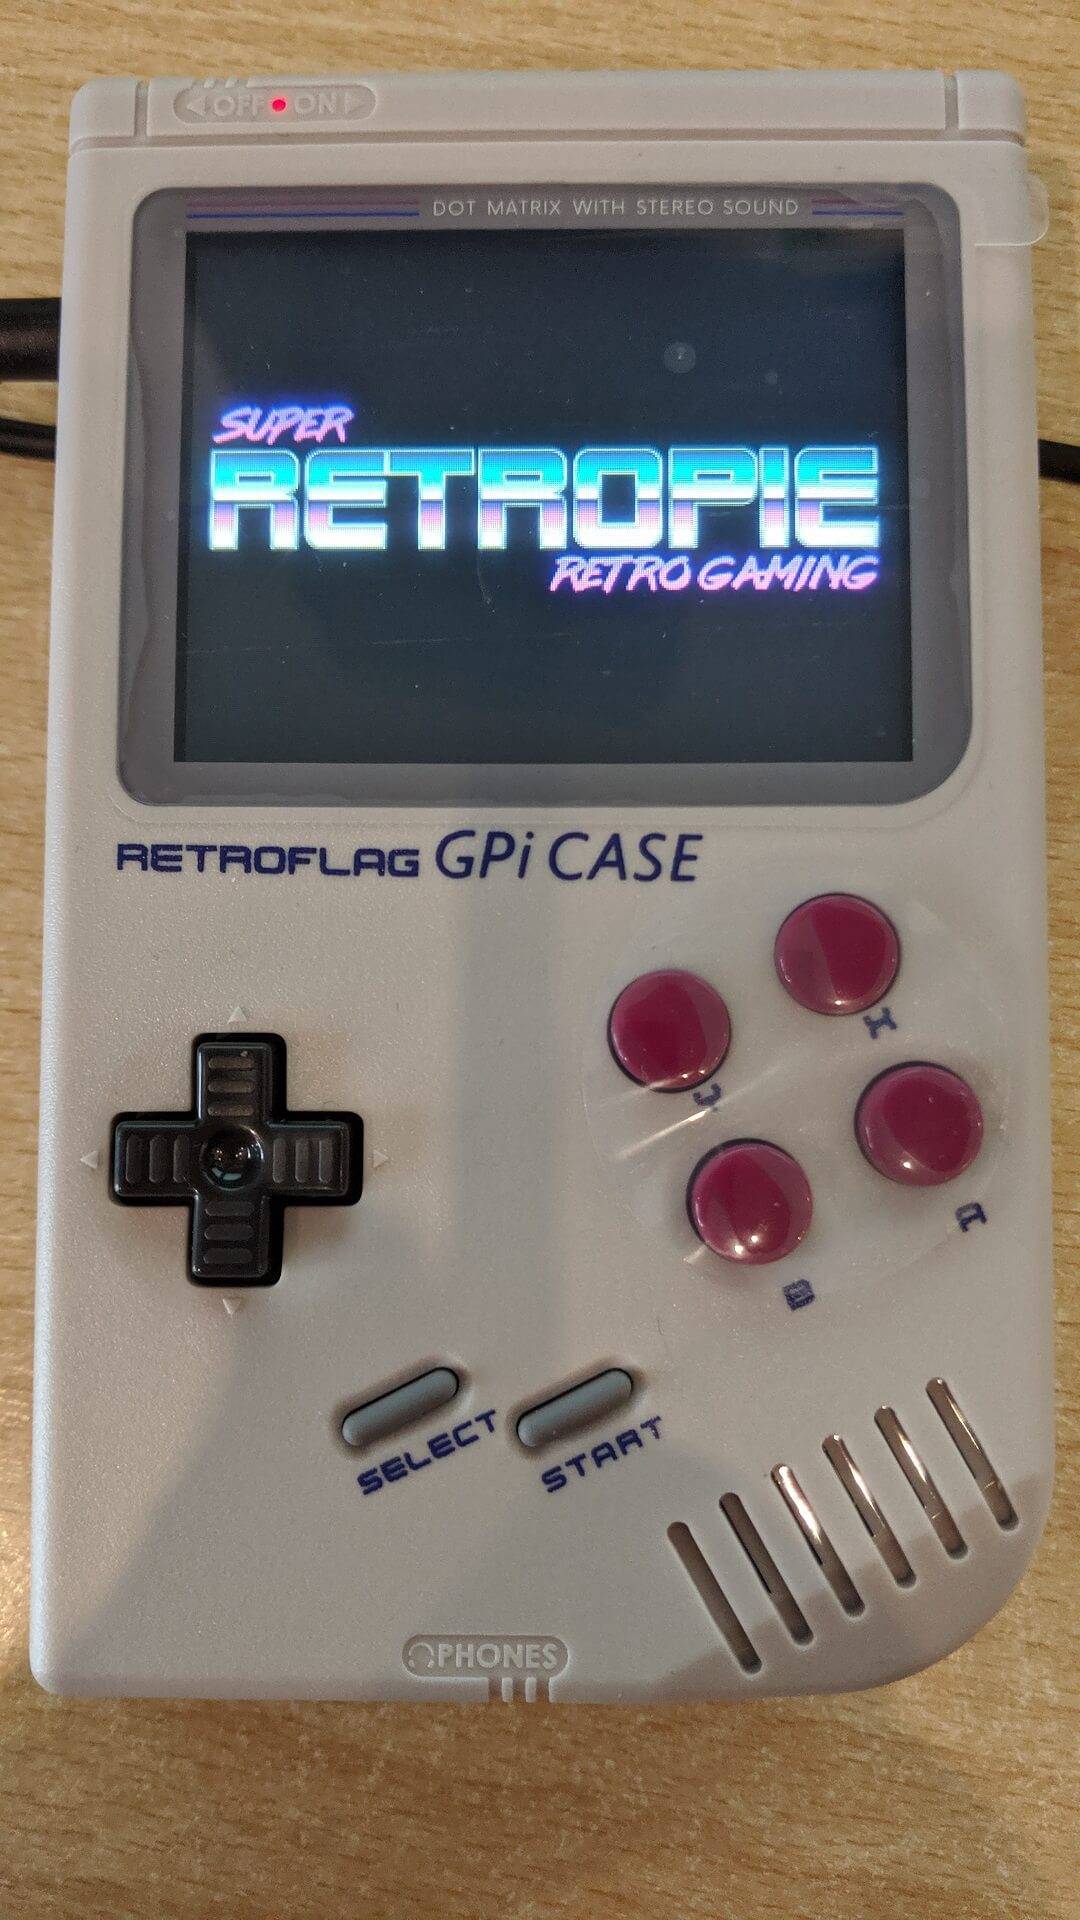
After a few moments you should see a boot screen similar to below depending on the image you installed.
The script will resize the card to the available space for your Micro SD Card. This may take some time depending on the size of your card. The device will also reboot once or twice during the process. Do NOT switch off the GPi or press any buttons during this time.
When the device has finished resizing and booting for the first time you will be on the Retropie main menu. Depending on which image you installed it will be similar to below.
Your Retroflag GPi is now ready to use.


