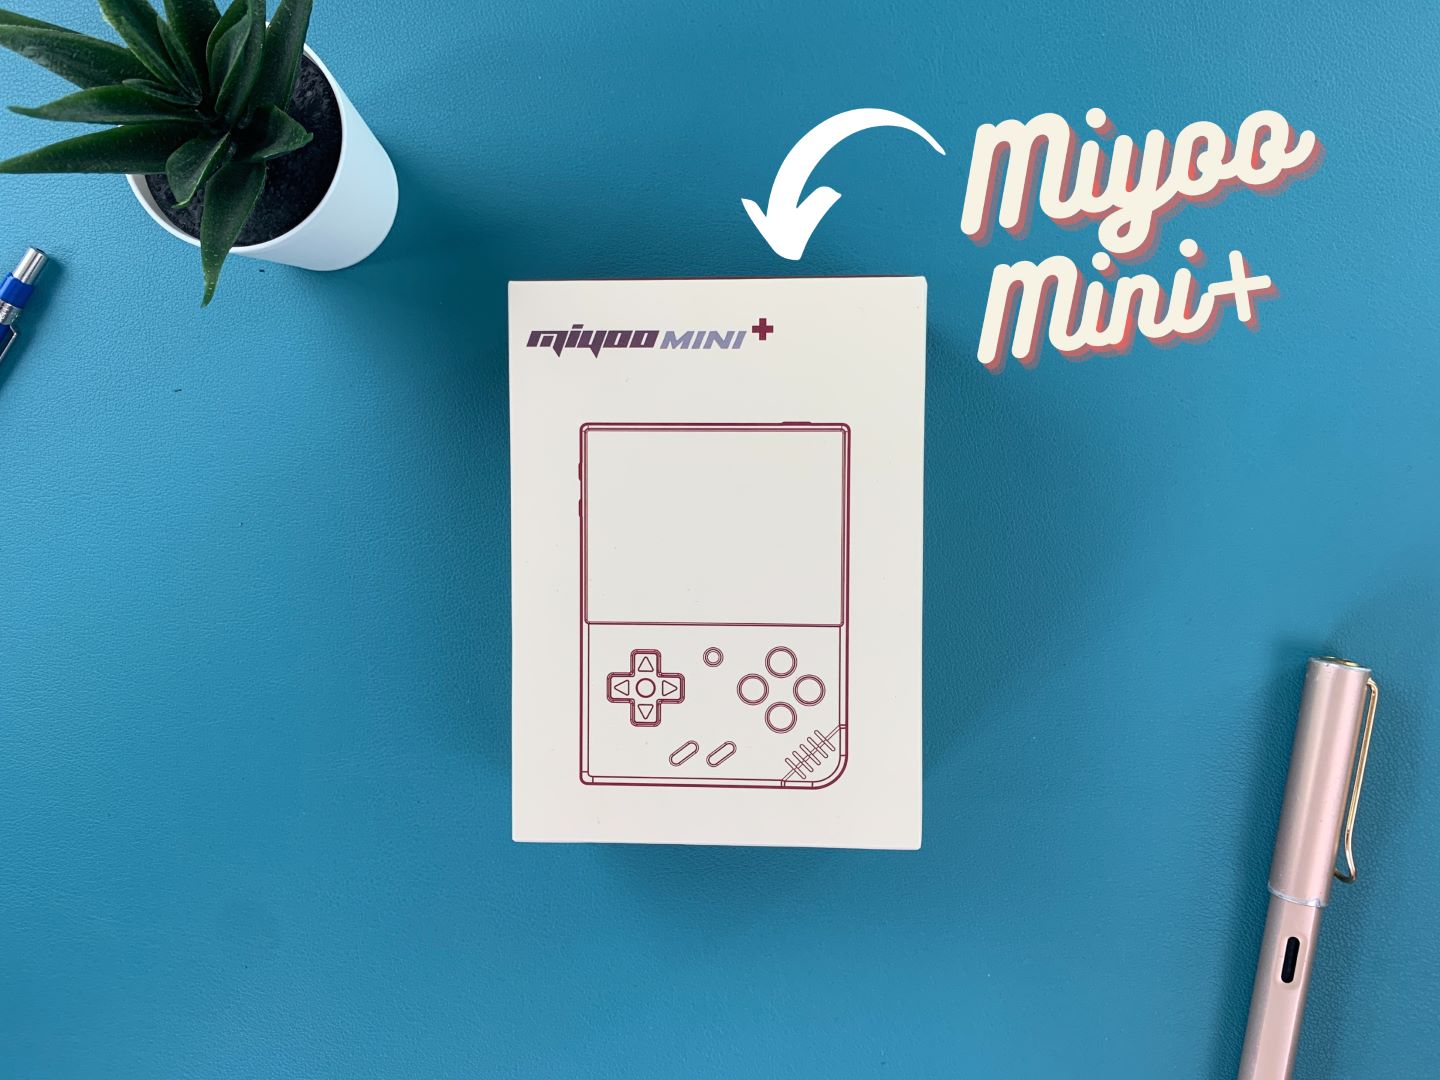
Congratulations on purchasing your Miyoo Mini Plus+ from us at DroiX. We have prepared a getting started guide to get you up and running as soon as possible. We also cover a few steps such as setting up and using your retro gaming handheld, updating firmware, installing custom firmware and much more!
These are the classic games you remember but not how you remember them. With the infinitely portable Miyoo Mini Plus+, you can play all your old favourites, recapturing your childhood. Except this time with a stunning IPS display, blistering ARM Cortex-A7 processor and plenty of LPDDR3 RAM. Load up thousands of your favourites with up to 128 GB of expandable storage and play for hours with the 3000 mAh rechargeable battery. To top it all off download both new and old games and even play online over the stable and fast Wi-Fi 5 connectivity. Every retro game you love I can be experienced like never before!
Get started with your new window into retro gaming and get to playing as soon as possible.
Any issues or questions
At DroiX we pride ourselves on our high level of before and after-sales customer service. If you have any questions or issues with any purchase from us, please do contact us. We are here and more than happy to answer any questions and get any issues resolved as soon as possible.
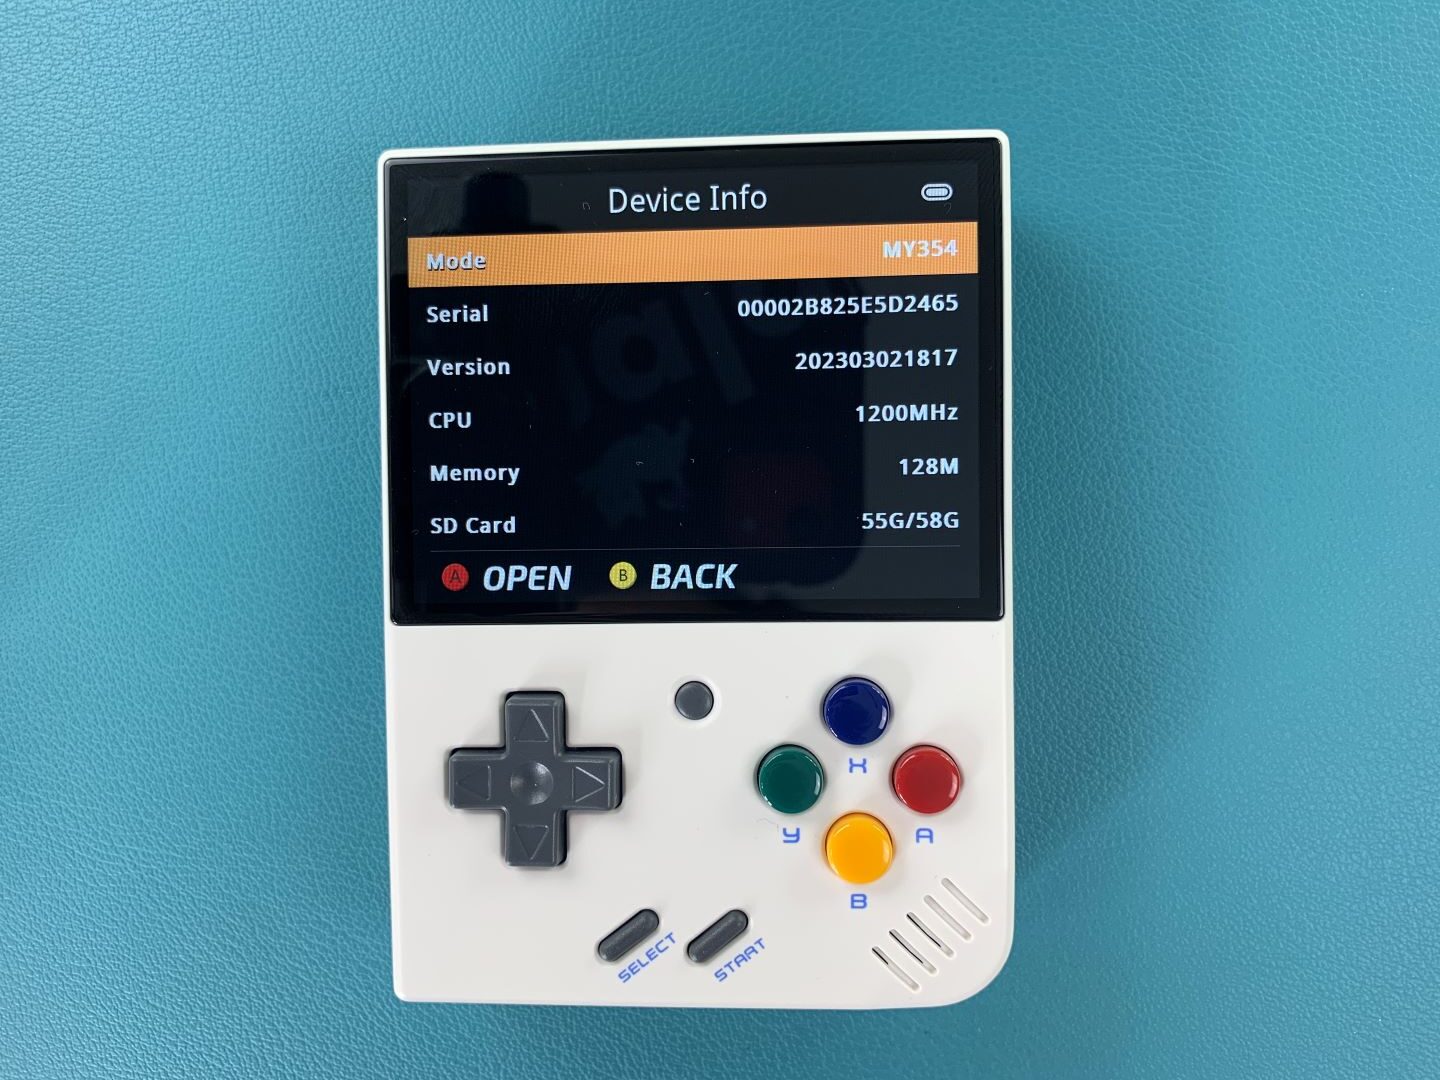
Device Overview
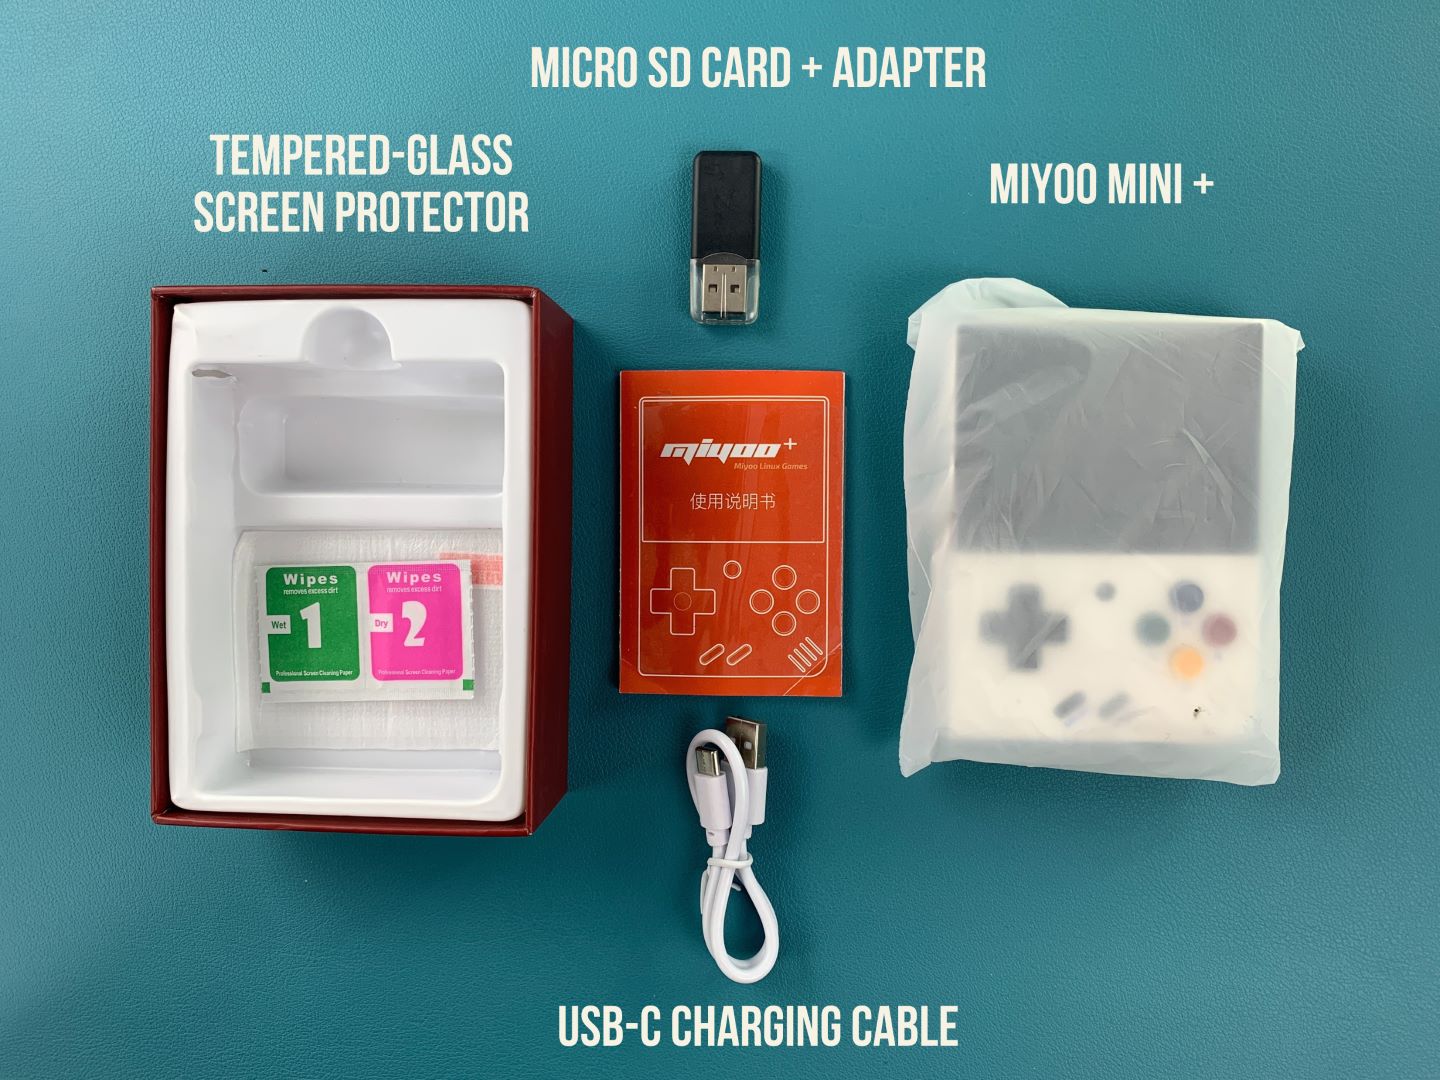
Inside the box is everything you need to get started. Your new Miyoo Mini+, the instruction manual to refer to, the charging cable sporting the USB-C standard, no proprietary ports here! The included 64GB Micro SD card and adapter. Store all of your vintage games onto the handheld console and even a tempered glass screen protector to ensure that your device stays looking and feels brand new for a long time to come.
If something is missing or you are not sure, please contact our customer service and we will be happy to assist.
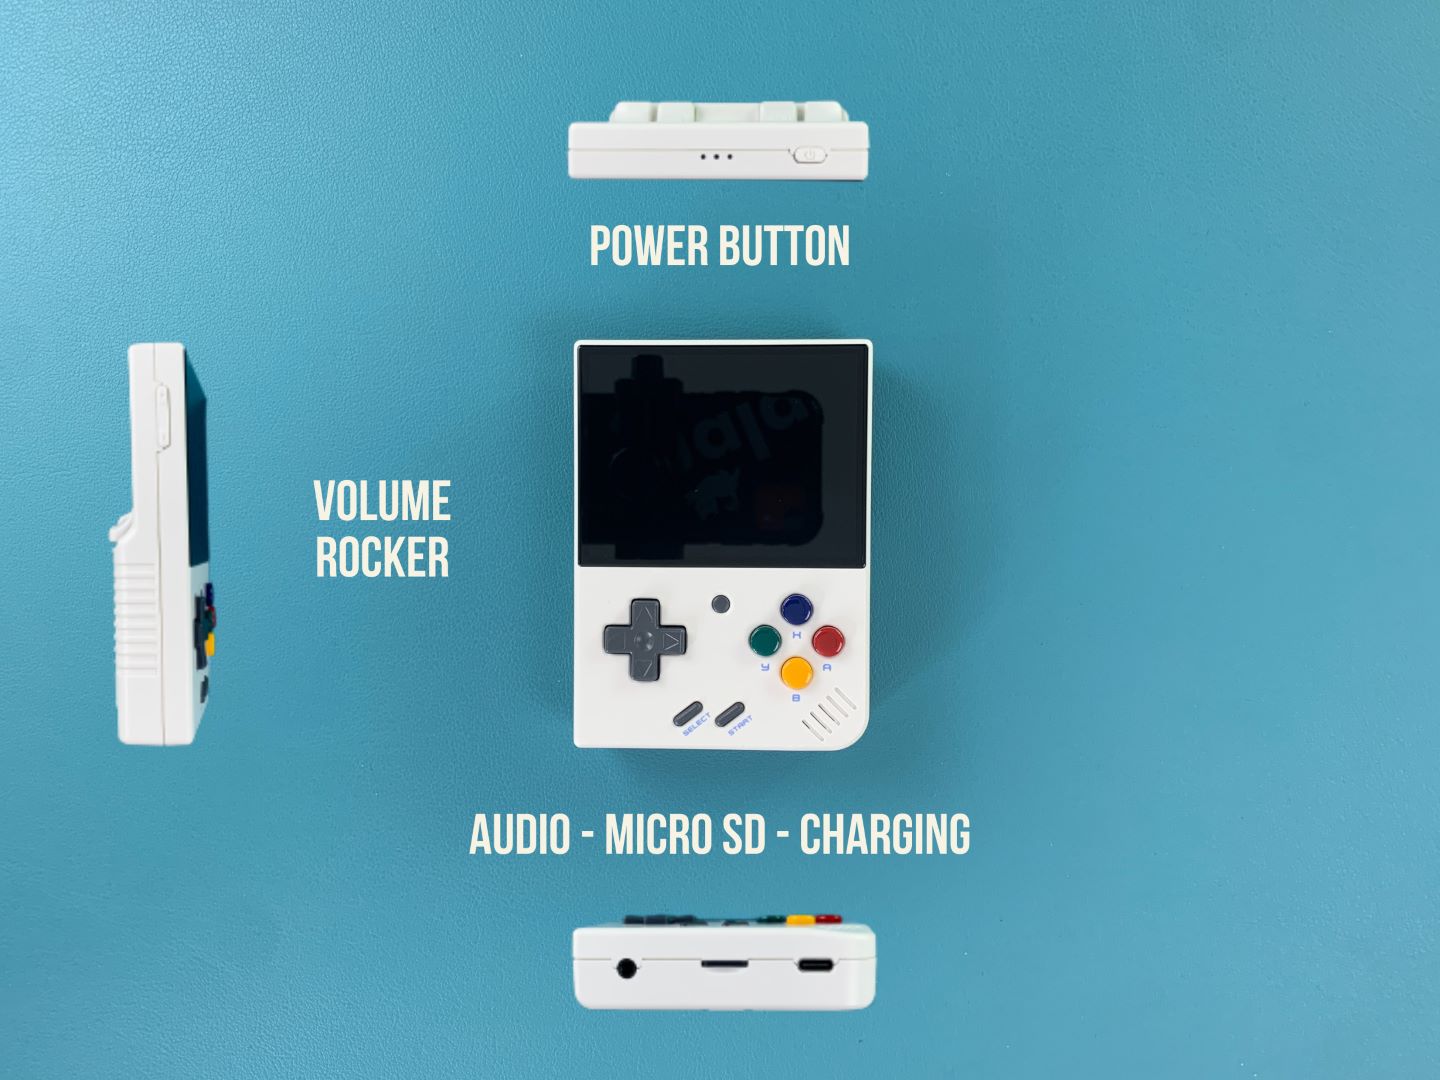
On each side of the device, you can find everything you need. On the front, you have your D-Pad, Select and Start buttons in addition to the circular Menu button as well as your A, B, X & Y buttons. This will be your primary way of interacting with the device and playing games.
The top right-hand side contains the power button. On the left-hand side, you have the volume rocker to adjust the levels of sound output from the console. On the bottom you have, from left to right, a 3.5mm audio port to plug in headphones and speakers, the Micro SD card slot upon which you can store and add games and the USB-C port to charge the device.

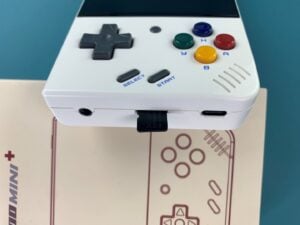
On the back of the Miyoo Mini Plus+, you can find the four tactile triggers for use in games, sitting above access to the battery. Over time batteries can degrade, and having access to the component allows you to get it swapped out ensuring that you can game on your retro handheld for years to come!
Make sure you insert the included Micro SD card all the way to access your games and files!
Retro Gaming on the Miyoo Mini Plus+
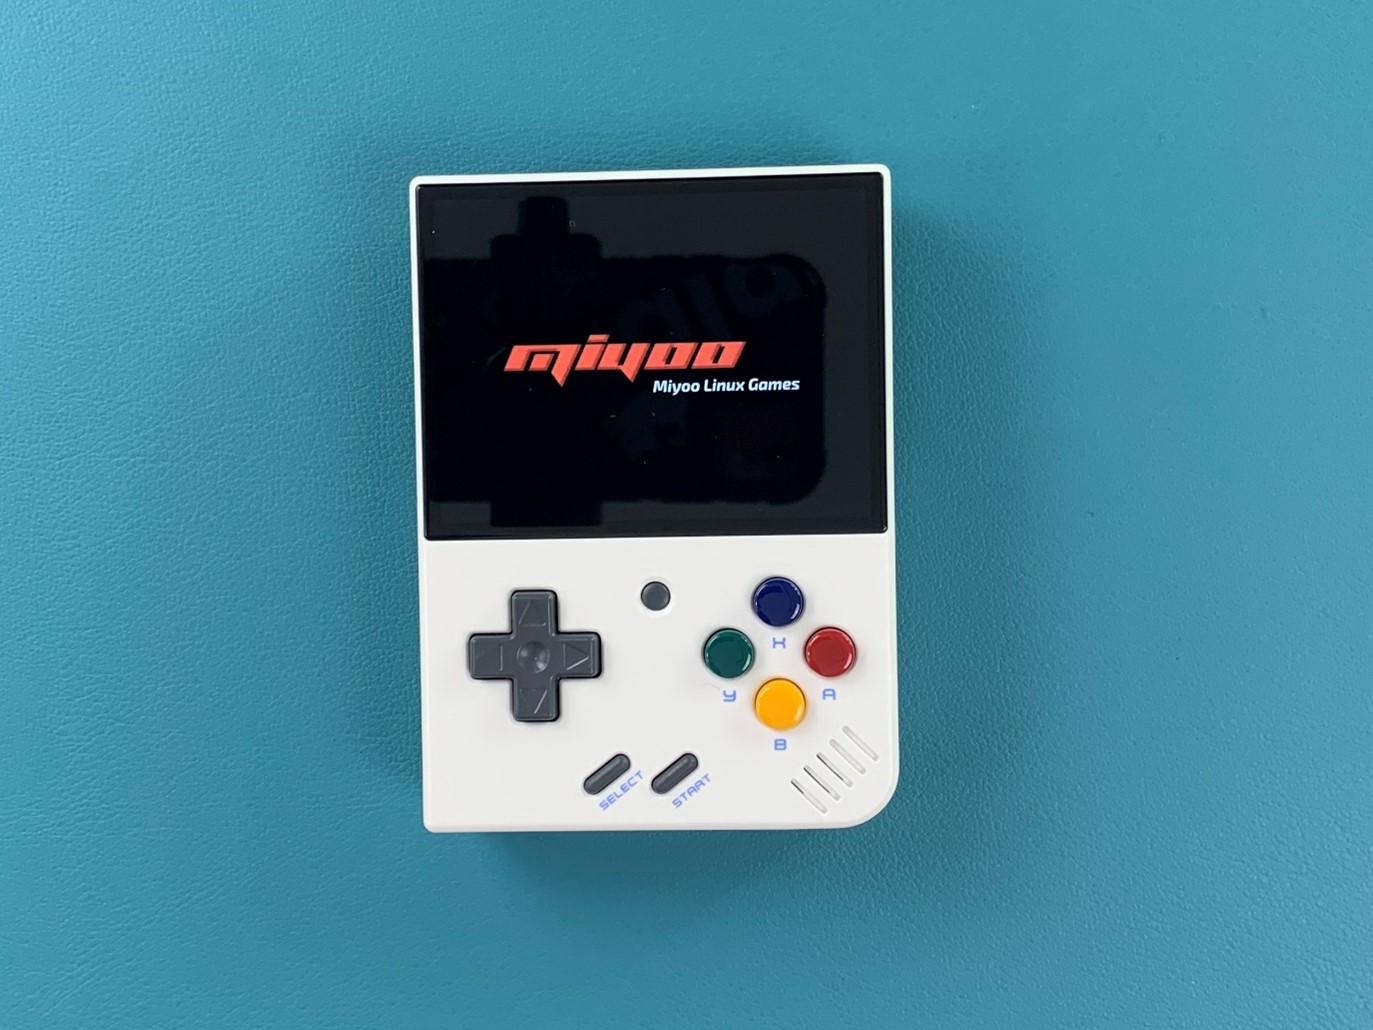
After it’s all charged and ready to go you can press the power button on the top of the device to boot it up. You will be greeted with the Miyoo Mini Plus+ boot screen.

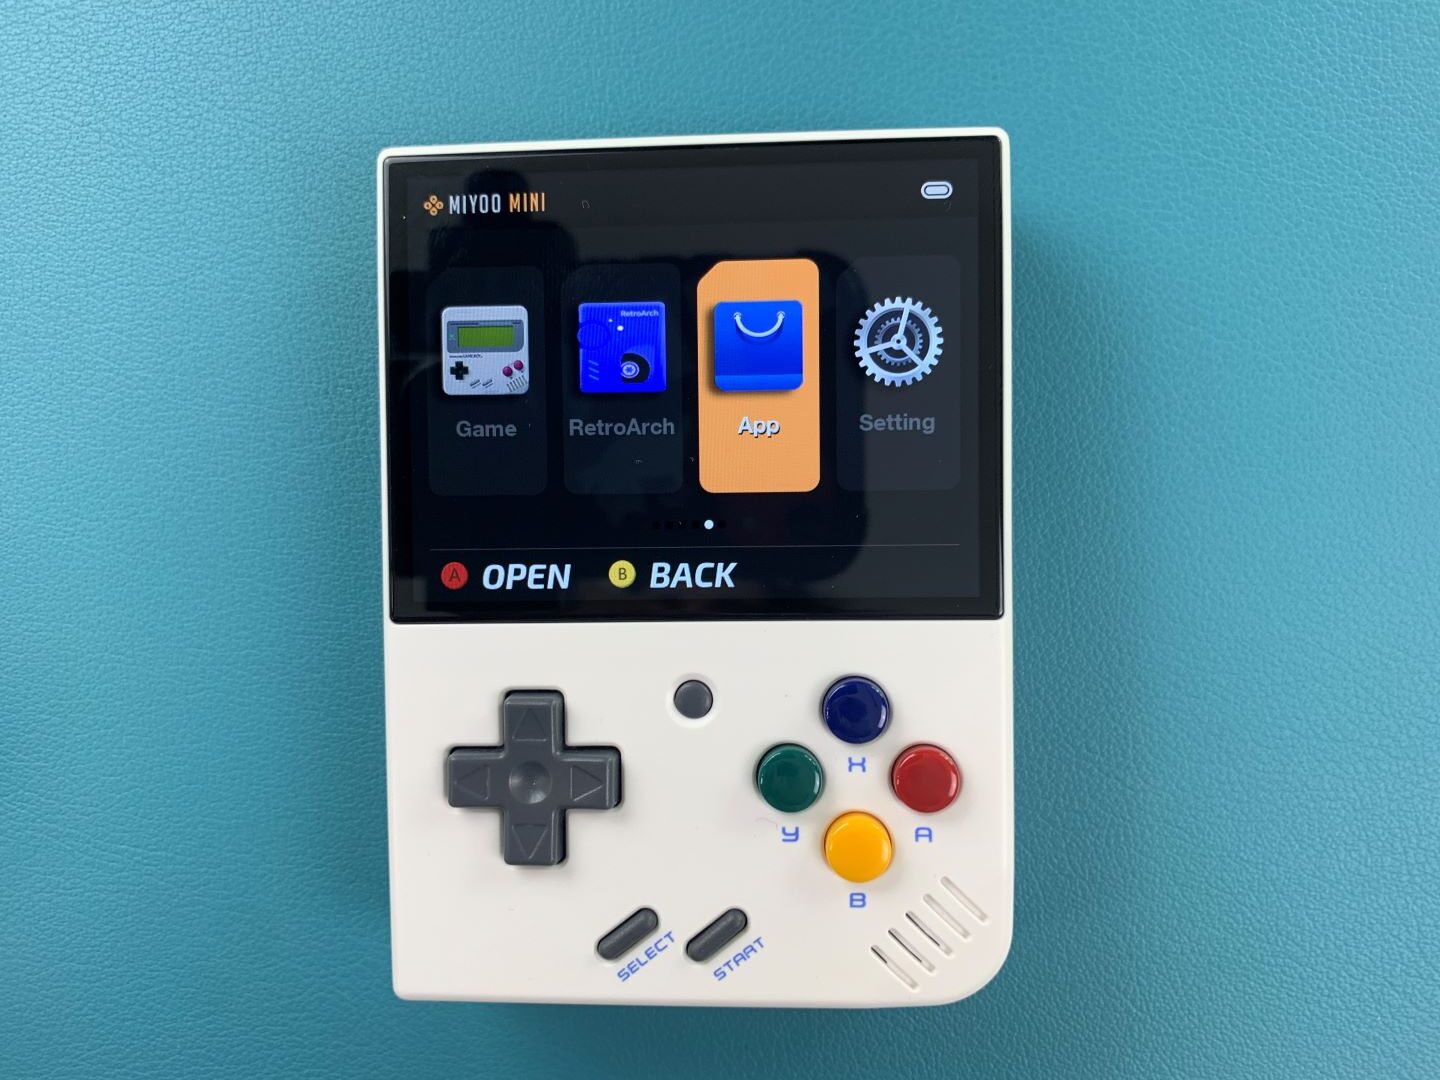
The handheld will boot to the main menu. Here you can find your recently played games, your favourite games, and your game library. As well as RetroArch (an additional emulation library), the app store and the settings menu.
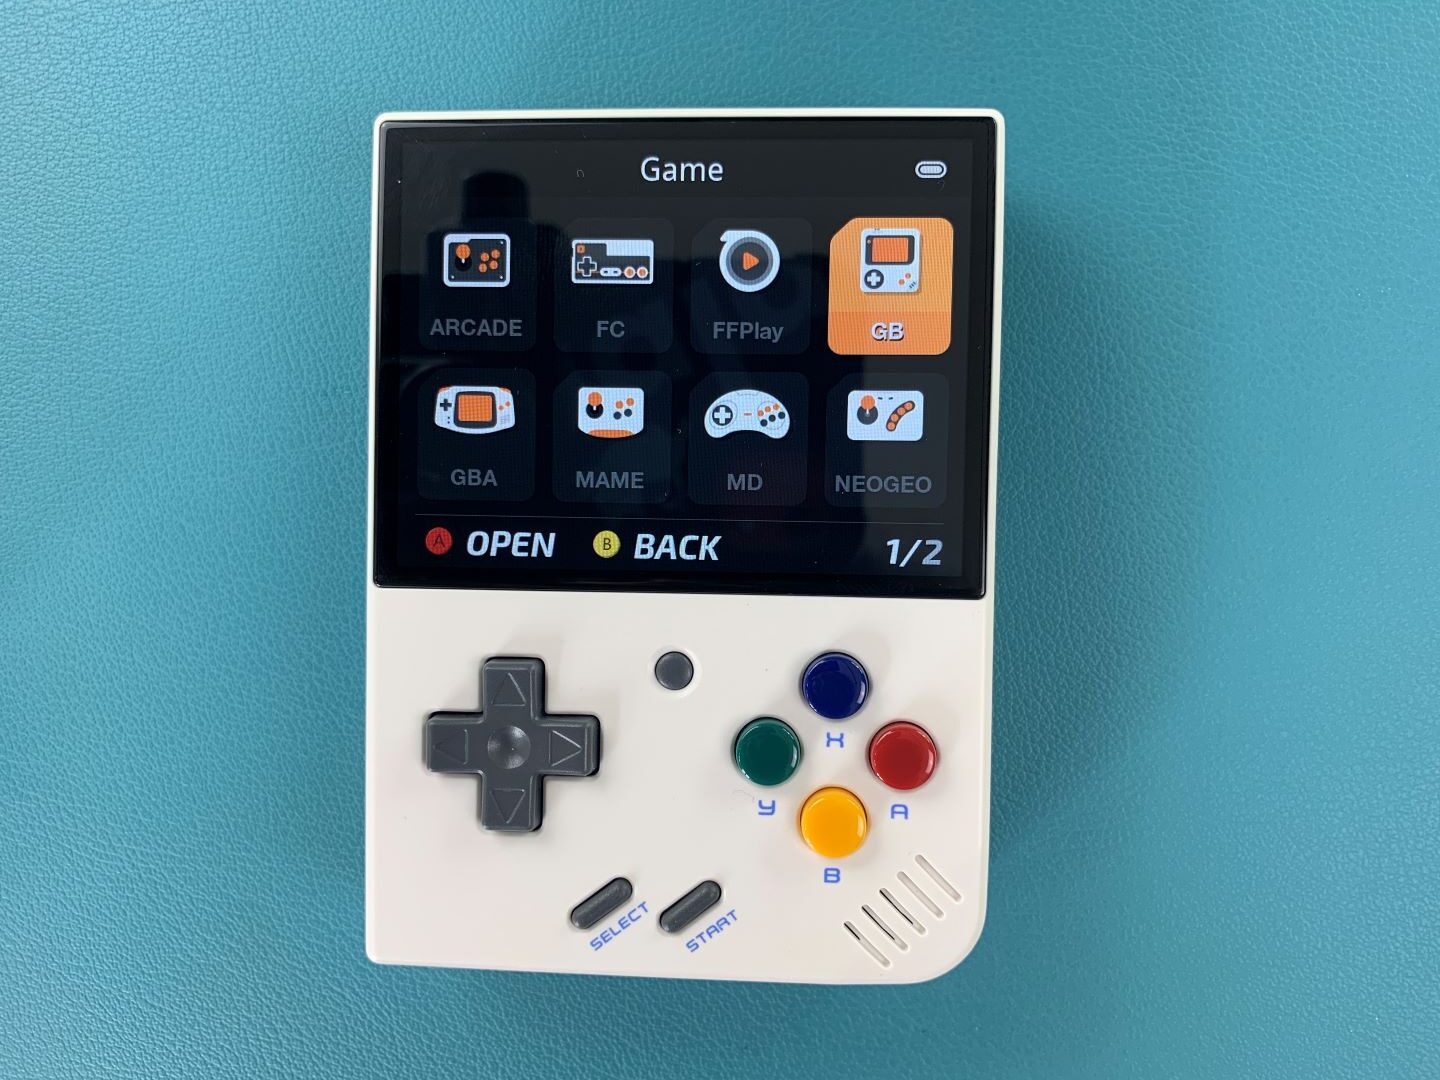
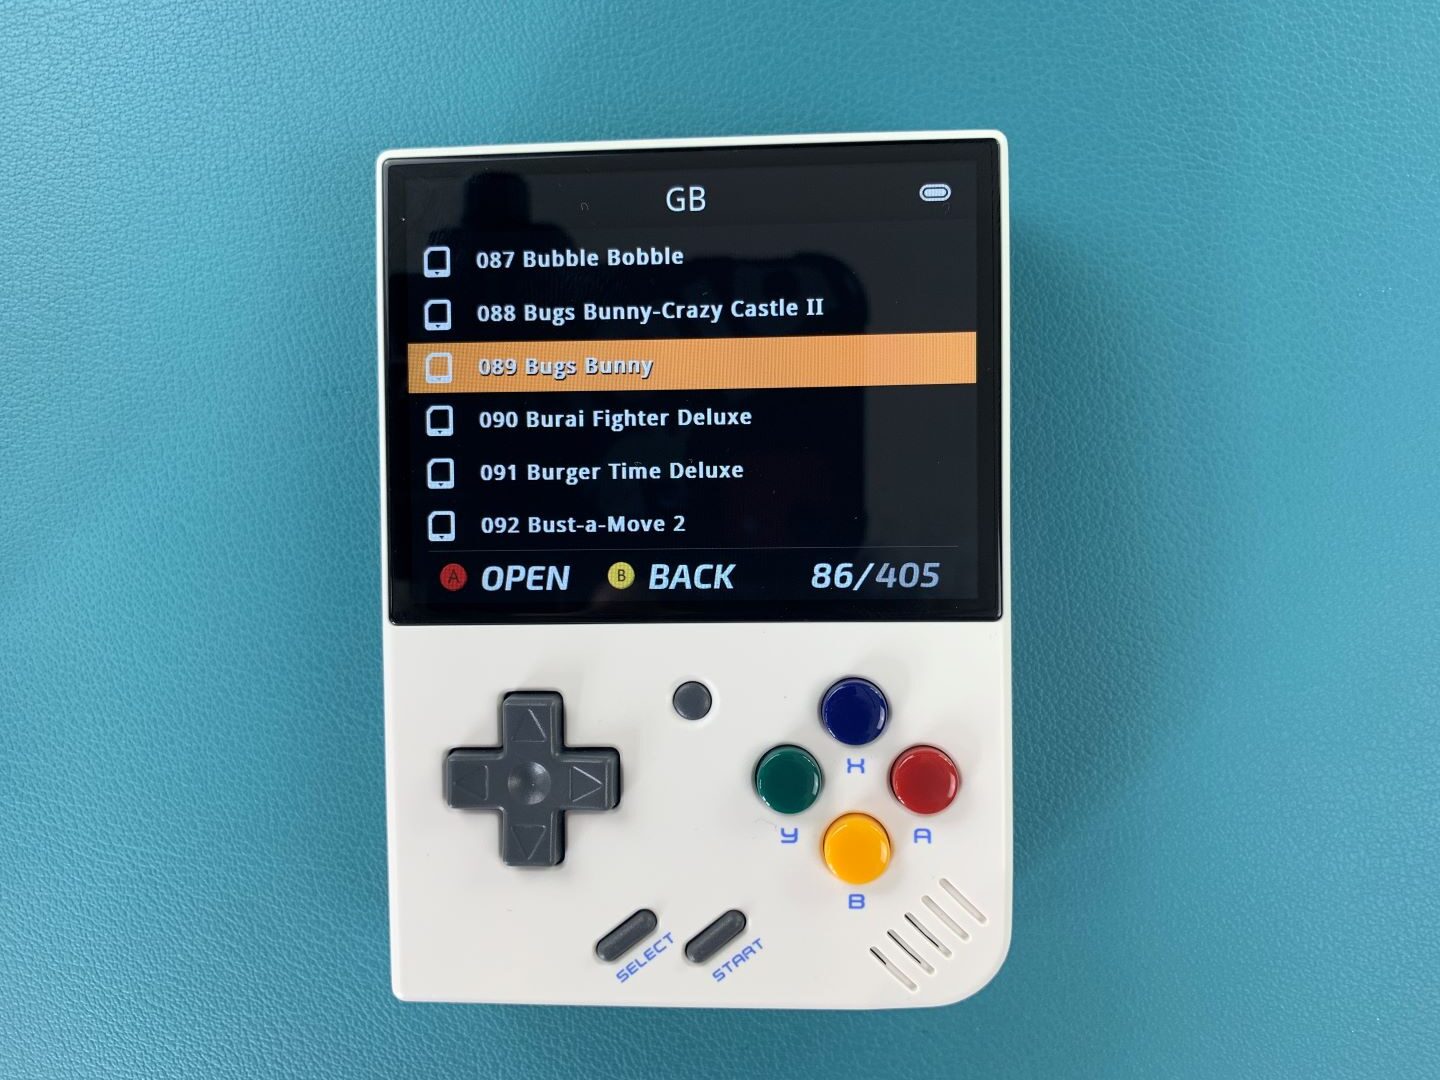
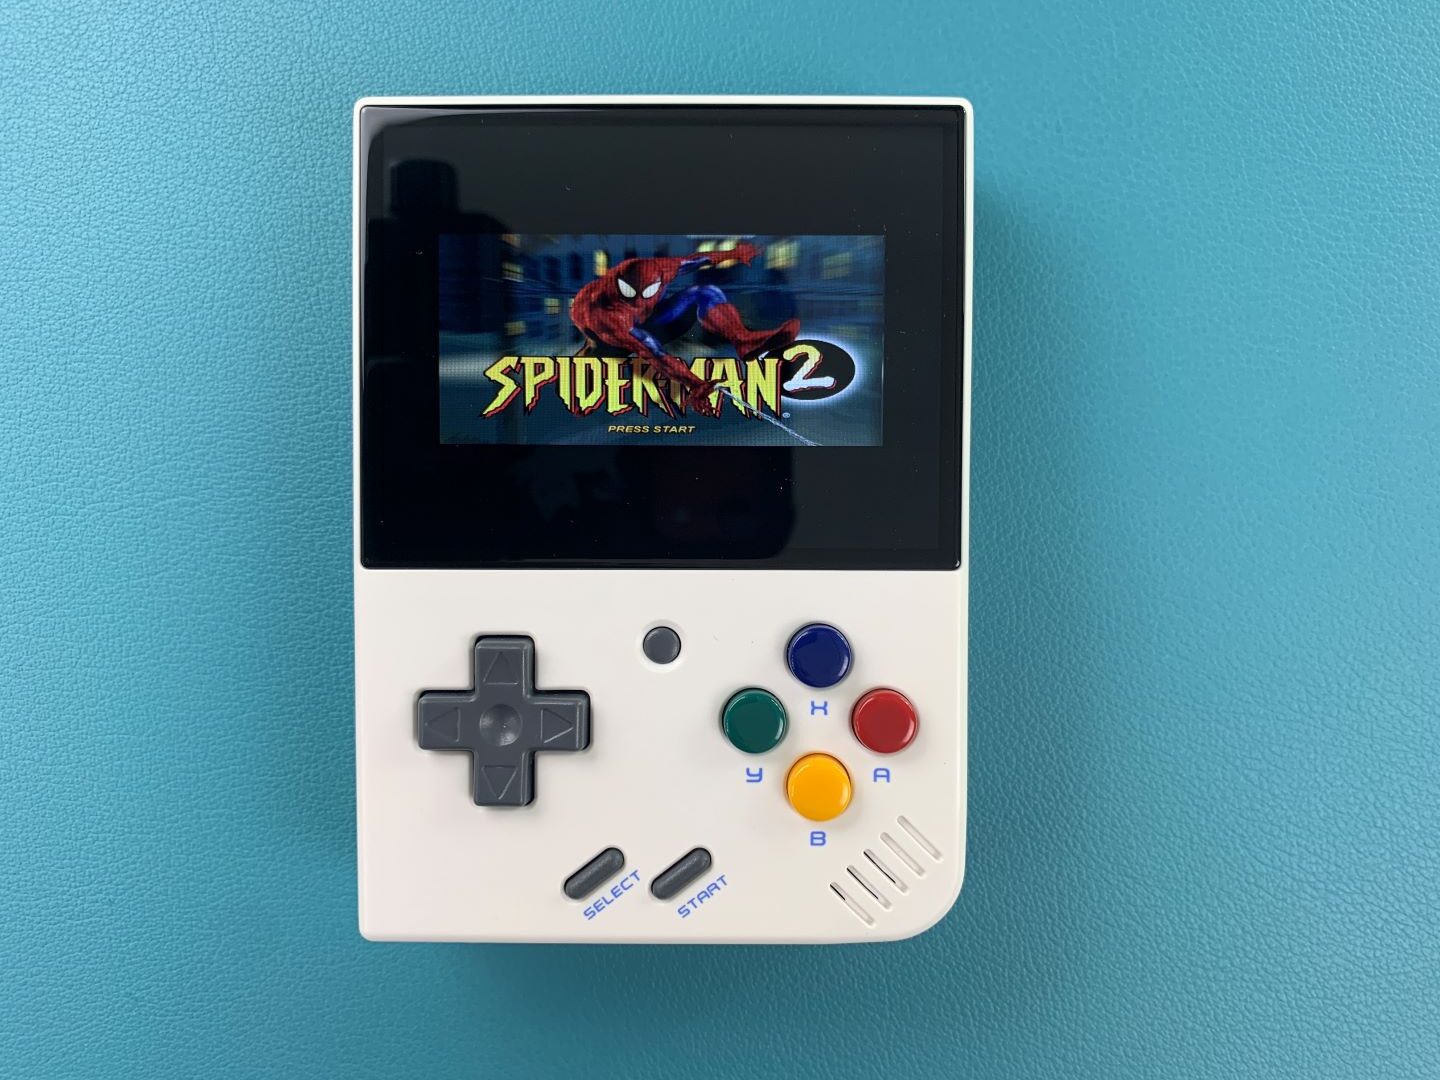
You can find all your retro games. They are sorted by the console that they were originally released on. Simply click A to play.
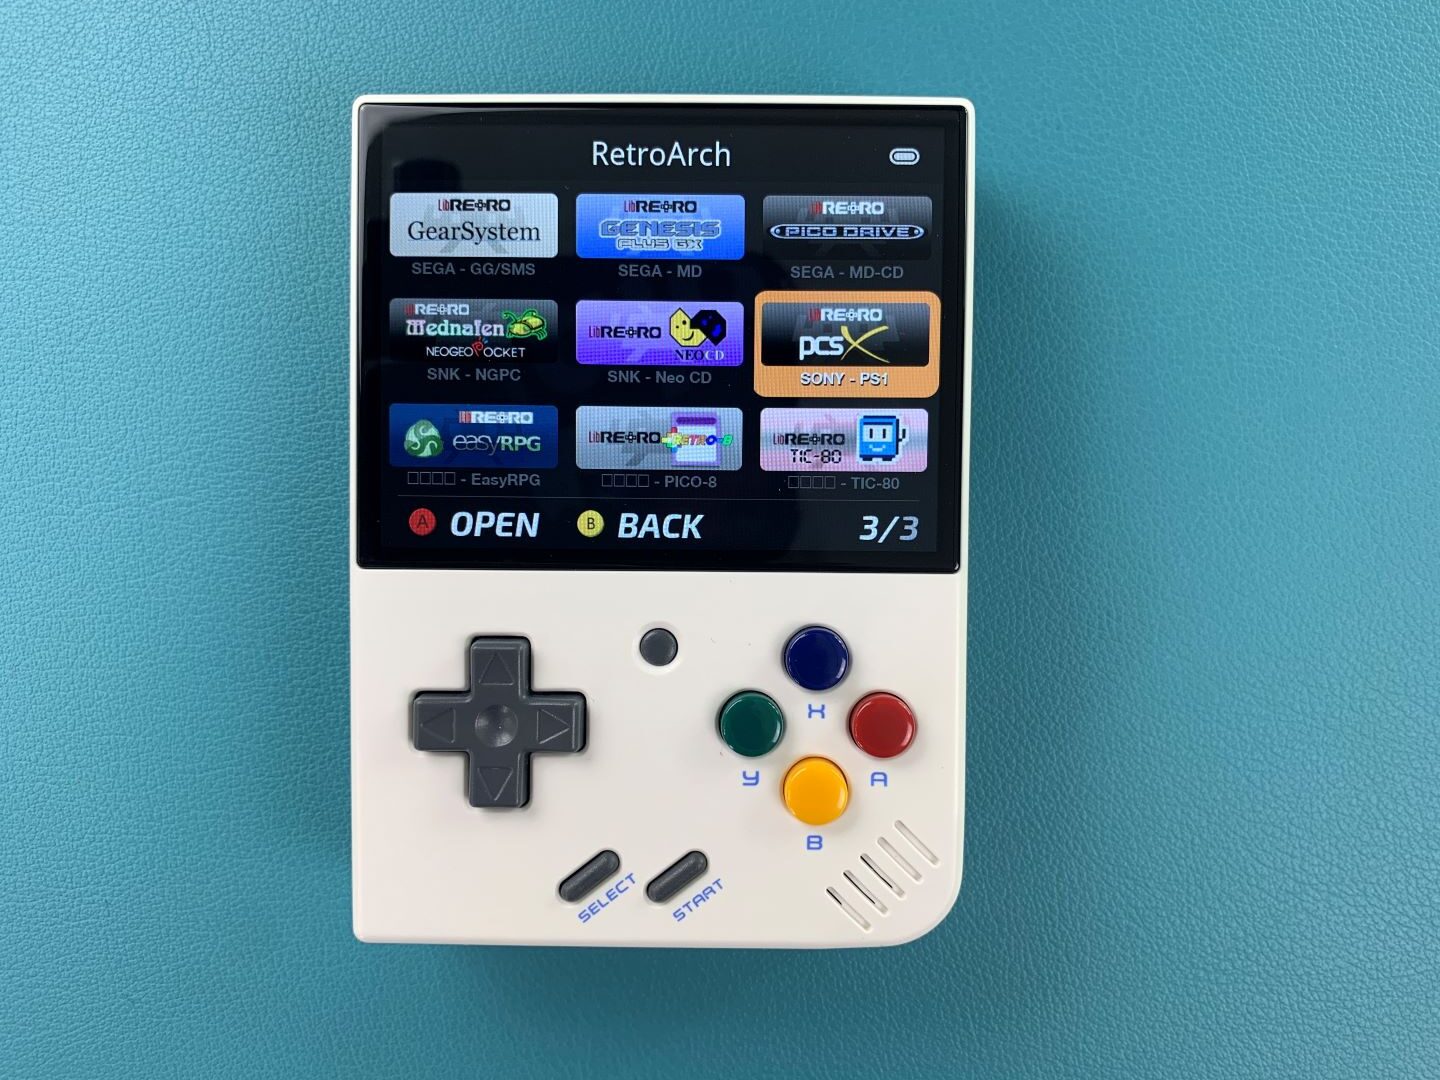
Within Retro Arch you can find an additional menu of emulated vintage consoles each with their own encompassing collection of retro games. Decades of gaming in the palm of your hand.
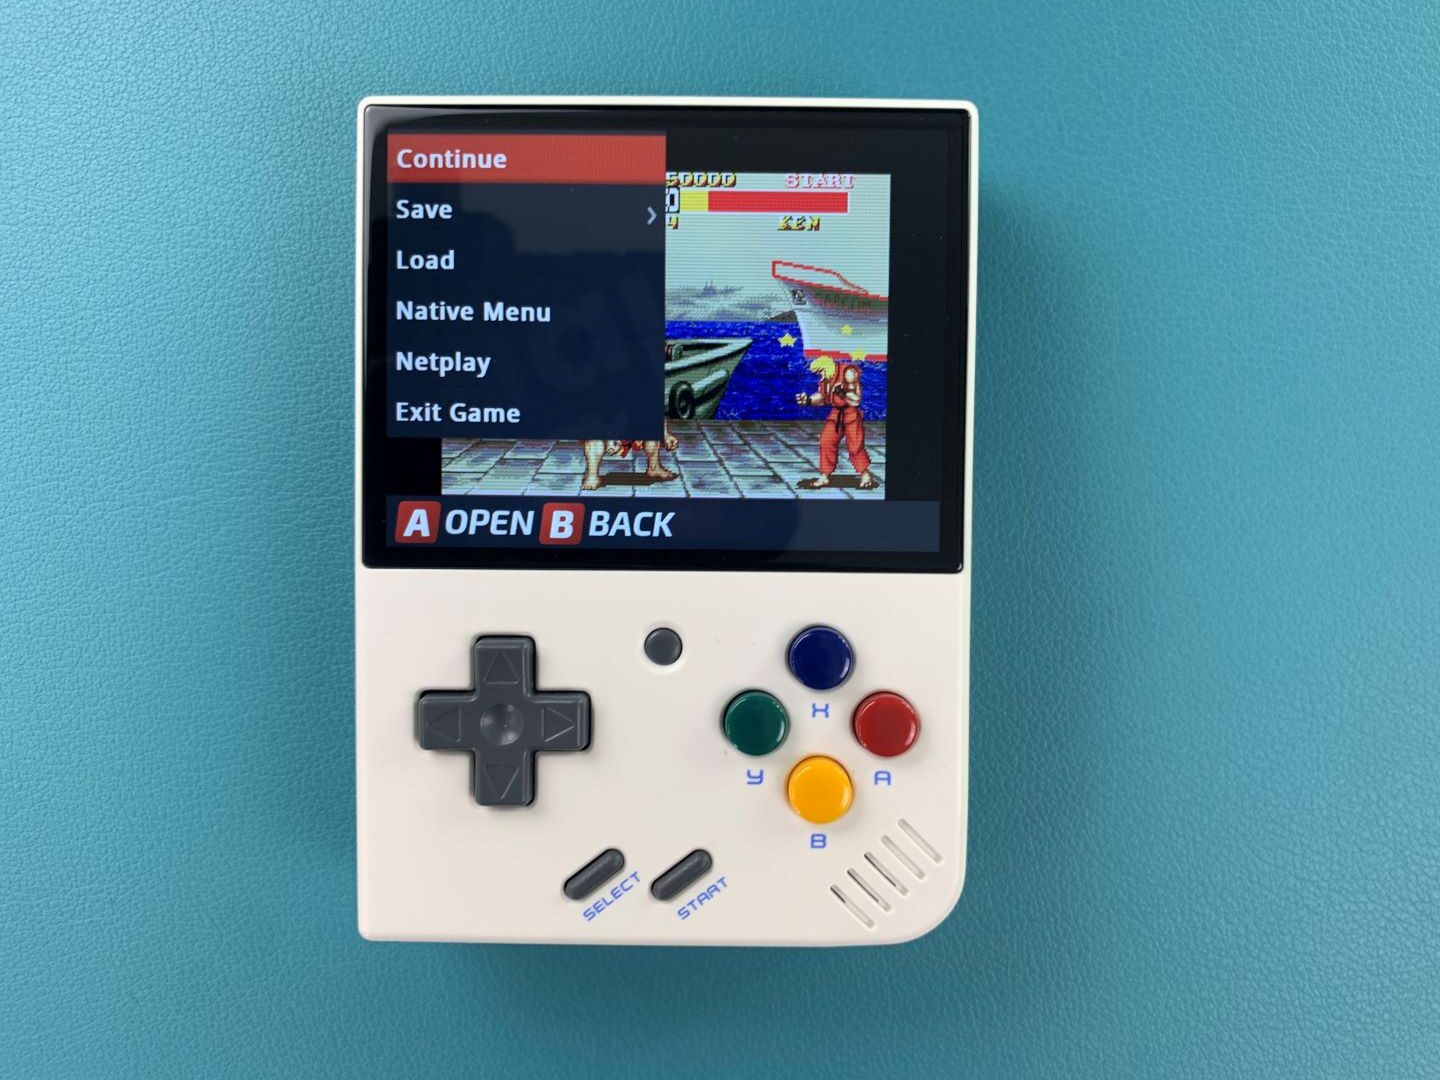
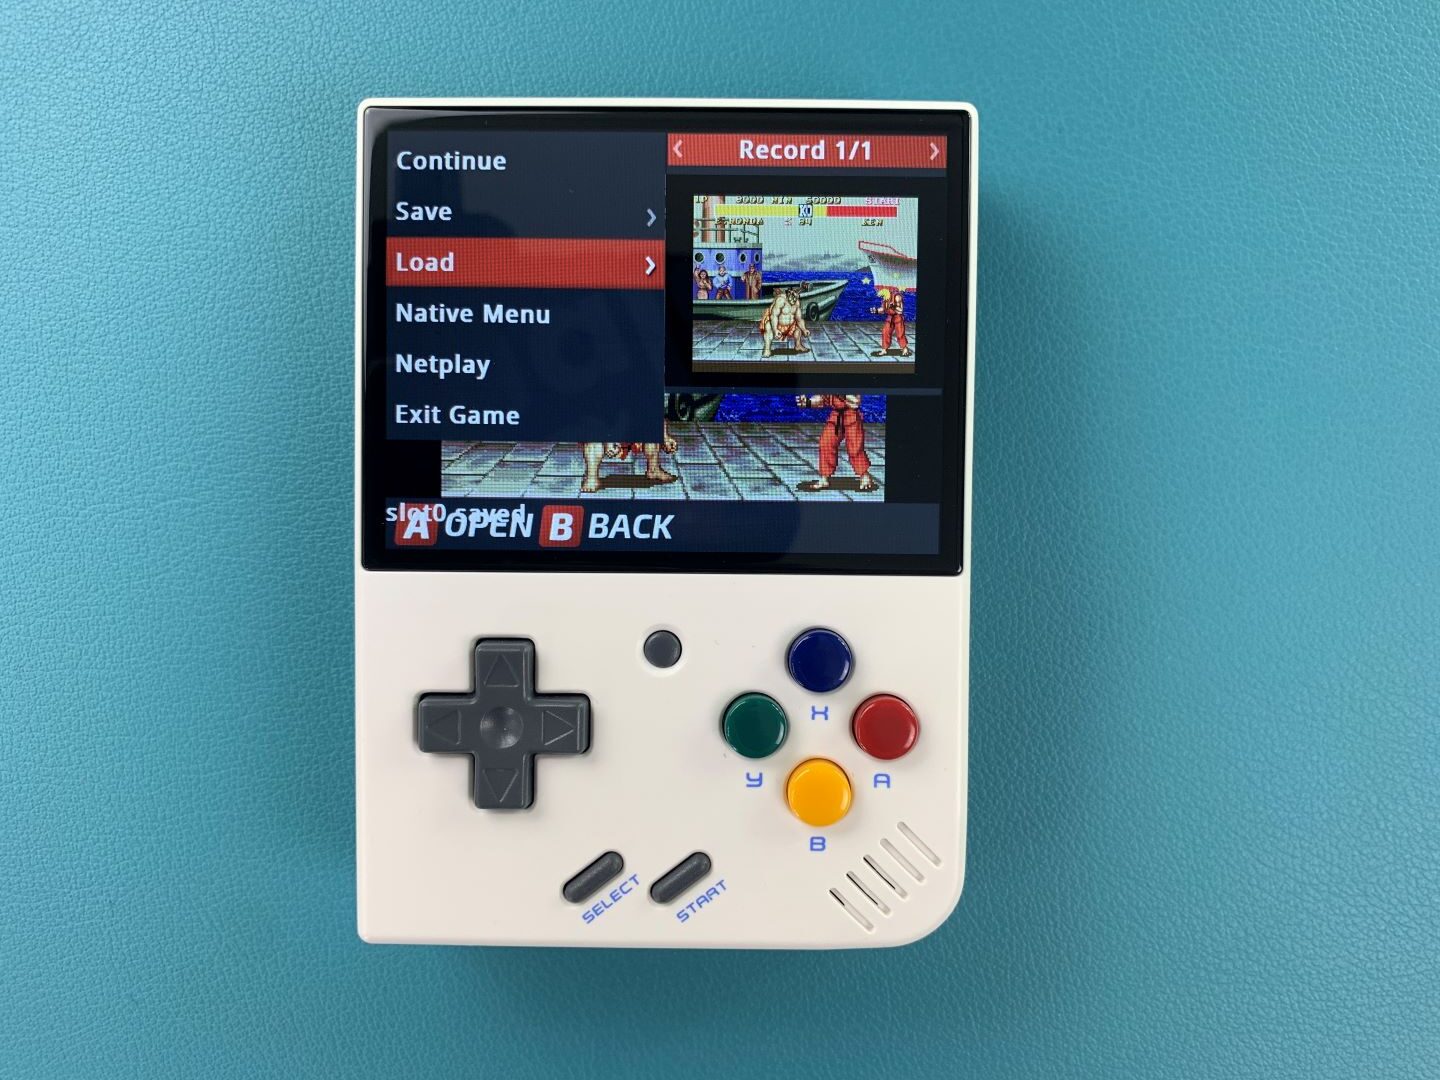
When playing a game, press the Menu button in the middle to pause the game. From here you can create up to 10 save states for any game, allowing you to go back and retread your steps and get to the end of that one level that you just can’t crack.
You can also access the Native Menu and Netplay. These will be explored in a further, more in-depth guide. Click on ‘Exit Game’ to go back to the main menu.

You can also access the settings to ensure that you’re able to tailor your device exactly how you want it, adjusting the theme, and language, and even mapping different keys to the functions that work best for you!
With the Miyoo Mini+, you can play every game of your childhood, and experience older games for the first time. All from a simple, dynamic and portable handheld console. The kind the child within you dreamed about.
Adding Games and ROMs
Adding games to your Miyoo Mini Plus+ is very easy to do. You can simply remove the micro SD card from the device and plug it into your PC. You will see a bunch of folders with console names. Copy any ROMs into their respective folder, i.e. Mega Drive / Genesis into the MEGA DRIVE folder.
Once you have completed copying the ROMs, safely eject the micro SD card from your PC. Re-insert it back into your Miyoo Mini Plus+ and switch it on. Your newly added games will now be available in the game browser.
We do have a more detailed guide here if you want to build your own micro SD card from scratch. You can read it here, or embedded below.
Installing Custom Firmware
We have prepared a guide which you can read here, and also embedded below which shows how to install the excellent OnionOS for the Miyoo Mini Plus+. OnionOS provides more emulators, features and improved overall performance.
We do advise using another micro SD card to install OnionOS as they offer larger storage space for example, OnionOS is not without its bugs but less than before, so be aware of this before installing it.
To learn more about your device check out the product page here.
To learn more about our other offerings and products take a look at other Knowledge Base articles here.

Questions & answers