
IMPORTANT NOTE: This fix only applies to the first-generation GPD WIN 4 6800U models. If you have purchased your GPD WIN 4 2023 recently or have a 7xxxU model then please DO NOT install this update. Below is the step-by-step guide to installing the fix for the 60Hz stutter issue on the first generation GPD WIN 4.
The files needed for the GPD WIN 4 stuttering fix can be downloaded below. IMPORTANT NOTE: This fix only applies to the first-generation GPD WIN 4 6800U models. If you have purchased your GPD WIN 4 2023 recently or have a 7xxxU model then please DO NOT install this update.
Due to people either ignoring the warnings about which model to use this update on and then bricking their device, we have now removed the link to download. Please contact customer service to request the file and we can check your order if you have the correct model.
For this guide you will need:
- GPD WIN 4
- USB Drive
- Charger
This guide will be split into two parts, the first is to check whether or not you need to update the BIOS on your device, and the second is to install the fix.
Check Your BIOS
To check click Win+R to open Run and type in ‘msinfo32’.

Once you’re into msinfo check to see the Enabled Controller Version. If it is v8.0 and above. If it is then you can skip to here. If not, and it is v7 and below you will need to update your BIOS, the instructions for which are below.

Upgrading Your BIOS
Once your USB Drive is plugged in and seen, right-click on it within This PC and click on ‘Format’. Formatting the drive will erase its contents so back up anything you wish to keep. Ensure that the ‘FAT32’ file type is selected and when you’re ready, format the drive.


The link will download one ZIP file called ‘WIN4_LCD_Update 0601.zip’.
Download the ZIP file and extract its contents. Within you will find a folder called WIN4_LCD_Update.

Within this folder, you will have another ZIP file called WIN4-V08.00.zip.

Move this ZIP file to another location and extract its contents. Within you will find a folder called ‘WIN4-V08.00’.

Inside of that folder are the BIOS update files. Copy over the CONTENTS of the folder to the USB drive, not the folder itself.

Next, restart your device, and as soon as it starts booting repeatedly press Fn+7(F7) to enter the boot menu. Boot into the USB Drive and let the script to update the bios run.

Press any key when it asks you to begin

Let the install run, this will take roughly a minute.

Once it has been installed, the device will power off. After a few moments press the power button to turn it on. When you’re in Windows again, go back to MSInfo32 and check the Enabled Controller Version. If it reads 8.0 then you are free to continue, if it doesn’t then go through the steps again.

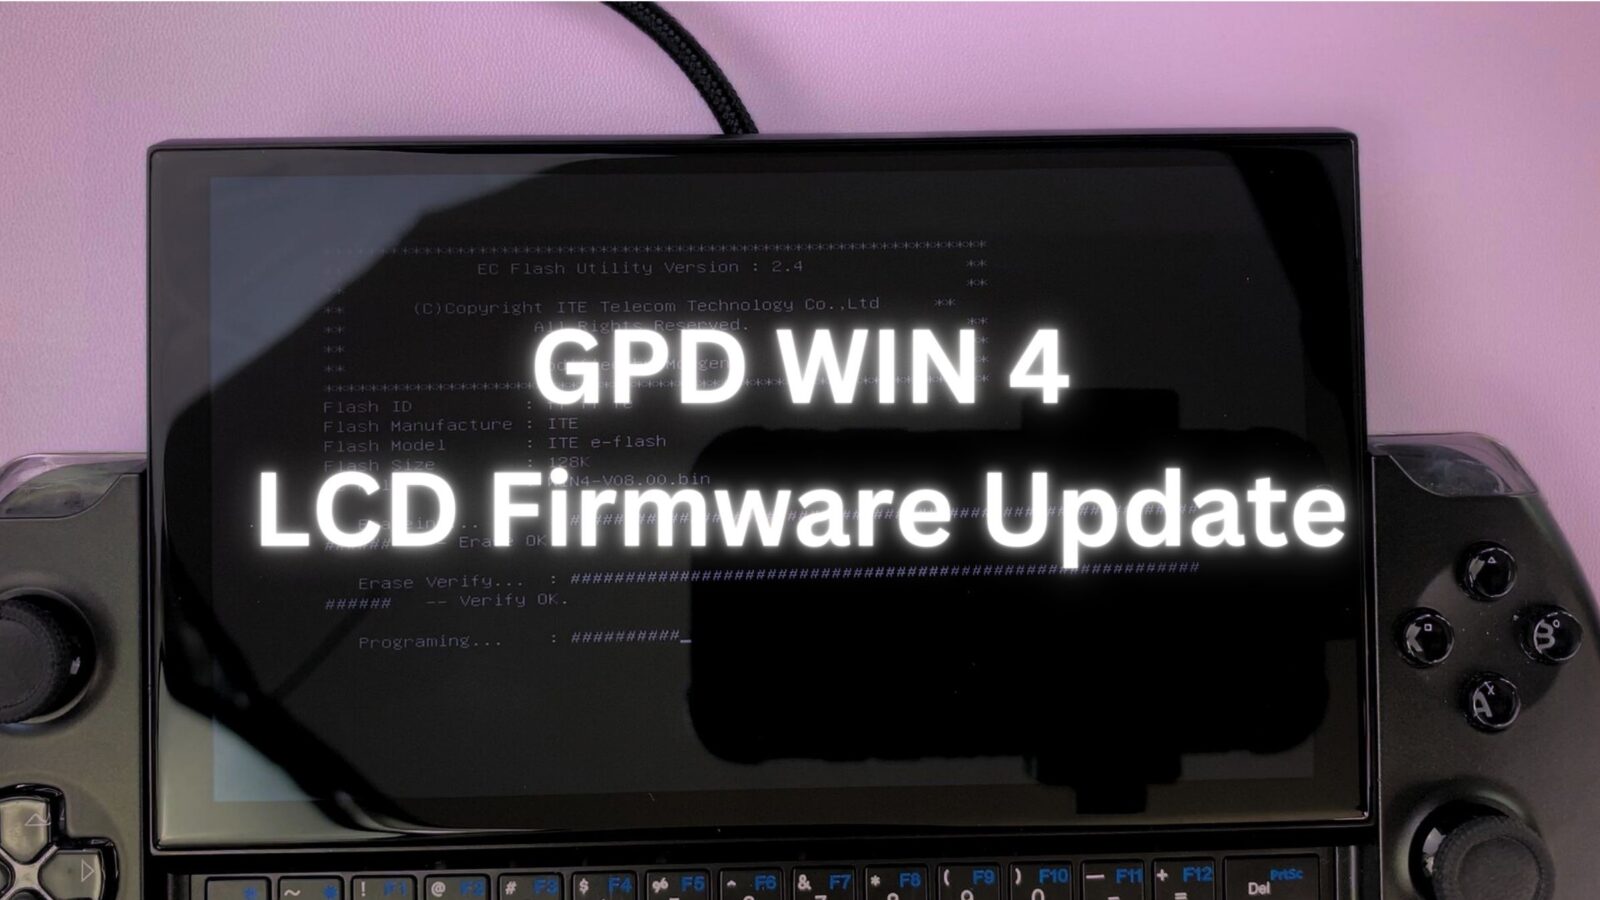
Installing The Fix
Before proceeding, please ensure that Motion Assist software is not loaded. If it is, close it otherwise the LCD firmware update will not work.
Once your BIOS is updated you can go into the contents of the original WIN4_LCD_Update folder, and inside you will find an application called WIN4_LCD_Update.

Right-click on the application and press ‘Run as Administrator’. Enter your administrator details, if you do not know them then ask the administrator of your device to enter them, and click yes.

The program will open. Click on the ‘Update’ button and the installation will begin.

Allow it to progress, this will take several minutes. When it is done reboot your device and the process is complete and the fix has been installed.

If you have updated the LCD and something has gone wrong or you updated when you should not have then you can try the below LCD updates for your CPU model.
