Whether to get additional space and performance or just replace a faulty part the SSD and RAM are two of the easiest parts of a PC to replace. If this is your first foray into the innards of your computer or you’re a seasoned builder this guide will help you to take apart, upgrade and put your computer back together. Follow along to find out how.
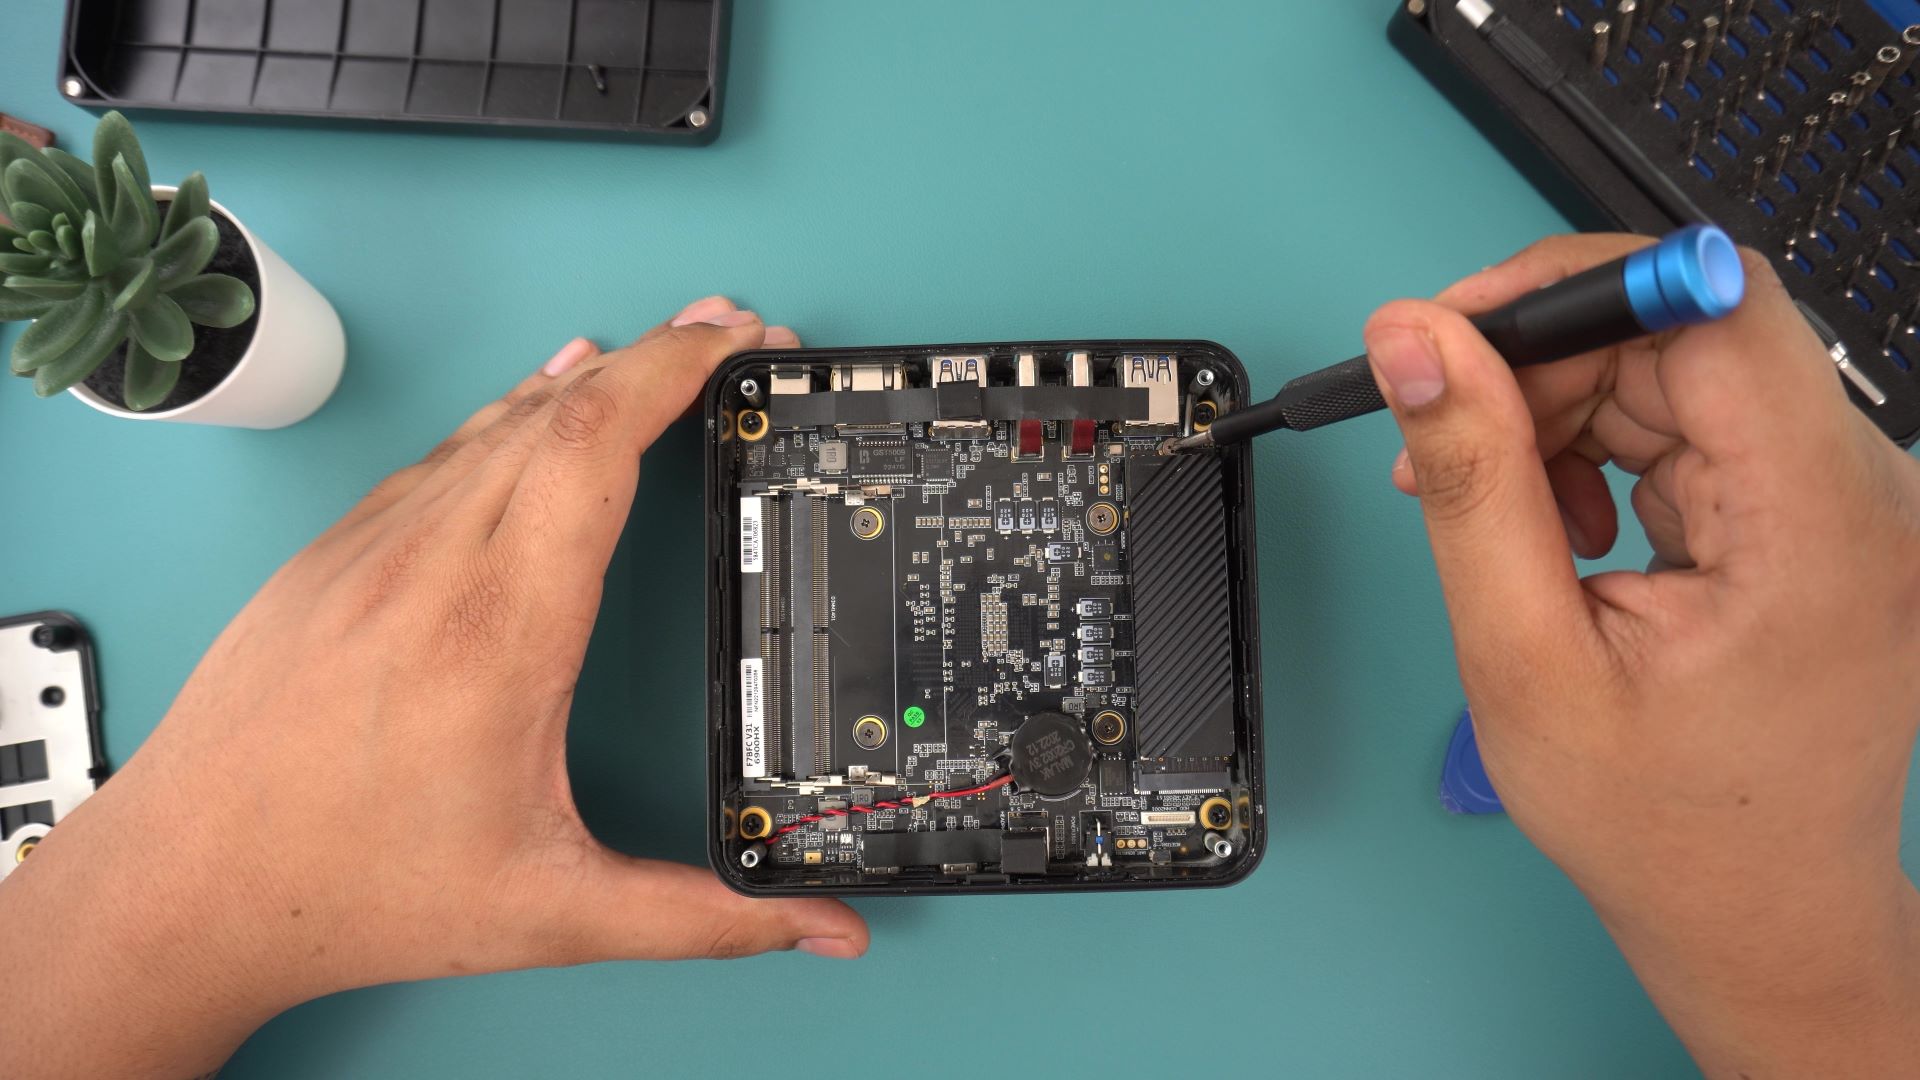
The first thing you’ll need to do is open up your computer. This is different for every model but for the most part, it will involve removing a set of screws on the bottom and prying open the cover. So be sure to place the screws somewhere safe.
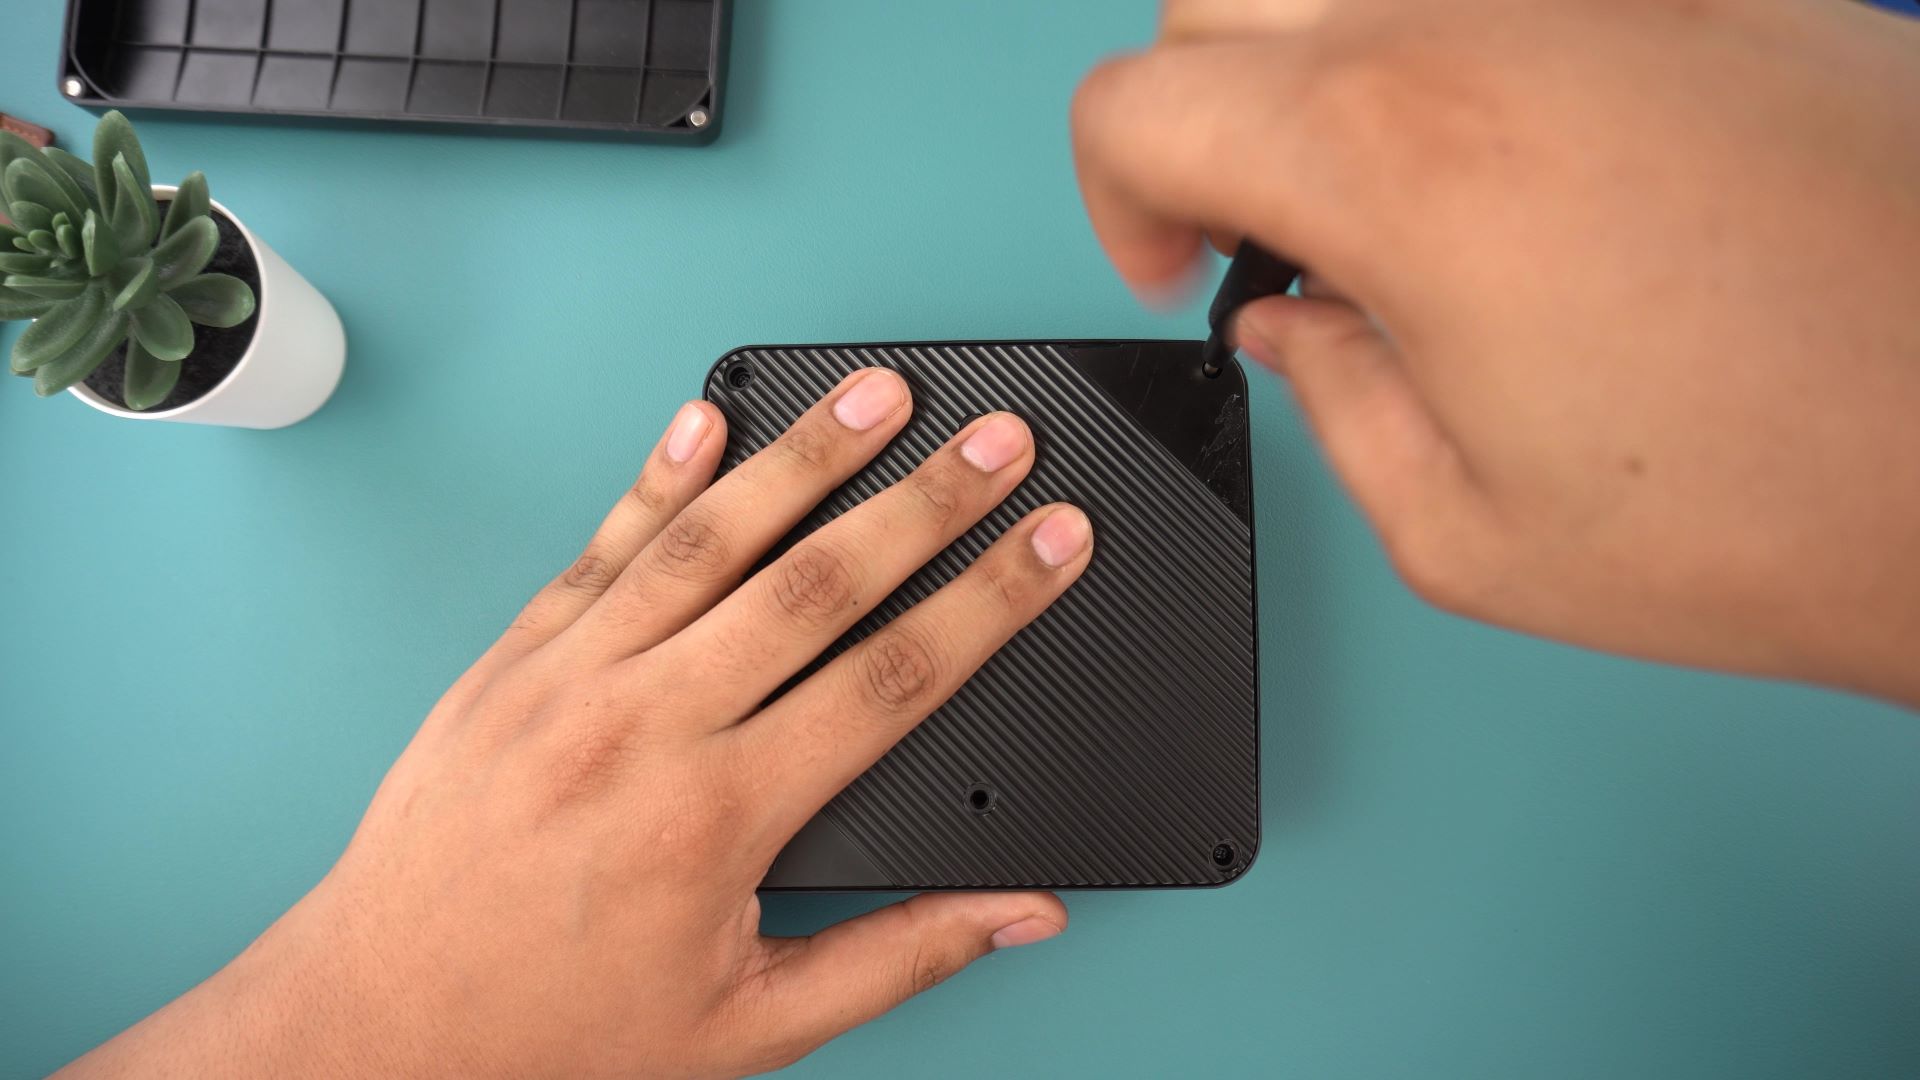
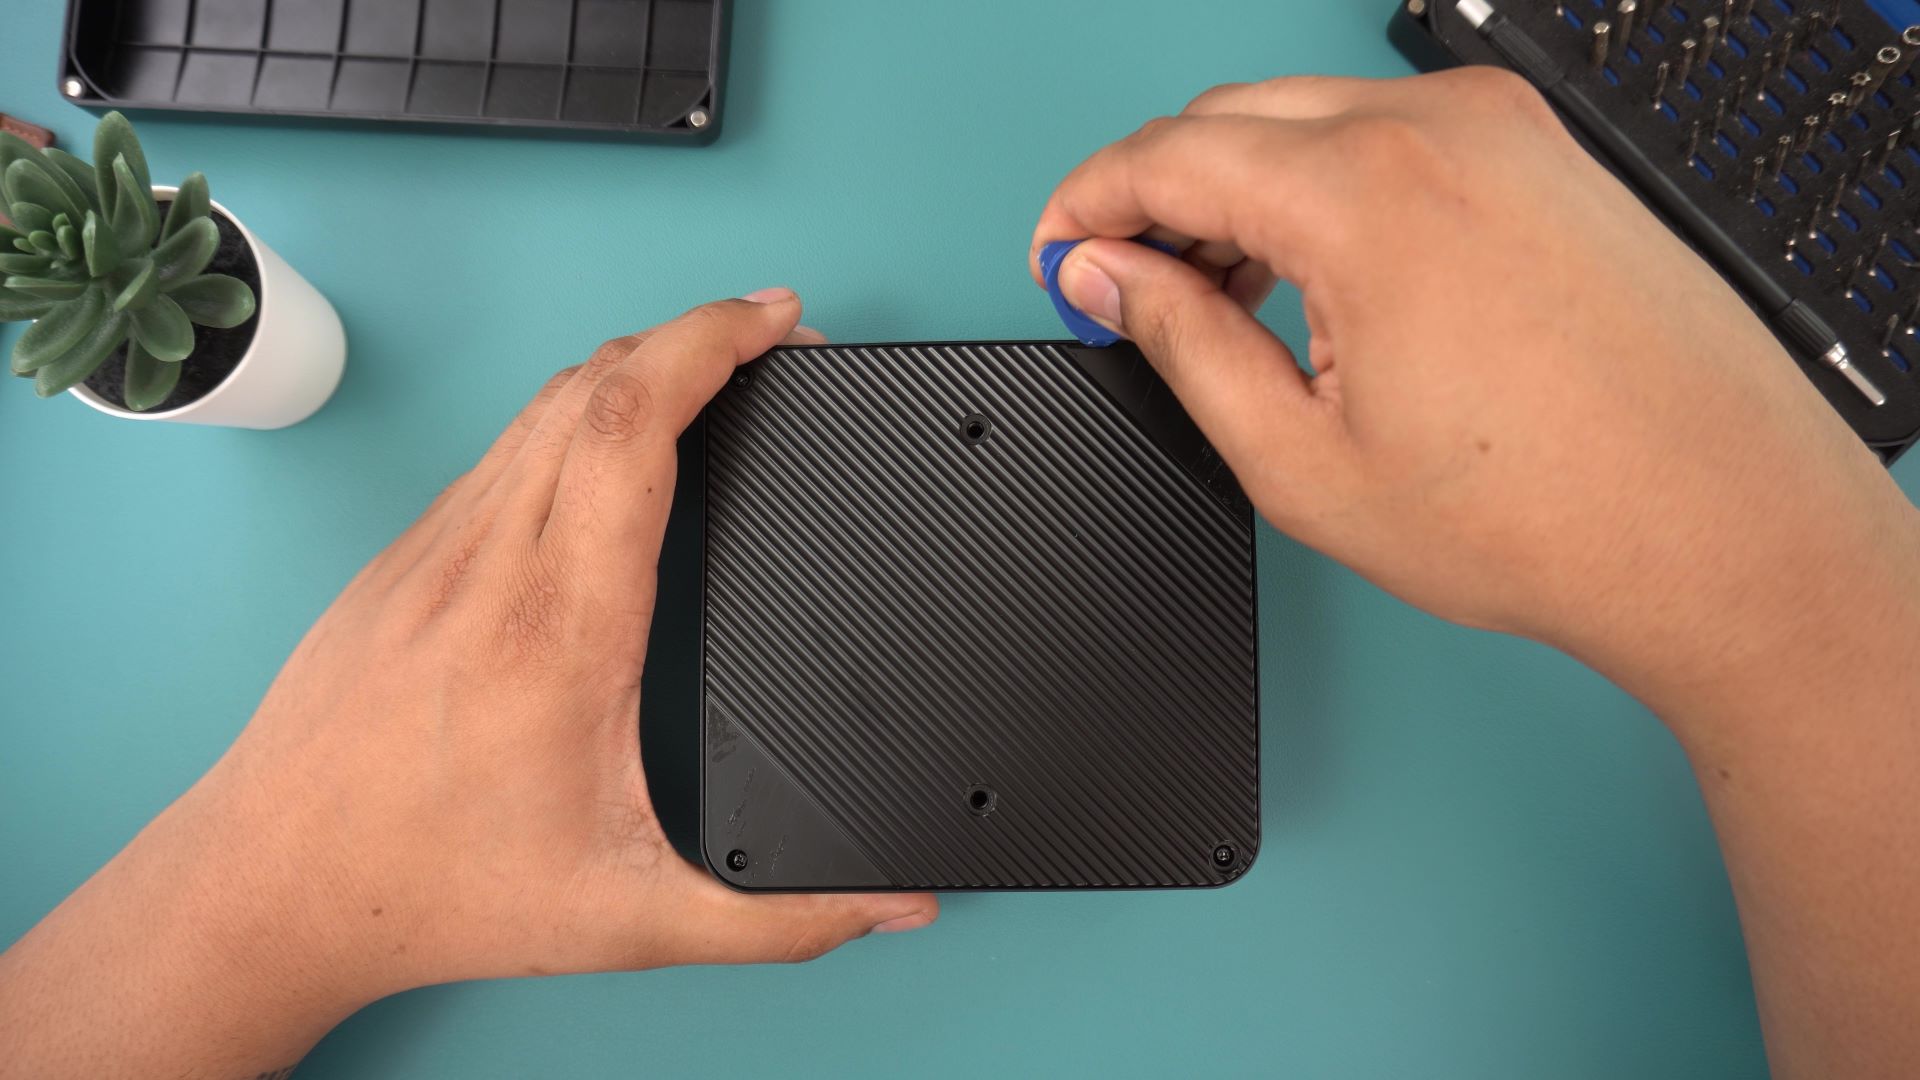
Opening the case can be difficult so I recommend using a spudger or other such tool to help get it off.
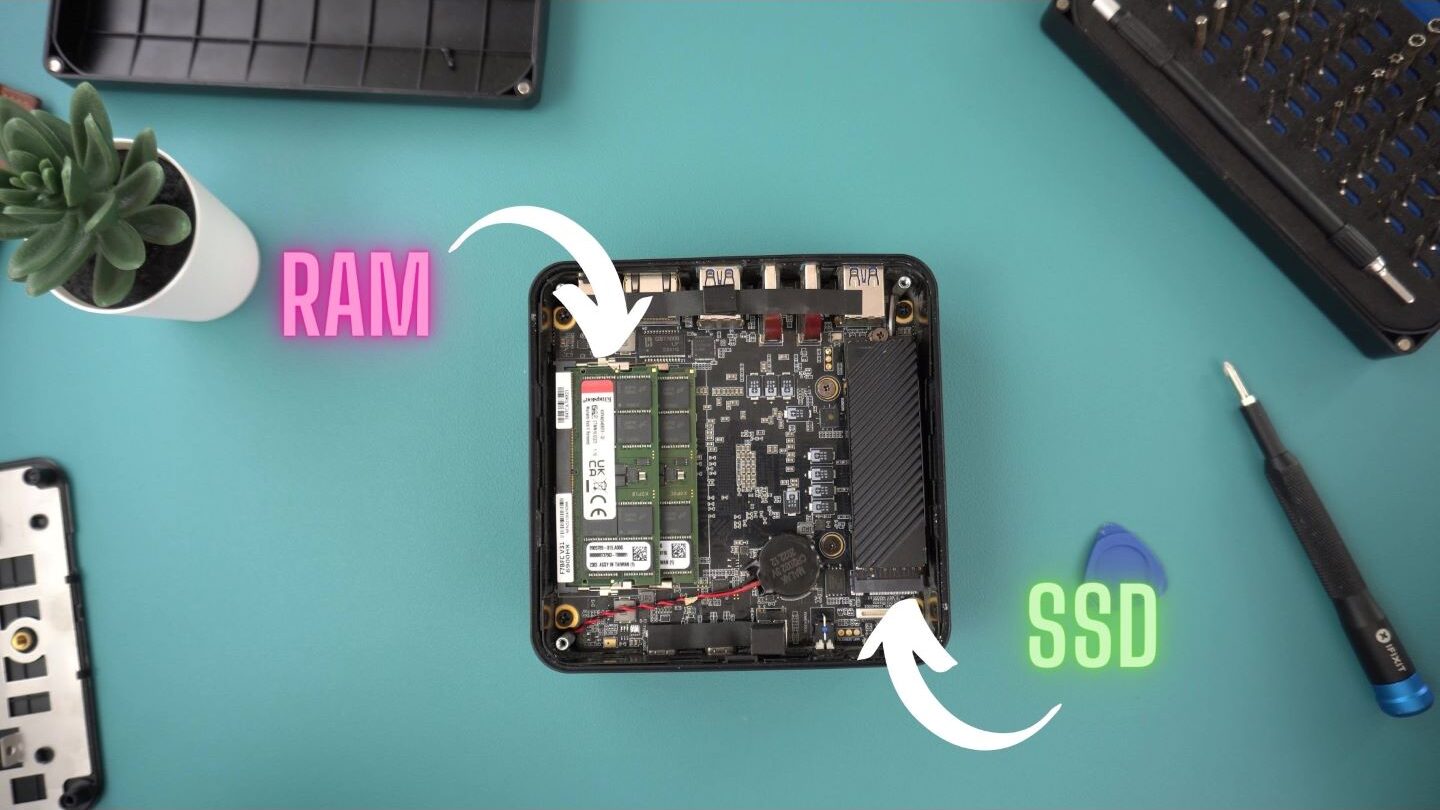
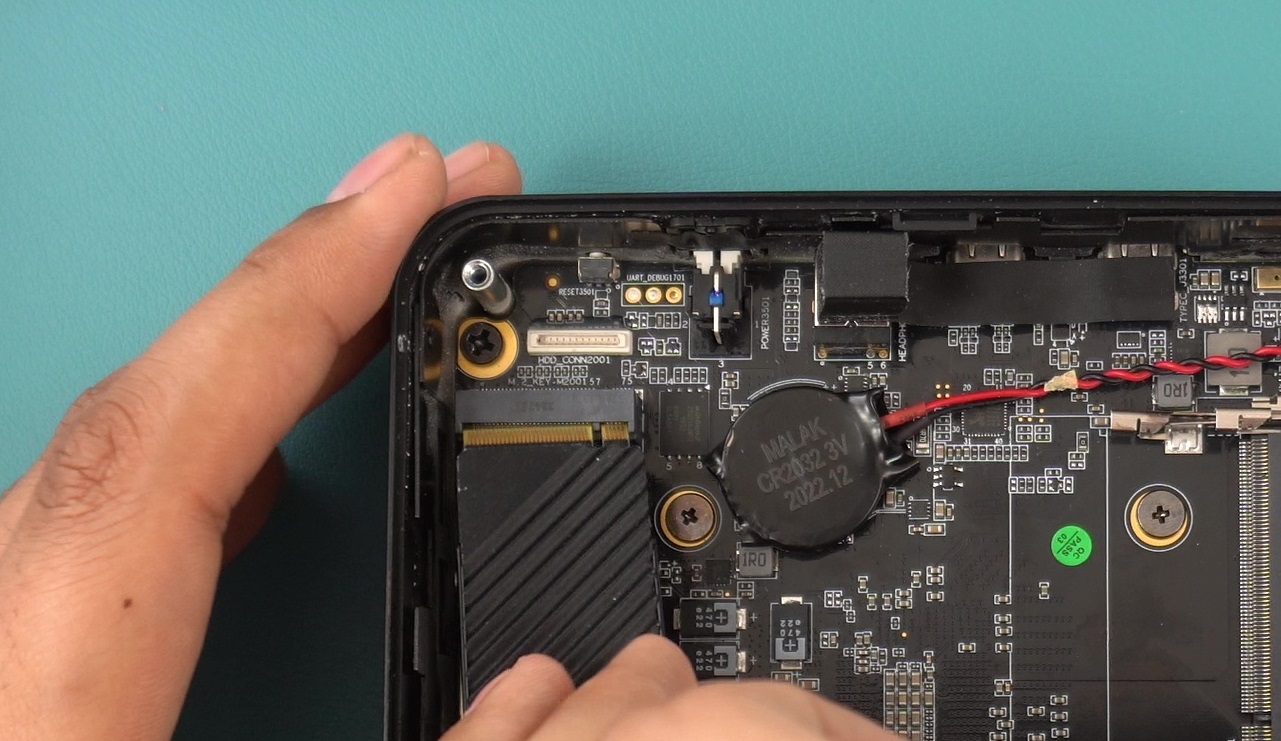
Once it’s open you can see inside the PC. The location of the SSD and RAM is different in every PC, but you’ll be able to recognize them when you see them. If not refer to the manual for your device.
You can remove the RAM by pulling on the two small tabs holding it in, it will then release and you can gently pull it out. Remove the top stick and then follow the same instructions for the bottom stick if there are two.
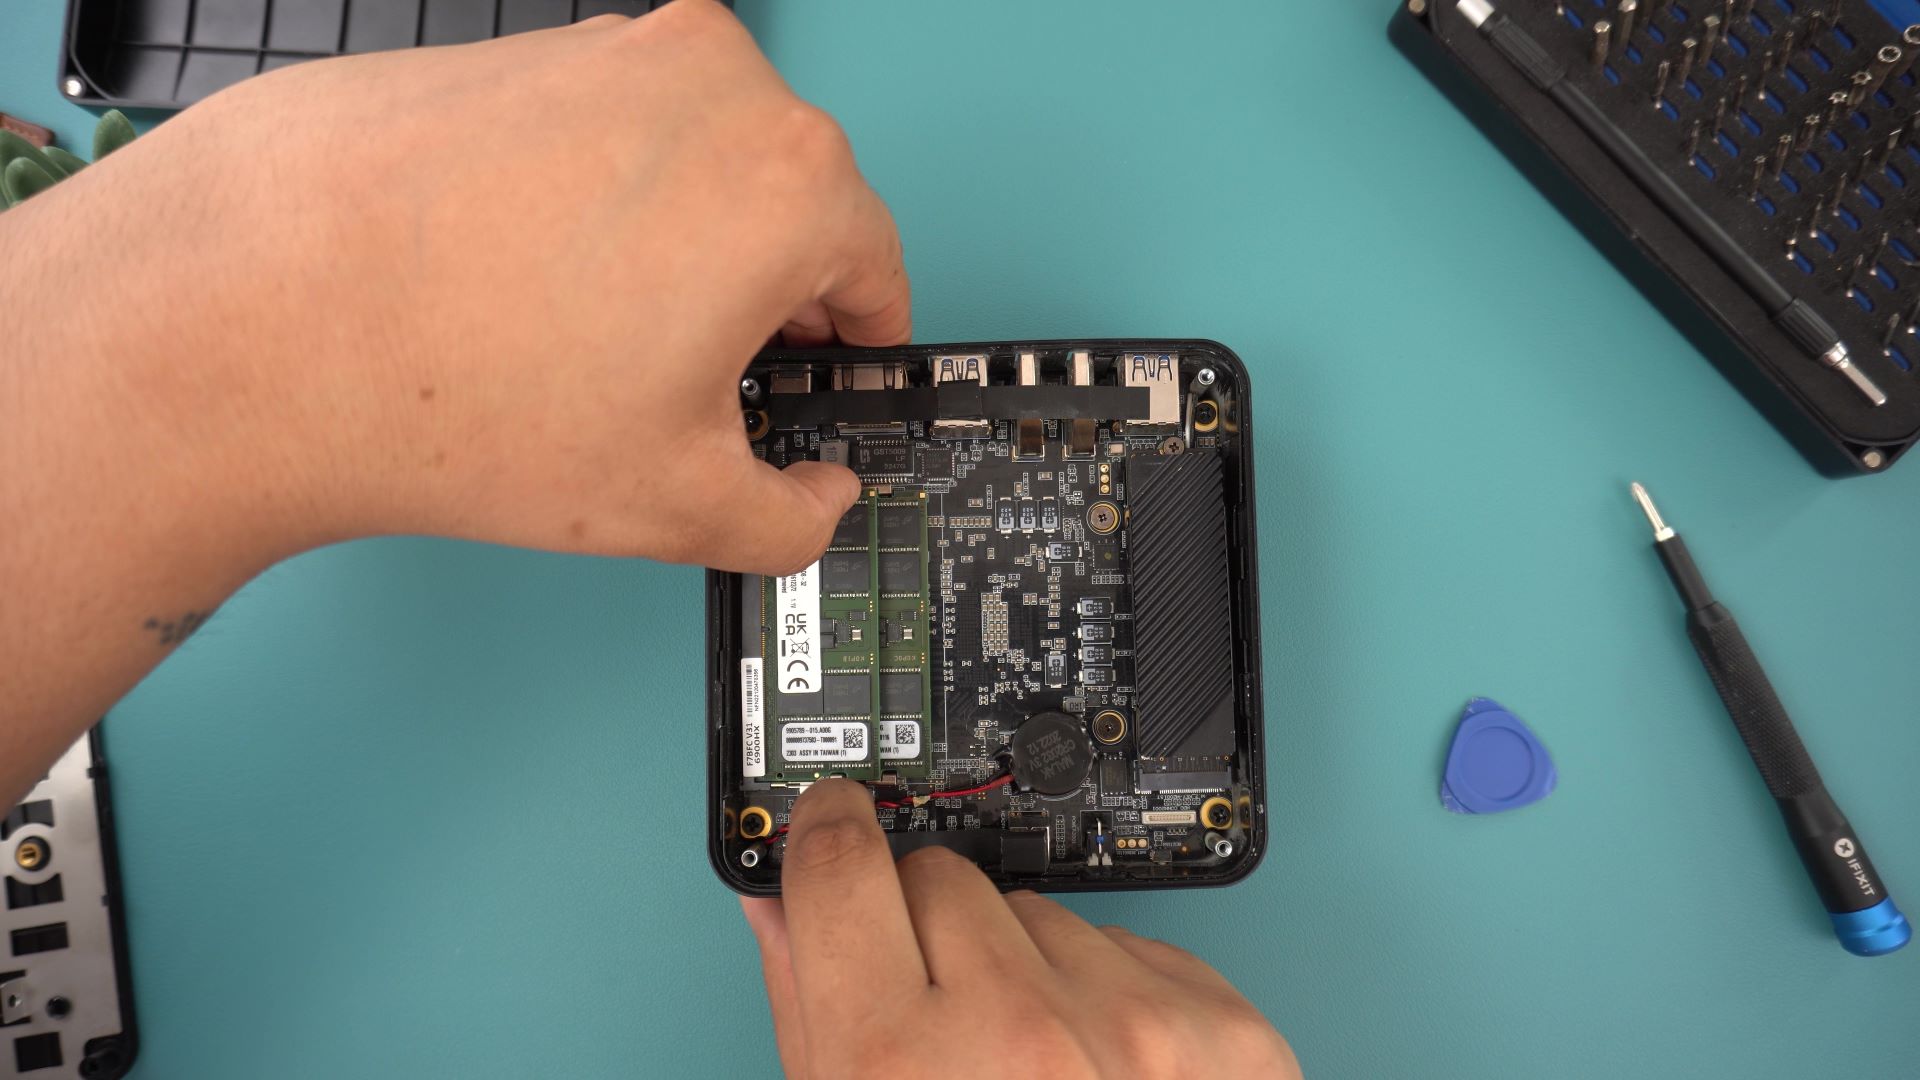
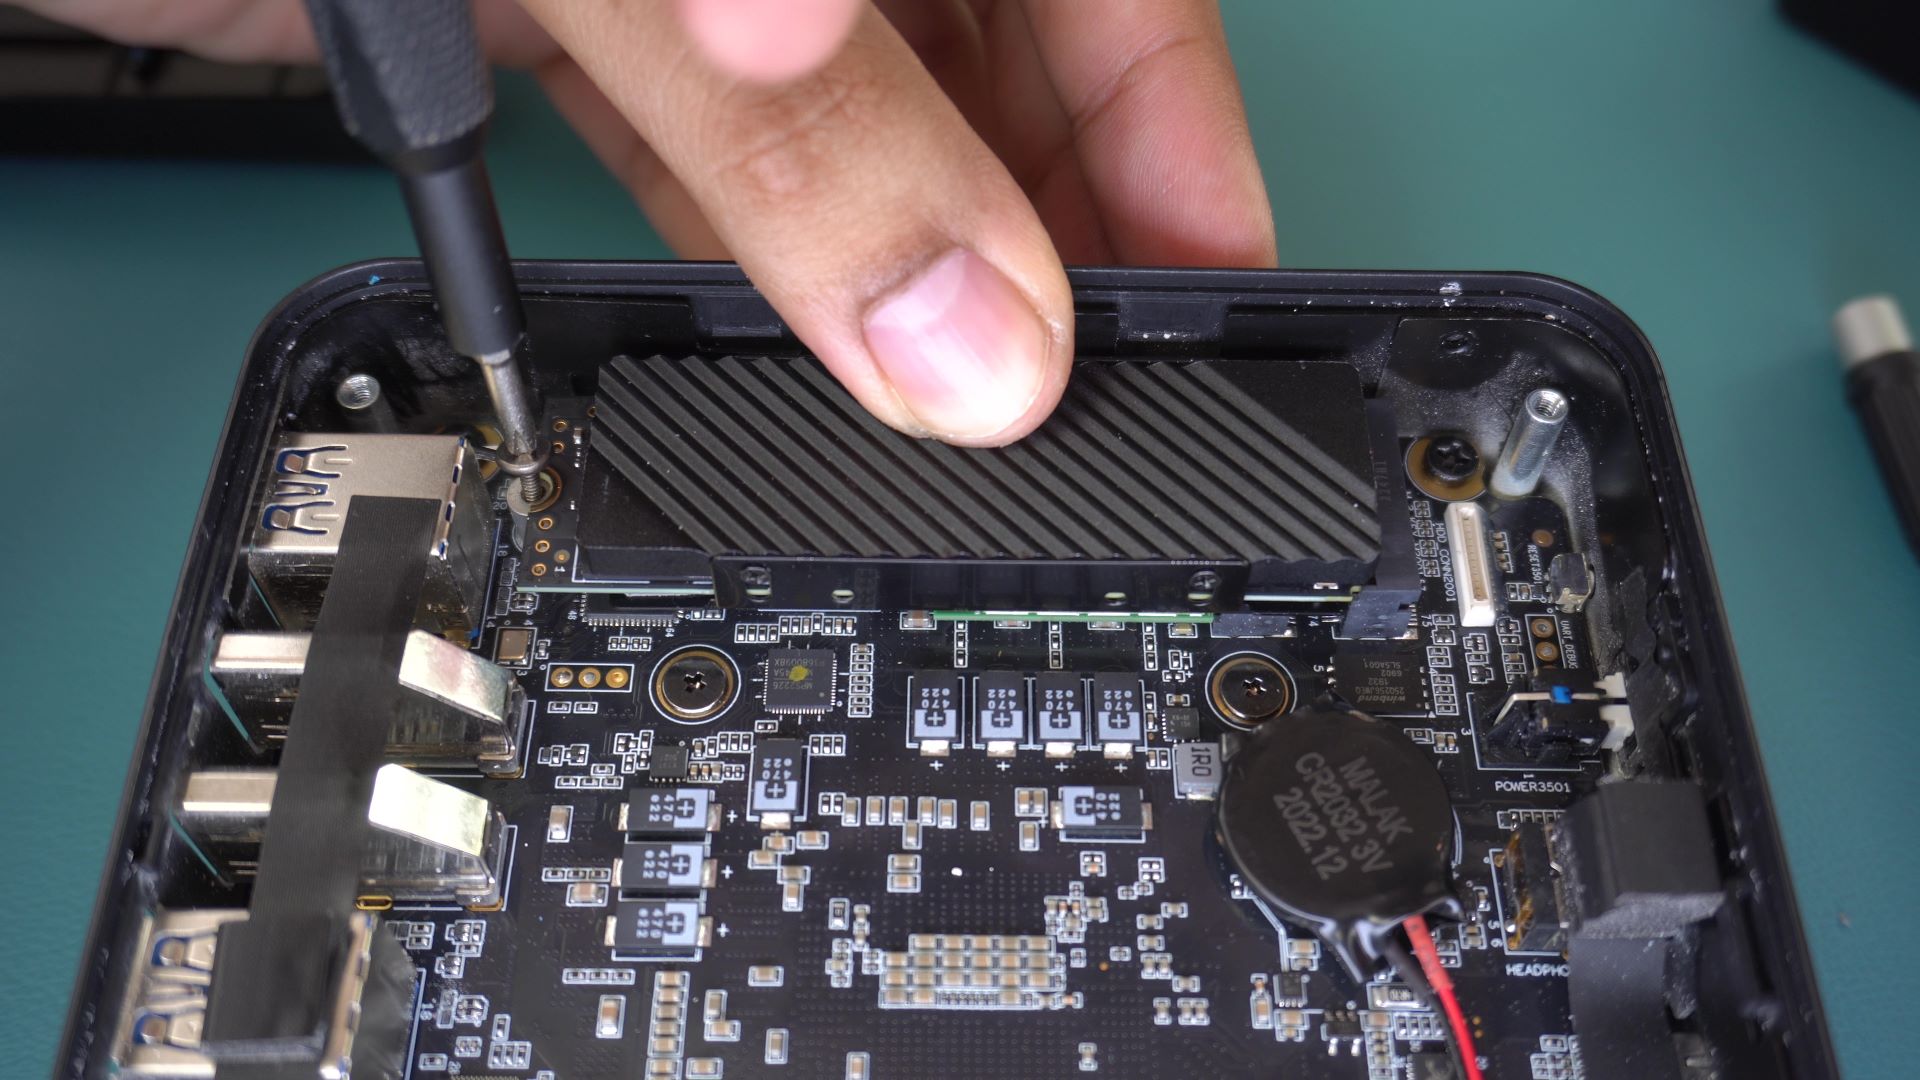
To remove the SSD, first, unscrew the screw at the top holding the device down. This will release the SSD and you can gently pull it out similarly to how to RAM was removed.

You’ve now successfully removed the RAM and SSD from your PC! You can get your new kit ready to install.
The installation is very similar to the removal, only in reverse. We’ll start with the SSD. I recommend turning the PC so that the screw hole is on the side closest to you, this will help you screw it in later on.
With the new SSD, line up the pins with the layout on the motherboard. One side has fewer than the other so ensure that the SSD is oriented the right way.
Once the SSD is in you can screw it down to secure it.
Installing RAM is a similar operation. Line up the pins on the stick with the slots in the motherboard. Once they are aligned you can gently insert the RAM until it is all the way in and then press down to click into place.
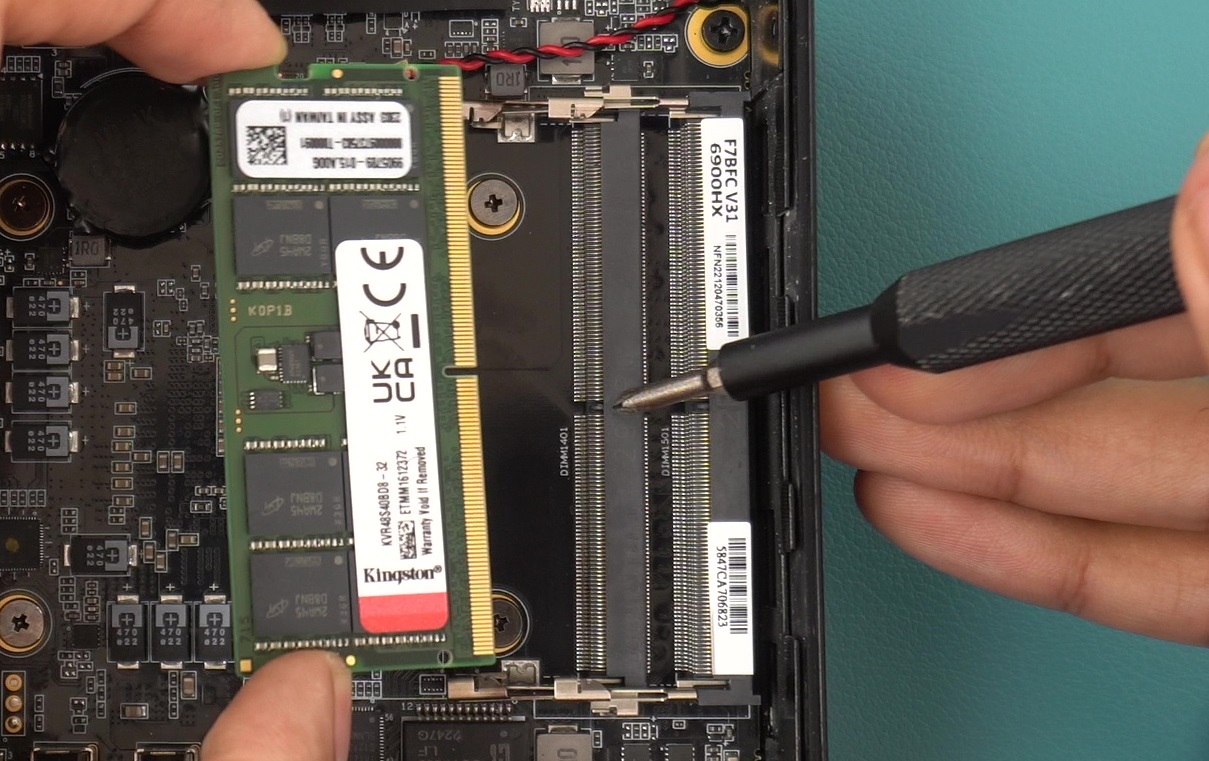
Insert the bottom stick first and then the top one.


Congratulations you have replaced the SSD and RAM in your mini PC! Now just put the cover back on, click it into place and screw it in!
If you’re ready to take on the challenge, upgrade your PC with a new SSD and RAM for cheap from our store here!
Follow along for new tutorials and guides on our Knowledge Base here!
Questions & answers