Sometimes components need replacing or even upgrading. The WiFi card is one of them. If that’s you then you’re in the right place. Follow along with this super easy guide on how to perform a WiFi Card replacement in your Mini PC.
The first thing you’ll need to do is open up your computer. This is different for every model, but for the most part, it will involve removing a set of screws on the bottom and prying open the cover. So be sure to place the screws somewhere safe.
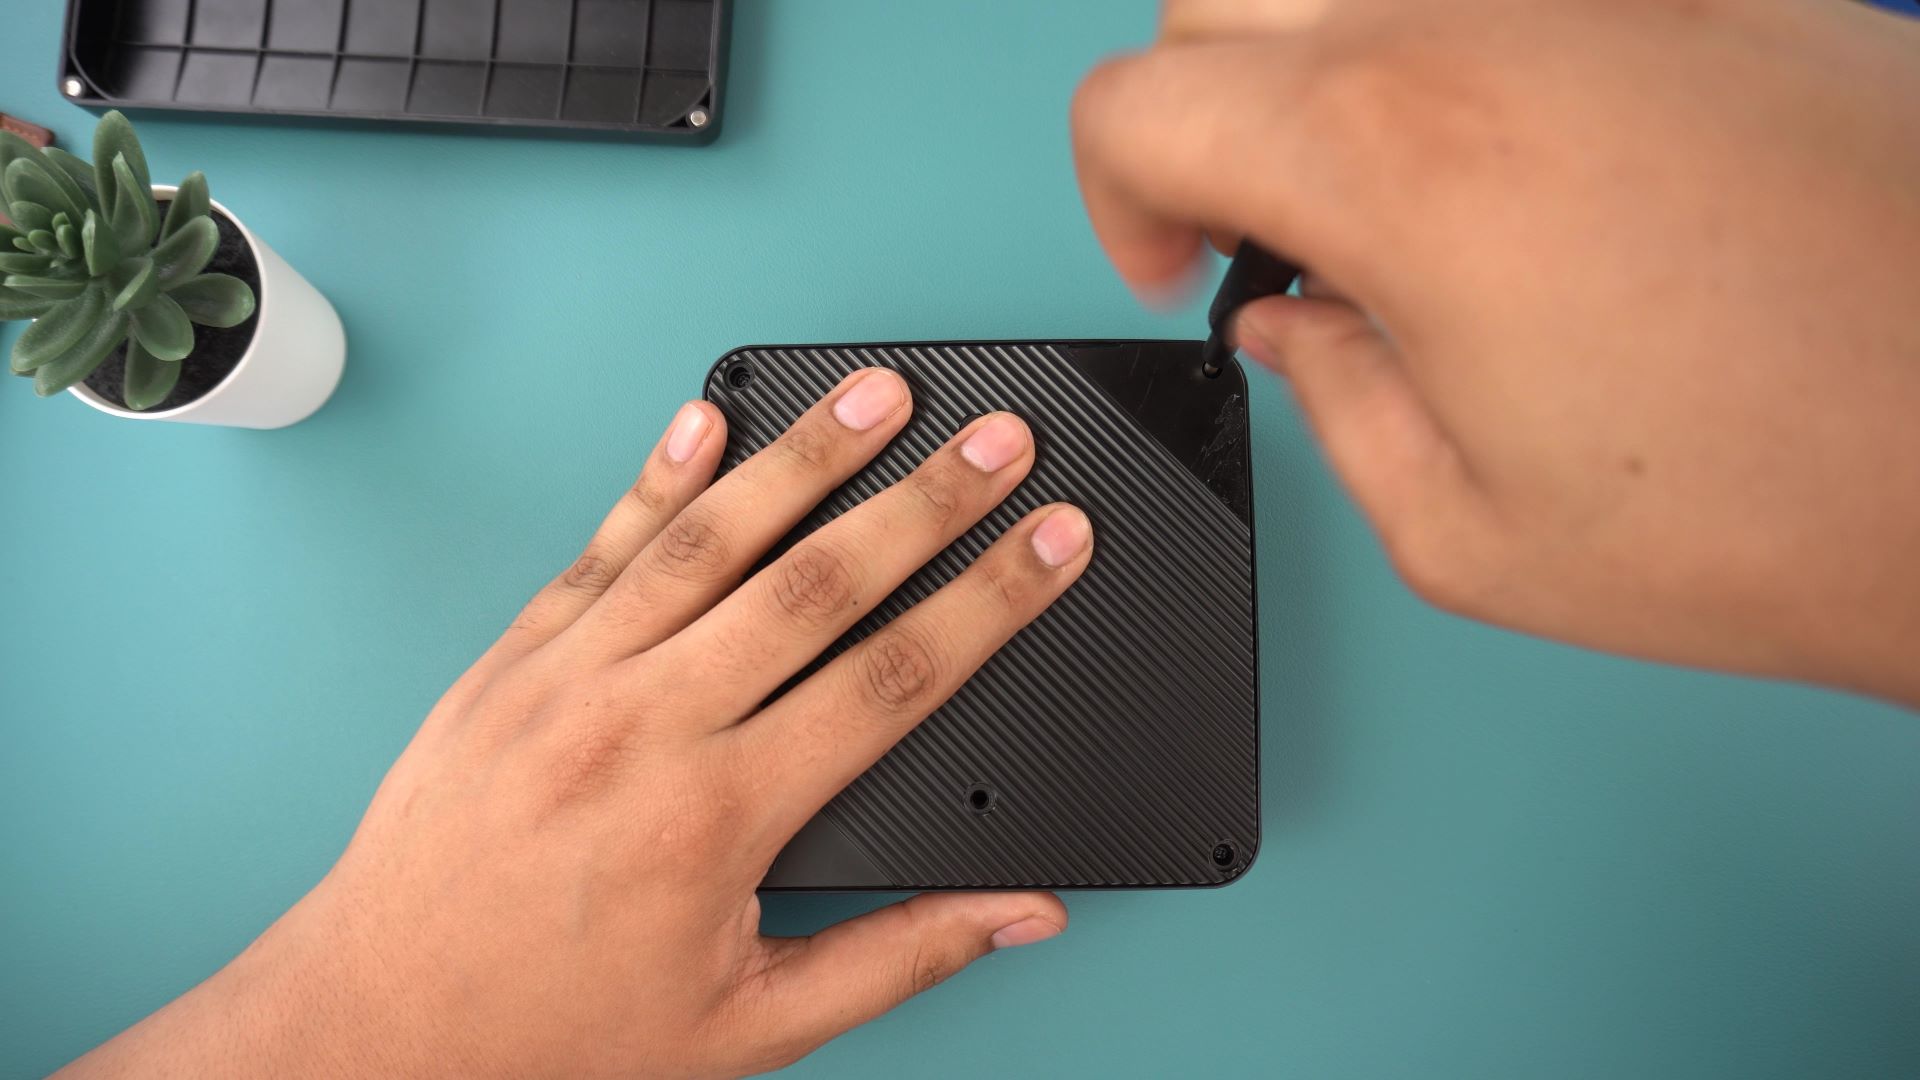
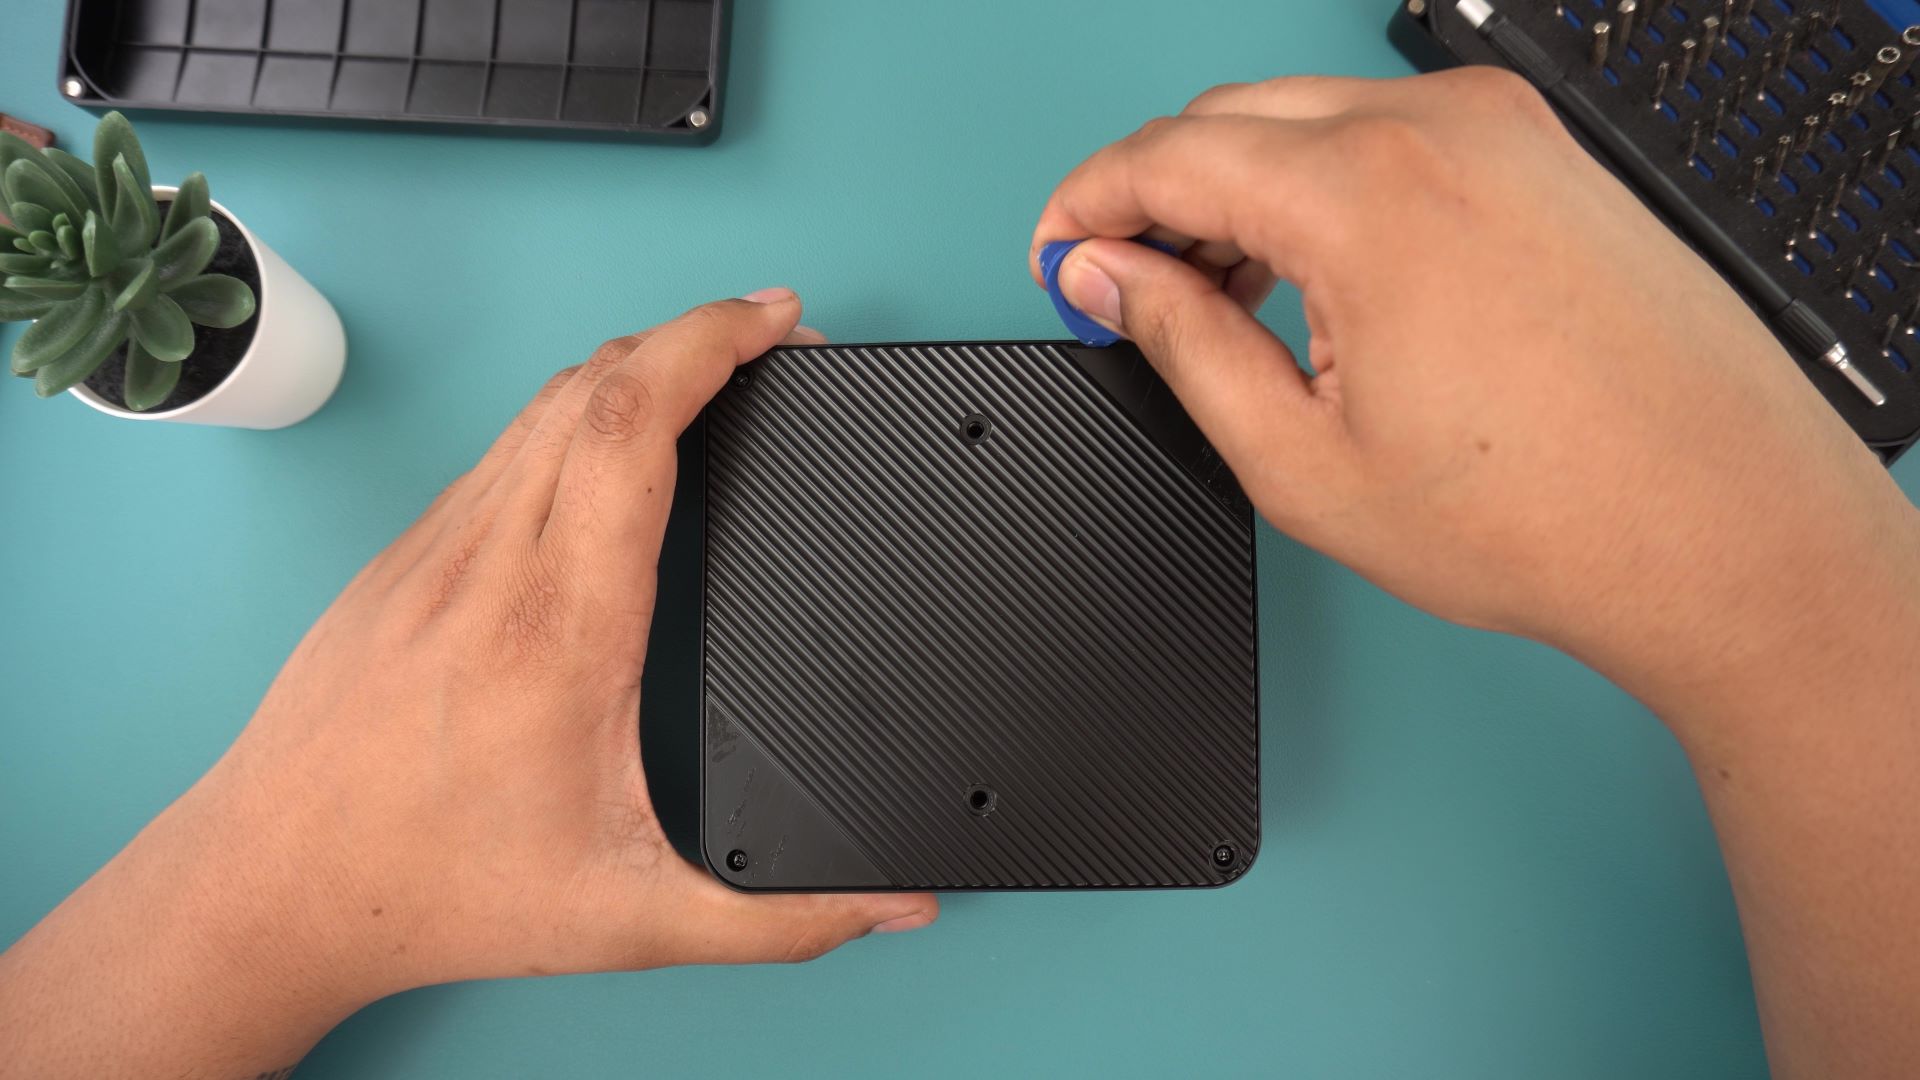
Opening the case can be difficult so I recommend using a spudger or other such tool to help get it off.
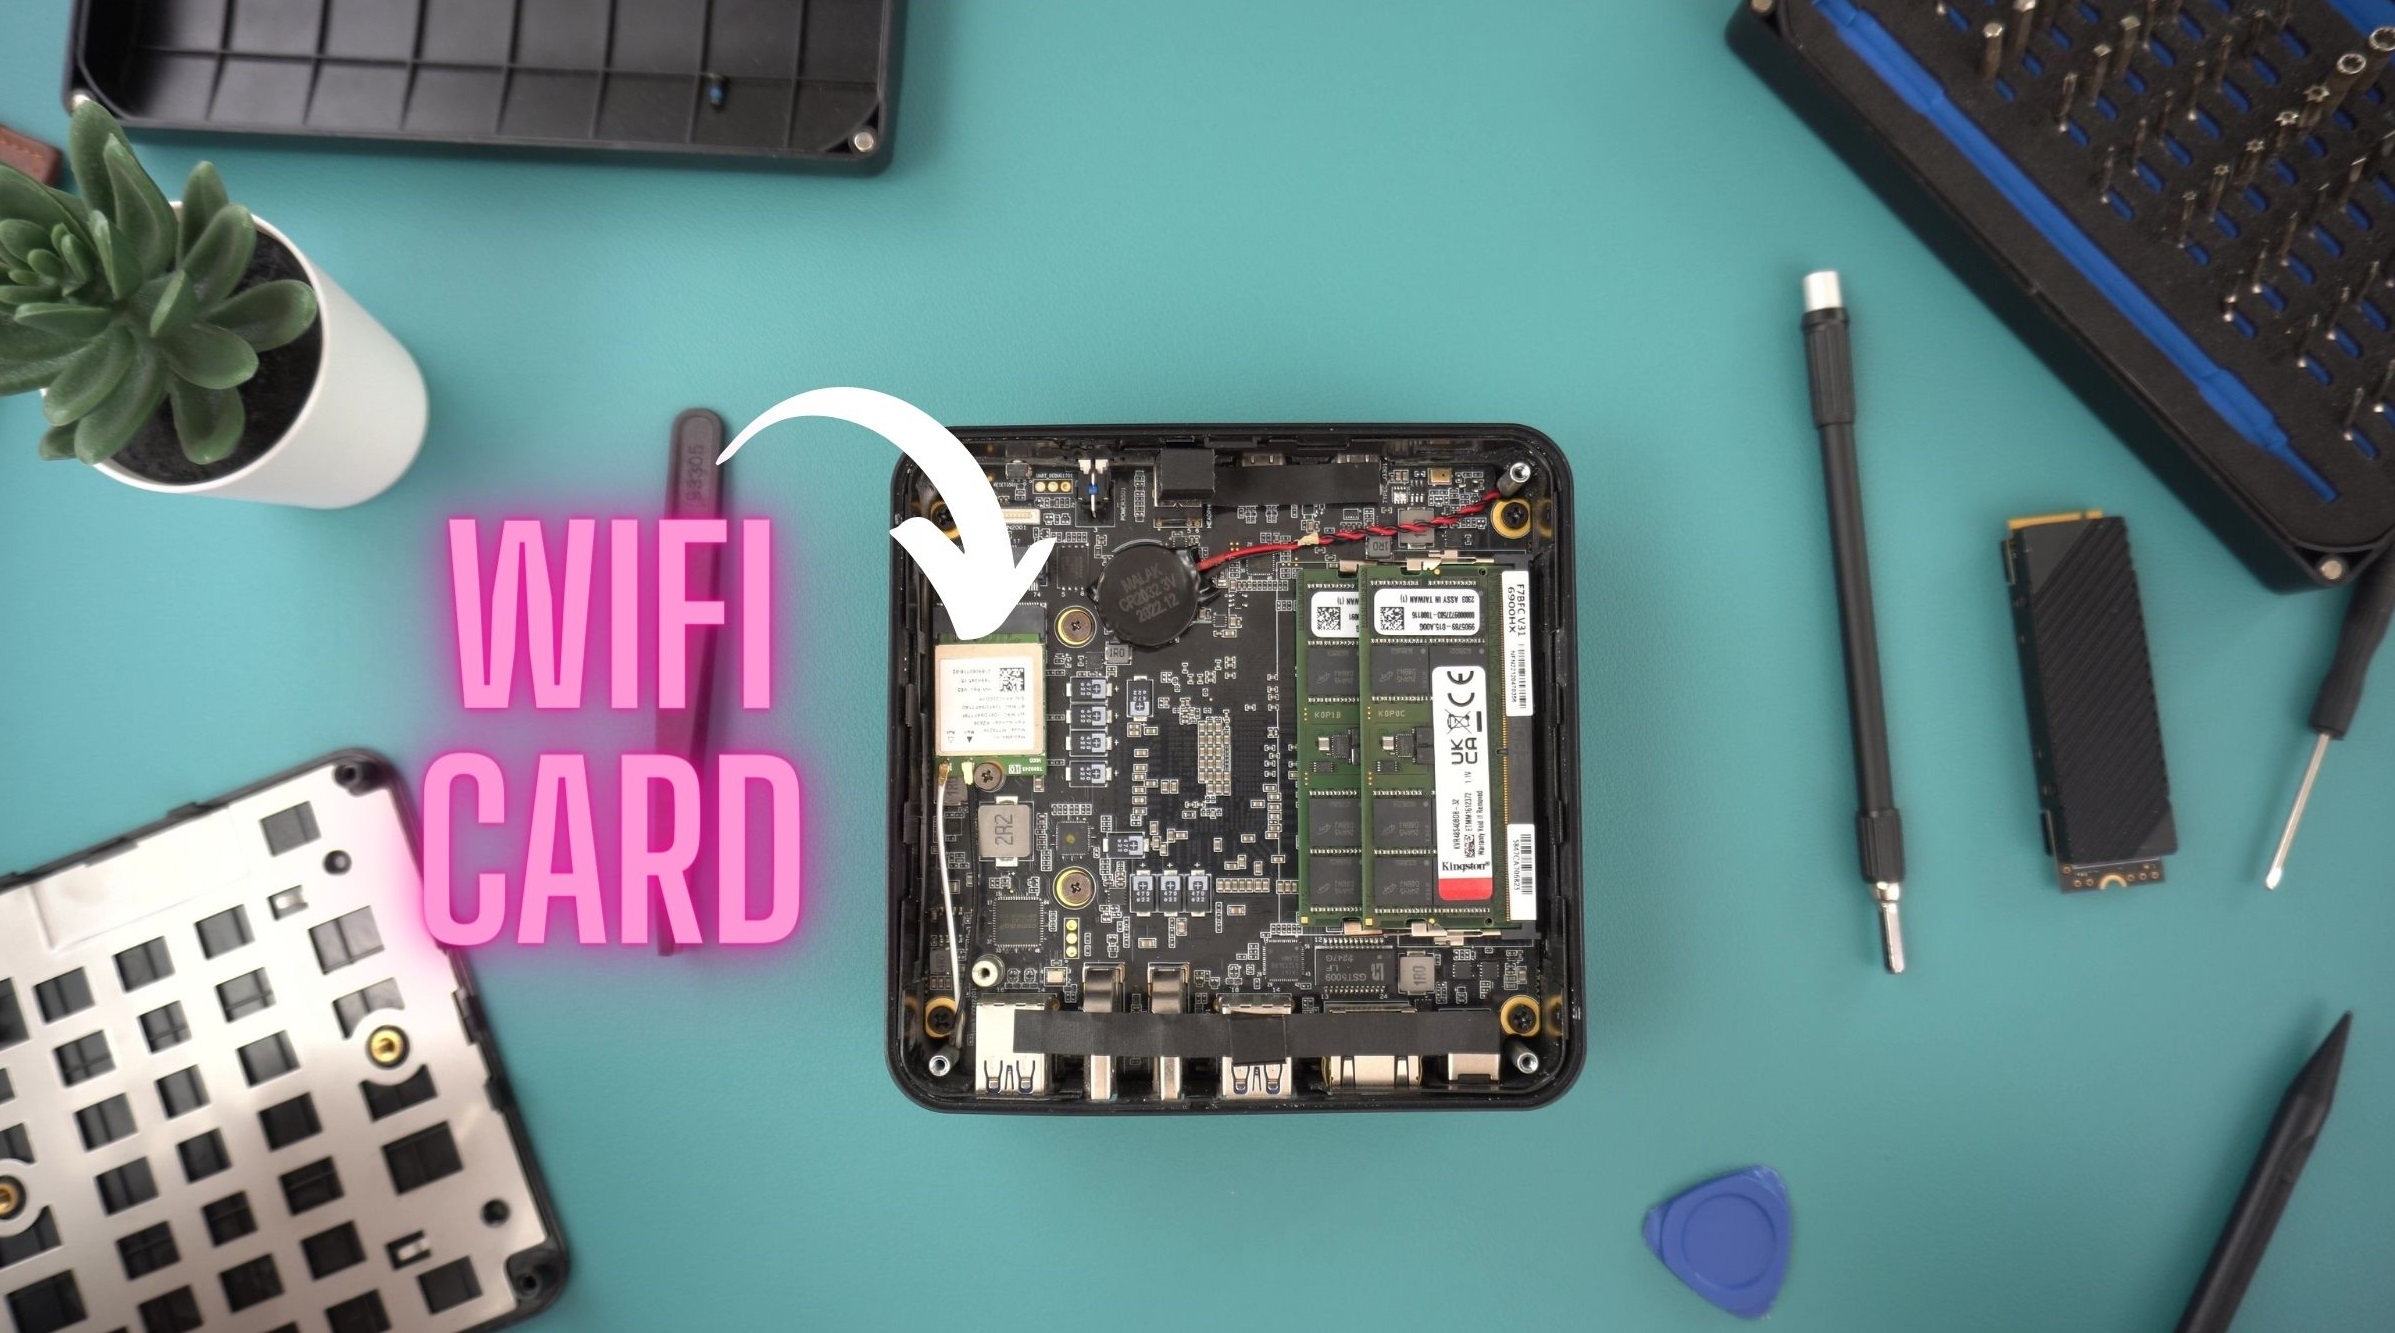
Once it’s open you can see inside the PC. The location of the WiFi Card is different in every PC, refer to the manual to find the location of your device. In this PC it’s under the SSD so we’ll be removing that first.
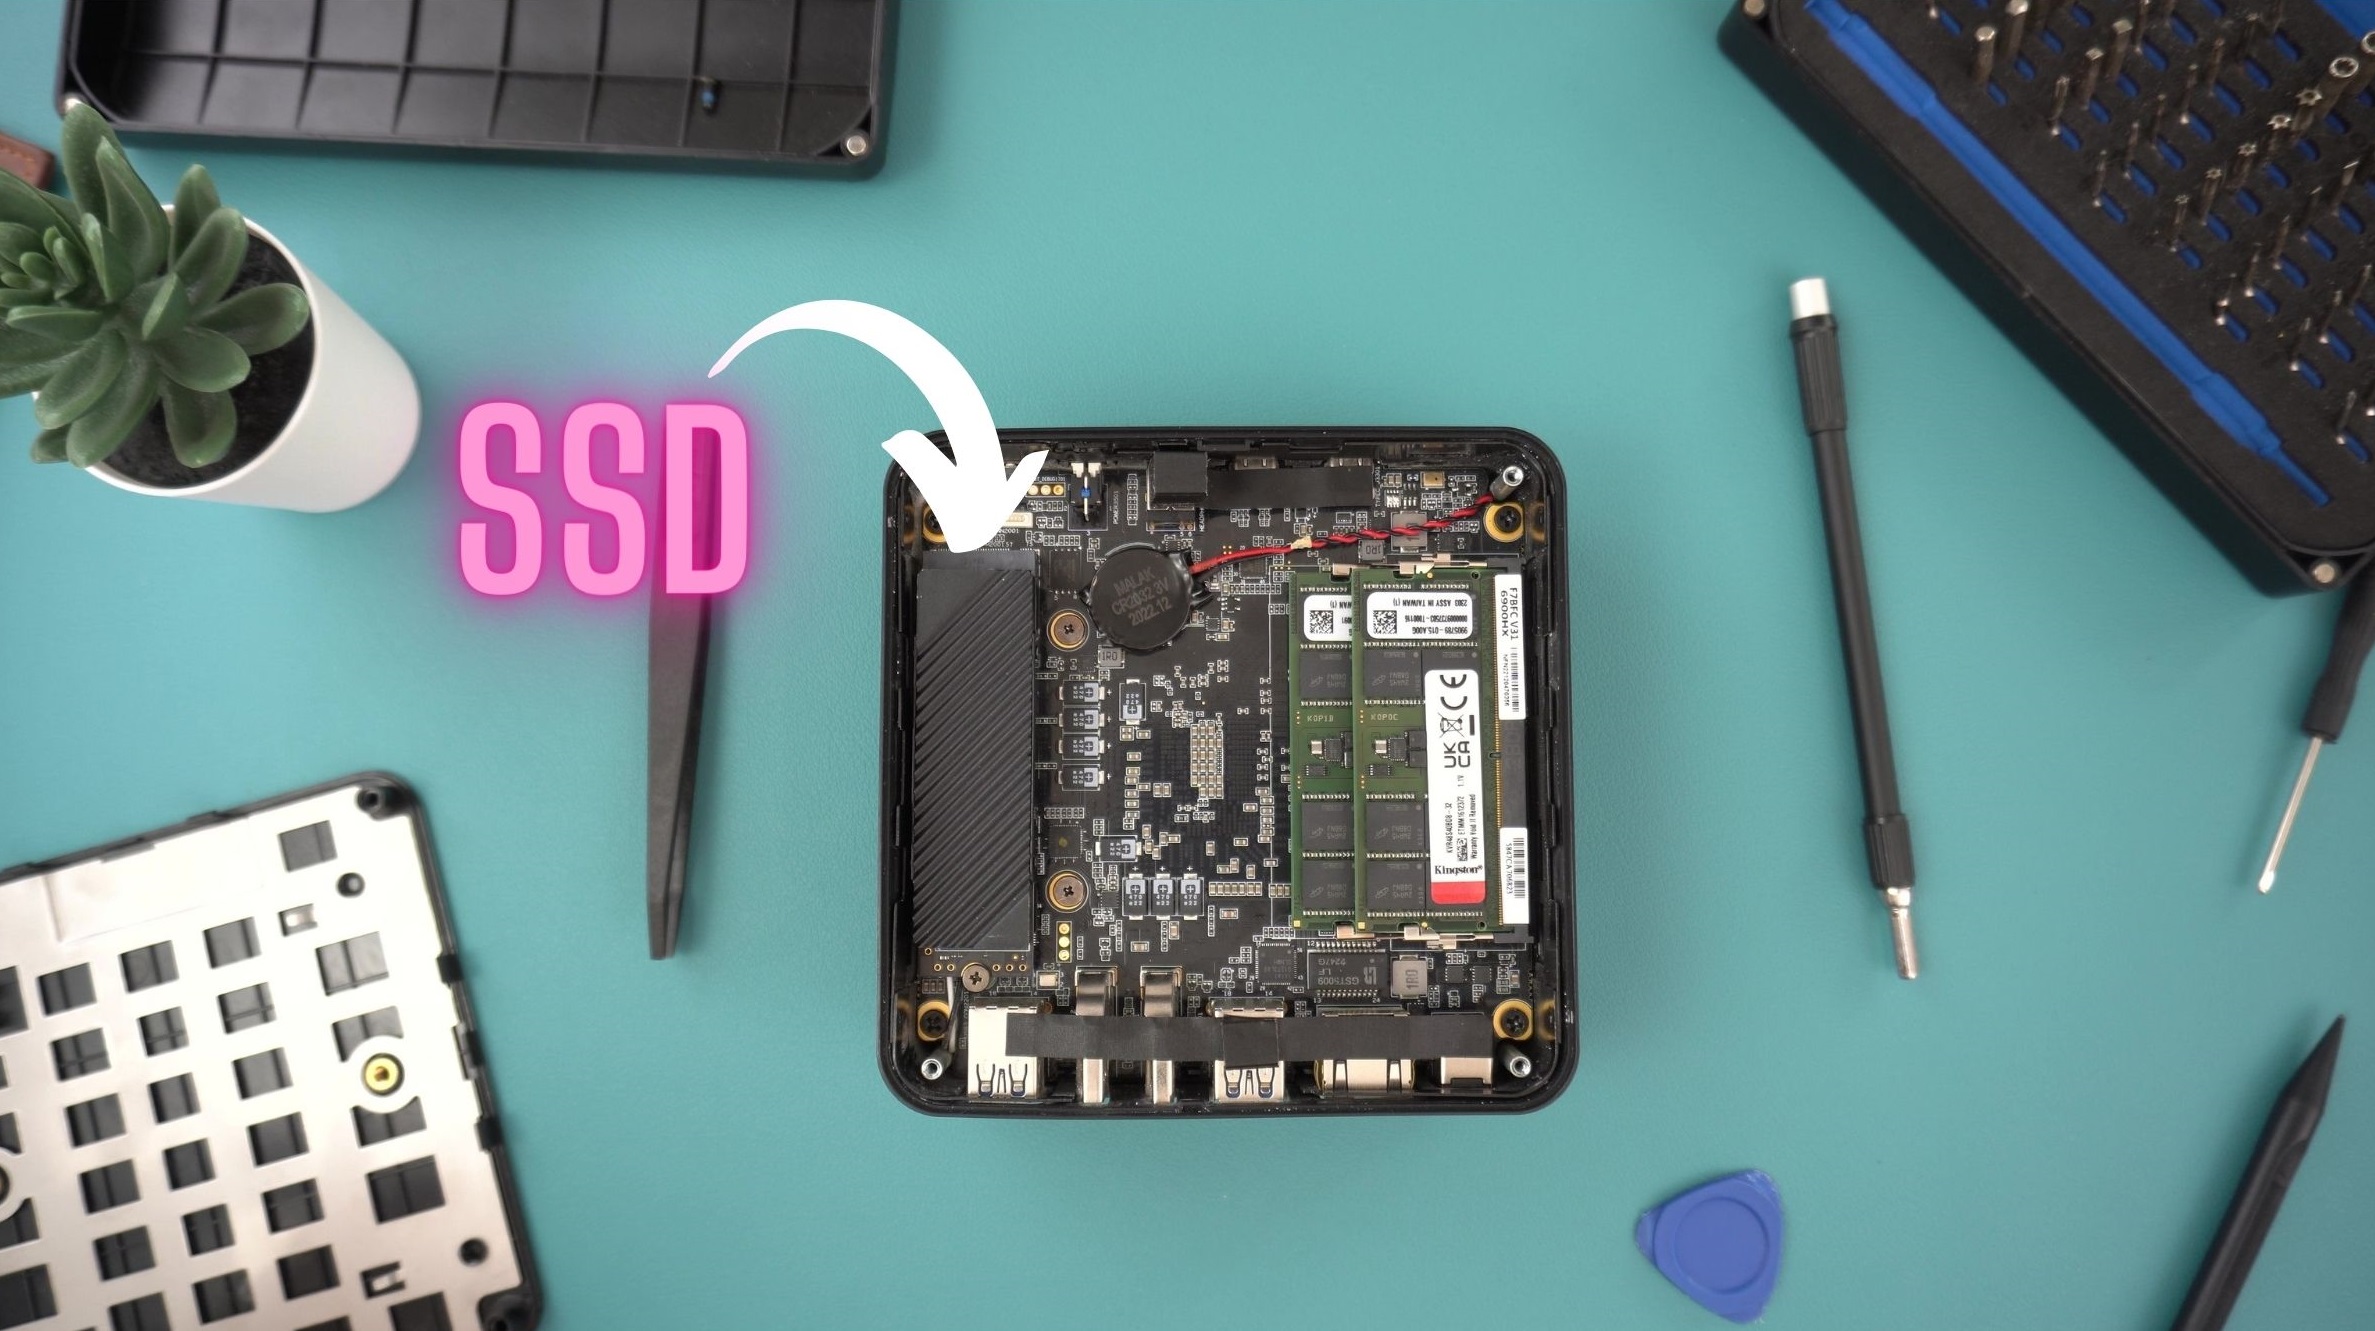
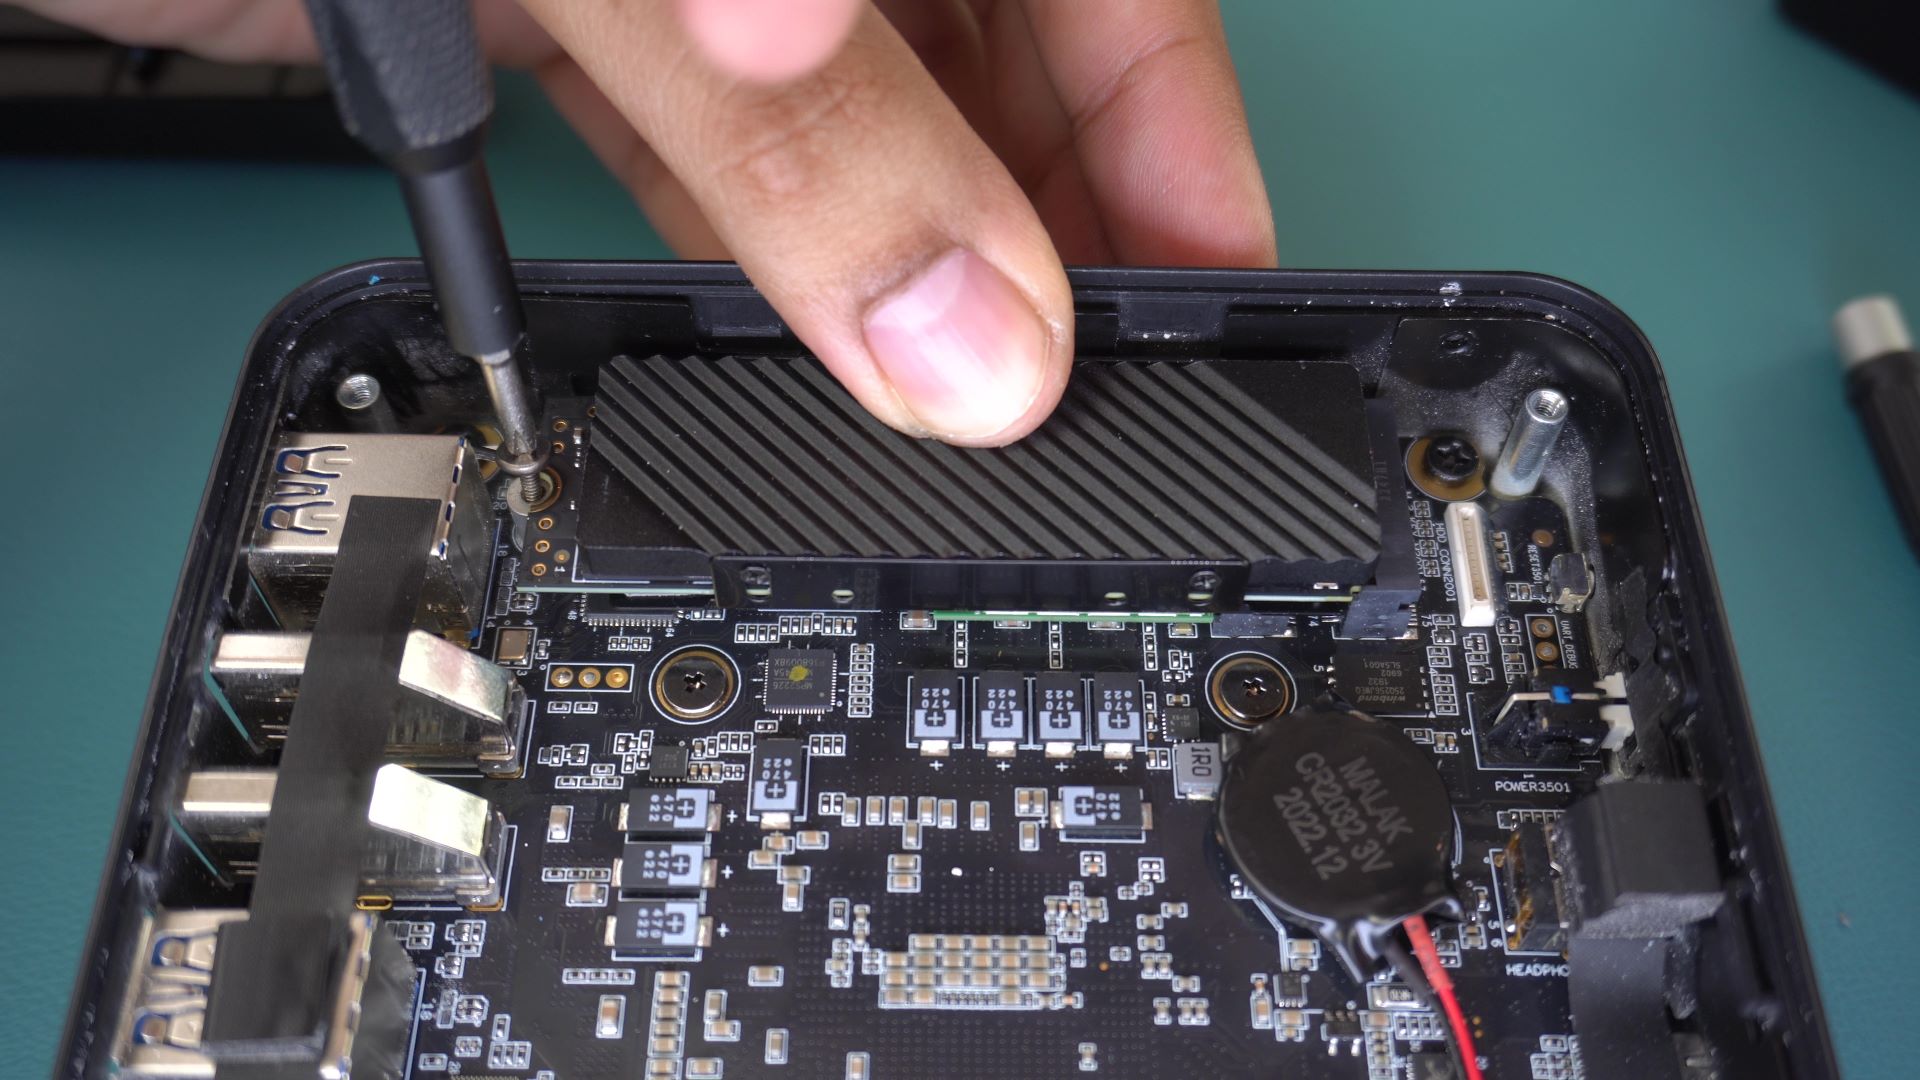
To remove the SSD, first, unscrew the screw at the top holding the device down. This will release the SSD and you can gently pull it out, revealing the WiFi Card.
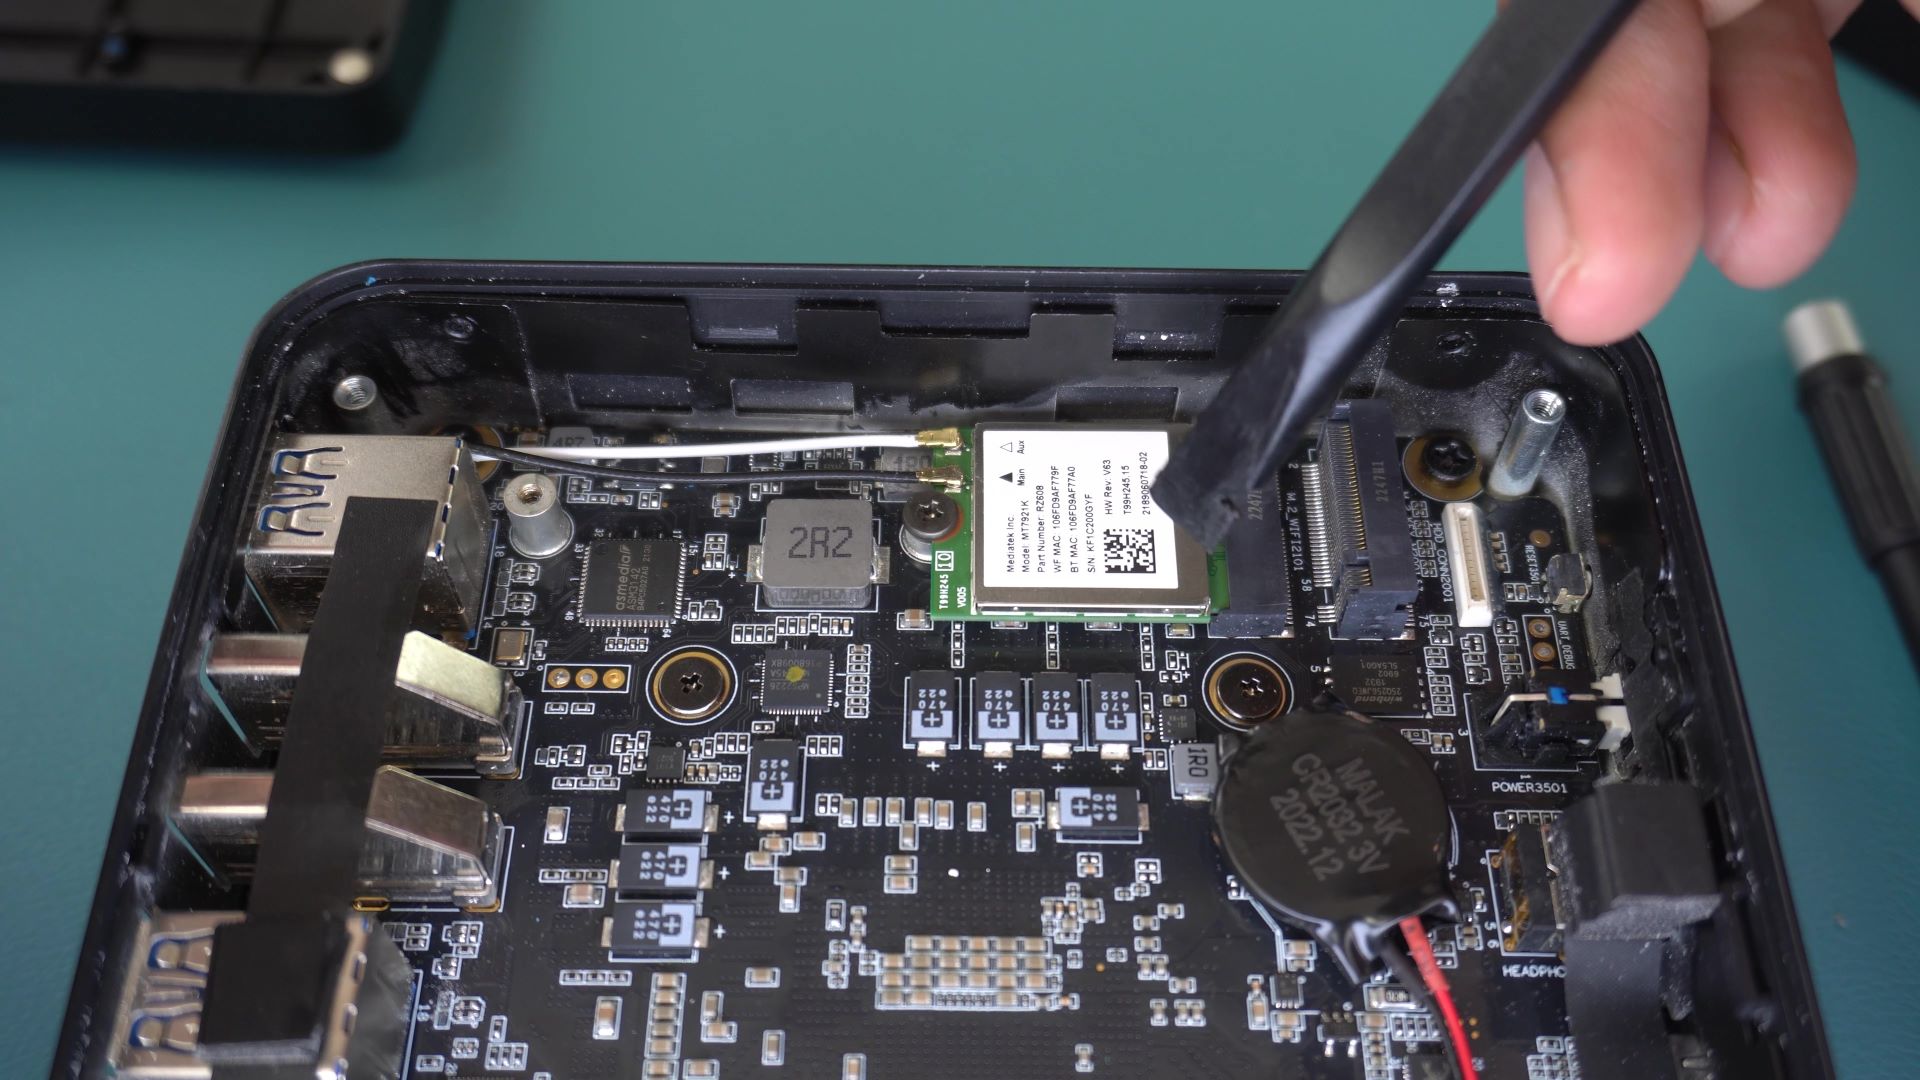
The WiFi card can be easily recognised by the two antennae cables connecting to it.
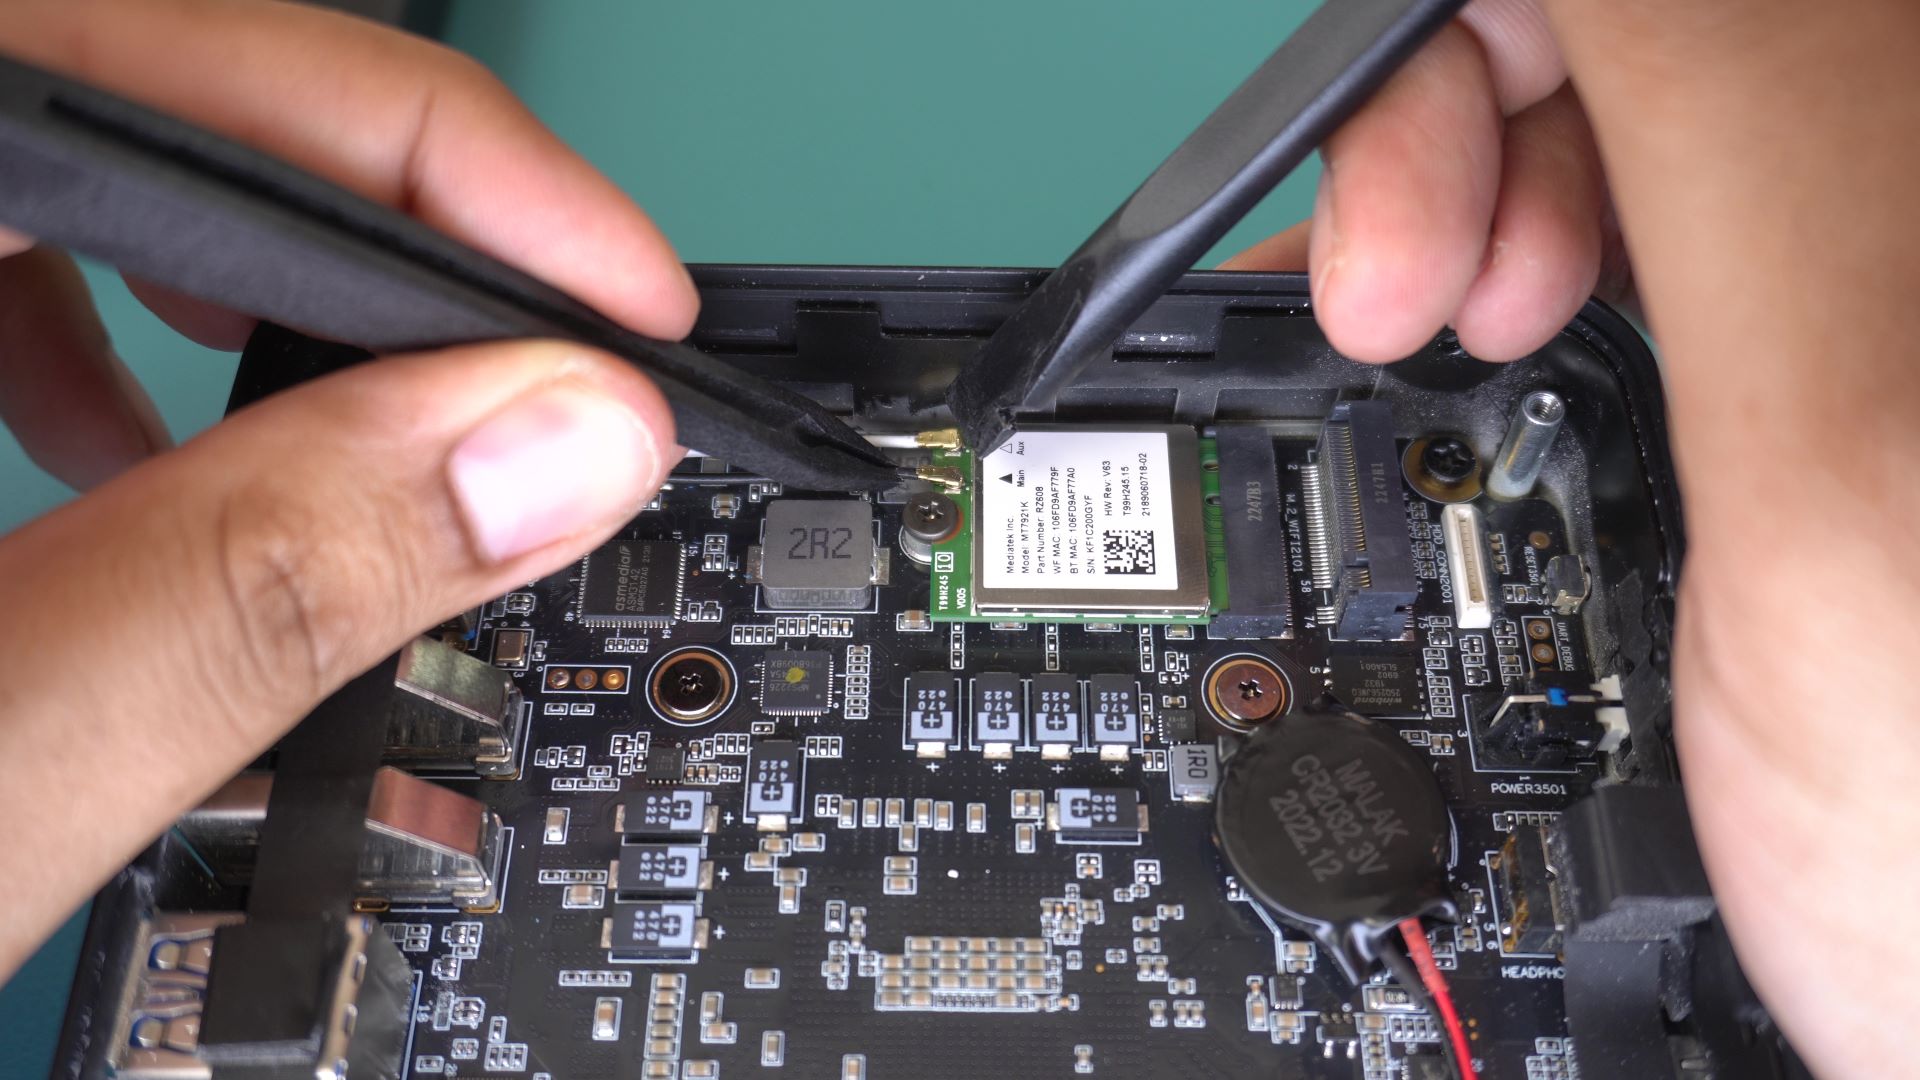
Carefully remove the two cables and remove the screw holding the chip in place.
Once that is done you can remove the WiFi card and replace it with your new one. To install the card, slot it into the motherboard ensuring that the pins are aligned. Hold it down as you screw it in.
Now you need to put the antennae cables back in. This is the trickiest part of the replacement. I would recommend using something like a pair of tweezers to hold them and gently coax them in. These cables can be quite fragile so it’s important to be gentle with them. Good luck.
Once the cables are connected and the WiFi card is screwed in you can replace the SSD by following the steps to remove it in reverse. At an angle, gently slot it into the M.2 slot. Line up the pins with the layout on the motherboard. One side has fewer than the other so ensure that the SSD is oriented the right way.
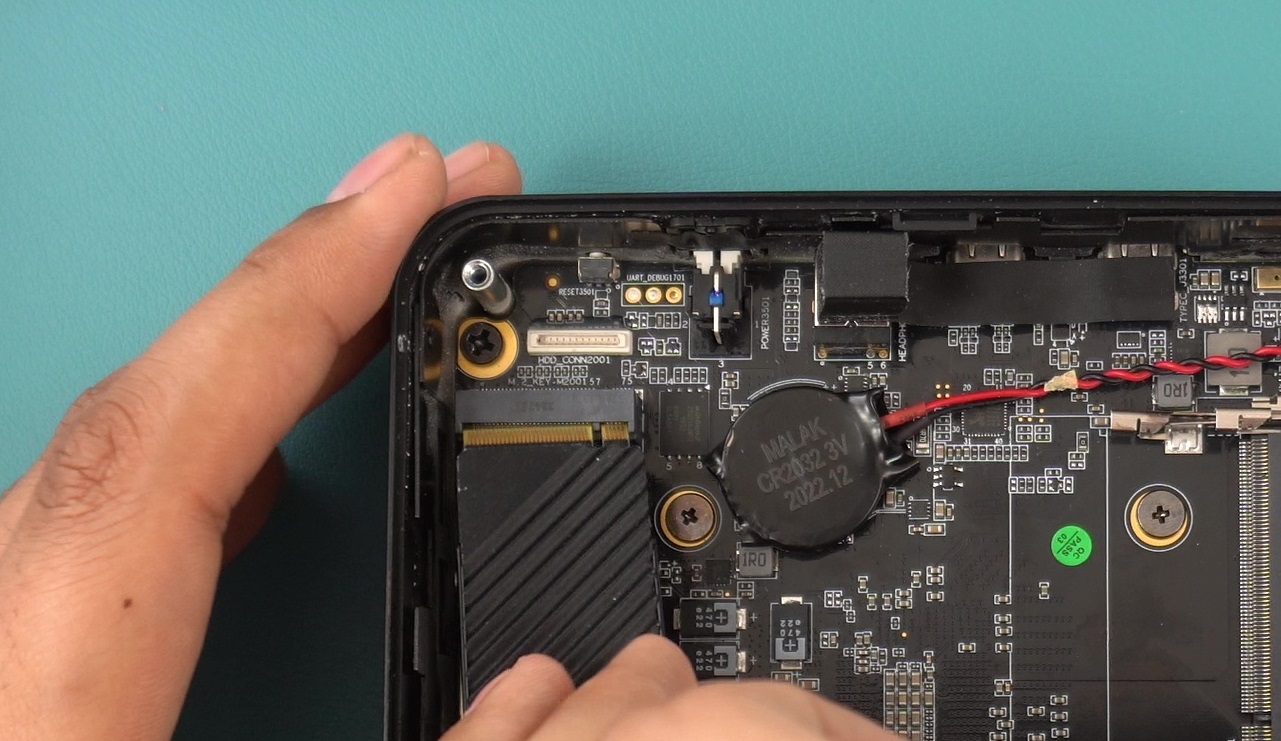
Using the same screw it has before hold it down and secure it to the motherboard.
Once the SSD is reattached you can close up your computer and screw the cover back on. Congratulations you have just replaced your WiFi card. Go forth and enjoy the wonder of the internet, wireless.
Follow along for new tutorials and guides on our Knowledge Base here!
Questions & answers