You can learn more and buy the RG350 at https://droix.net/collections/classic-gaming-handheld/products/rg350-gaming-handheld
You will need
- Small Phillips screwdriver
- Plastic spudger, or plastic card
- Latest custom firmware – You can find the latest on our forums at https://www.droidboxforums.com/forums/rg-350-retro-games-handheld.175/.
- Diskgenius – You can download the free version at https://www.diskgenius.com/.
- Win32 Diskimager (or Etcher) – You can download from https://sourceforge.net/projects/win32diskimager/.
NOTE: Custom firmwares are installed at your own risk and void your warranty as they require the device to be opened. They should not break your device but software could be unfinished, unoptimised or not work at all. DroiX provide no official support for custom firmwares.
Opening the RG350
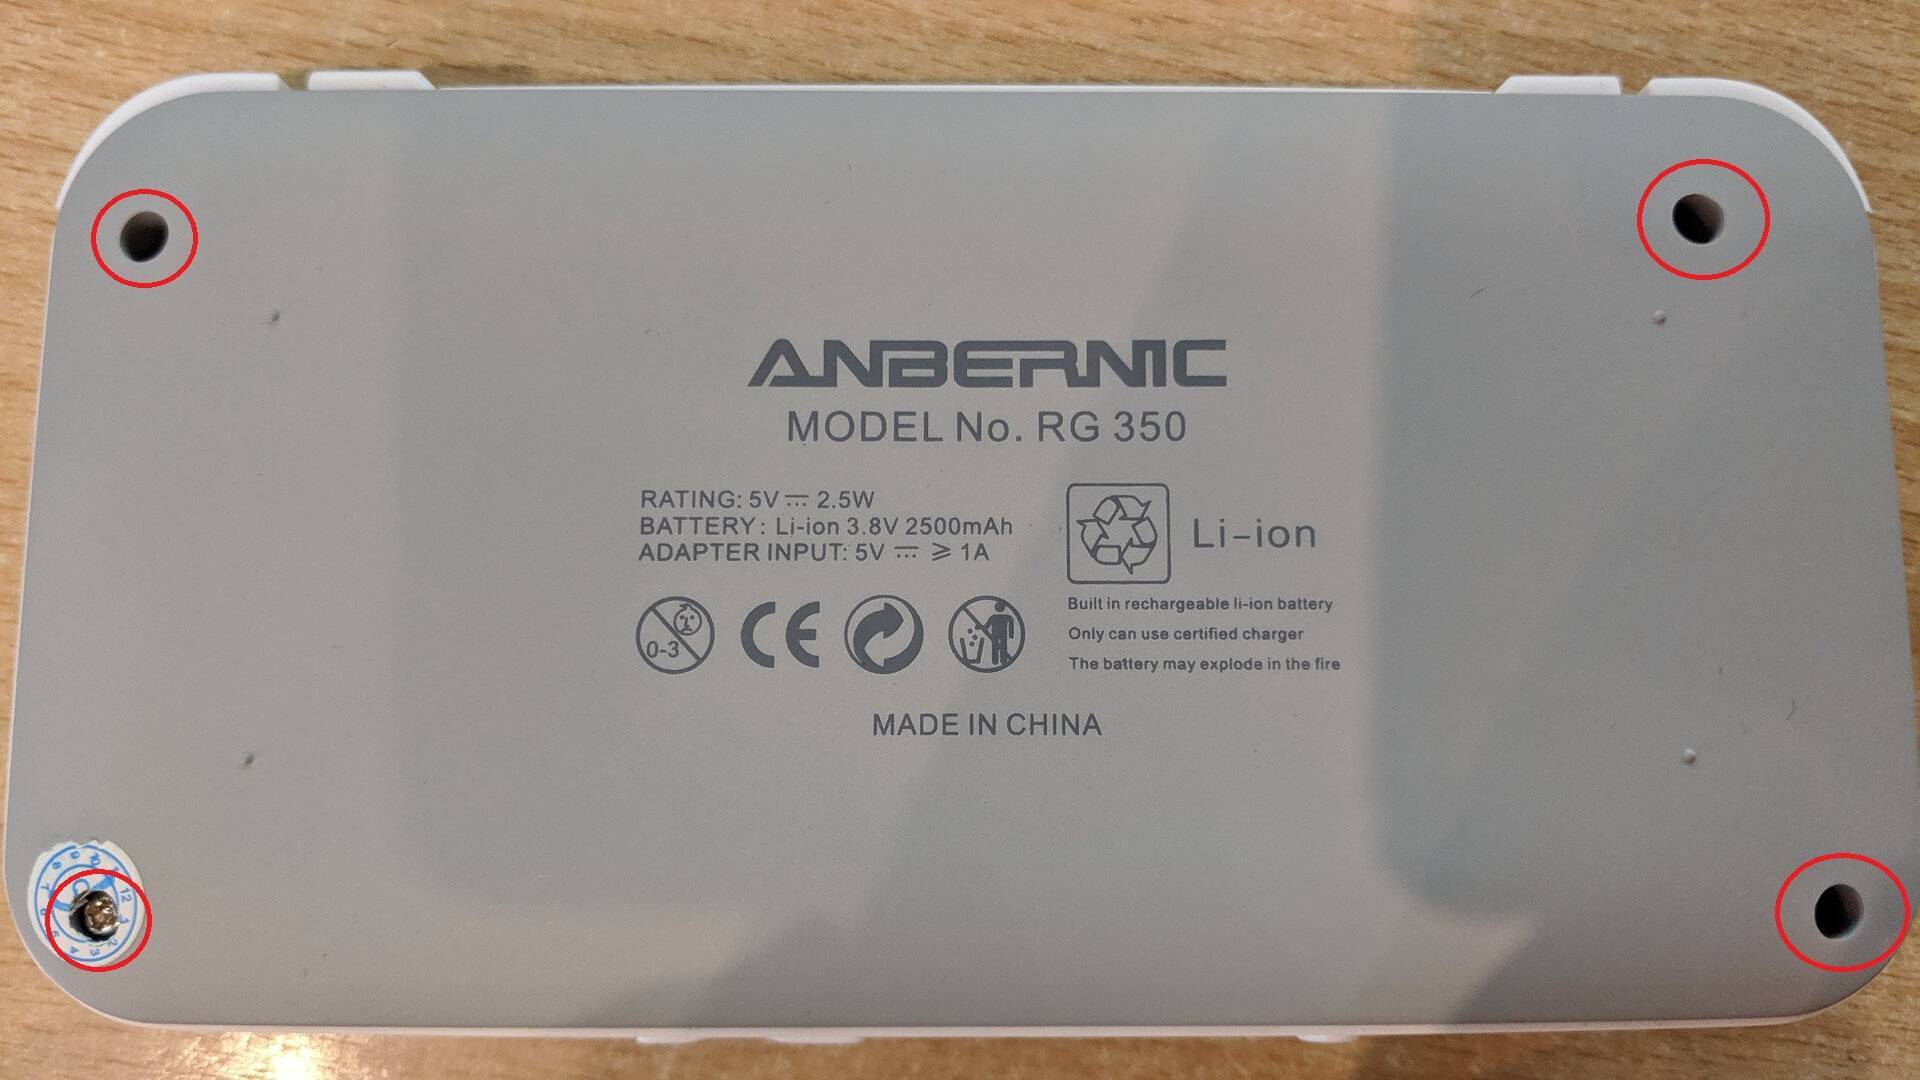
You will need to install the custom firmware on the internal storage Micro SD Card. On the back of the device are four screws to remove, if there is a sticker you can remove or break it with the screwdriver.
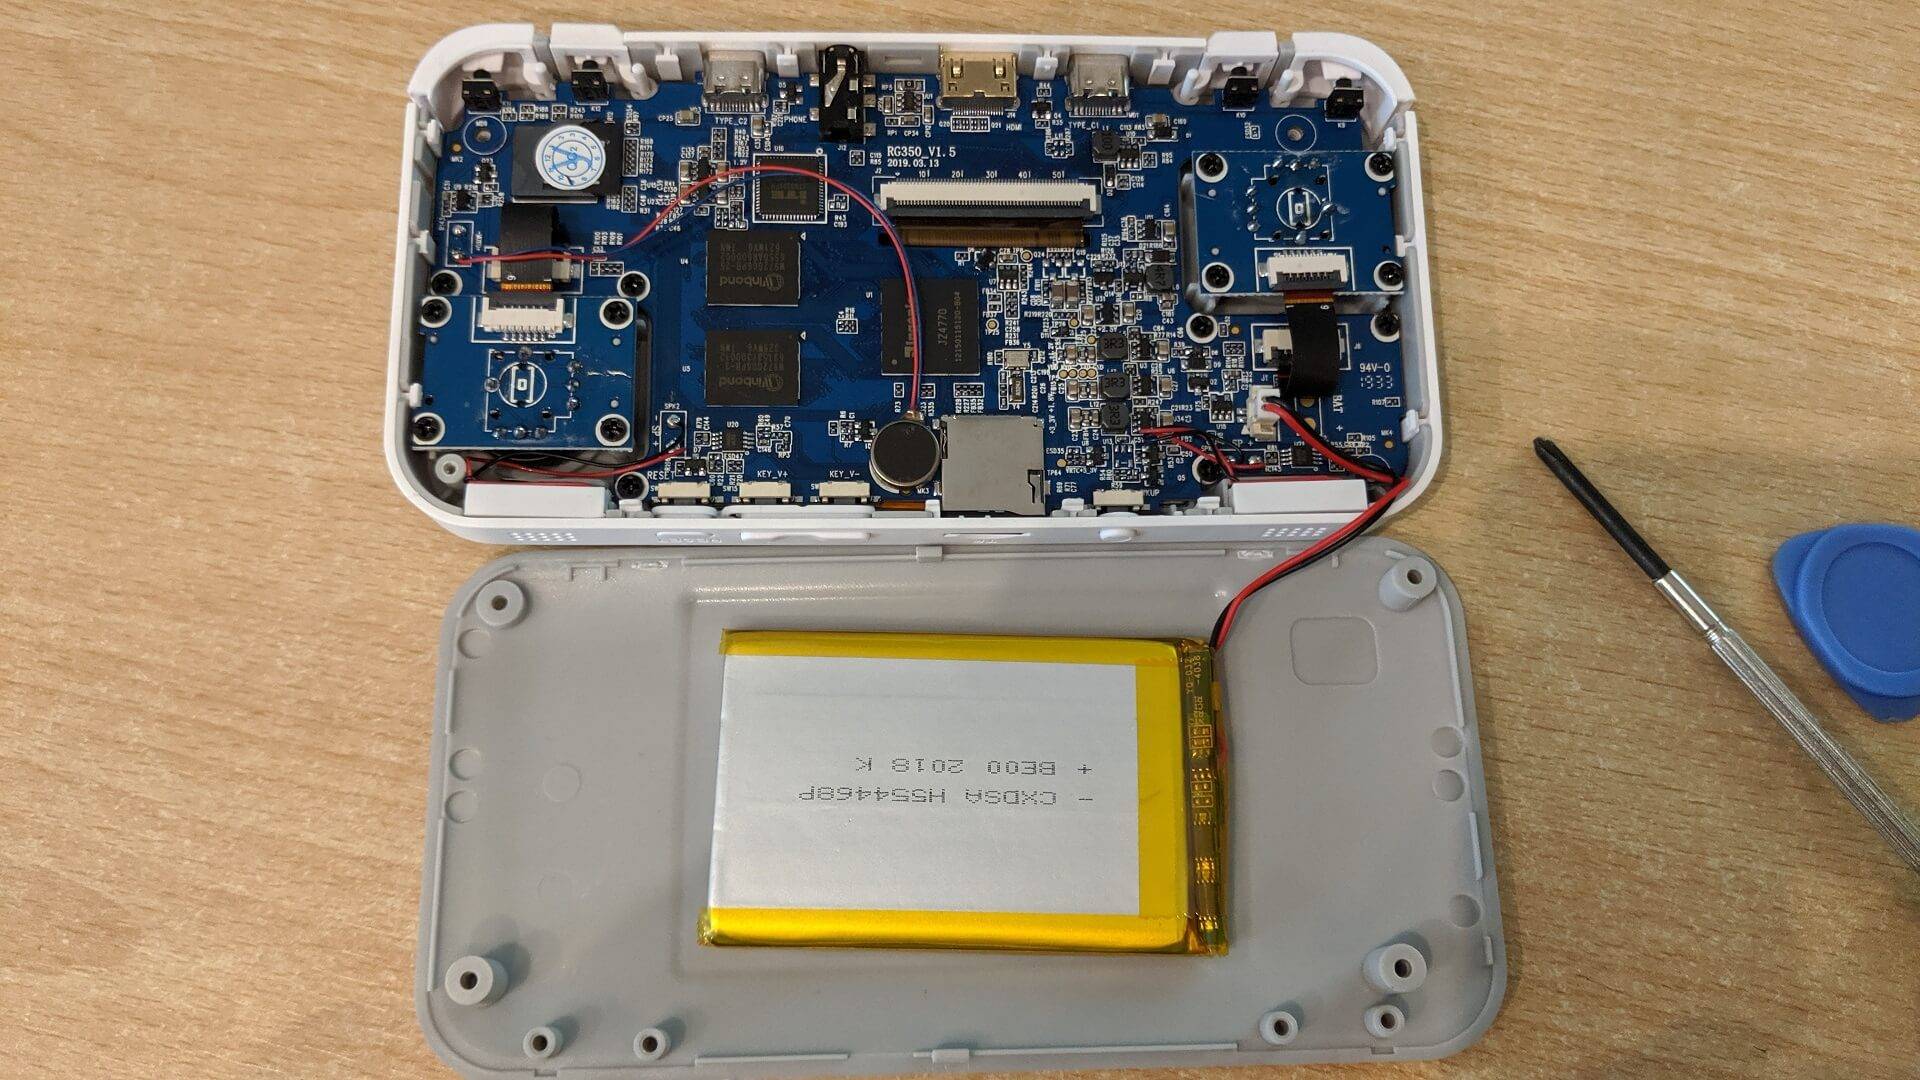
Using a spudger or plastic card, gently work around the case to unclip it. You can now lift the case, starting from the top to the bottom. There is a battery wire attached to the bottom of the case so removing it in this direction will reduce the chance of breaking the wire.
The MicroSD Card is located in the top left area of the device.
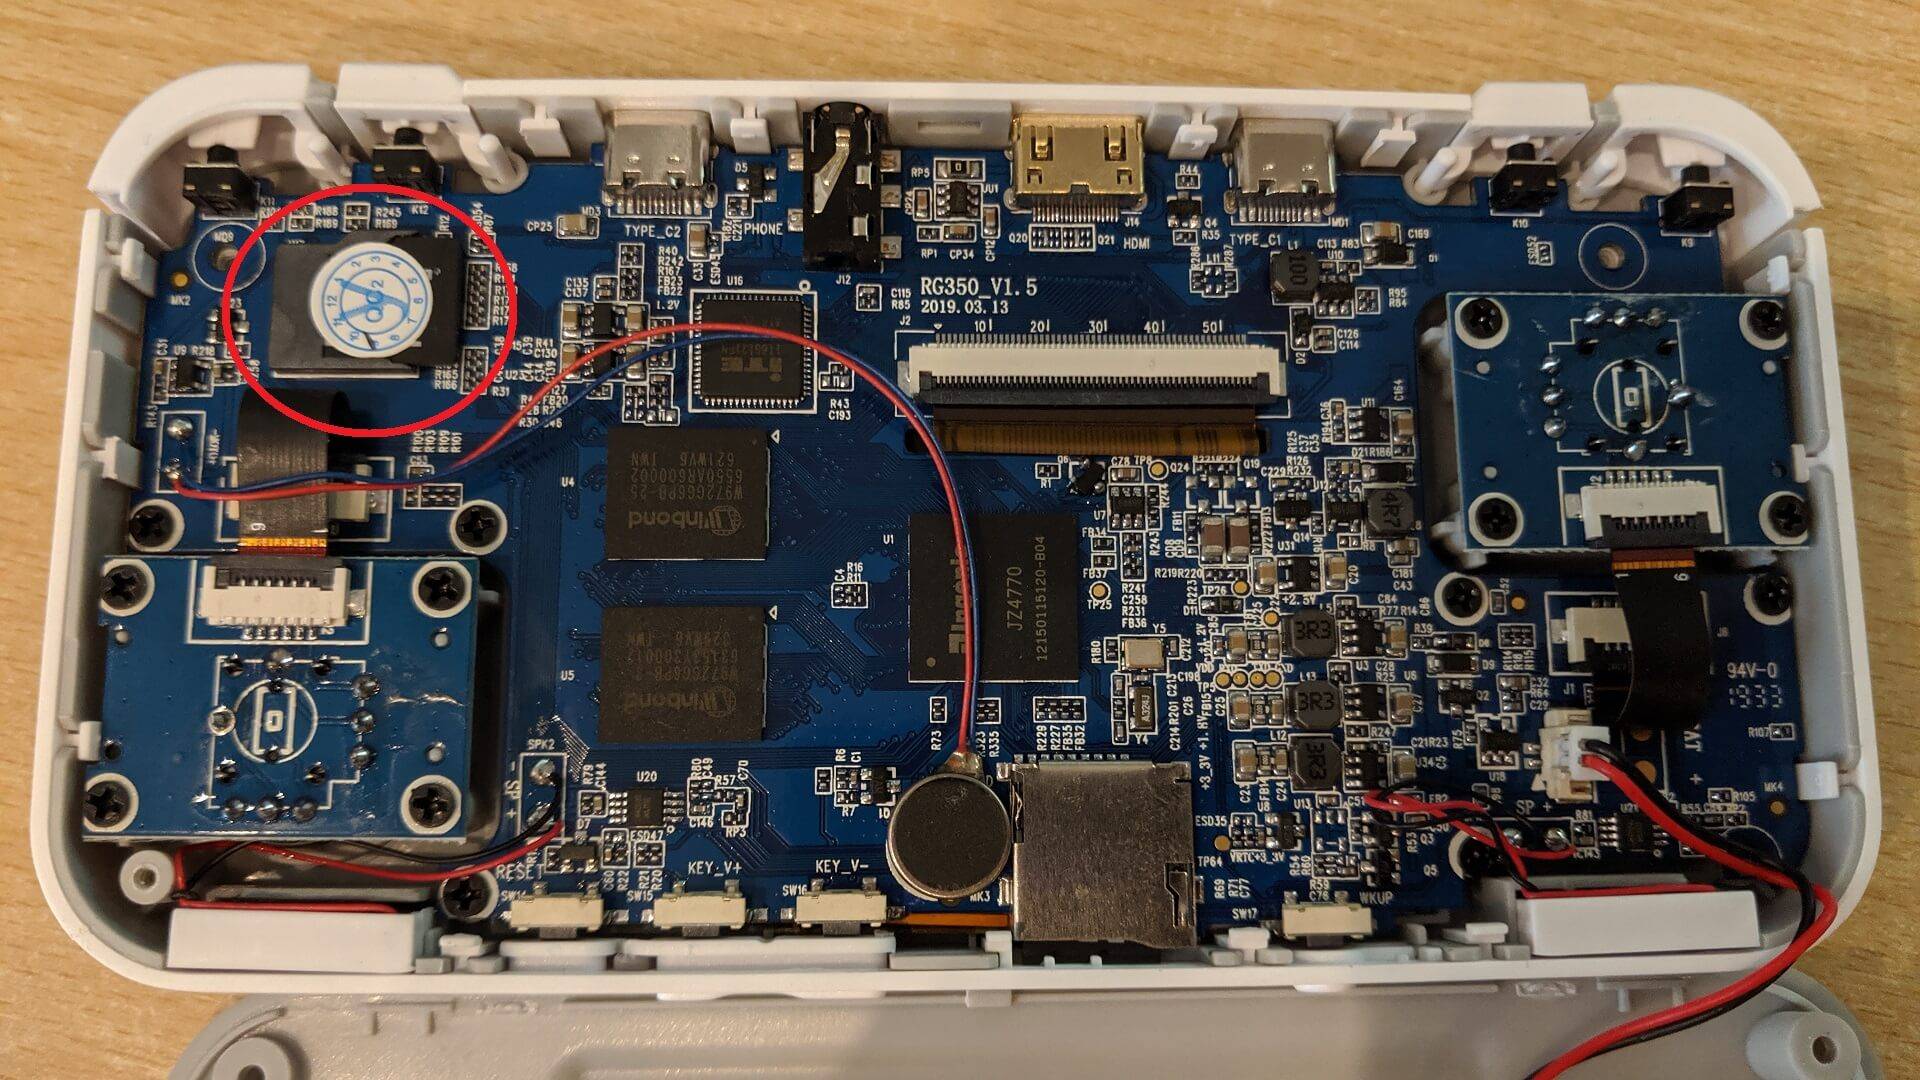
There may be a sticker which you can peel off or break to remove the internal RG350 Micro SD Card. Remove the MicroSD Card.
Preparing the RG350 Micro SD Card
Insert the MicroSD Card into your PC and load the Diskgenius program. Locate your MicroSD Card in the menu and choose Delete All Partitions.
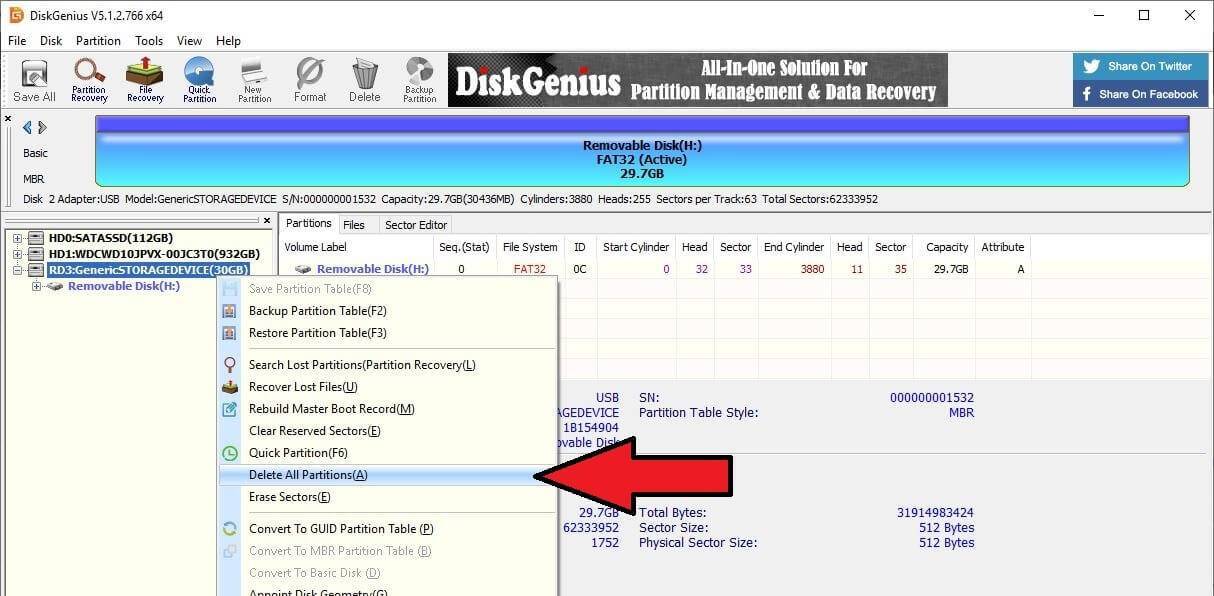
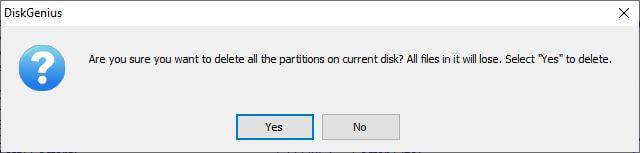
Be 100% sure have chosen the right drive otherwise you may accidentally delete your PC hard drive for example. If you are 100% sure, click Yes.
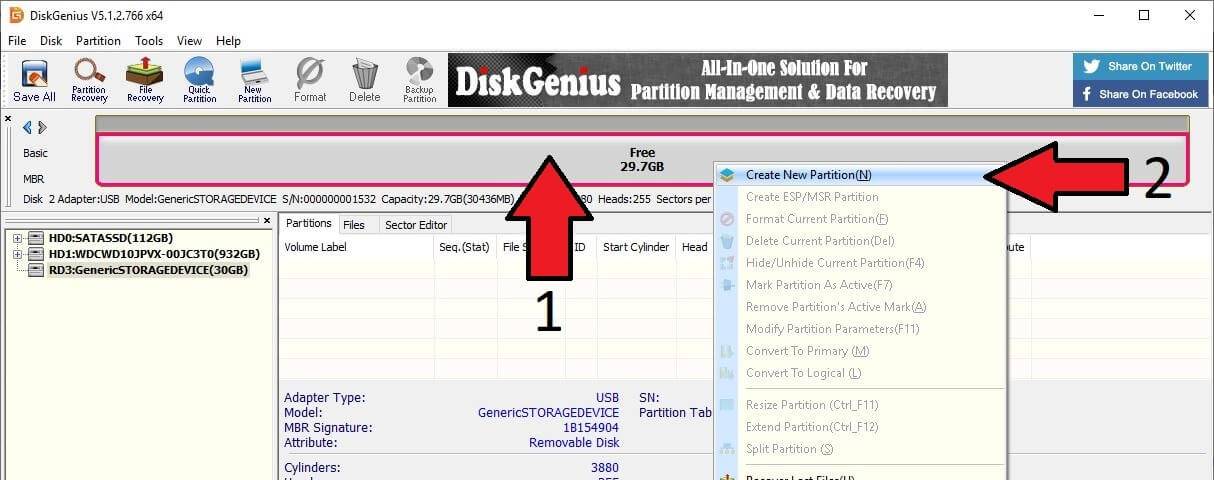
The MicroSD Card area shown in Fig. 1 below will now show as Free with the available space below it. Right Click on this area and choose Create New Partition as shown in Fig. 2.
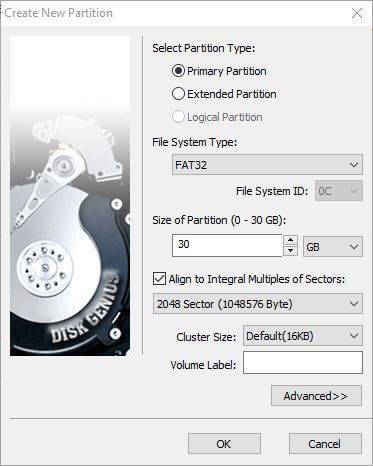
Confirm that the Partition Type is Primary Partition, File System type is FAT32 and that it is using the full capacity of storage. Once confirmed, click OK.
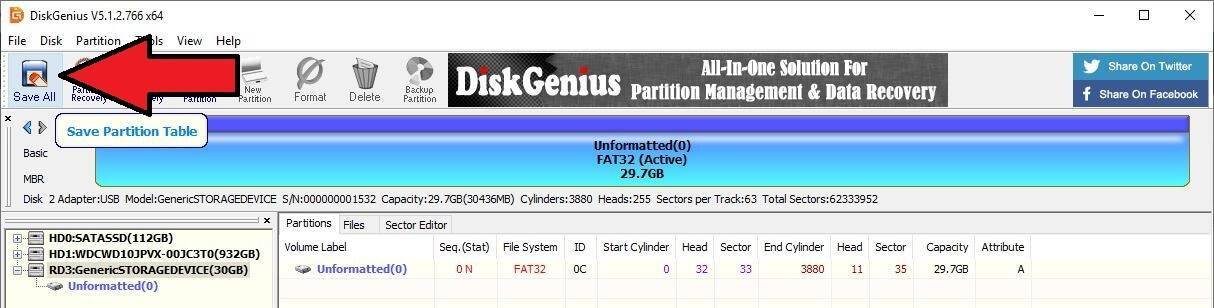
Choose the Save All option in the top left corner of the software.
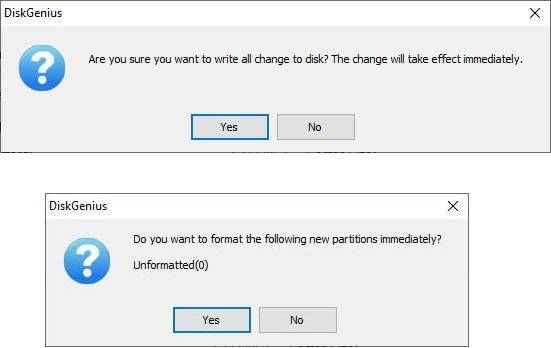
You will receive a first confirmation, followed by a second confirmation. Please ensure you have selected the right MicroSD Card and click on Yes for both to begin.
The Micro SD Card will now be formatted, once ready the main software will show the device as FAT32 formatted and Active. You can now close the software, and remove and reinsert the MicroSD Card so Windows can recognise it after the changes you have just made.
Writing the RG350 Custom Firmware
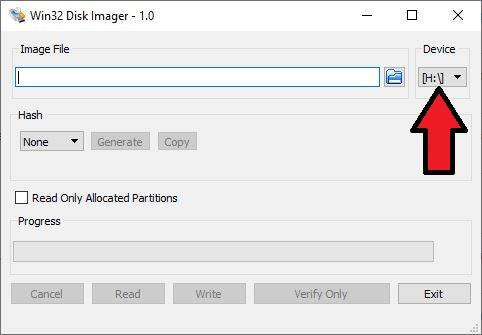
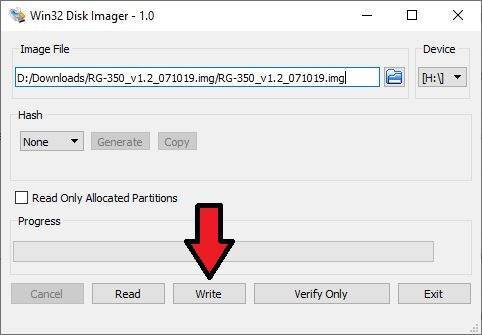
Open Win32DiskImager. Double check to confirm that the drive shown is the correct drive for your MicroSD card. If it is not, click on the drive letter from the dropdown menu and choose the correct one.
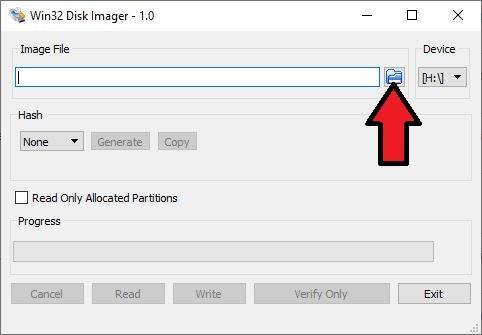
Click on the blue folder icon
Locate the RG350 custom firmware .img file on your PC
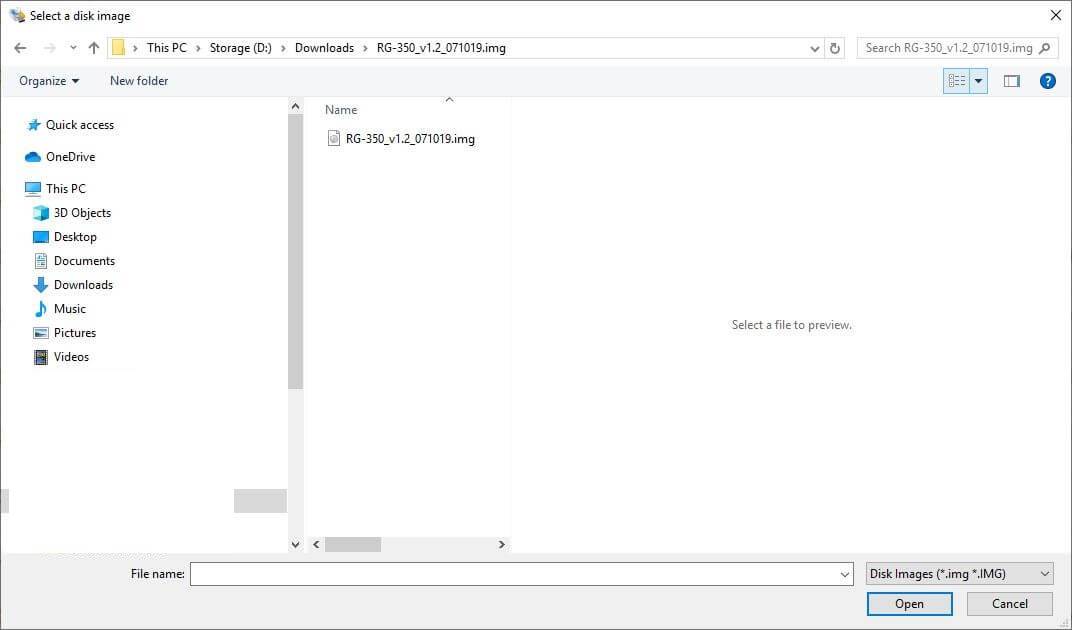
Once you have located it, select it and then return to the main screen. Click on the Write icon to continue.
A final confirmation will show, if you are 100% sure it is the correct drive letter for the MicroSD Card then click Yes to begin.
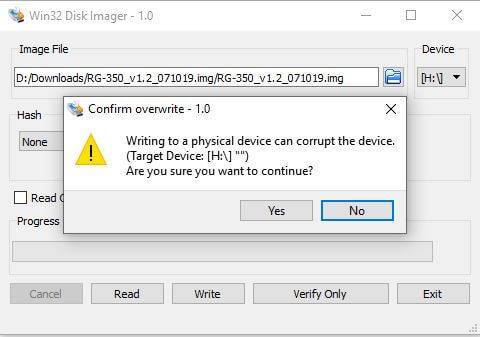
The card will now write the RG350 custom firmware image you chose to your MicroSD Card. Once the process is completed, you can close the software.
Resizing the Micro SD Card
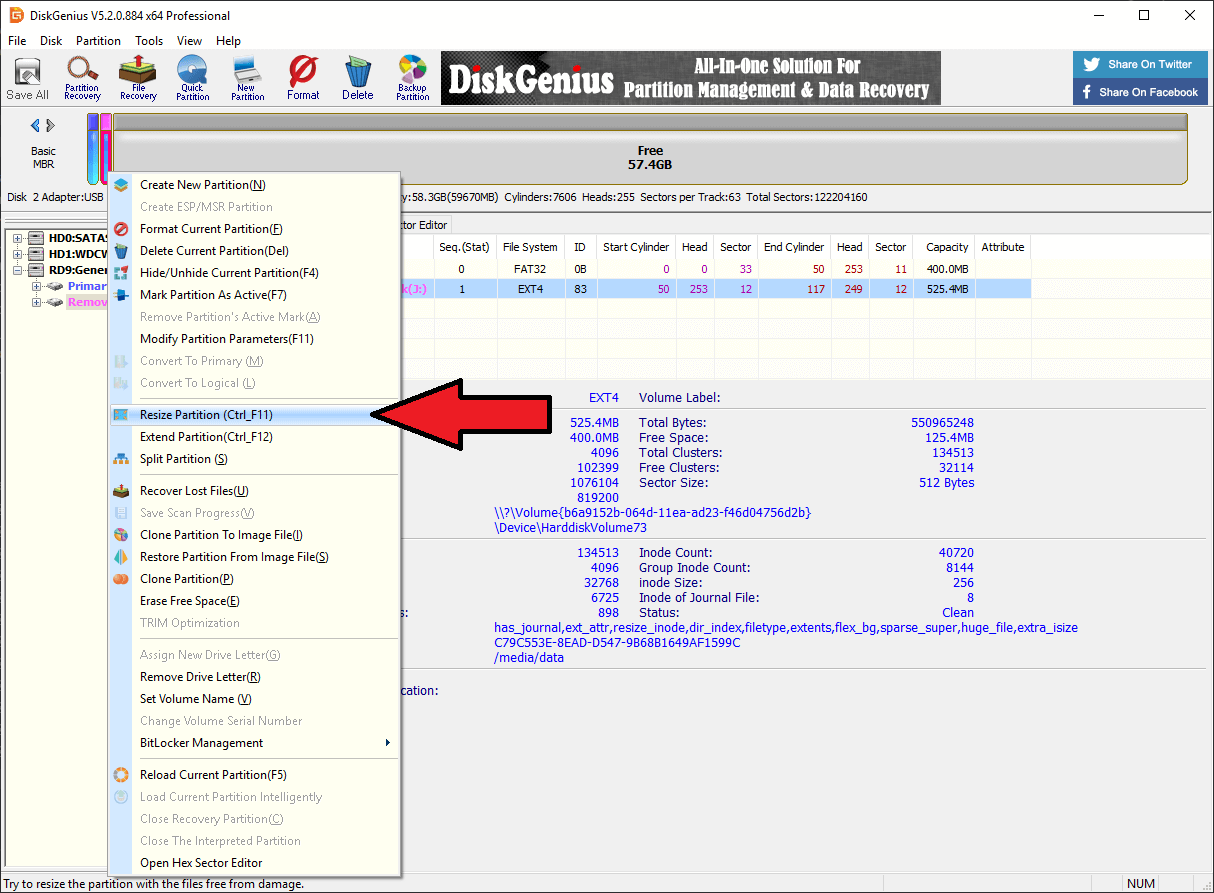
Load Diskgenius and highlight the drive. Right click on it and choose Resize
A new window will appear. Move your cursor to the space between the used EXT4 partition and unallocated space, it will turn into a slider cursor.
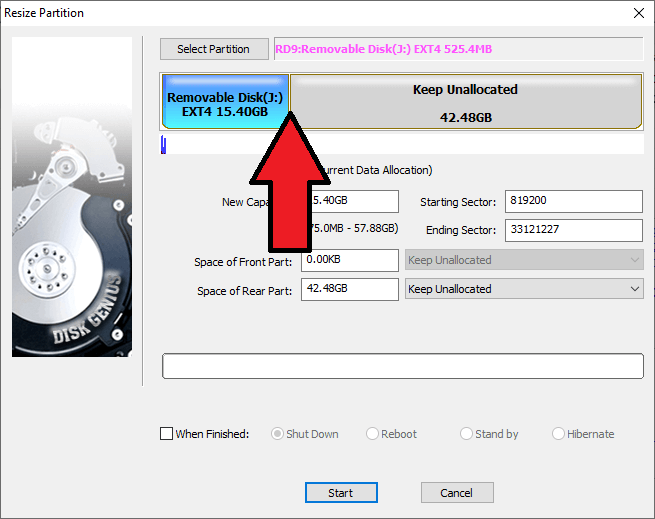
Click and move the slider all the way to the right to allocate the free space to the EXT4 partition
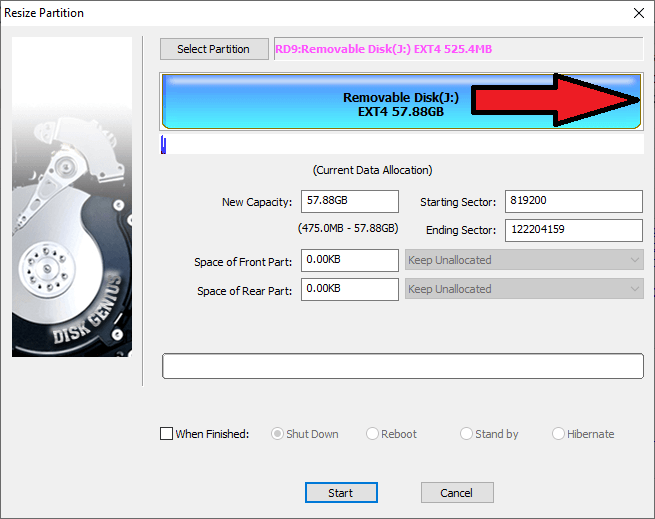
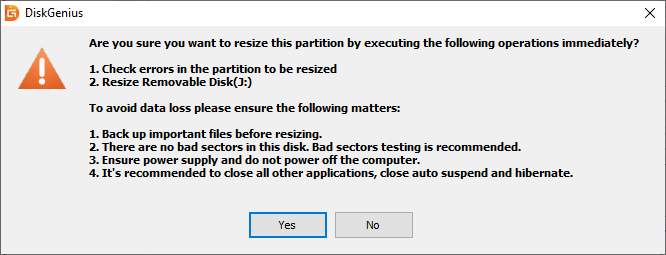
Click on Start and then Yes to confirm.
The free space will now start to allocate to the EXT4 partition. This may take some time to complete depending on the size of the Micro SD Card.
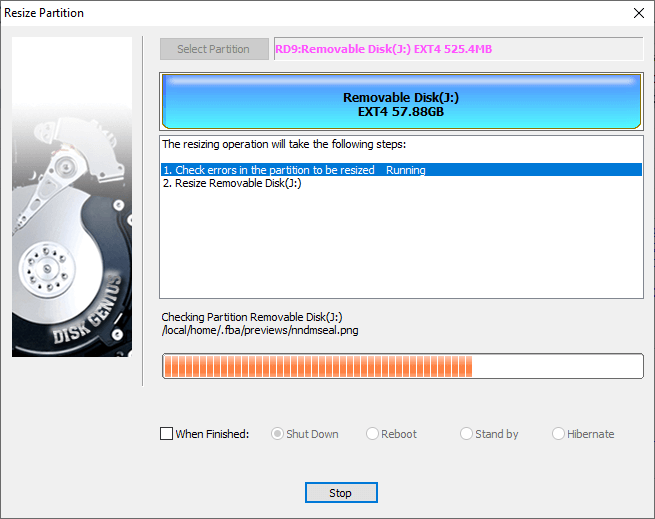
Once it is complete your Micro SD Card is now ready to be used.
Putting the RG350 back together
You can now eject the Micro SD card from your PC and reinsert it back into the RG350.
Gently place the back cover onto the RG350. You can push around the edges to clip it back into place.
You can now screw in the four screws into the case.
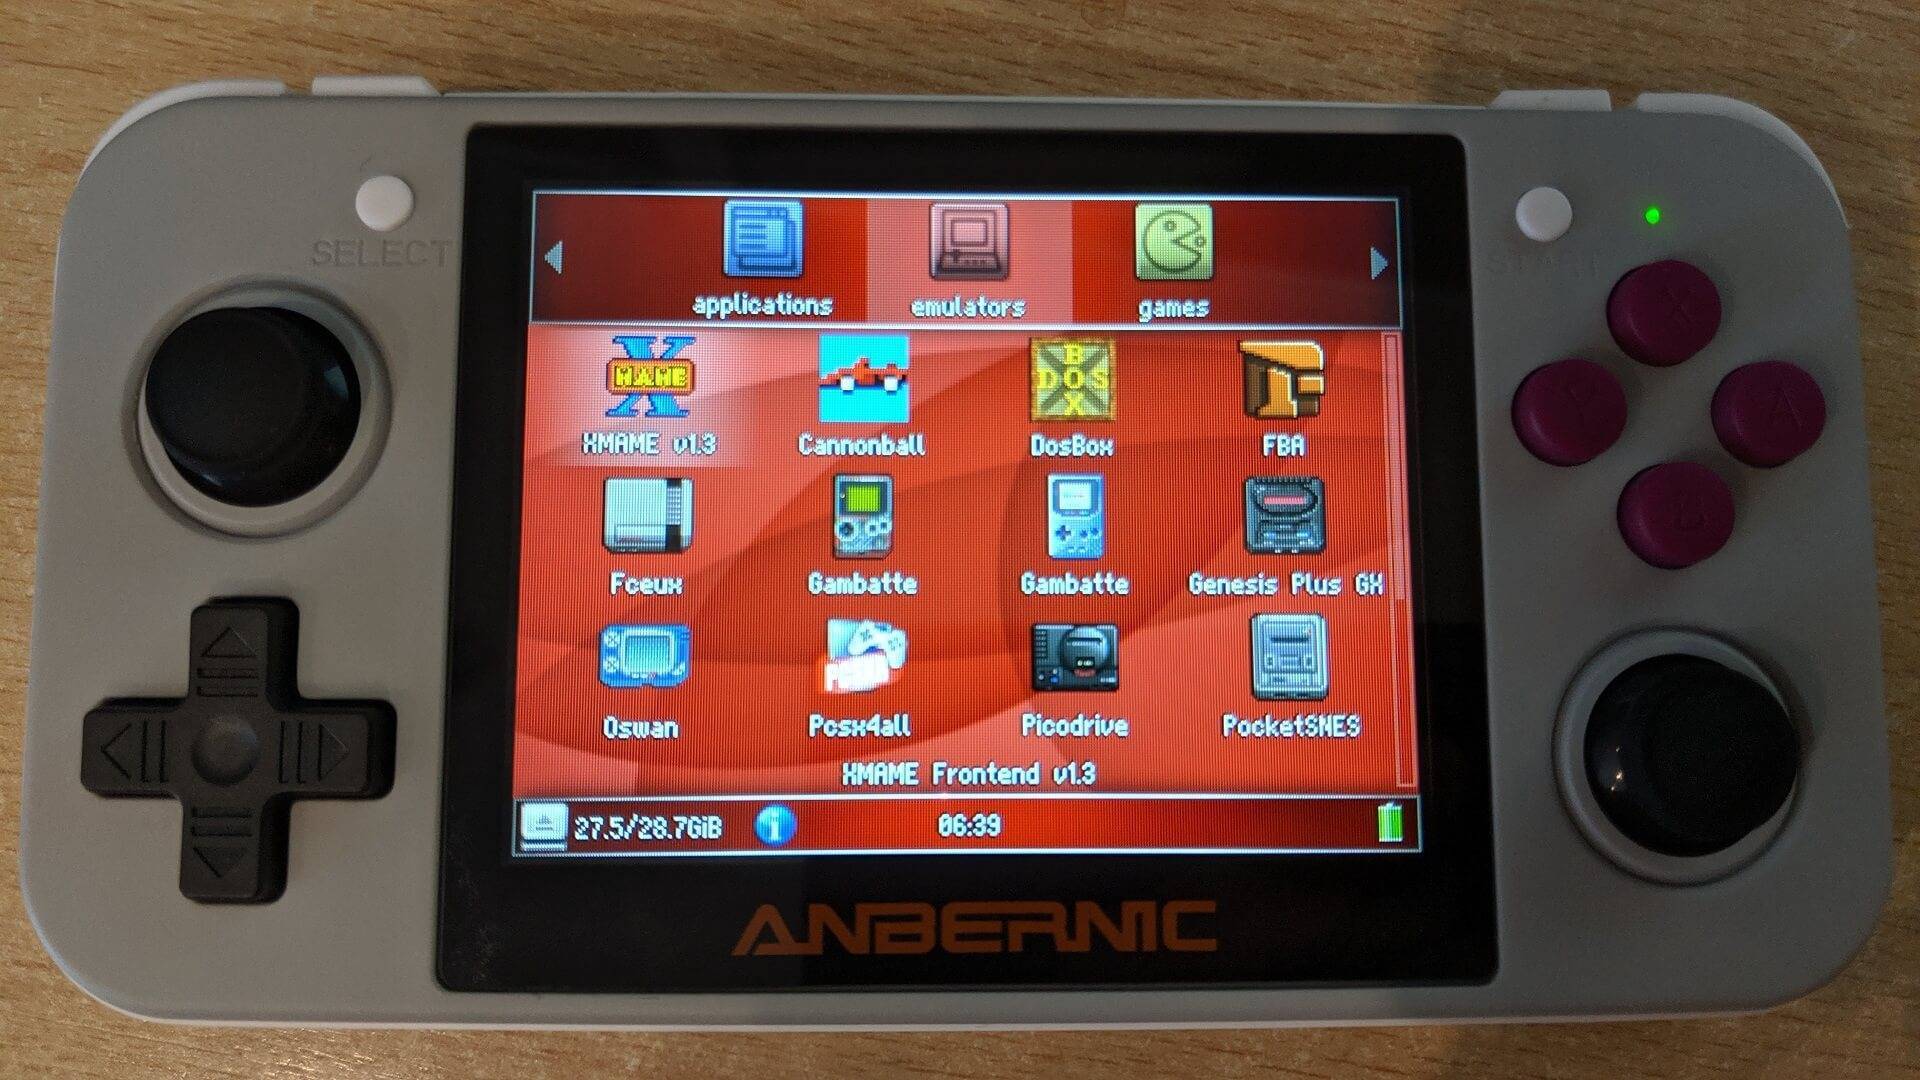
Your RG350 is now ready to go.
Questions & answers