We’ll break this post down into two sections; first we will cover updating firmware via the Update and Backup application from within Android, then we’ll go over updating your firmware using Android’s Recovery menu.
How to update firmware using Update and Backup application (in Android)
Before continuing, please copy the downloaded T8SPlusHDD-ota-XXXXXXXX.zip file (the Xs shown there will be replaced by numbers) to an SD card.
Make sure the SD card has already been properly prepared using a an SD Card formatter (you can get one from here – https://www.sdcard.org/downloads/formatter_4/ ). Insert the SD card into your DroiX®.
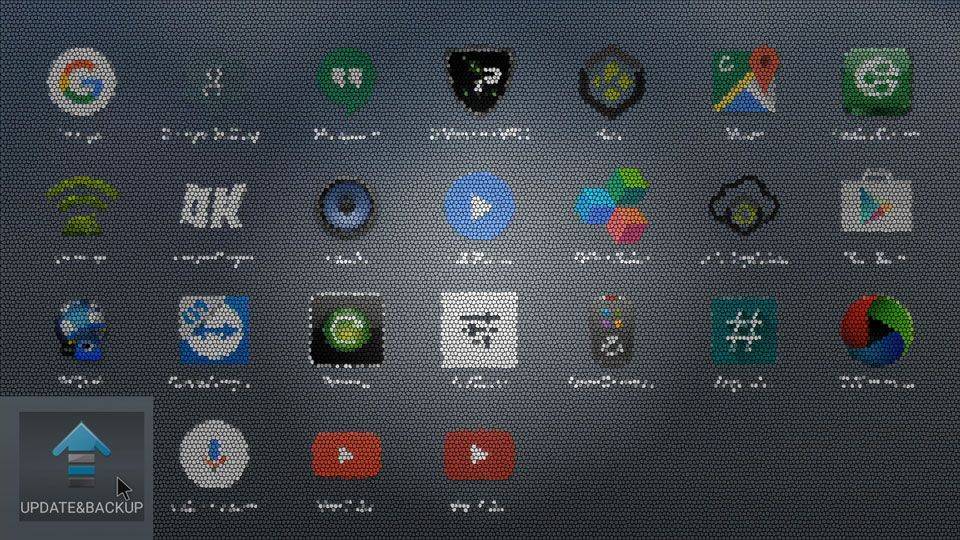
Open the Update & Backup application on your DroiX® (you can find it by clicking the circle with six dots on your homescreen, then scrolling towards the bottom of the list).
Click the “Select” button.

In the next window, click the T8SPlusHDD-ota-XXXXXXXX.zip file that you previously copied to your SD card:

If you would like a fresh installation then please tick the “Wipe Data” & “Wipe Media” options, then press “Update”

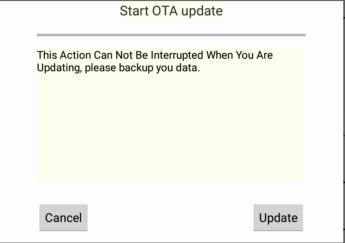
Press “Update” in the pop-up:
Your system will now reboot into Recovery mode.

If all goes well, you will get a message that the system is being updated:

Once the firmware has been put in place, the system will restart and boot into Android. Once this boot up has completed, remove the SD card, leave the device alone for 20 minutes and then turn the device off and on.
Updating firmware using the Recovery menu
Switch off your T8-S/T8-S Plus as normal. Insert the SD card you previously copied the firmware image onto.
Find the Restore button on the right side of your T8-S/T8-S Plus:
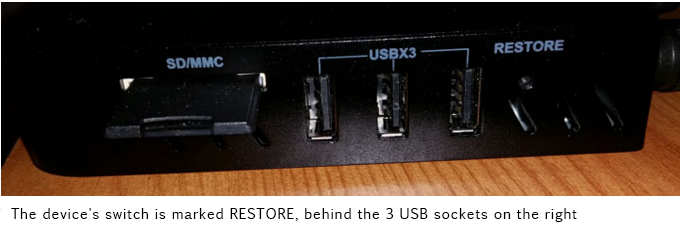
Press and hold the Restore button. You’ll need something sturdy, and thinner than most biro tips. I personally filed down a match stick (I prefer it to cocktail sticks as they are a bit more sturdy, but a paper clip should be fine). Whilst holding the Restore button down, turn the device on via the power button on the front of the case. After six seconds you can release the Restore button.
The Android Recovery menu should load (if not, turn off and repeat the procedure):

Select “Apply update FROM EXT” then “Update from sdcard” and you will be presented with a list of files on your SD card. Select the zip file you recently copied to your SD card and press OK.

The upgrade procedure will start:

Once completed, you’ll get a message about the script succeeding:

Now please switch off your device, and remove the SD card. Hold down the Recovery button again and turn on your device. Another six seconds and you can once again release the Recovery button.
You will see the same recovery menu again. This time please select “wipe data/factory reset” and confirm your selection by clicking the one “YES” option.

Once this process has completed, select “wipe cache partition”

Then select “start Android”.
Once the next boot up has completed, leave the device alone for 20 minutes and then turn the device off and on.
If you encounter any difficulties following this guide, please contact us via [email protected] . Include a link to this post, which method you attempted and exactly what was shown on screen that differed. Please also include your original order ID.
Questions & answers