Congratulations on purchasing a Mini PC from us at DroiX. We have prepared a getting started guide to get your mini PC up and running as soon as possible. We also cover a few additional steps such as updating Windows and drivers, testing your mini PC and more!
If you have any issues or questions about your mini PC
At DroiX we pride ourselves on our high level of before and after-sales customer service. If you have any questions or issues with any purchase from us, please do contact us. We are here and more than happy to answer any questions and get any issues resolved as soon as possible.
Setting up your Mini PC
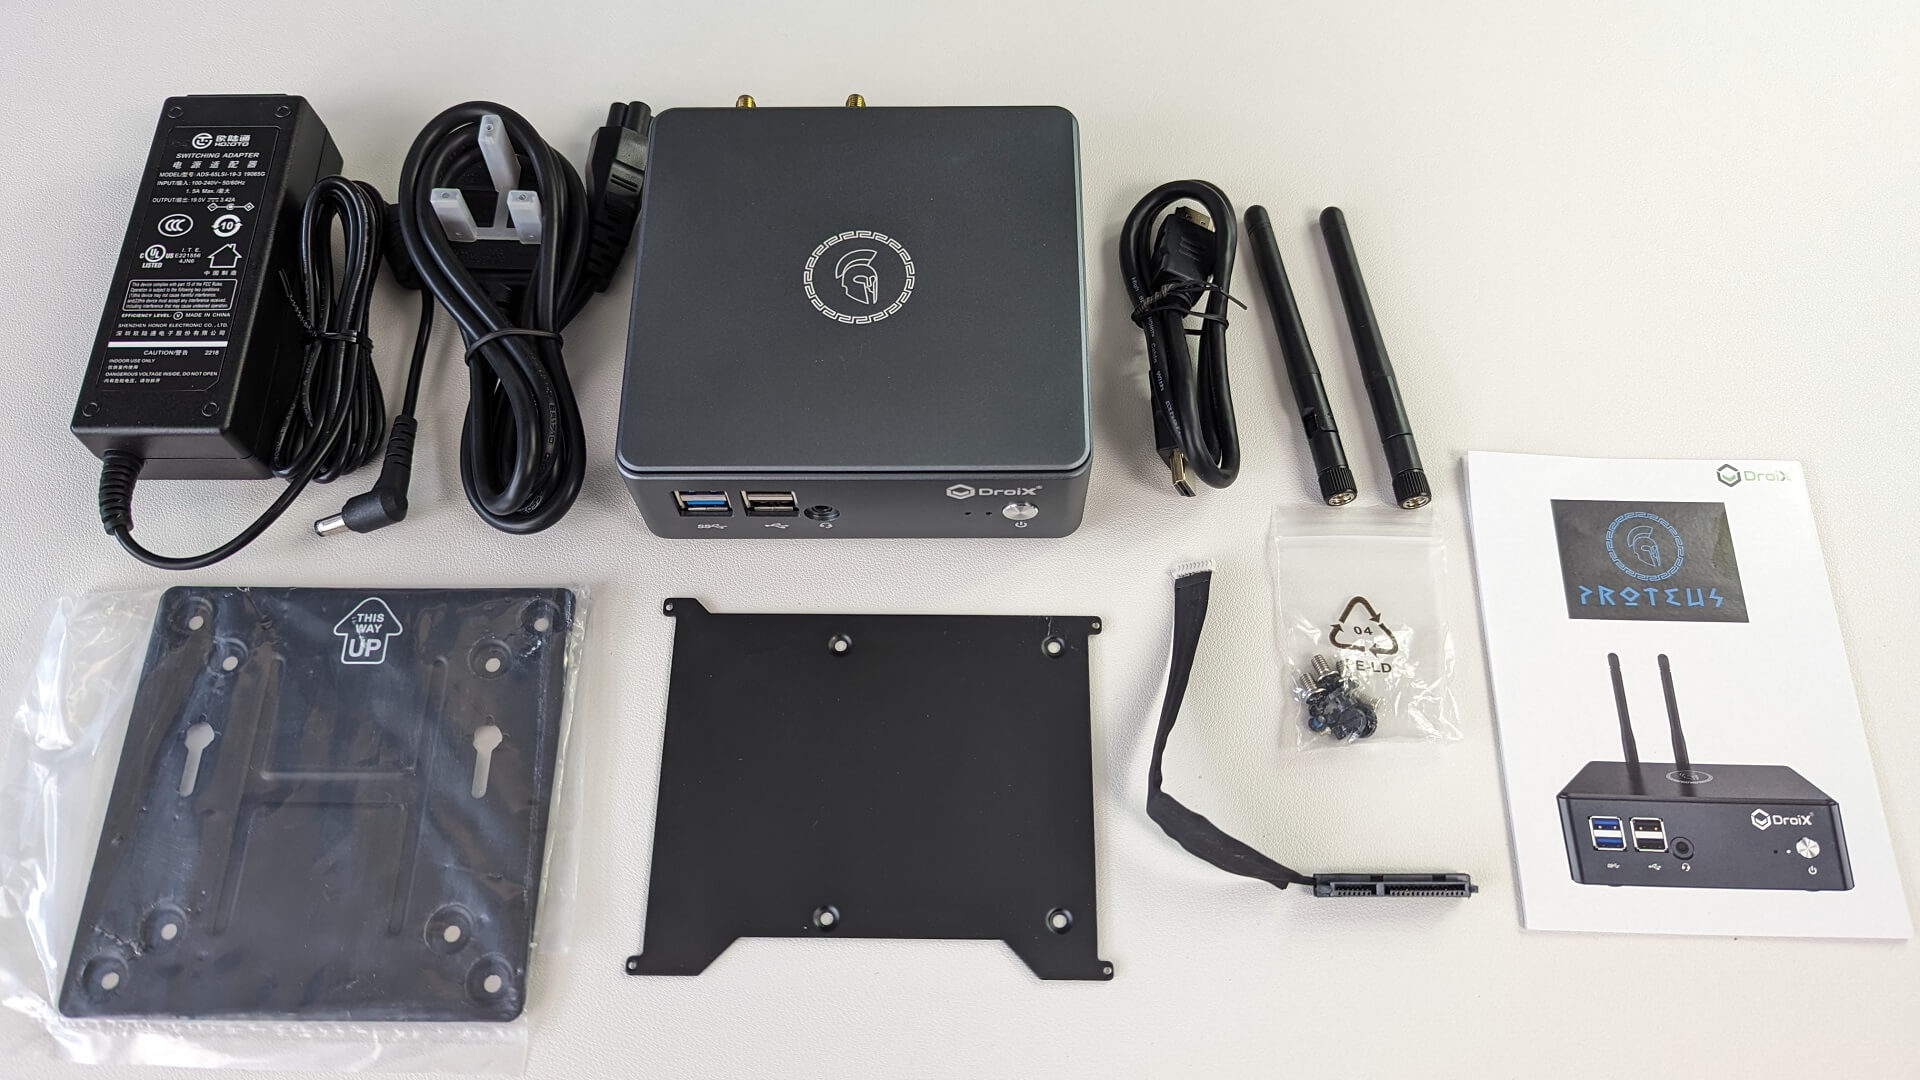
Your mini PC will come with a power supply, and depending on the model, some accessories such as a HDMI cable, TV mounting bracket, and cables.
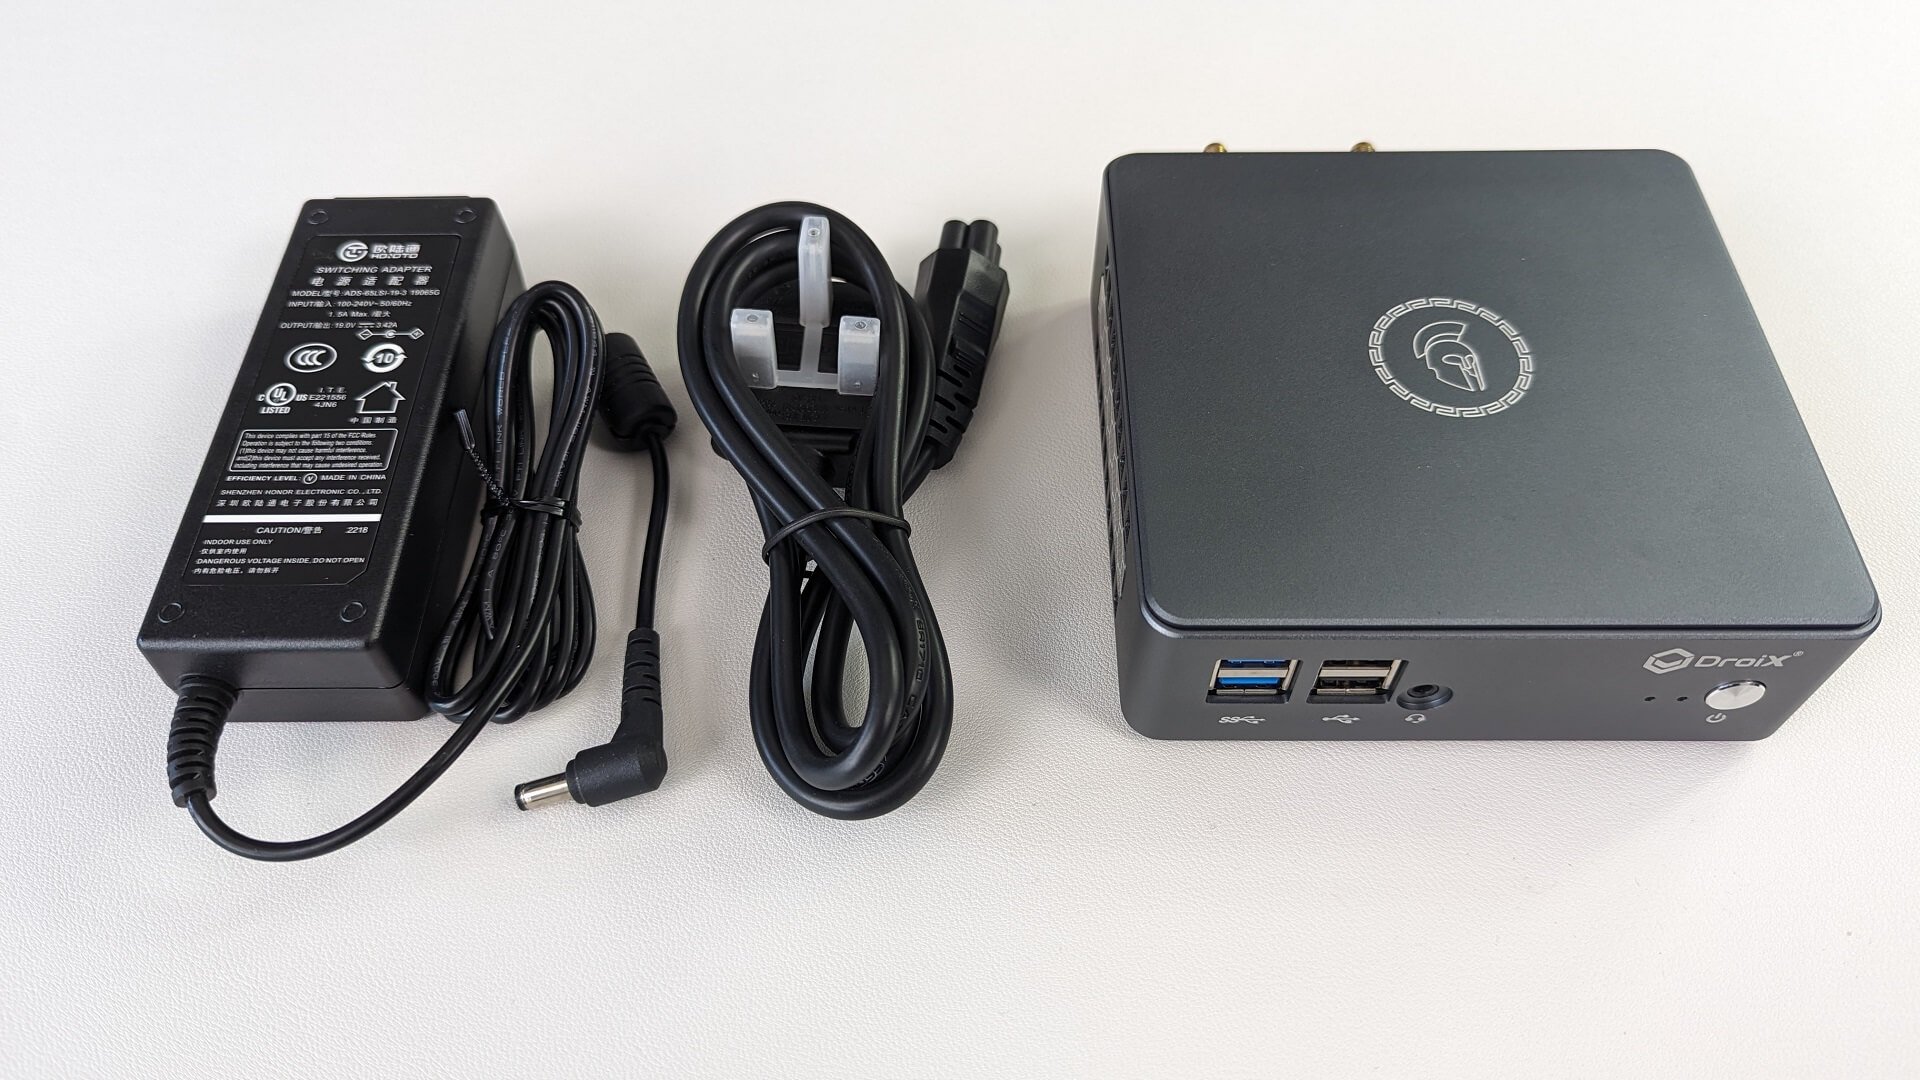
As mentioned this can vary between models, check the Box Contents section on our product listing for your mini PC to ensure everything is present with yours. If something is missing or you are not sure, please contact our customer service and we will be happy to assist.
Connect the power supply to a wall socket and the mini PC, the HDMI (and/or DisplayPort) to your display(s). Then any peripherals such as a keyboard & mouse to the USB ports on the mini PC. And you are ready to go! Simply switch on the mini PC and it will boot to the Windows welcome and setup screen.
This Windows setup varies a little depending on the version you have installed. You can follow the on-screen prompts. These can include entering your country, keyboard layout and user details. You can connect to the internet and automatically download the latest updates during the setup process.
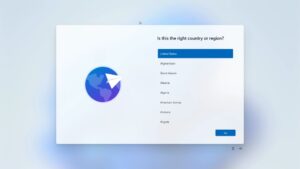
During the setup process, the mini PC may reboot once or twice. Once complete, you will be able to log into Windows.
Update Windows, Firmware & Drivers
The second thing you’ve got to do when first getting started with your mini PC is to ensure you’ve got the latest software, drivers and firmware. Not just for the latest features and performance but more importantly security updates. It’s super important to stay safe and be protected against the latest digital threats. Update your devices, people!
We’ve got an article describing how to update Windows and its drivers here and embedded below.
Stress Testing Your PC
Alright, your mini PC is working properly, and you’ve got the latest updates all installed and ready to go. We recommend first giving it a little stress test just to make sure there are no issues while the mini PC is working hard.
You can download benchmark software such as PCMark which performs various day-to-day tasks. These include working with demanding office documents, video conferencing, multimedia, image and video rendering and much more. We have a guide here and embedded below.
Upgrading RAM and storage
Depending on your mini PC model you may be able to upgrade the RAM and/or storage. This exact procedure does vary between devices but the process itself is similar.
Before buying new RAM or storage, please ensure that it is compatible with your mini PC. Refer to the user manual or our product listing for the specifications. If you are not sure, please contact us and we can confirm the specs.
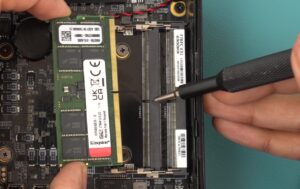
We have a guide here on how to upgrade the RAM and storage on a mini PC. It is also embedded below.
Reinstalling Windows
If for any reason you need to reinstall Windows such as after upgrading your storage, we have a guide here. It is also embedded below the steps to do this.
Connecting with the GPD G1 eGPU docking station (optional)
The GPD G1 eGPU docking station provides more USB ports as well as HDMI and DisplayPort to your monitor or TV. The main attraction is the built-in Radeon RX 7600M XT eGPU! It can run your games at higher FPS and visuals and with an external monitor at higher resolutions.
While many mini PCs do not currently have an OCuLink port, many do have a USB 4.0 port which you can use instead. Refer to your product manual or our product listings if it has a USB 4.0 port. Our Getting Started with the GPD G1 eGPU docking station guide, also embedded below, shows how to set up and use your mini PC with the GPD G1.
Accessories and Add-Ons
It’s incredible, right? Your new mini PC can do so much already, what more is there? There’s more. With additional accessories and add-ons available you can take your device to an even higher level, and keep it running for years to come.
GPD G1 eGPU docking station: The docking station offers all your usual USB, DisplayPort and HDMI ports expandability but the main highlight is the built-in graphics card. The GPD G1 has a high-performance Radeon RX 7600M XT eGPU capable of running the latest games at higher graphics settings and high resolutions on an external monitor. Read our full review of it here.
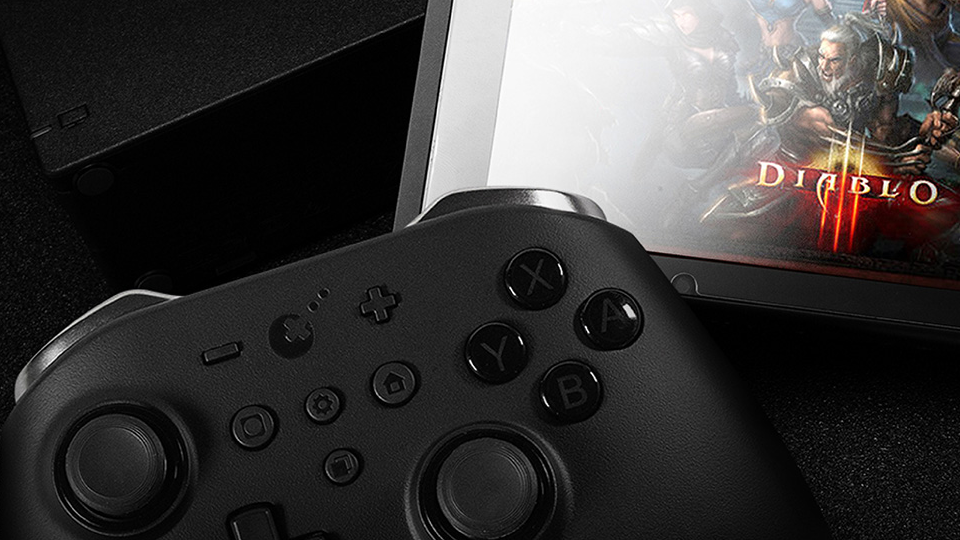
GuliKit KingKong 2 Pro Controller: This high-quality game controller by GuliKit offers an advanced level of precision and control for avid gamers. It’s equipped with a high-speed chip for lower latency, dual vibration motors for immersive haptic feedback, and a powerful battery for extended gameplay sessions.
FX8S USB Type-C Hub: The FX8S USB Type-C Hub is a versatile and portable device that extends your device’s connectivity. It includes a variety of ports, including HDMI, USB Type-A, USB Type-C, and SD card readers, providing comprehensive compatibility with a range of peripherals.
Micro SD Card UHS-I TF Flash Memory Card – DroiX: This is a high-speed, high-capacity MicroSD card from DroiX. Designed for fast data transfer and reliable storage. It’s perfect for expanding the memory capacity of a device for storing games, photos, music, and more. The card is UHS-I enabled, ensuring fast and efficient data transfer.
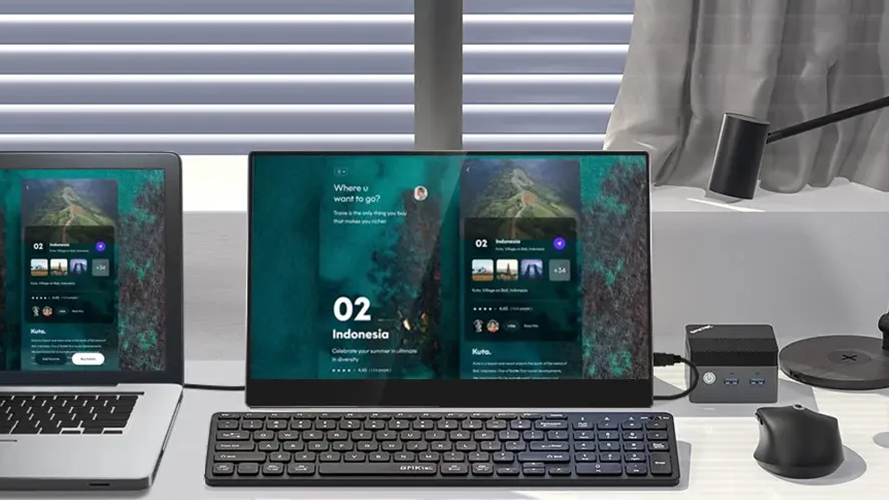
15.6”4K Portable Monitor with touchscreen | 15.6″ 4K portable monitor with stylus support: These portable monitors offer a stunning 4K resolution across their 15.6″ display. The monitor comes with touchscreen capabilities and even has an option for stylus support. It is fantastic for artists, note-takers, handwriting enthusiasts and more. It’s the perfect addition as a main or second monitor for your mini PC. Its slim and lightweight design makes it easy to carry around.
Questions & answers