Congratulations on purchasing your Retroid Pocket 3 Plus or Retroid Pocket Flip from us at DroiX. We have prepared a getting started guide to get you up and running as soon as possible. We also cover a few steps such as setting up the Retroid Pocket 3 Plus & Flip, setting up your micro SD card, the Retroid Launcher, using the Retroid Overlay and much more!
If you have any issues or questions about your handheld
At DroiX we pride ourselves on our high level of before and after-sales customer service. If you have any questions or issues with any purchase from us, please do contact us. We are here and more than happy to answer any questions and get any issues resolved as soon as possible.
Checking your Retroid Pocket 3 Plus & Flip
The Retroid Pocket 3 Plus & Flip comes with the device itself (Metal version shown below), a user manual and a USB charge cable. No micro SD card is included, you will need to supply this yourself.
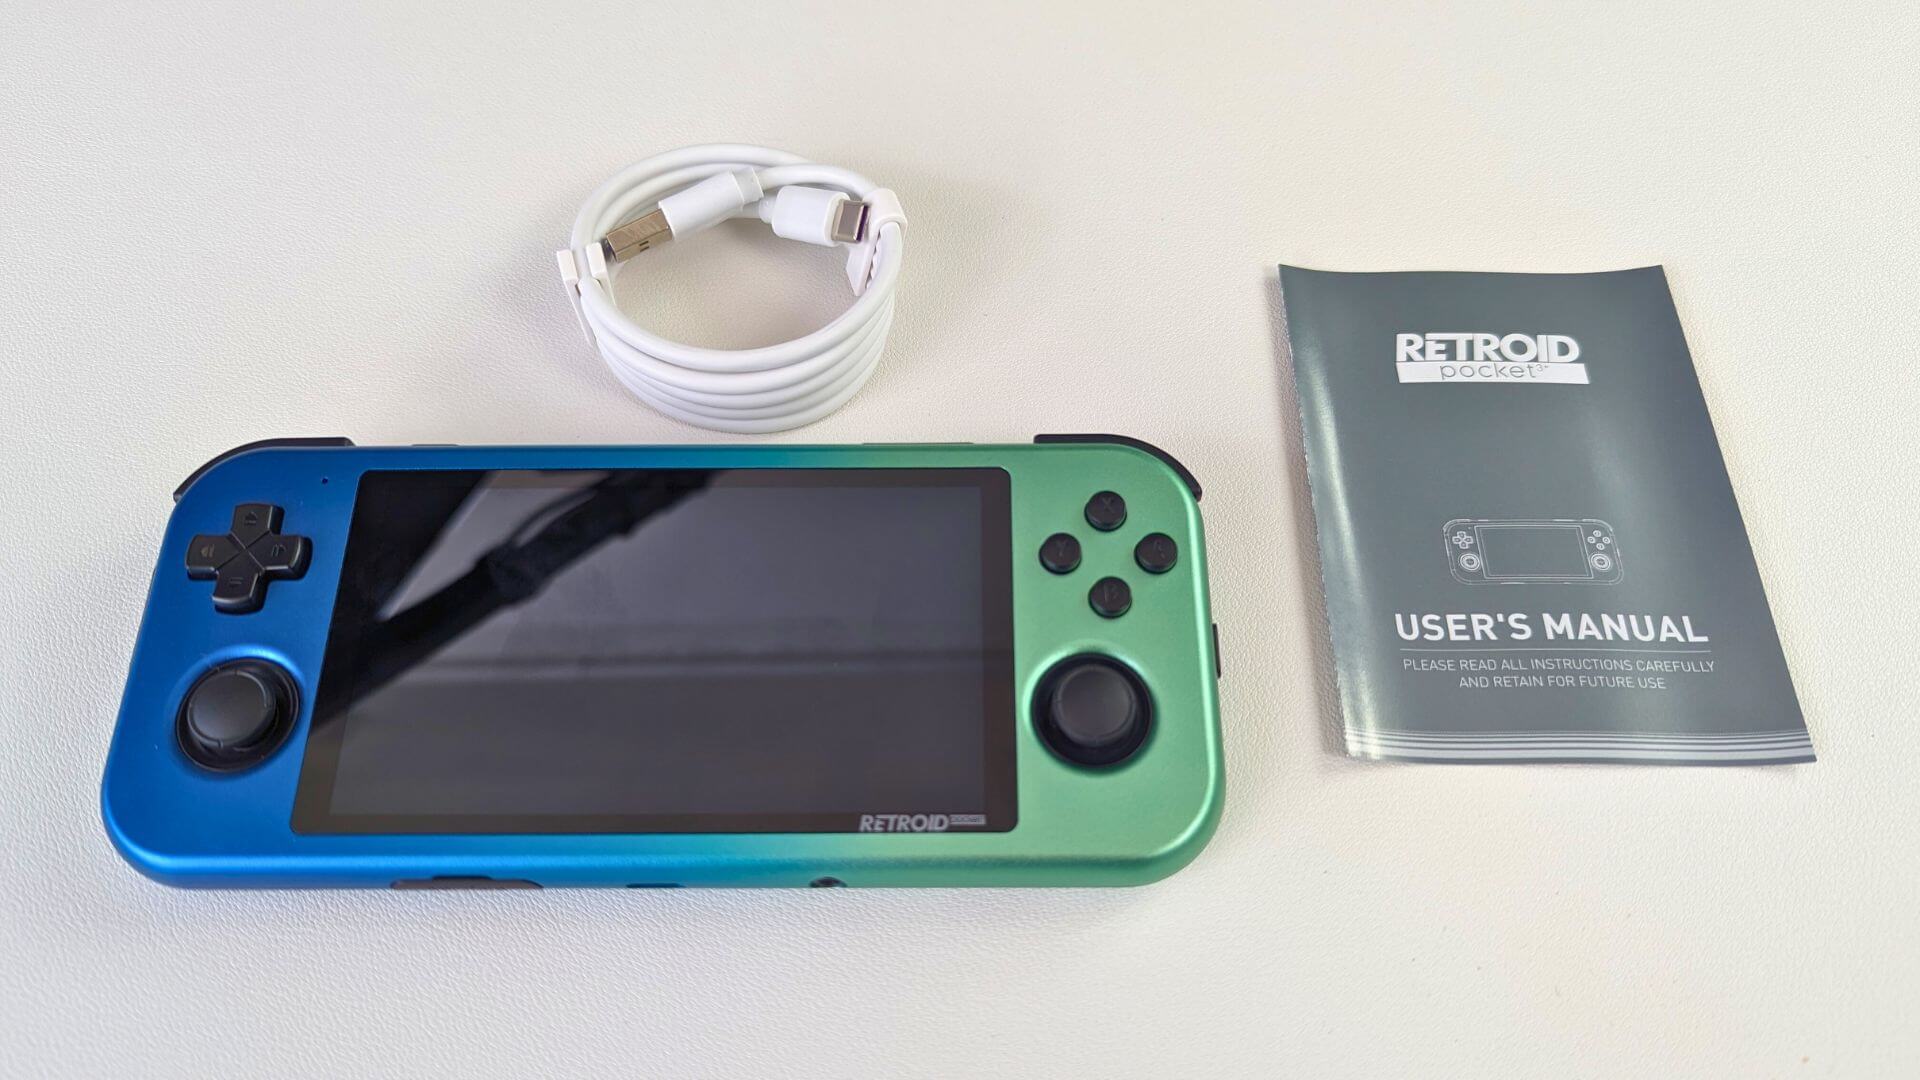
If something is missing or you are not sure, please contact our customer service and we will be happy to assist.
Setting up your Retroid Pocket 3 Plus & Flip
There may be some charge left in the battery since manufacturing. To ensure nothing shuts down halfway through setting up, we recommend leaving it to fully charge first. While you wait, if you have not already, why not set up your micro SD card and copy some games over it (see the below guide).
Once you have powered on, the Retroid Pocket 3 Plus or Flip will boot into Android 11 OS and present a startup wizard to get things set up easily.
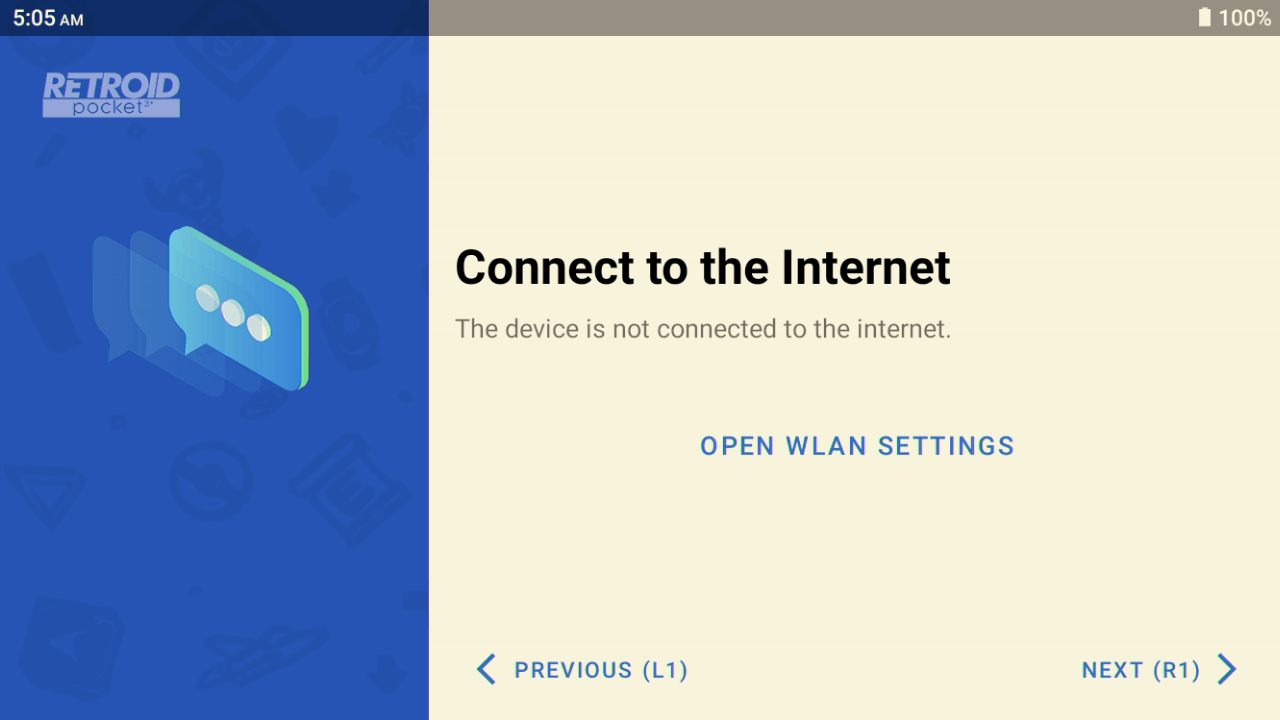
Follow the prompts to select the language and WiFi settings. We recommend entering your WiFi settings now as it is a bit faster than going through the Android menus afterwards.
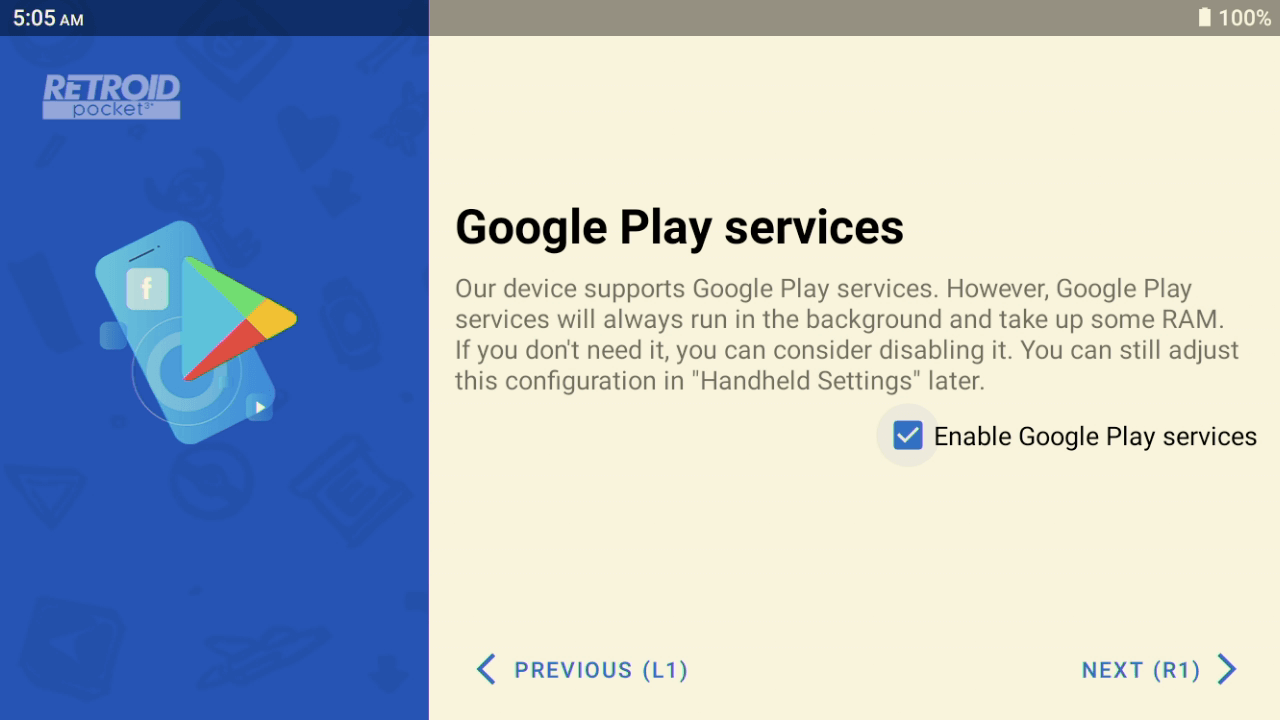
If required, choose your time zone, and if you wish to have Google Play services installed. We recommend installing this if you want access to the Google Play store for updating and downloading new apps etc.
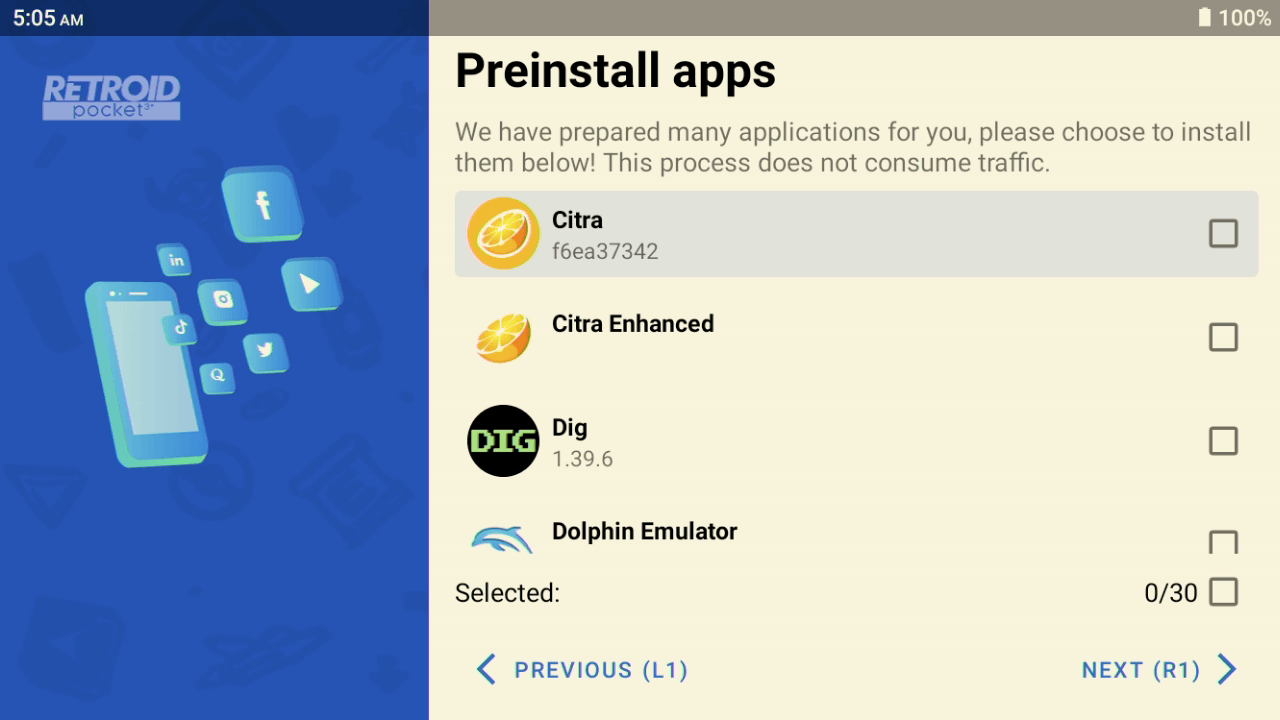
You will next be prompted to pre-install some apps. These include emulators, tools and media players for example. You can select them with the check box on the right of each title, or select them all towards the bottom of the screen. The apps will then install which can take a minute or two to complete.
You will next be prompted for the default launcher to use when booting into Android. The RP3+ & Flip launcher does require a bit of setting up first (see the guide below), or you can use the Android launcher which shows any installed apps. You can switch between these afterwards if you wish to.
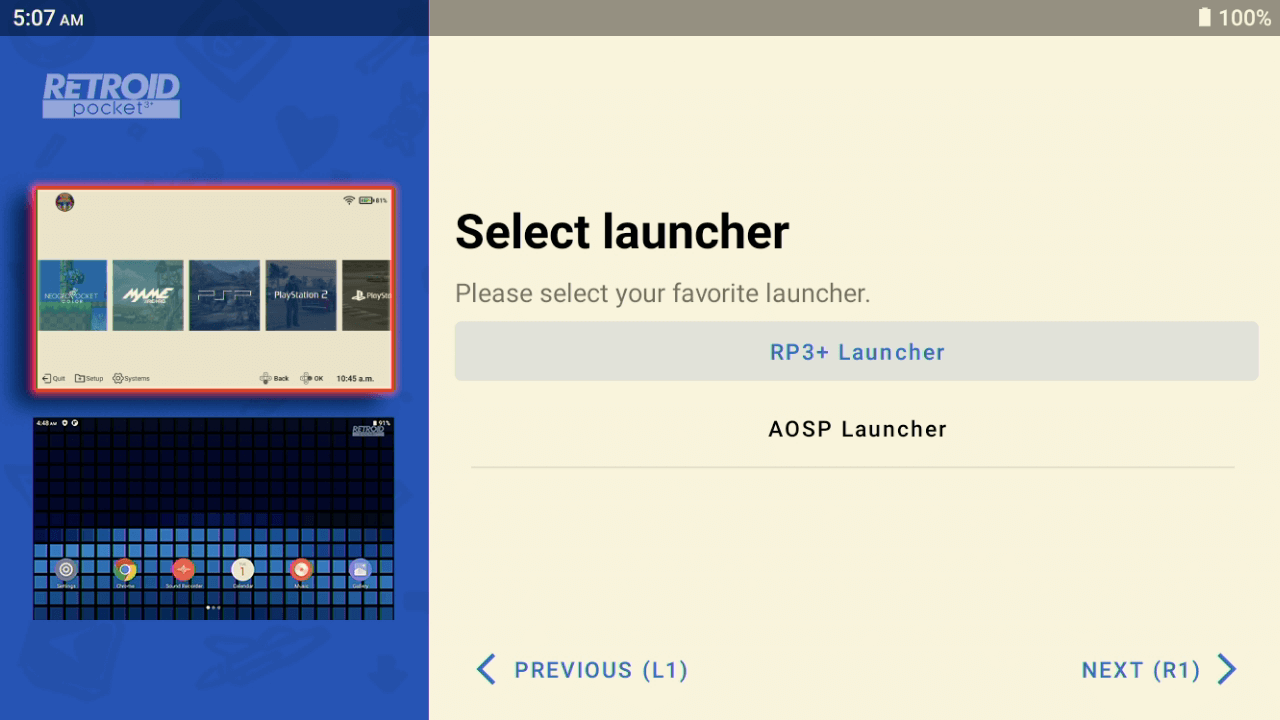
The setup wizard will finish off any other tasks and you will be launched into the Launcher you chose.
Adding games to your micro SD card
We have prepared a guide on how to set up your micro SD card ready to use with the Retroid Pocket 3 Plus. You can find the guide here and also embedded below.
Setting up RetroArch
Whether you are using the Retroid Launcher or AOSP Launcher you will need to set up the RetroArch app. RetroArch is an all-in-one frontend and emulator system (known as cores) that makes it very easy to play many classic computers and consoles.
We have prepared a guide on how to set up RetroArch which is required for use with Retroid Launcher, or as an individual app. Learn how to set up RetroArch in our article here and embedded below.
Setting up and using the Retroid Launcher
The Retroid Launcher does require a bit of setting up. It is worth the effort as it results in a slick easy-to-browse menu with all your game ROMs showing the boxart etc.
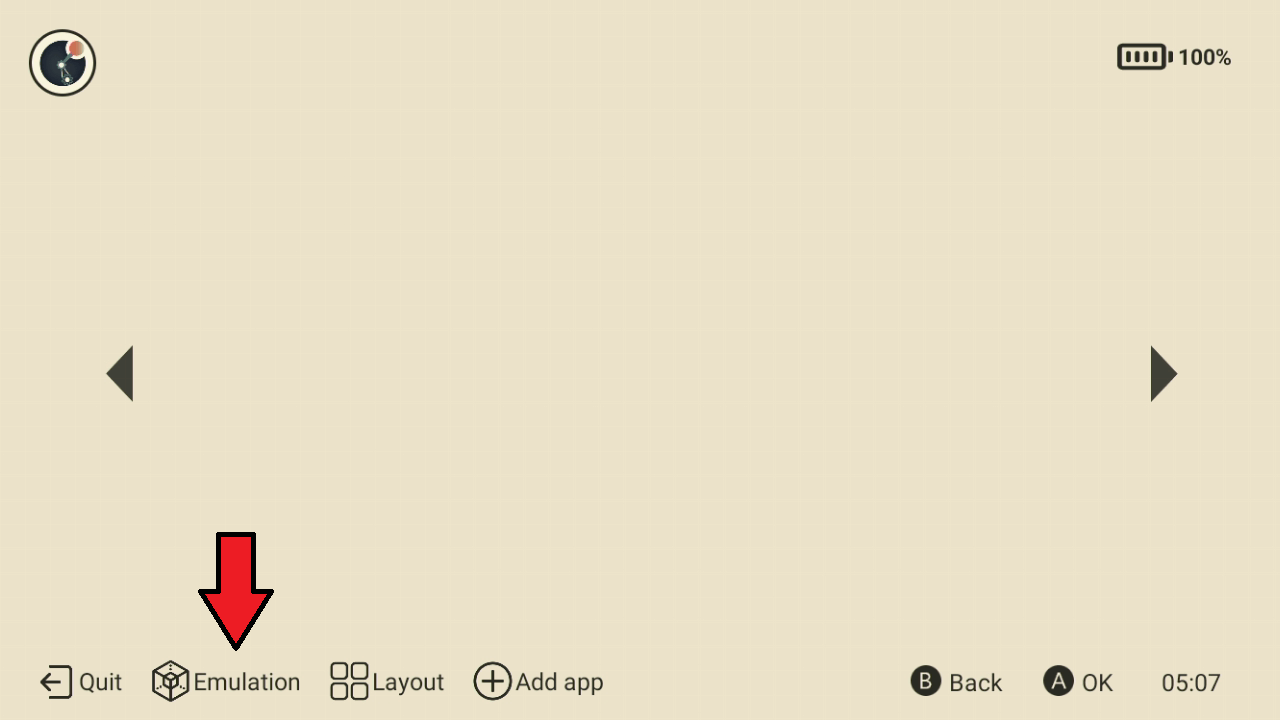
We will show you first how to add emulators and their games to the menu. Select Emulation from the menu.
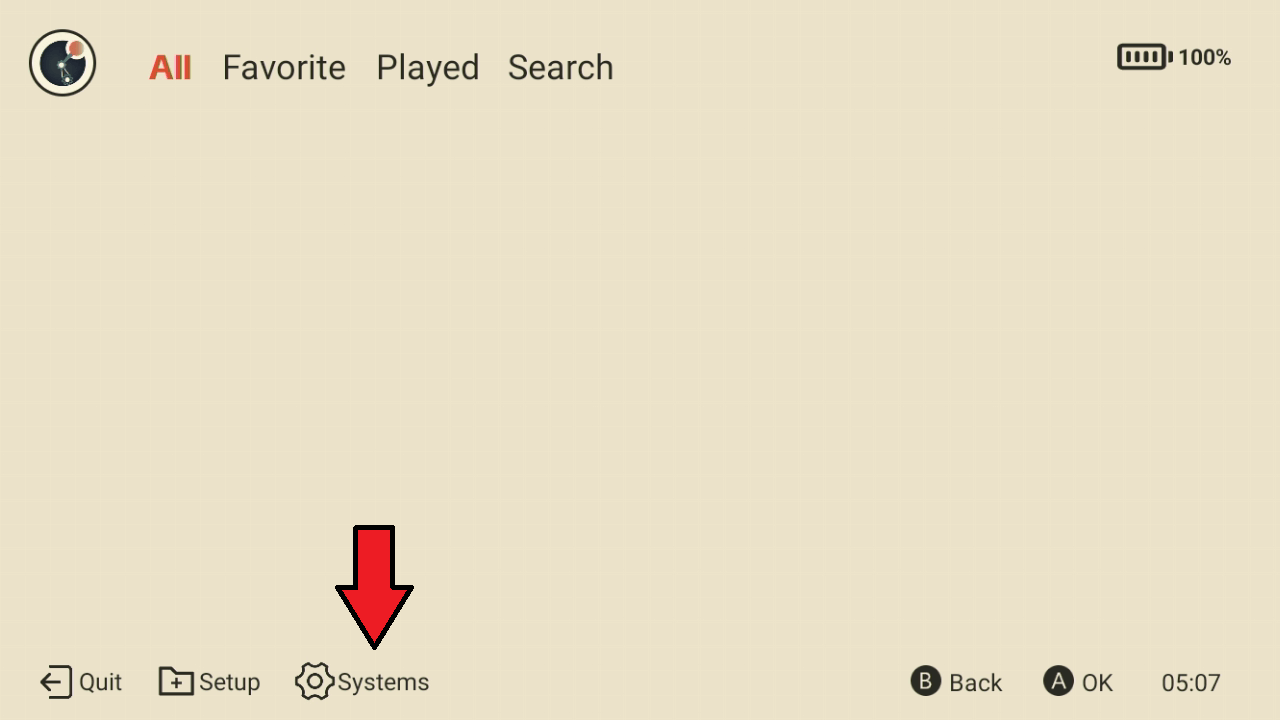
Choose Systems from the menu
You will then be presented with a list of classic consoles that you can add to the launcher. The list scrolls down to show more. Check the box for each system you have games for on your micro SD card.
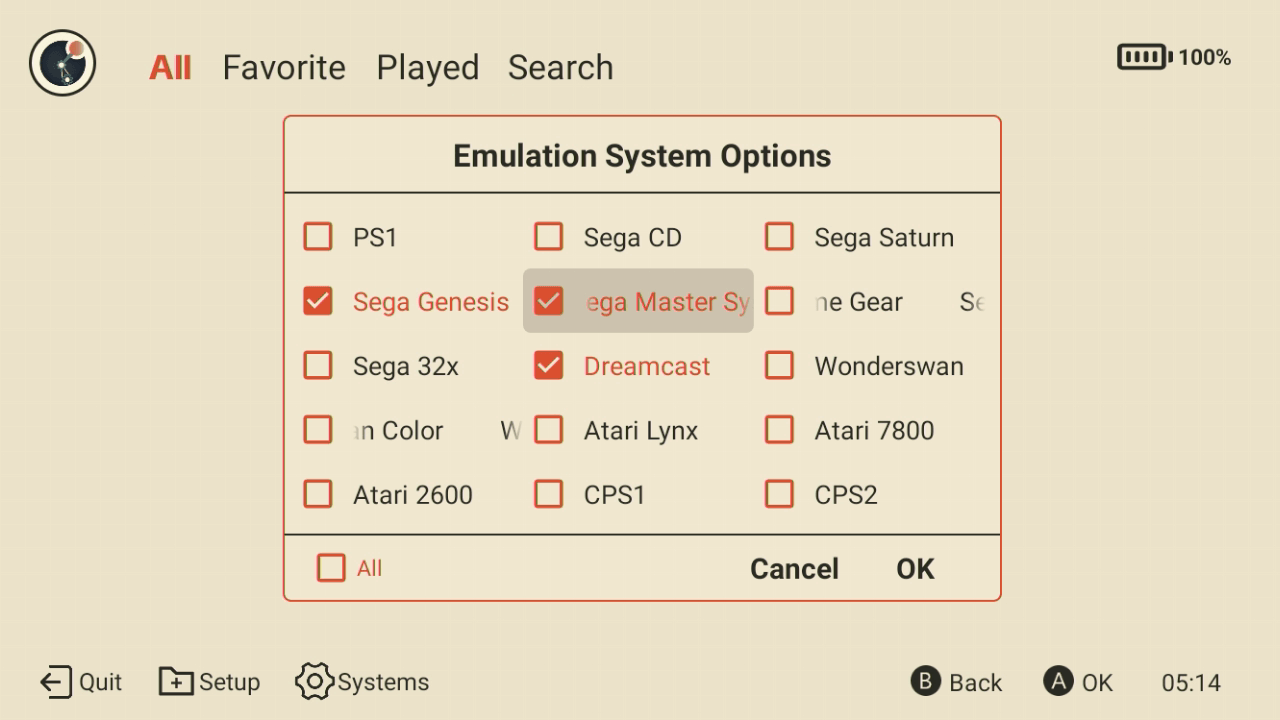
Click on OK and after a few moments you will see the menu has been populated with your chosen systems.
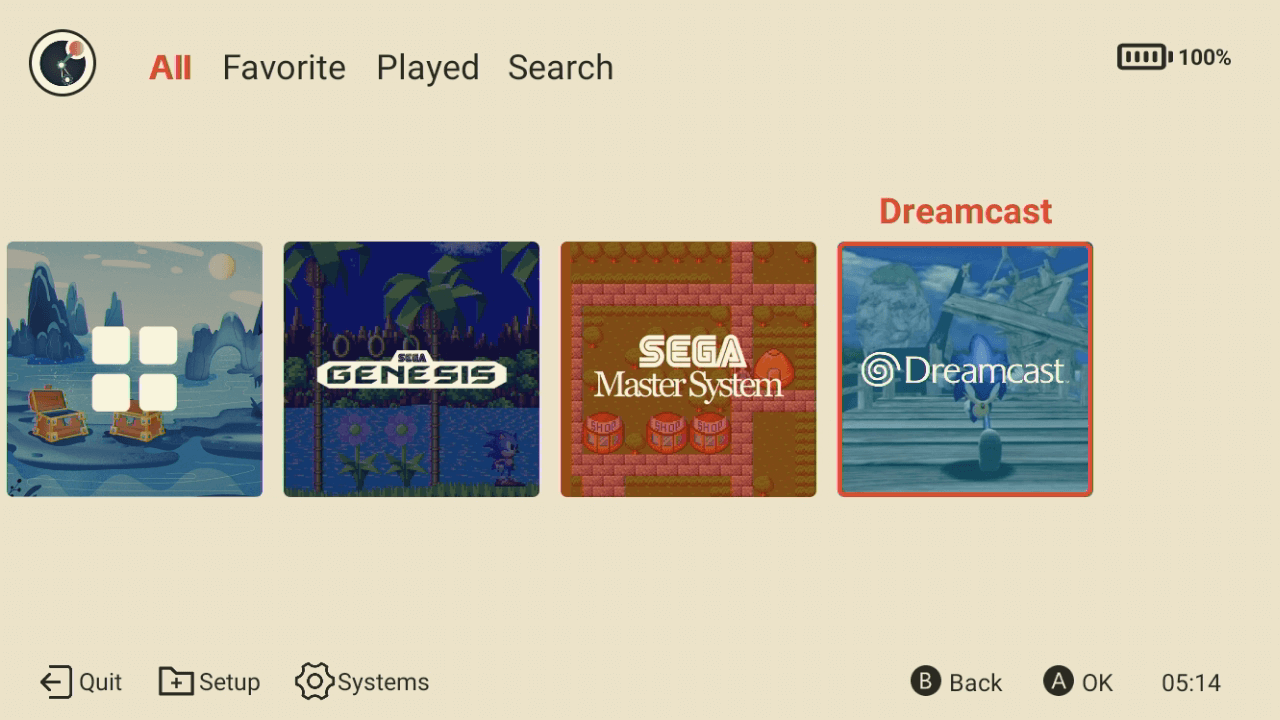
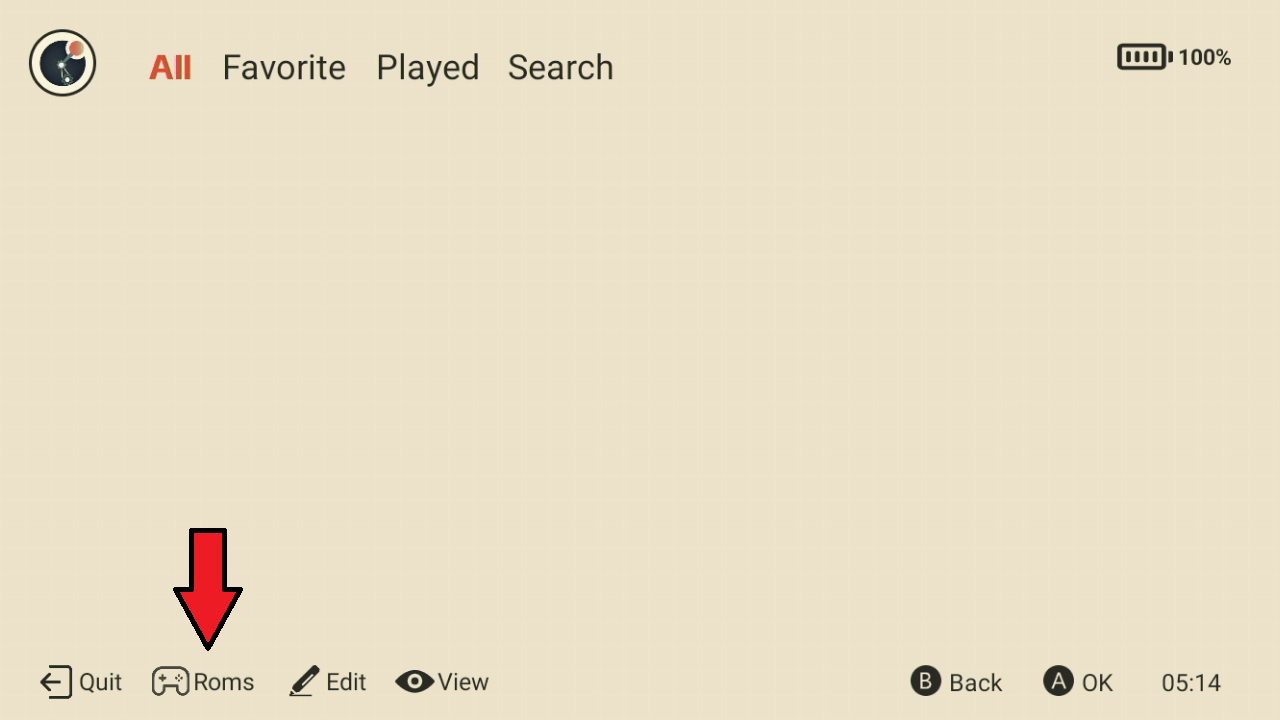
Now you will need to add the games for each system you just added. In this example, we are adding Mega Drive / Genesis games. Click on a system icon such as Genesis, and then click on the Roms menu option.
Choose on the Add option
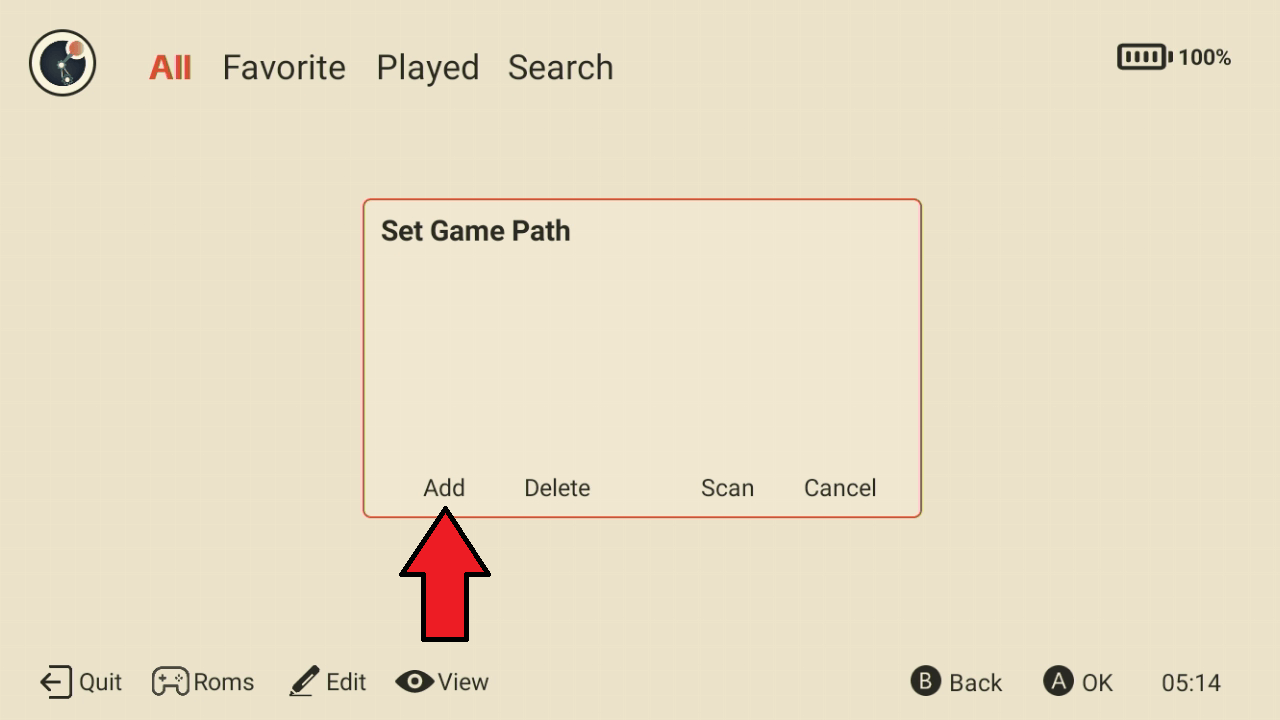
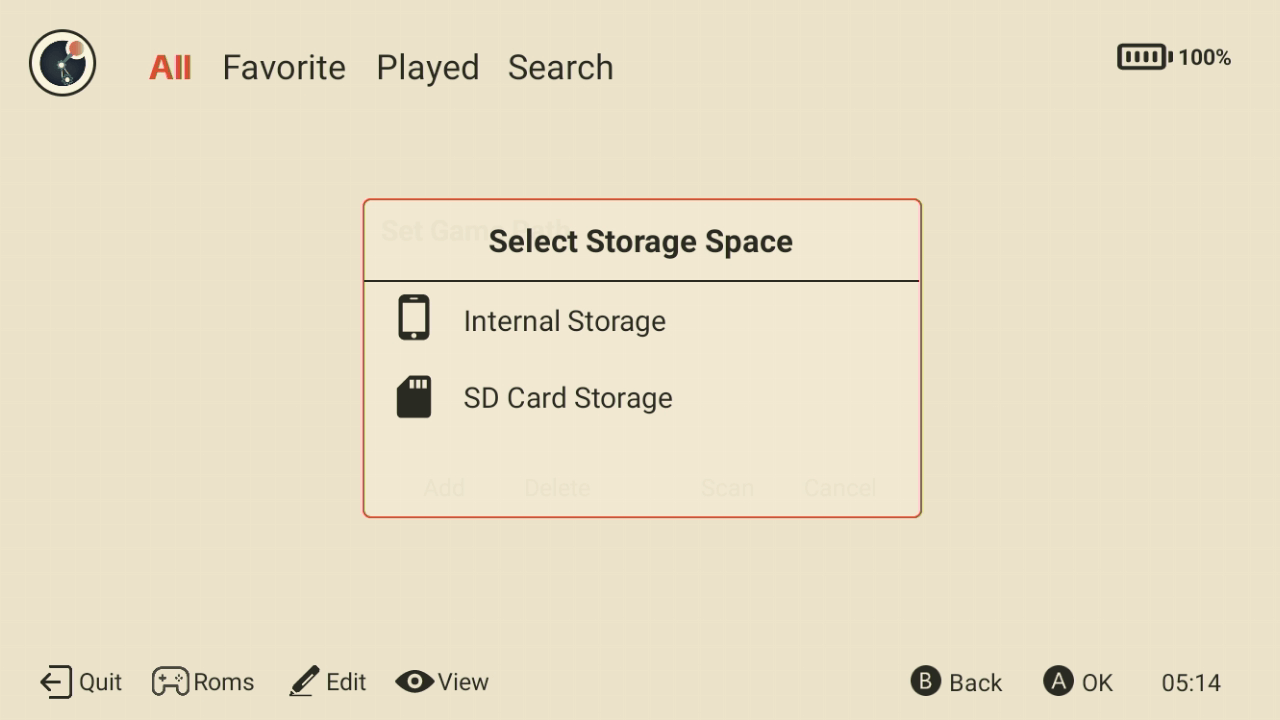
You can now choose the location of your ROMs, either on the internal storage or external storage (micro SD card).
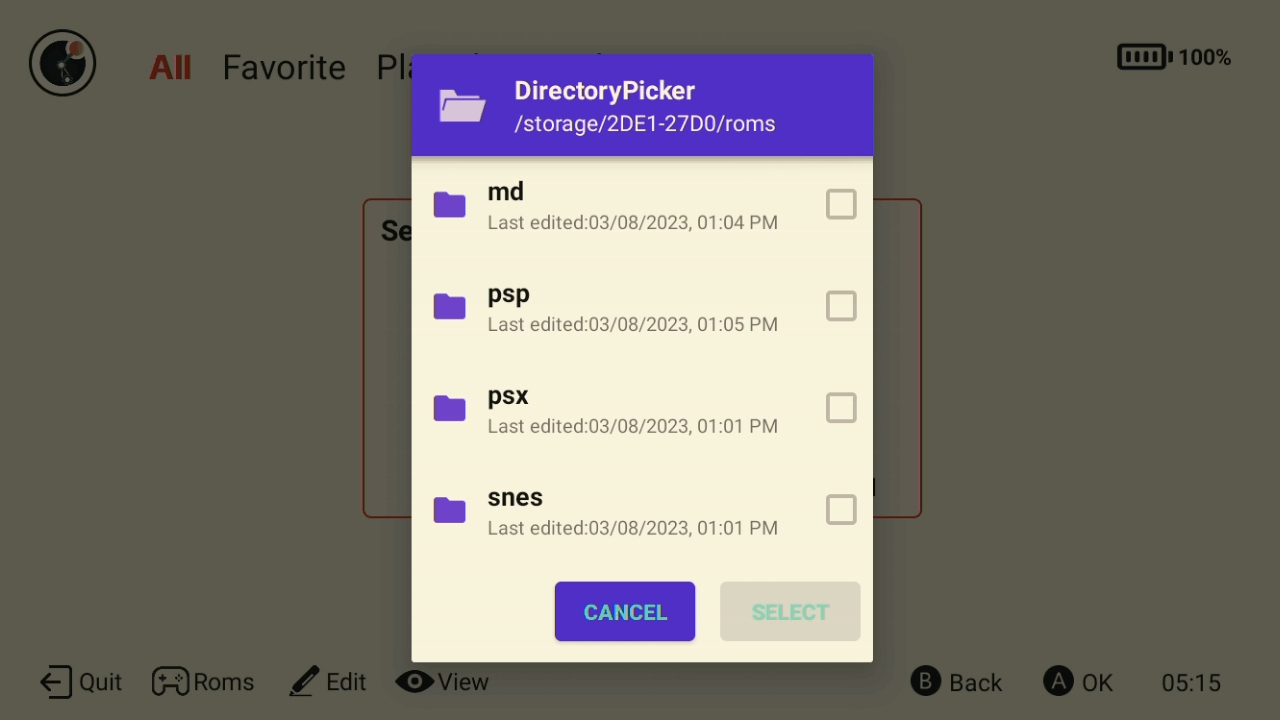
You will now need to navigate to the folder where your Genesis ROMs are located. We have them stored in /ROMS/md/ folder. You do not need to enter the folder where the ROMS are located, beside is a box that you can Check to scan everything inside that folder as shown in the image below.
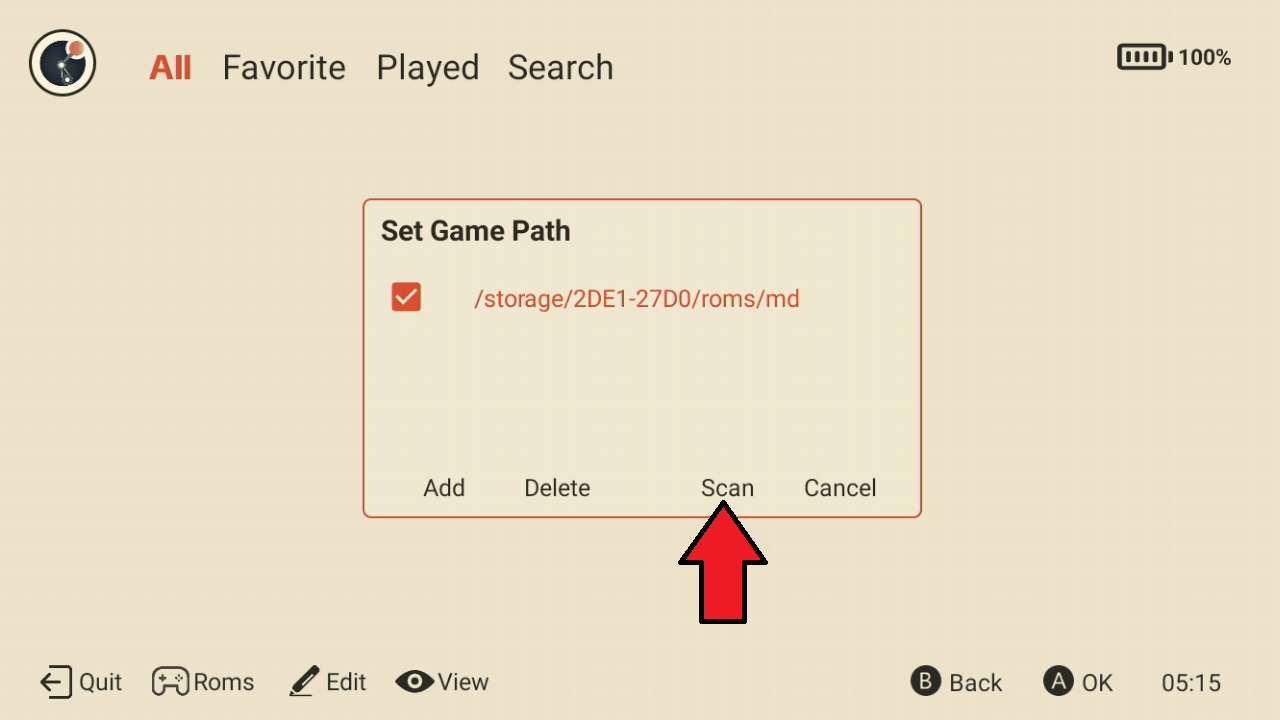
The folder will now be added to the game path. Click on Scan to start scanning the folder for recognised games. Depending on the number of games in the folder this can take some time, just let it do its thing.
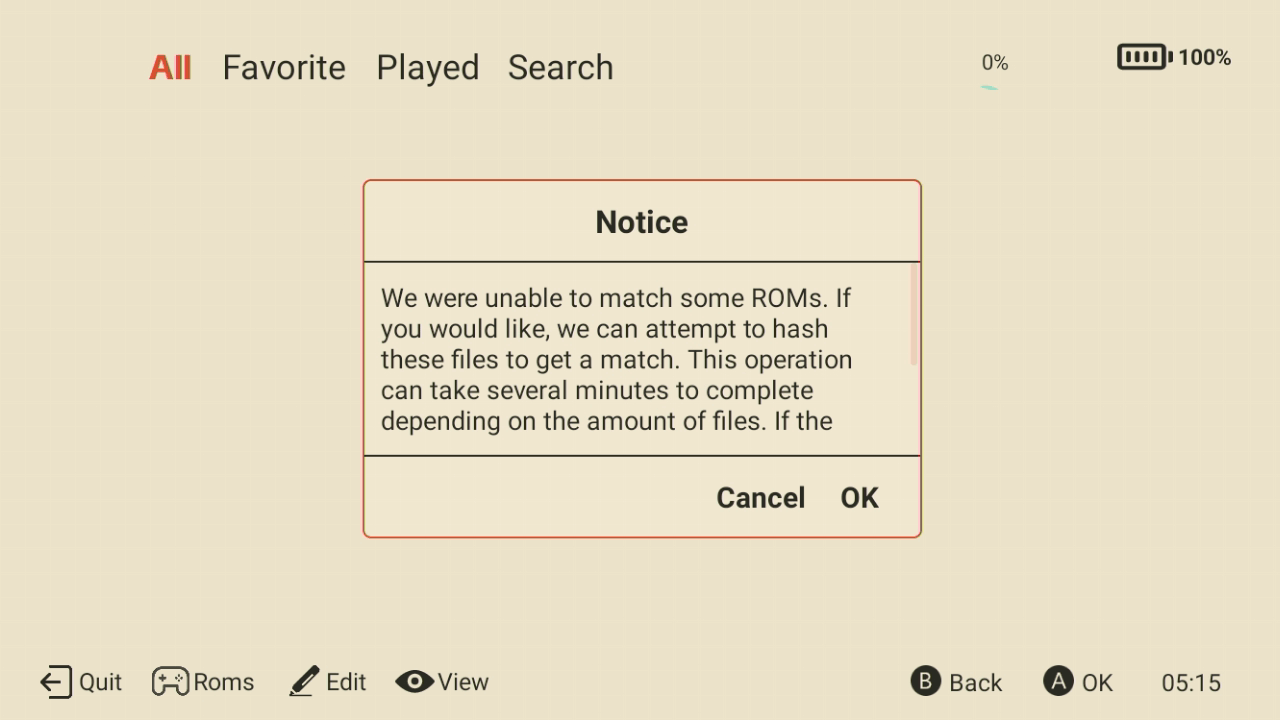
If some games are not recognised, you may receive a prompt to do a more in-depth scan of the game to recognise it. This is optional as it can take a little longer to perform.
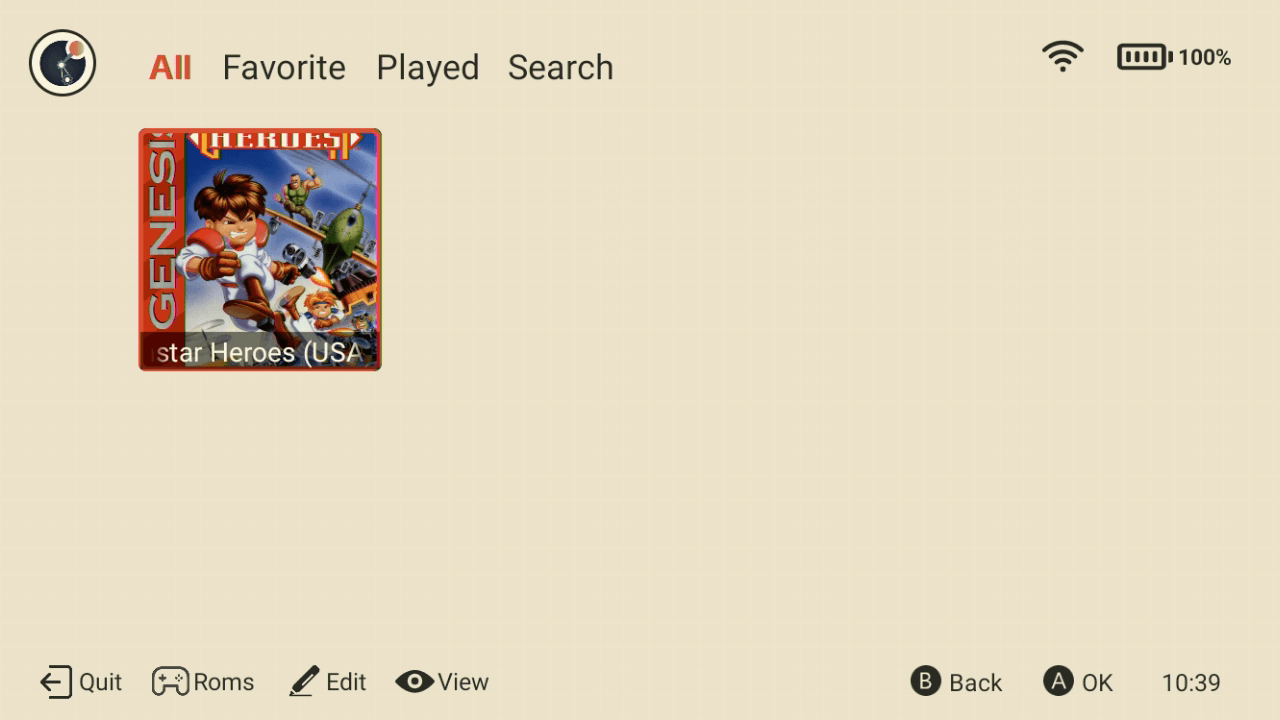
Once the process has been completed you will be returned to your chosen system menu and it will be populated with the found games. If you are connected to the internet via Wi-Fi 5 it will also download the box art if it can locate them.
You can now go back to the main system menu and repeat the process for any other systems you choose.
Or if you just want to check out a game, select one and the game should automatically load into the correct RetroArch core if you have already set it up (see the guide above). If not, you will be prompted to manually or automatically load a core.
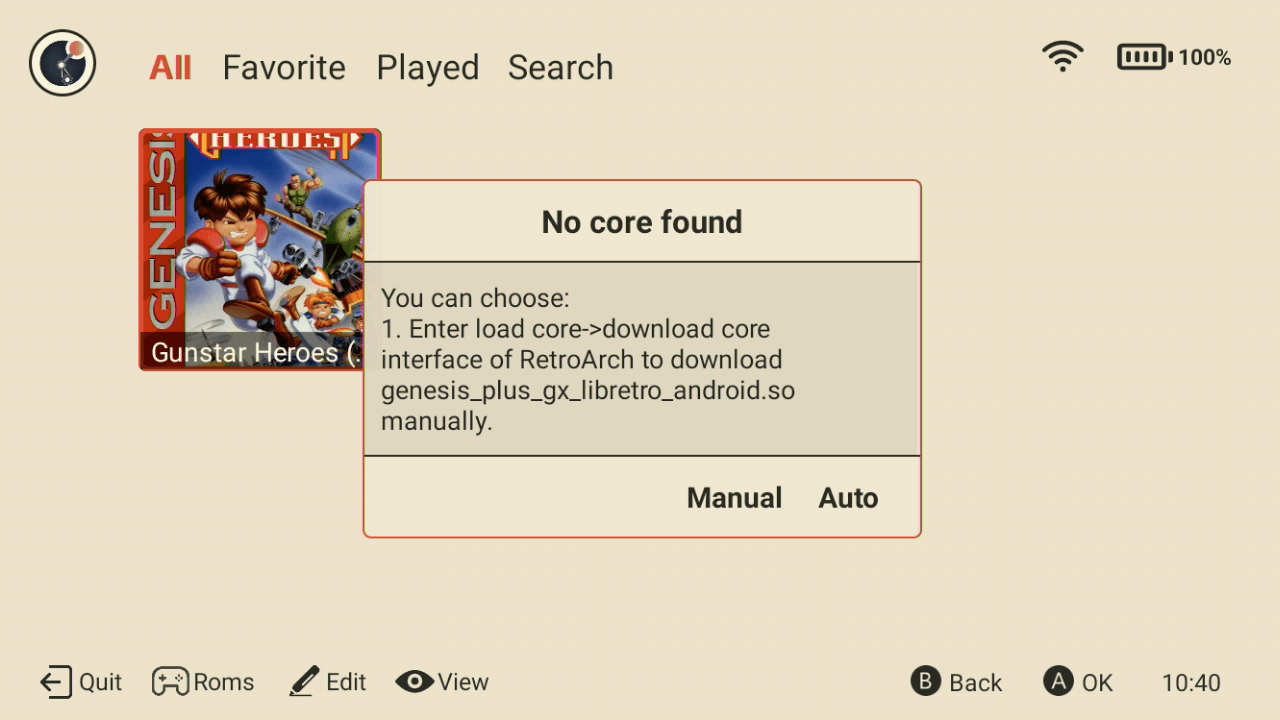
We recommend setting up RetroArch and installing the emulator cores instead of manually doing it.
You can also add other Android apps etc using the same process but from the main starting screen.
Setting up and using AOSP Launcher
The AOSP launcher is more of a familiar look similar to an Android phone interface. All of the apps you chose to install during the setup wizard can be found on the screens which you can navigate by sliding your finger left or right to change.

From here you have access to the Google Play Store where you can download and update apps etc. You also have RetroArch (we recommend using the (AArch64) version, and several individual emulators such as Flycast, PPSSPP, AetherSX2 and many more! These may require a little setting up such as the location of the games on your micro SD card.
Setting up individual emulators
Each emulator does have different setup requirements, so it is out of the scope of this getting started guide to cover them all. But they do essentially follow the same process of setting the location of where your game ROMs are. In this example, we are using the PSP emulator PPSSPP.
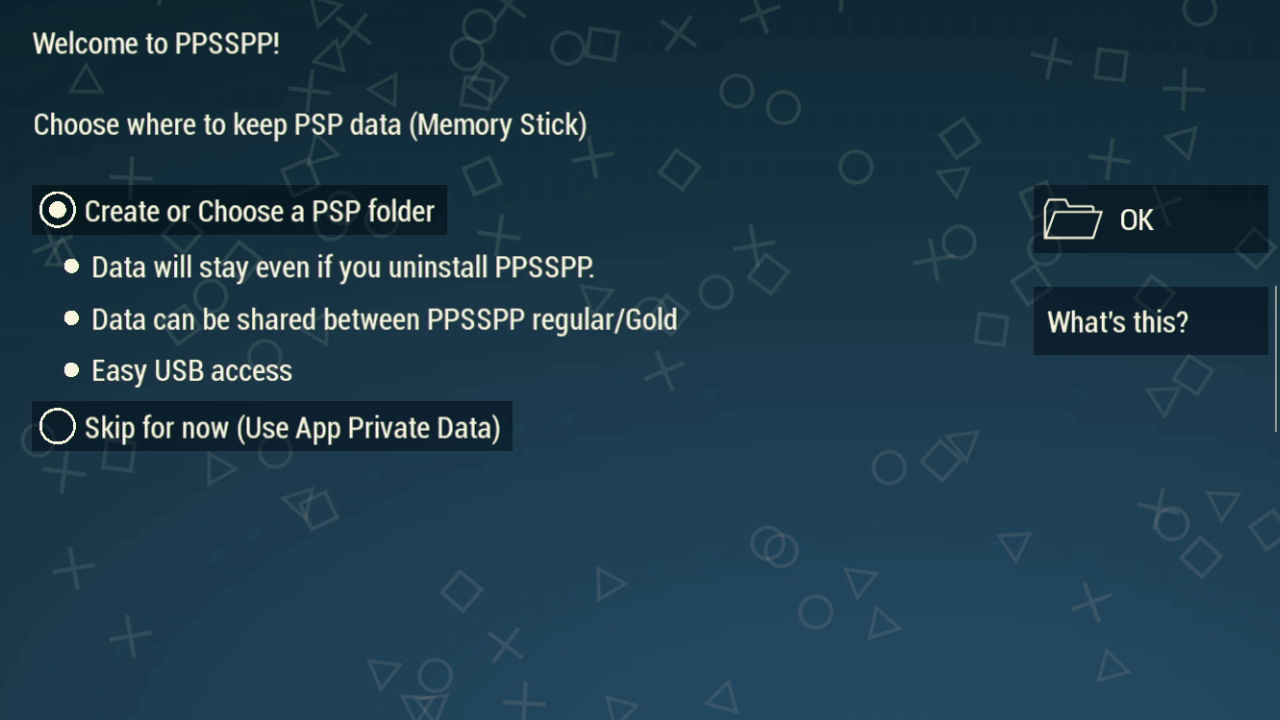
First, run the PPSSPP emulator by touching its icon on the launcher. You will be prompted to set the location of the emulator’s data. Choose the first option to Create or Choose a PSP folder.
We will use the internal storage for the emulator data as it is faster for loading box art etc. Click on the blue CREATE NEW FOLDER text.
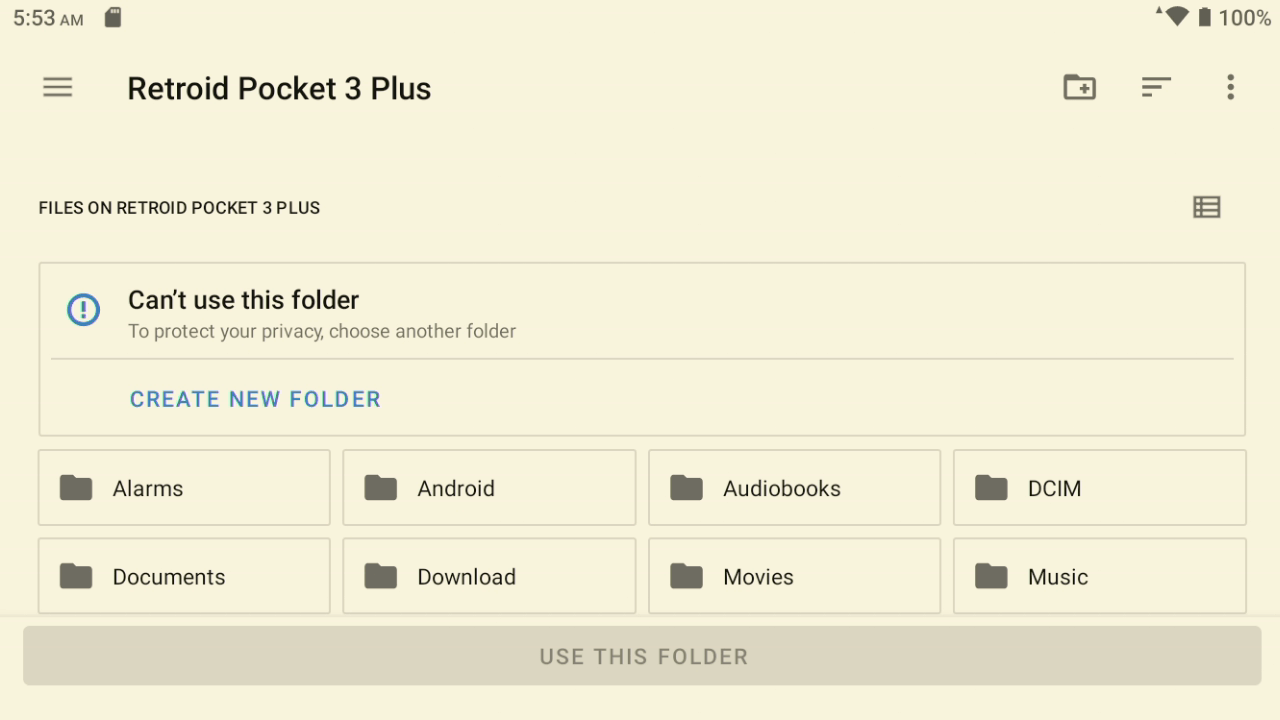
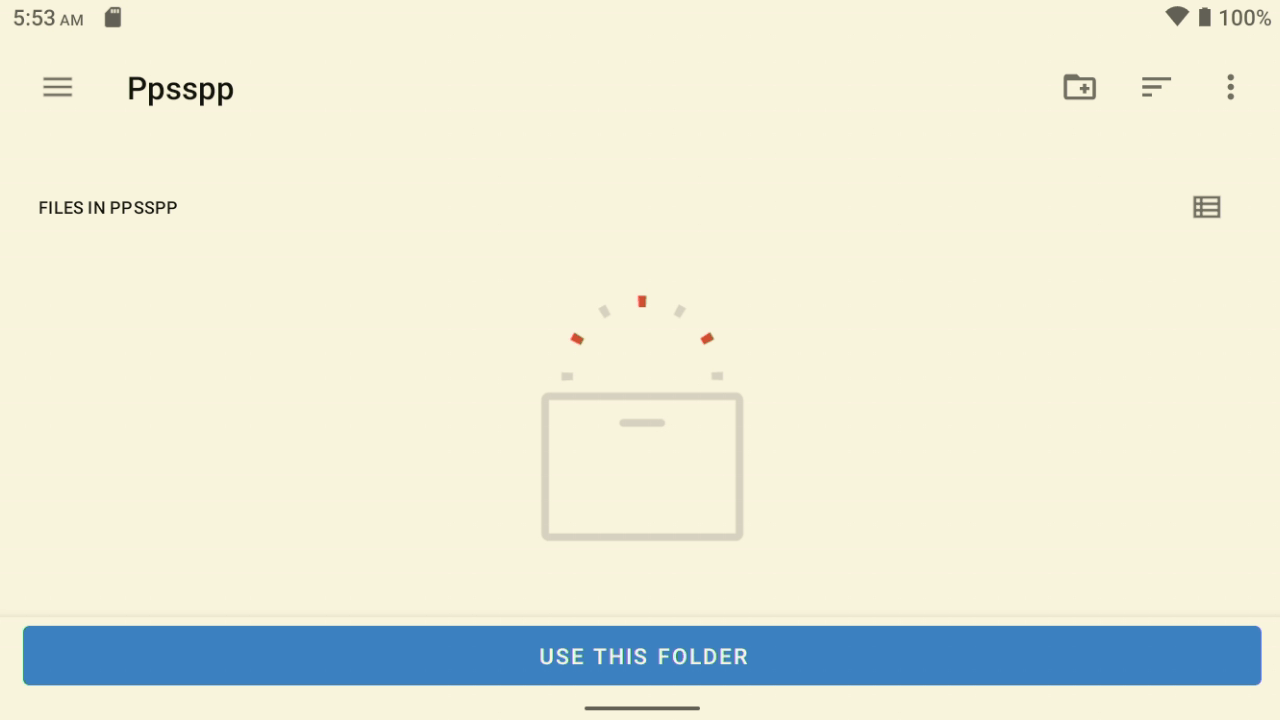
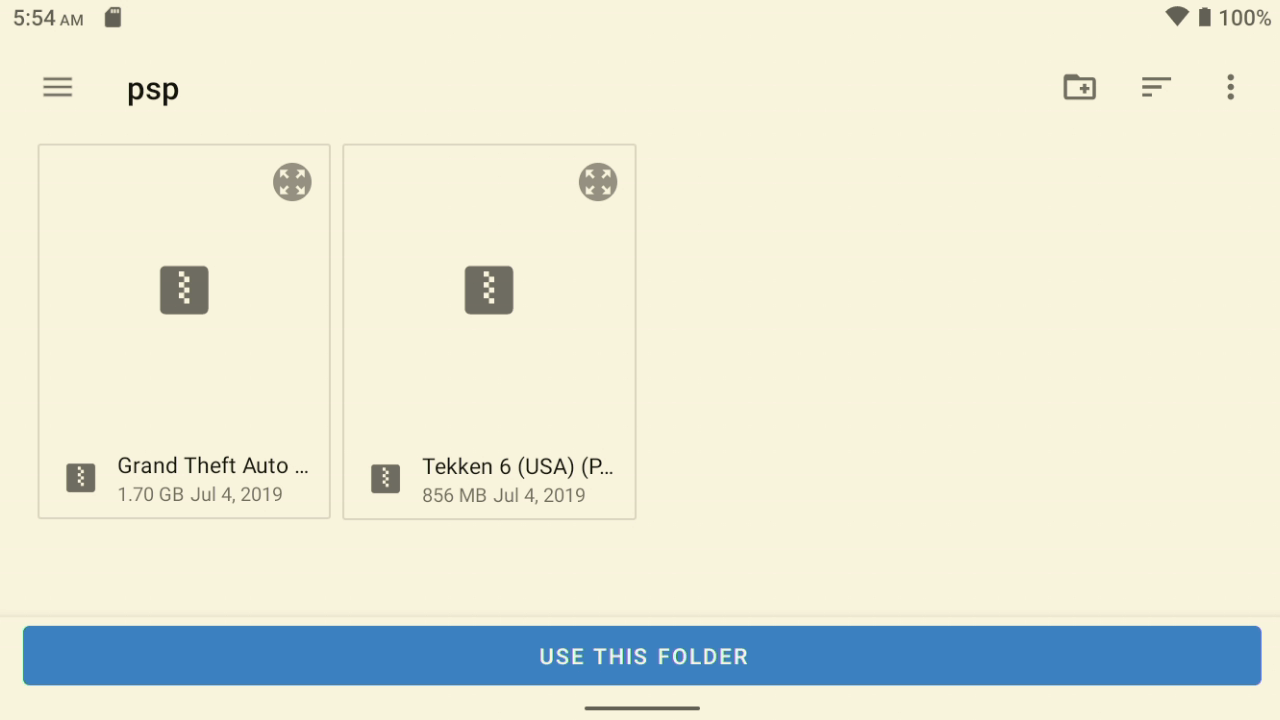
Enter a name for the folder, in this example, we are naming it Ppsspp. After submitting the name, click on the USE THIS FOLDER text at the bottom of the screen.
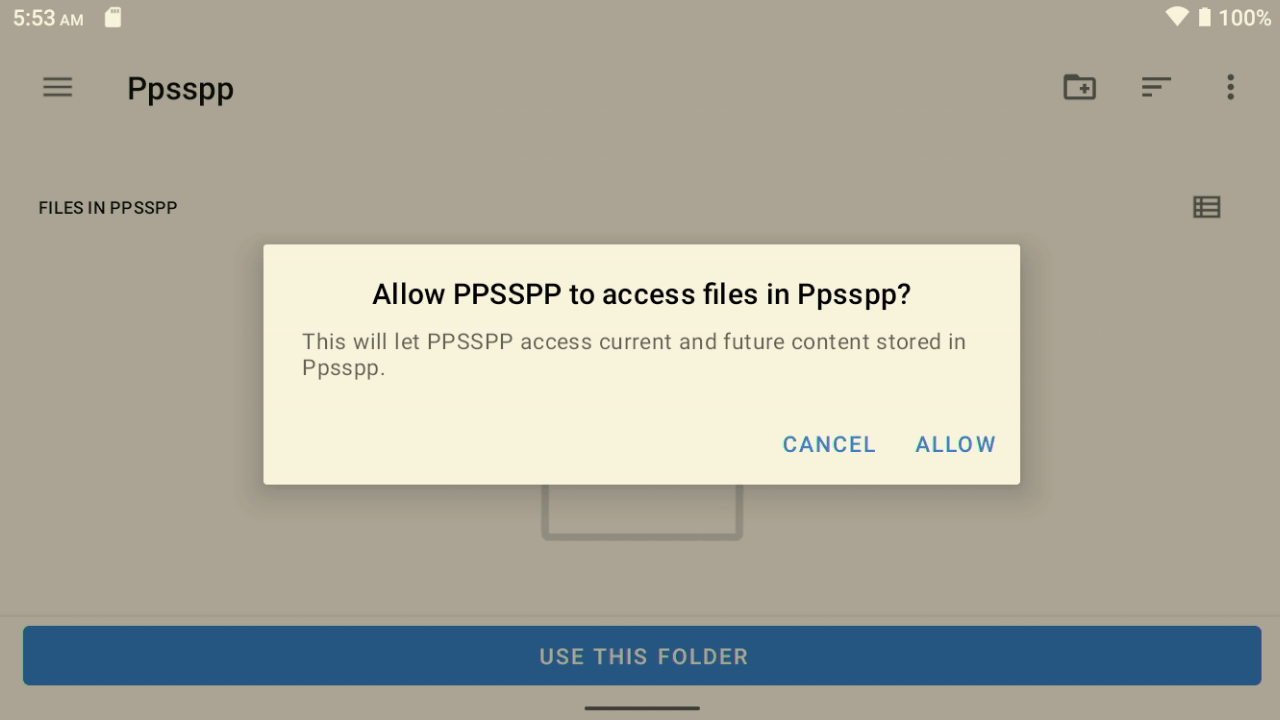
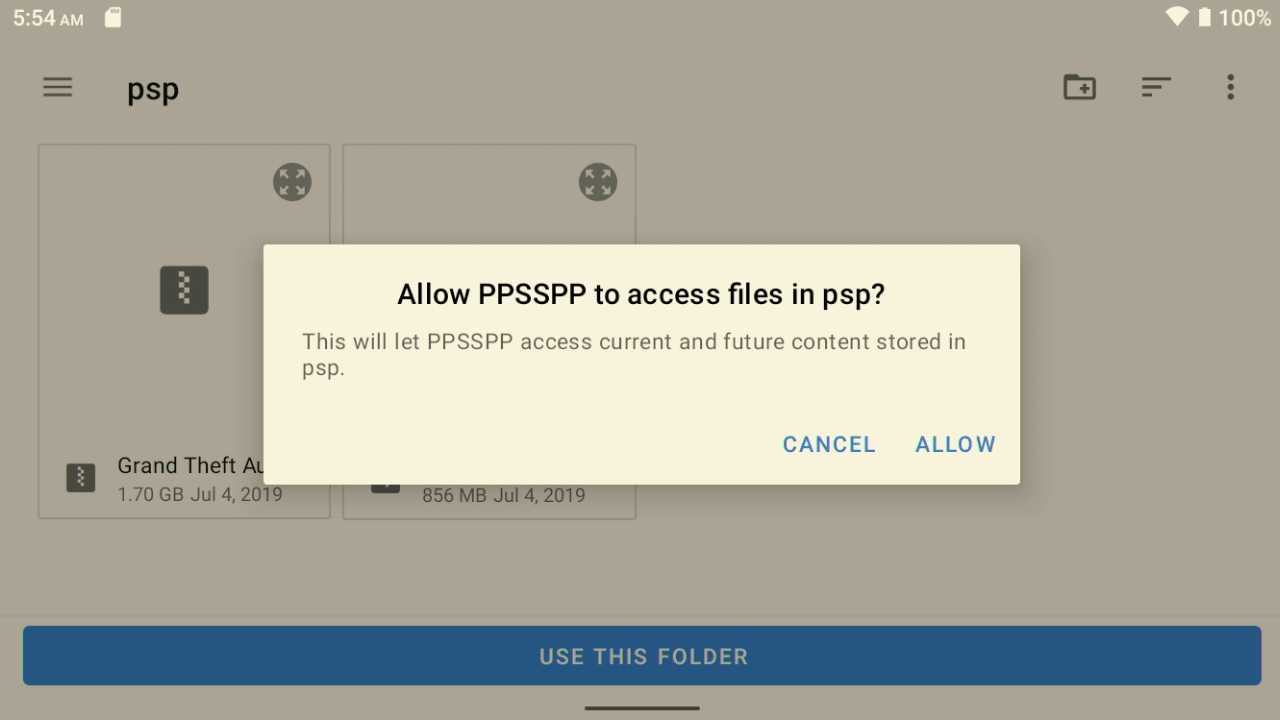
If you are prompted to allow PPSSPP access to the files in the created folder, choose ALLOW. And on the following screen click OK to confirm the folder.
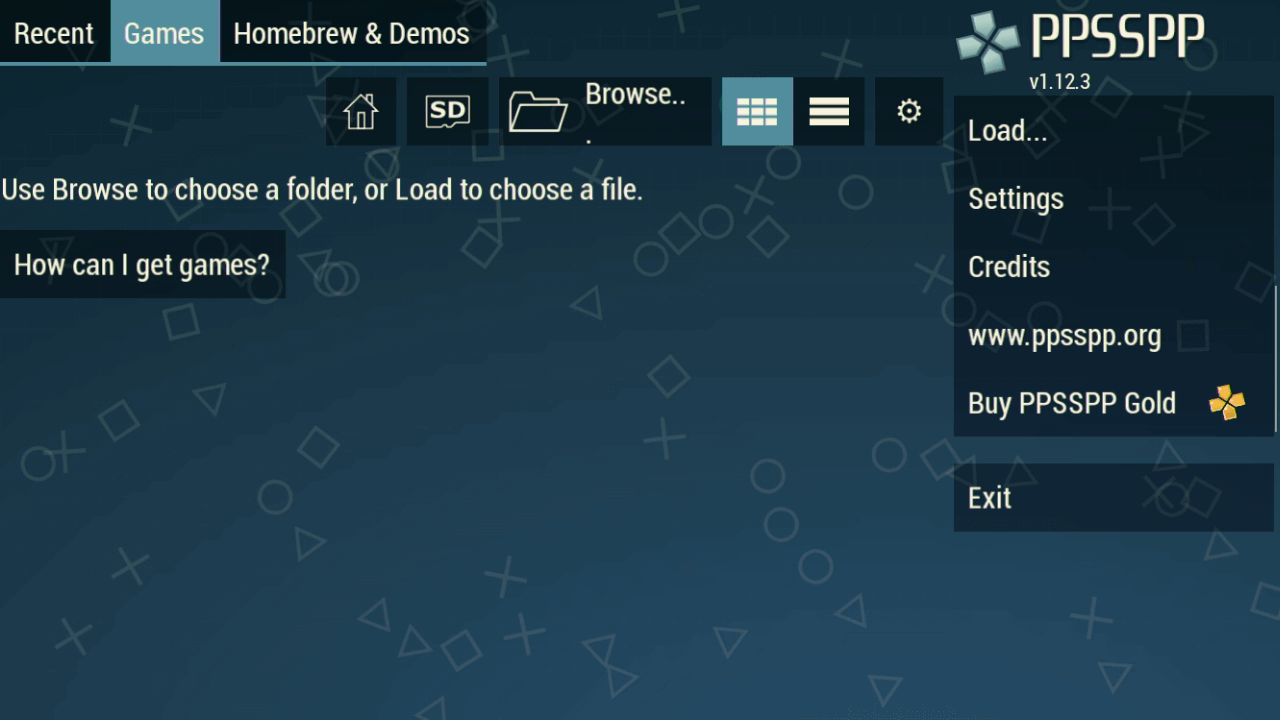
You will now be presented with the main menu. From here, we will set the location of the game files. Click on the Browse icon near the top of the screen.
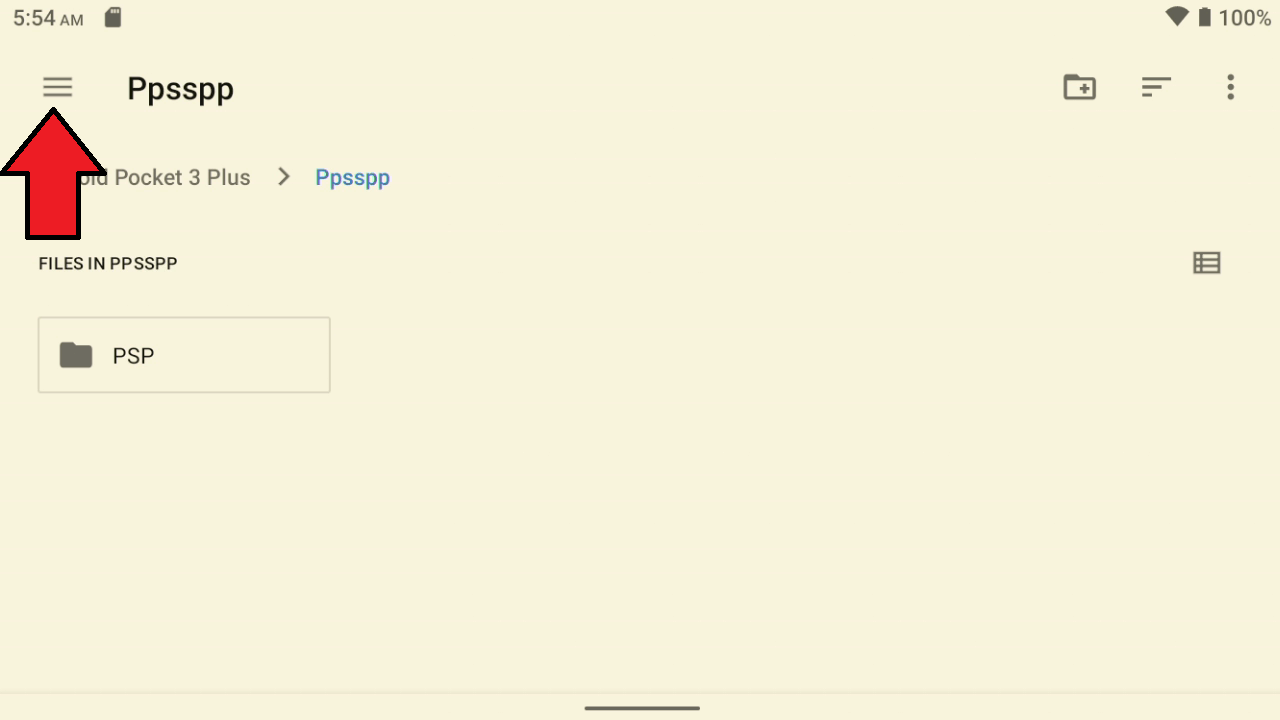
The following procedure will be very similar for other emulators when choosing the game location. Select the three horizontal lines in the top left area of the screen.
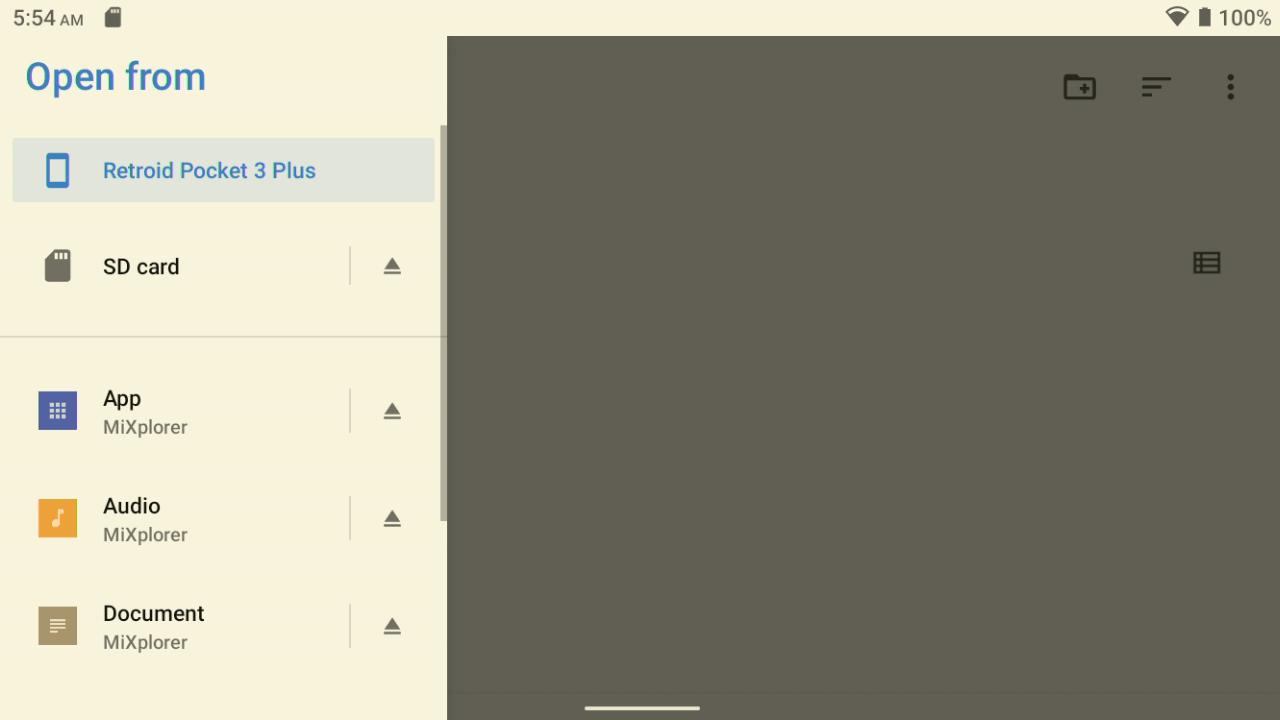
You will be prompted to choose from the internal or external (micro SD card) storage. As our games are on the micro SD card, we will choose this.
Scroll down the list of files and folders to find the location of your games. In our guide, we use /ROMS/PSP. Once you have located the correct folder you will see a list of PSP games. Choose the USE THIS FOLDER text on the bottom area of the screen.
If you are prompted to permit PPSSPP to access the folder, choose ALLOW.
Depending on how many games are in the folder, PPSSPP will process them and then display them on the browser.
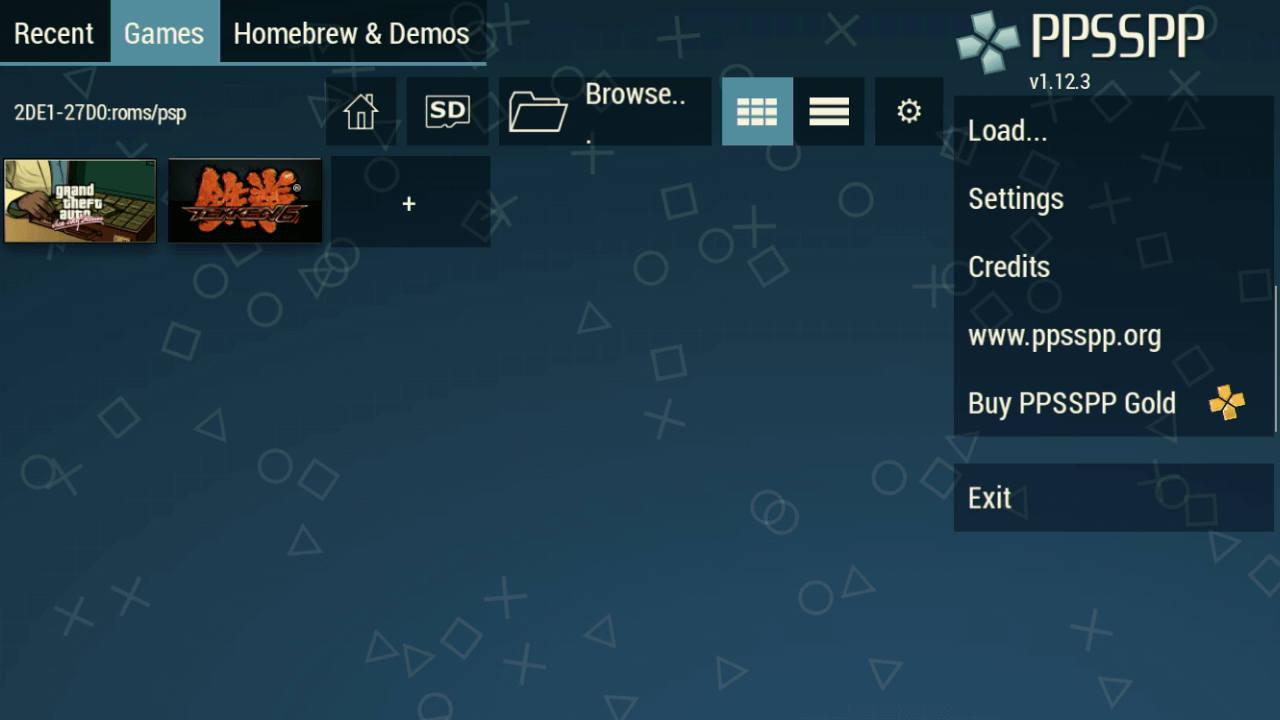
Simply choose a game and it will load the emulator and game. As mentioned, the process for selecting the game locations is generally the same for each emulator. You can follow this process for any others.
Using the Retroid Overlay
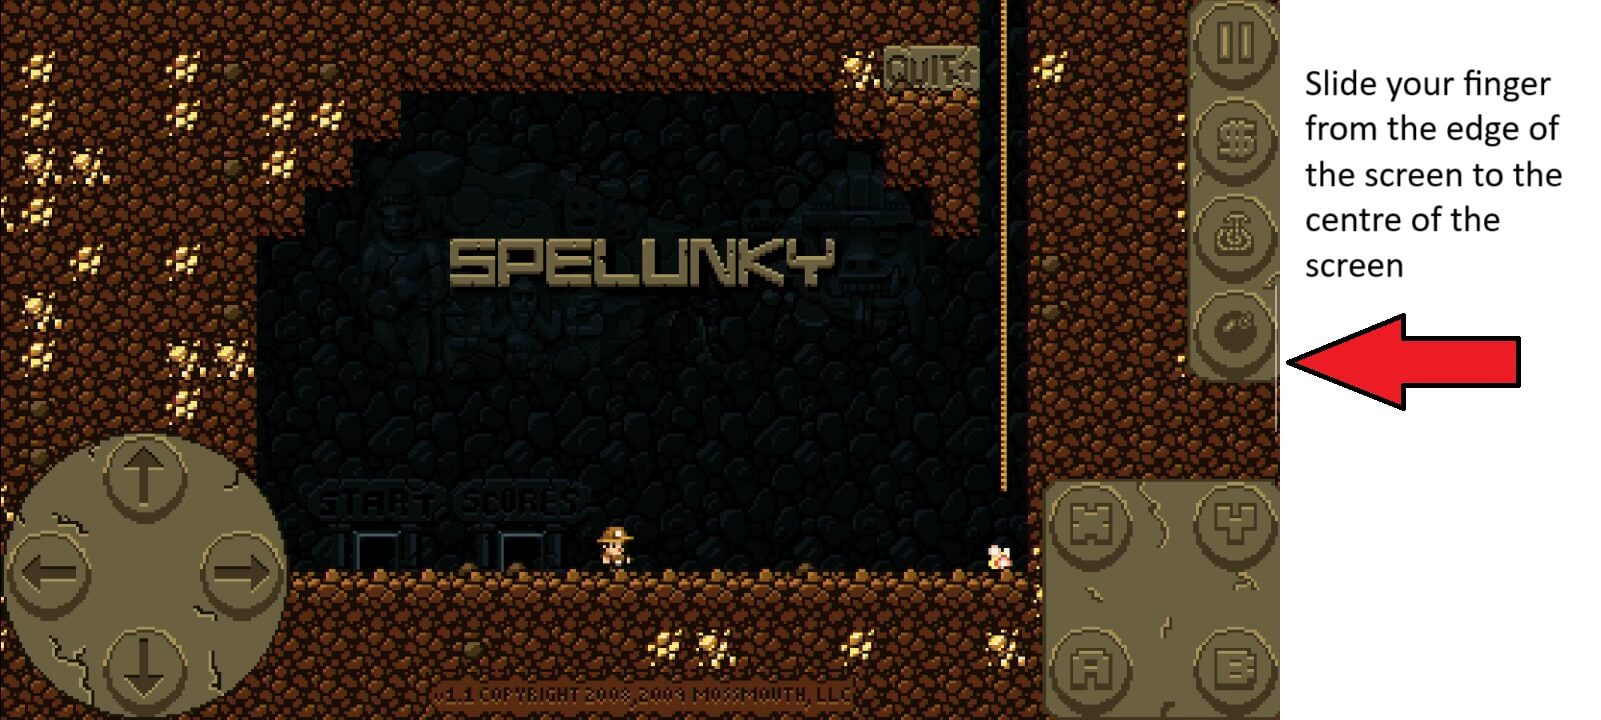
The Retroid Pocket series has a very useful screen overlay which you can access by sliding your finger from the right side to the center of the screen while in a game.
An overlay will display on the right side of the screen with various options.
Setting up key mapping on games
Many Android games do not natively support gamepad input. But with the RP3+ we can use their software to map key presses to the on-screen touch controls. In this example, we are using Spelunky Classic which does support gamepad, but it has onscreen touch icons which we can demonstrate how to set up the key mapping. Choose the Key Adapter icon on the overlay
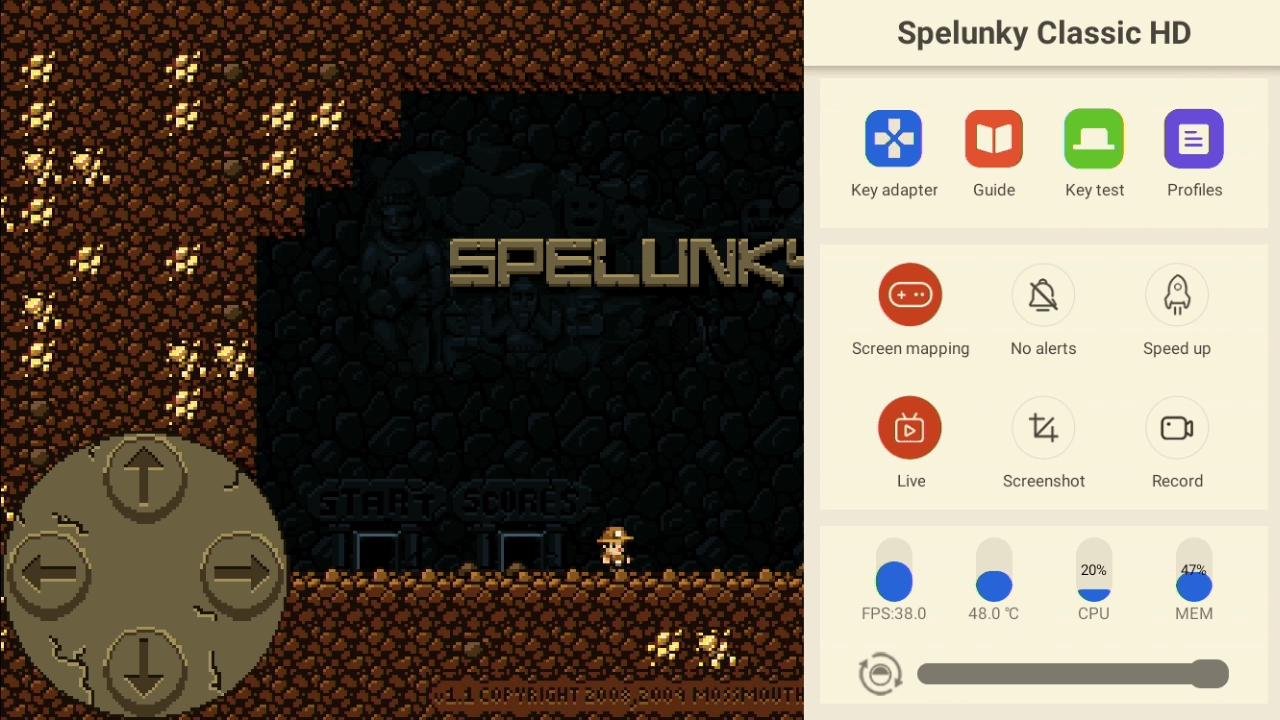
You will see a row of controller icons. From left to right they are Buttons, Left Analogue Stick, Right Analogue Stick, Delete, Settings, Download profile from Cloud and Save.
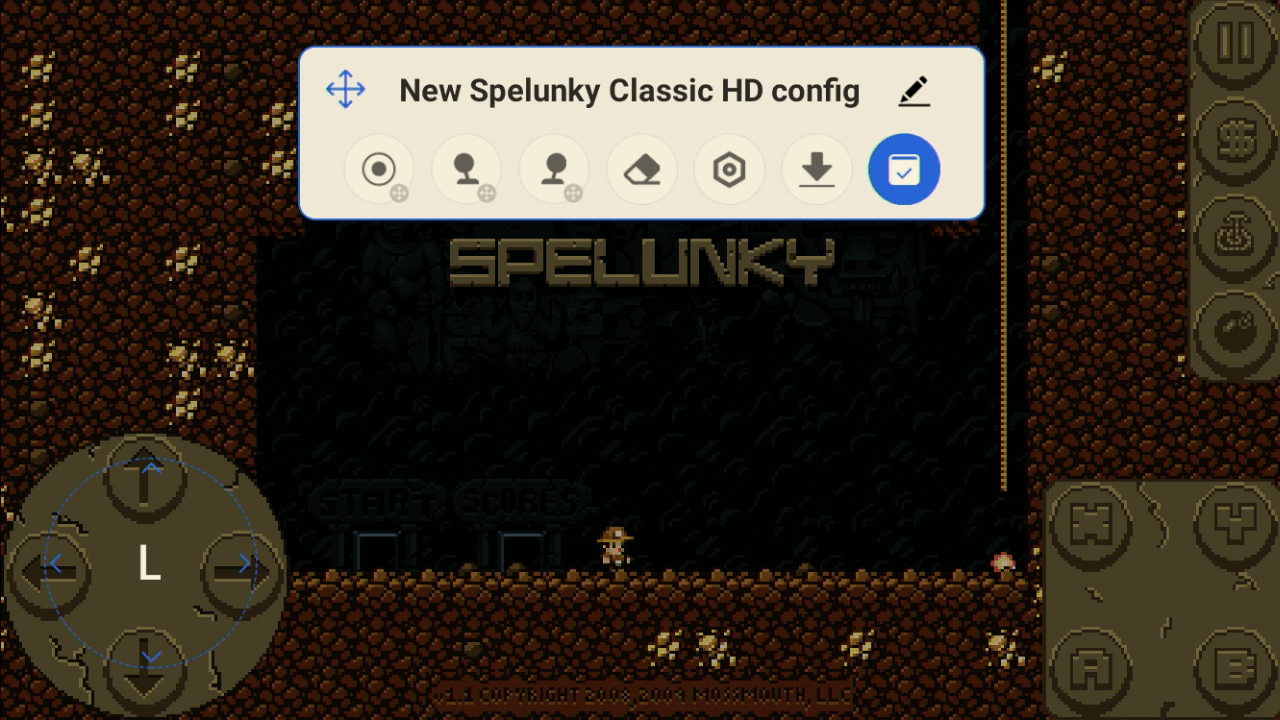
We will first set up the left analogue joystick. Drag and drop the left analogue stick icon to the D-Pad touch area at the bottom left of the screen.

You will see an overlay showing the area of the D-Pad. it does not have to be 100% center but try and get it accurate as best you can.
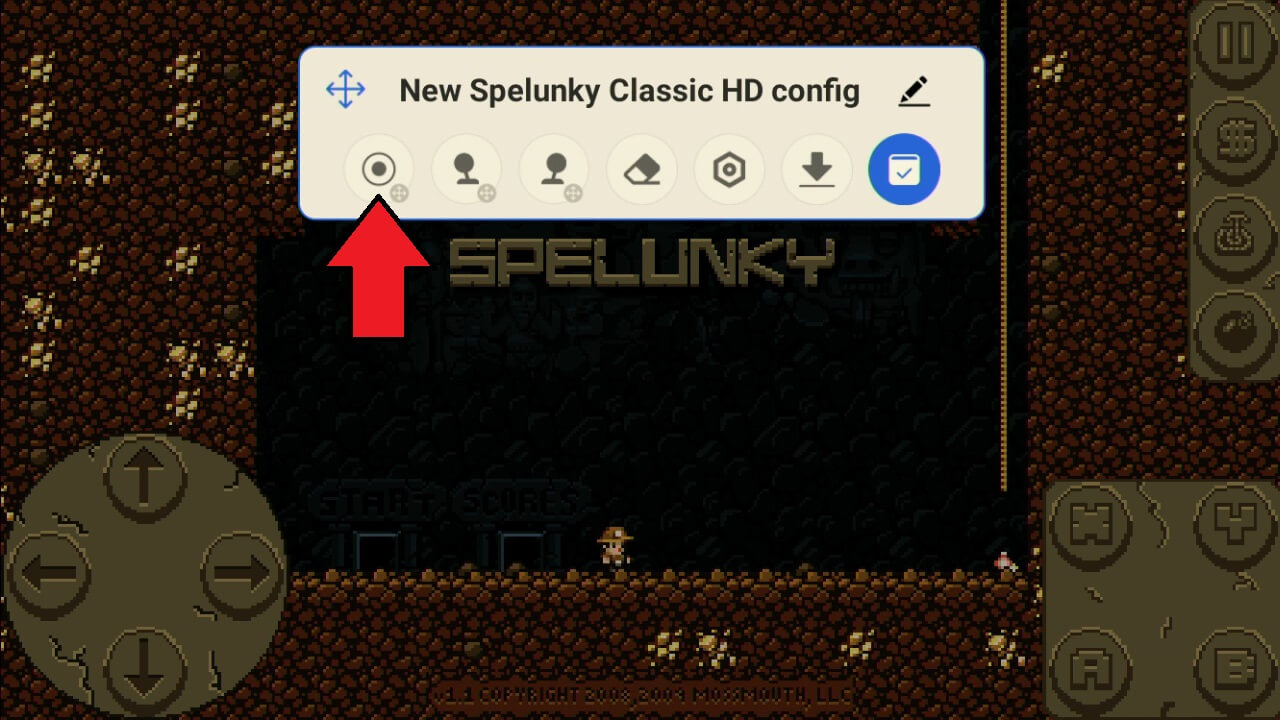
We will now map a key to the buttons on the bottom right area of the screen. Drag and drop the first icon to the ‘X’ icon on the bottom right.
Press the respective button on the controller to map it. The icon will change from white to text with the button you pressed.
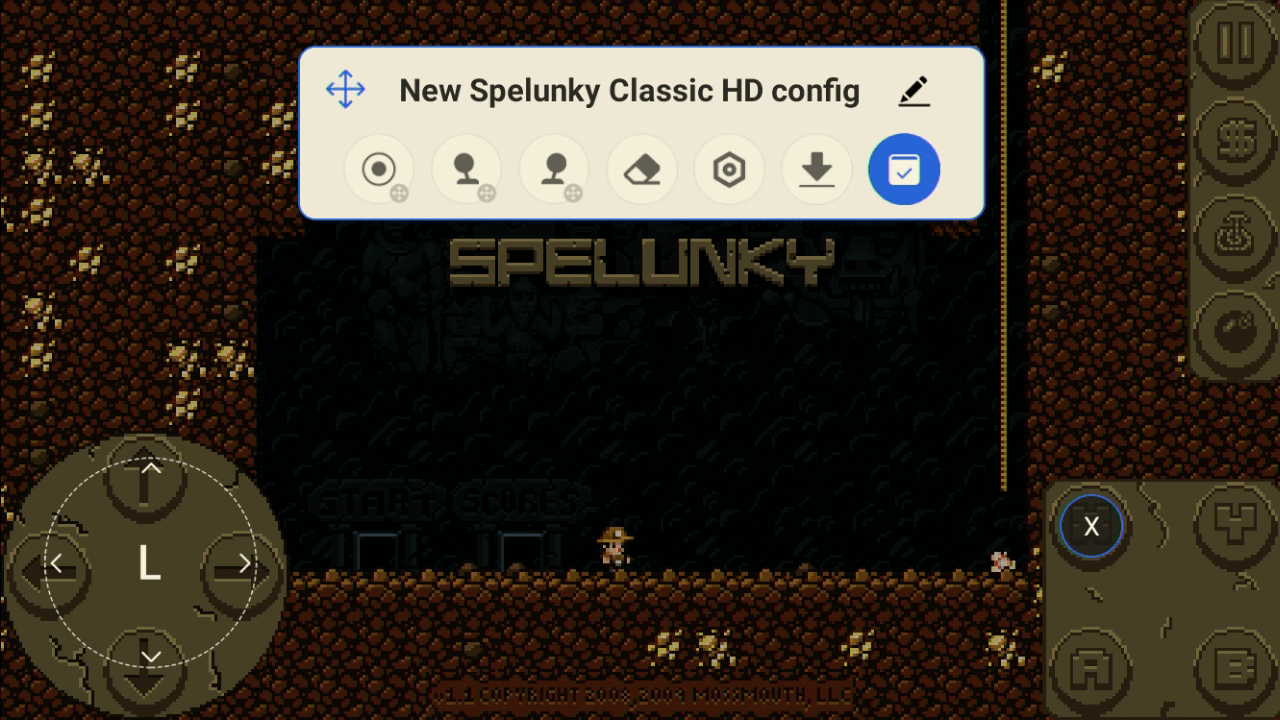
Repeat the process for any other controls or buttons on the screen and map them to the Retroid Pocket 3 Plus controllers. Once you have finished, choose the Blue icon with a checkmark to save it. You can now play your game with the controls instead of touching the screen.
Taking a screenshot or recording a game
From the overlay menu, you can choose Screenshot to save the current screen or choose Record to record video capture to the storage.

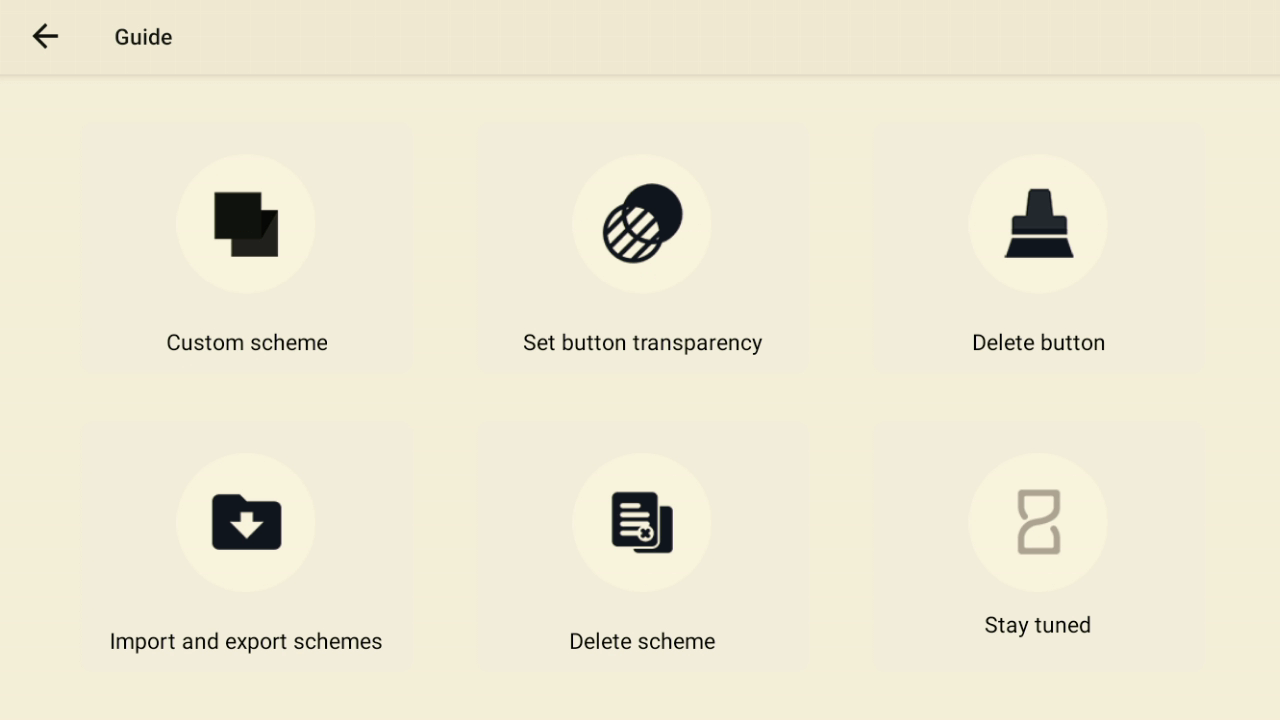
Built-in overlay guide
There is a built-in guide for the overlay operations that you can access by choosing the Guide icon on the main overlay menu.
We hope this getting started guide gets you up and running with your Retroid Pocket 3 Plus. If you have any questions please feel free to contact our customer service.
Questions & answers