

In this article
III. Setting Up Emulators: A Step-by-Step Guide
Choosing the perfect hardware is just the beginning. The software – the emulators themselves – is what breathes life into your retro game library. Setting up emulation on Android involves a few key steps, and while it might seem daunting initially, following a structured approach makes the process manageable.
Read Page 1 for Introduction and Choosing your Android handheld
Read Page 3 for Legal and Ethical Considerations and ways you can expand your emulation experience.
Read Page 4 for a round up of everything we have covered in this guide
The General Workflow: Frontends First
While you can install and launch each emulator individually, managing potentially dozens of apps and thousands of game files quickly becomes cumbersome. This user experience challenge is why installing a frontend application first is highly recommended. Frontends act as a unified hub, scanning your game files (ROMs/ISOs) and installed emulators, then presenting everything in a visually appealing, console-like interface. They streamline browsing, launching, and organizing your collection immensely, making them almost essential for a polished experience, especially with larger libraries.
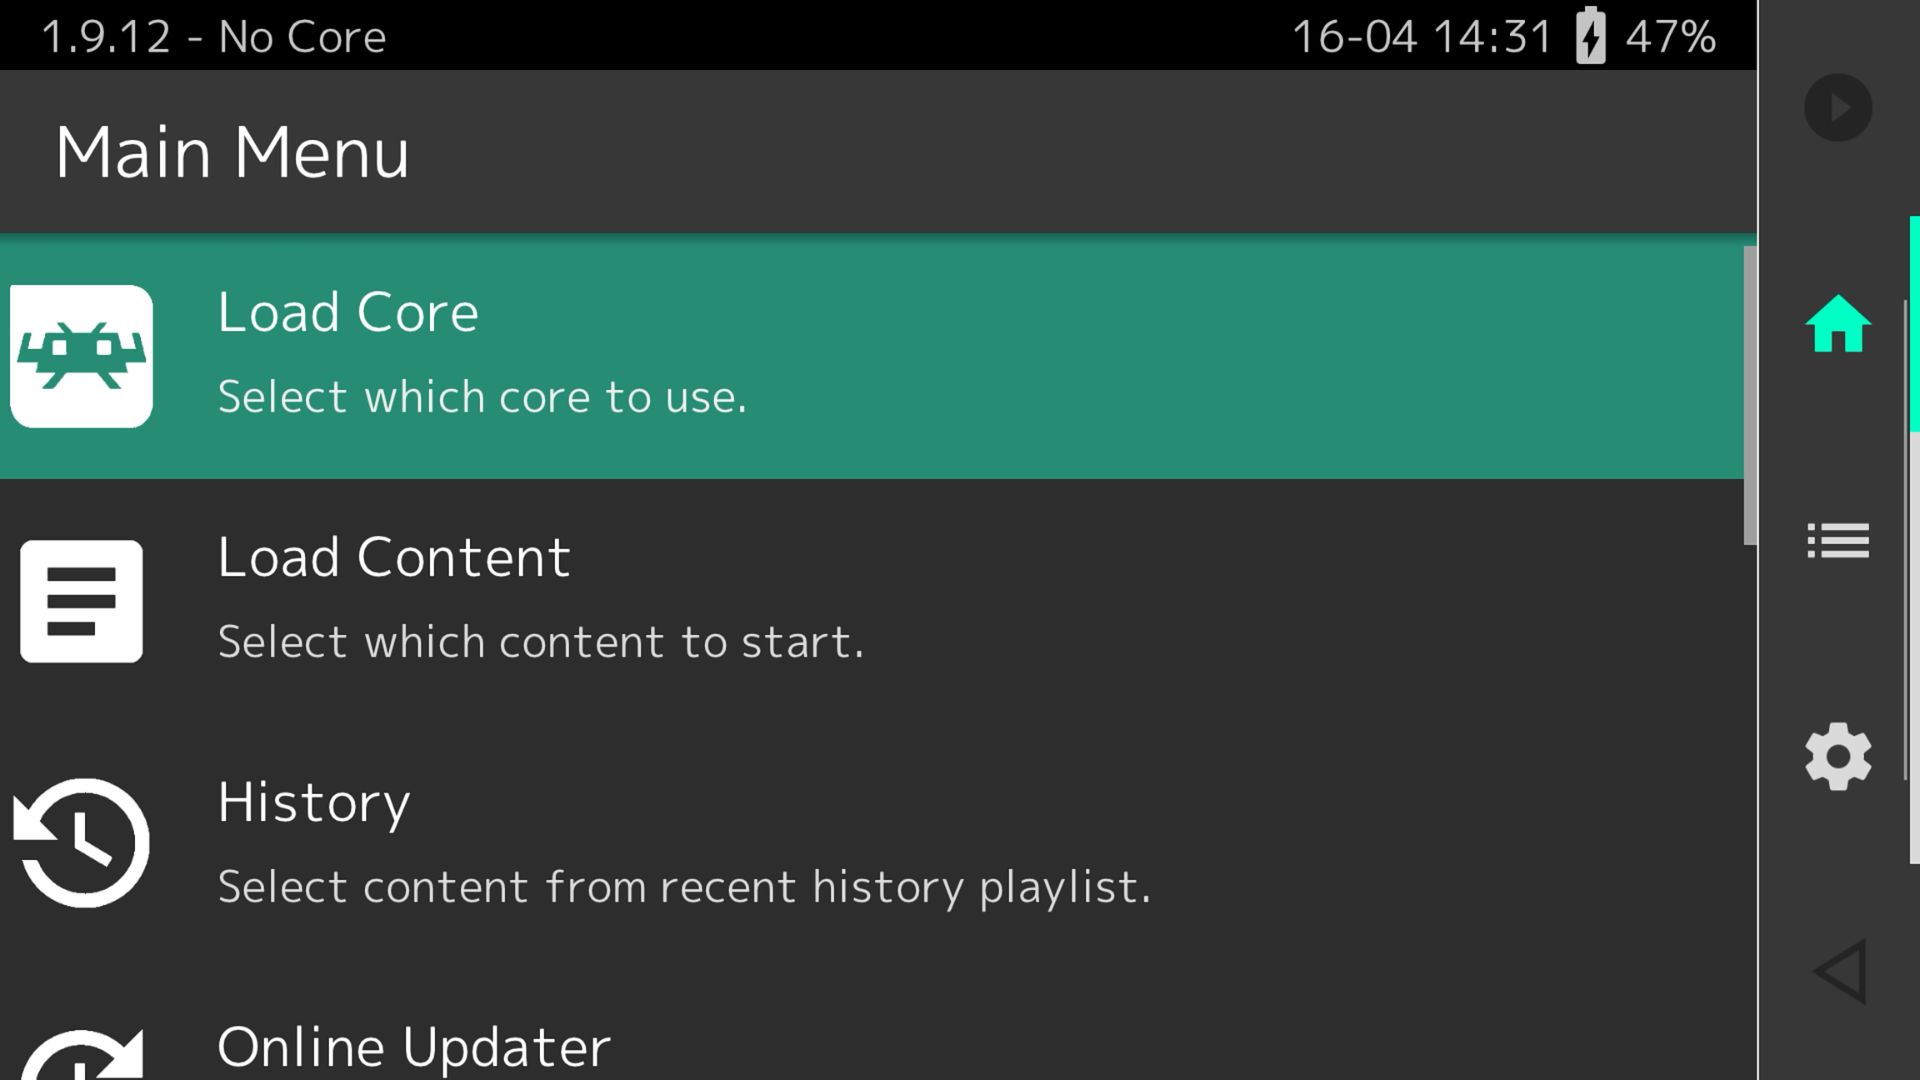
Several popular frontend options are available:
- ES-DE (Emulation Station Desktop Edition): A paid option ($5.50) often favored for its polished, console-like feel and extensive theme support.
- RetroArch: A free frontend with many emulator cores. See our how to install and setup RetroArch guide here.
- Daijisho: A free frontend known for simplifying setup and offering customizable widgets.
- Beacon: A paid app ($3) that balances a traditional Android interface with gaming frontend features, receiving frequent updates.
- Console Launcher: A free, tile-based launcher (with an optional Pro upgrade) that integrates Android apps alongside games.
- Reset Collection: A paid app ($5) with a clean interface that automatically adds media, though it might not scale perfectly on smaller screens.
- ATV Launcher / Pro: A tile-based launcher (Free/$3) often used on Android TV boxes but adaptable for handhelds.
- LaunchBox: The priciest option ($40 lifetime license, free version limited to 100 games) known for its clean look and minimal setup.
Once you’ve chosen and installed a frontend, the general process continues:
Install Emulators
Obtain the emulator apps for the systems you want to play. There are two main methods:
- Google Play Store: The easiest route for many popular and well-maintained emulators like PPSSPP (PSP), DuckStation (PS1), and Mupen64Plus FZ (N64).
- Sideloading (Manual Installation): Some emulators aren’t available on the Play Store due to Google’s policies, their development status (e.g., beta versions, forks like NetherSX2 for PS2 or Yuzu forks for Switch), or developer preference. These need to be downloaded as APK files from reputable sources (official developer websites, GitHub release pages) and installed manually. You’ll need to enable “Install from Unknown Sources” in your Android security settings first – exercise caution and only download from trusted locations.
Tools like Obtainium can help manage updates for sideloaded apps. This mix of distribution methods indicates a somewhat fragmented landscape; users wanting the latest or widest range of emulators must be comfortable going beyond the Play Store.
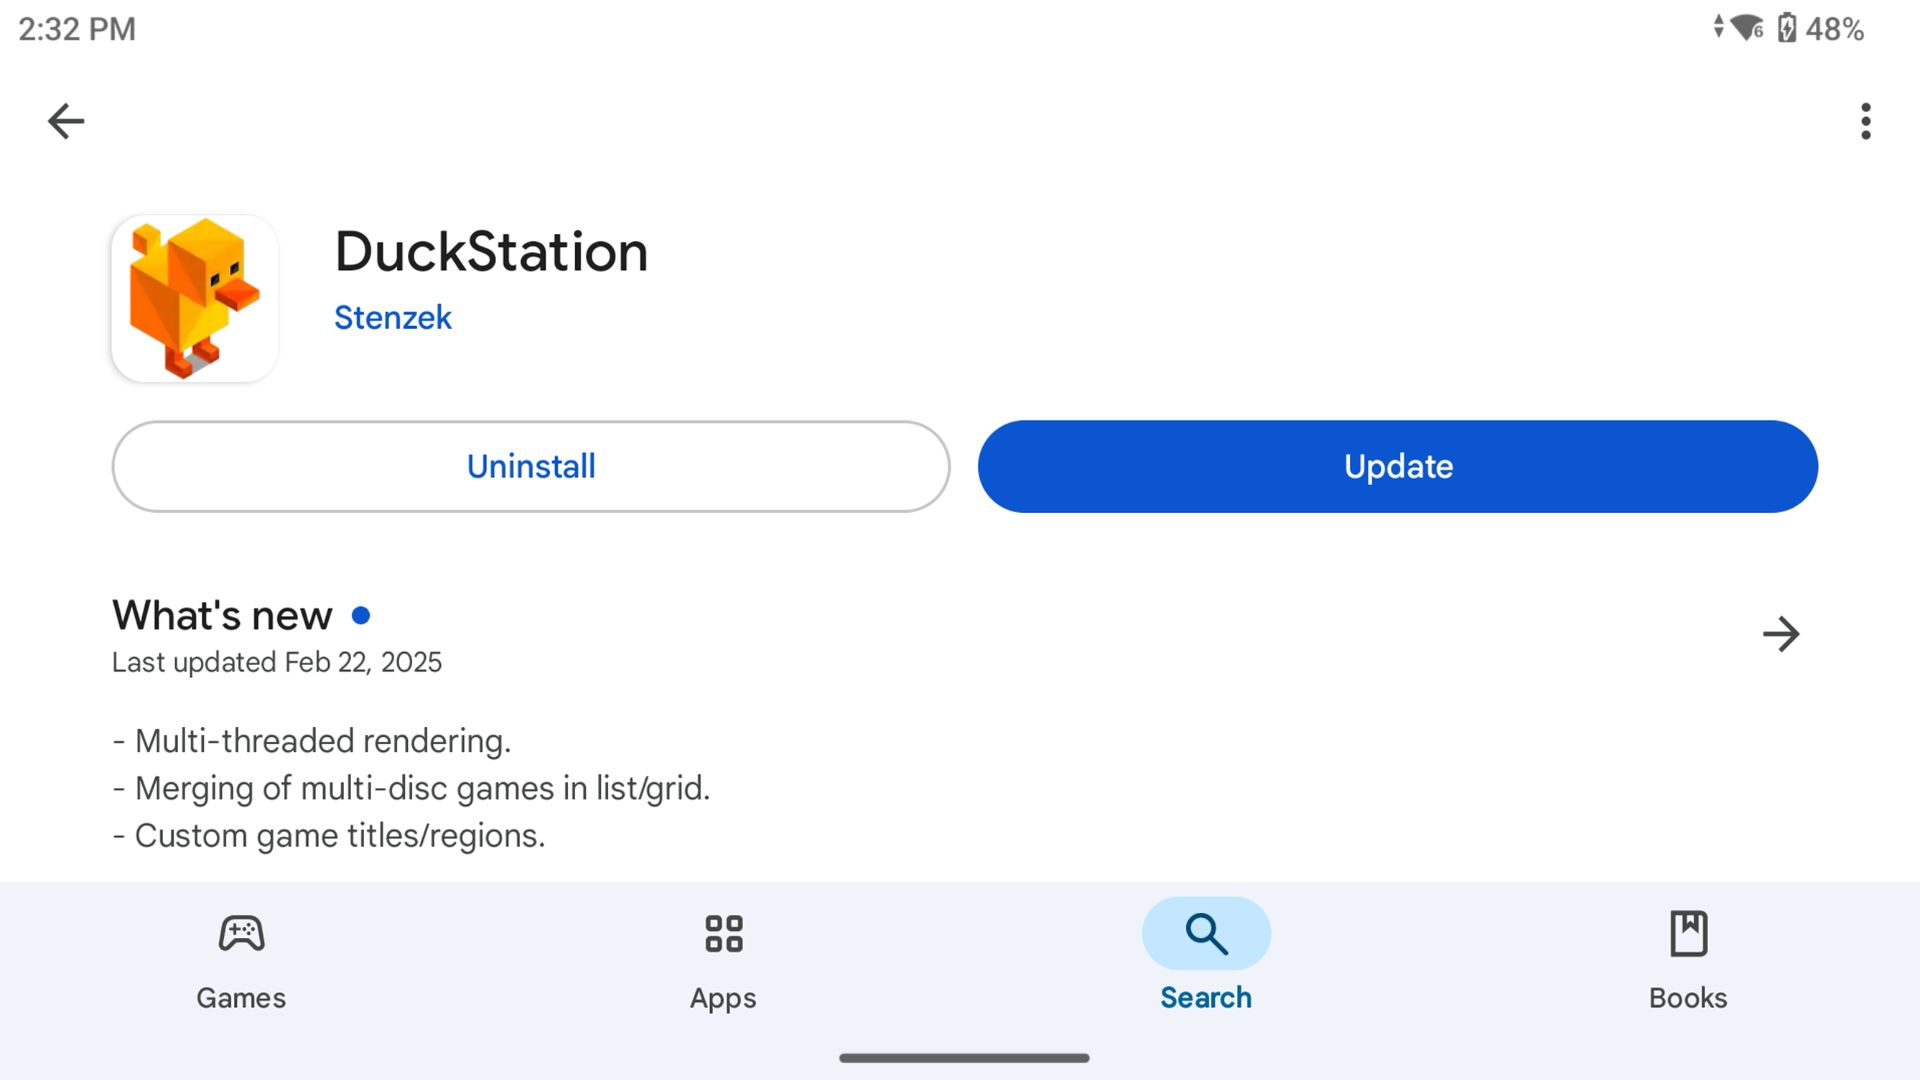
Basic Emulator Configuration
Each emulator typically requires some initial setup. This usually involves telling the emulator where your game files (ROMs/ISOs) are stored on the device, configuring display and audio settings (more on this in Section IV), setting up controls, and, for certain systems (like PS1, PS2, Saturn), potentially providing BIOS files (see Legal Considerations section).
Frontend Configuration
Finally, configure your chosen frontend. This involves telling it which emulators you’ve installed and where your ROM folders are located. The frontend will then scan these folders, identify your games, and (often automatically) download artwork and metadata (scraping) to build your unified game library.
Emulator Recommendations
While many emulators exist, some stand out for their performance, accuracy, and features on Android:
- Multi-System: RetroArch is a powerful frontend for numerous emulator ‘cores’. It’s incredibly versatile but can have a steeper learning curve. Recommended cores include the following but MANY more are available:
- NES: Nestopia UE
- SNES: Snes9x Current
- GBA: mGBA
- Genesis/Mega Drive: Genesis Plus GX
- Arcade: FinalBurn Neo or MAME 2003-Plus (Note: Arcade emulation requires ROM sets matching the specific emulator/core version).
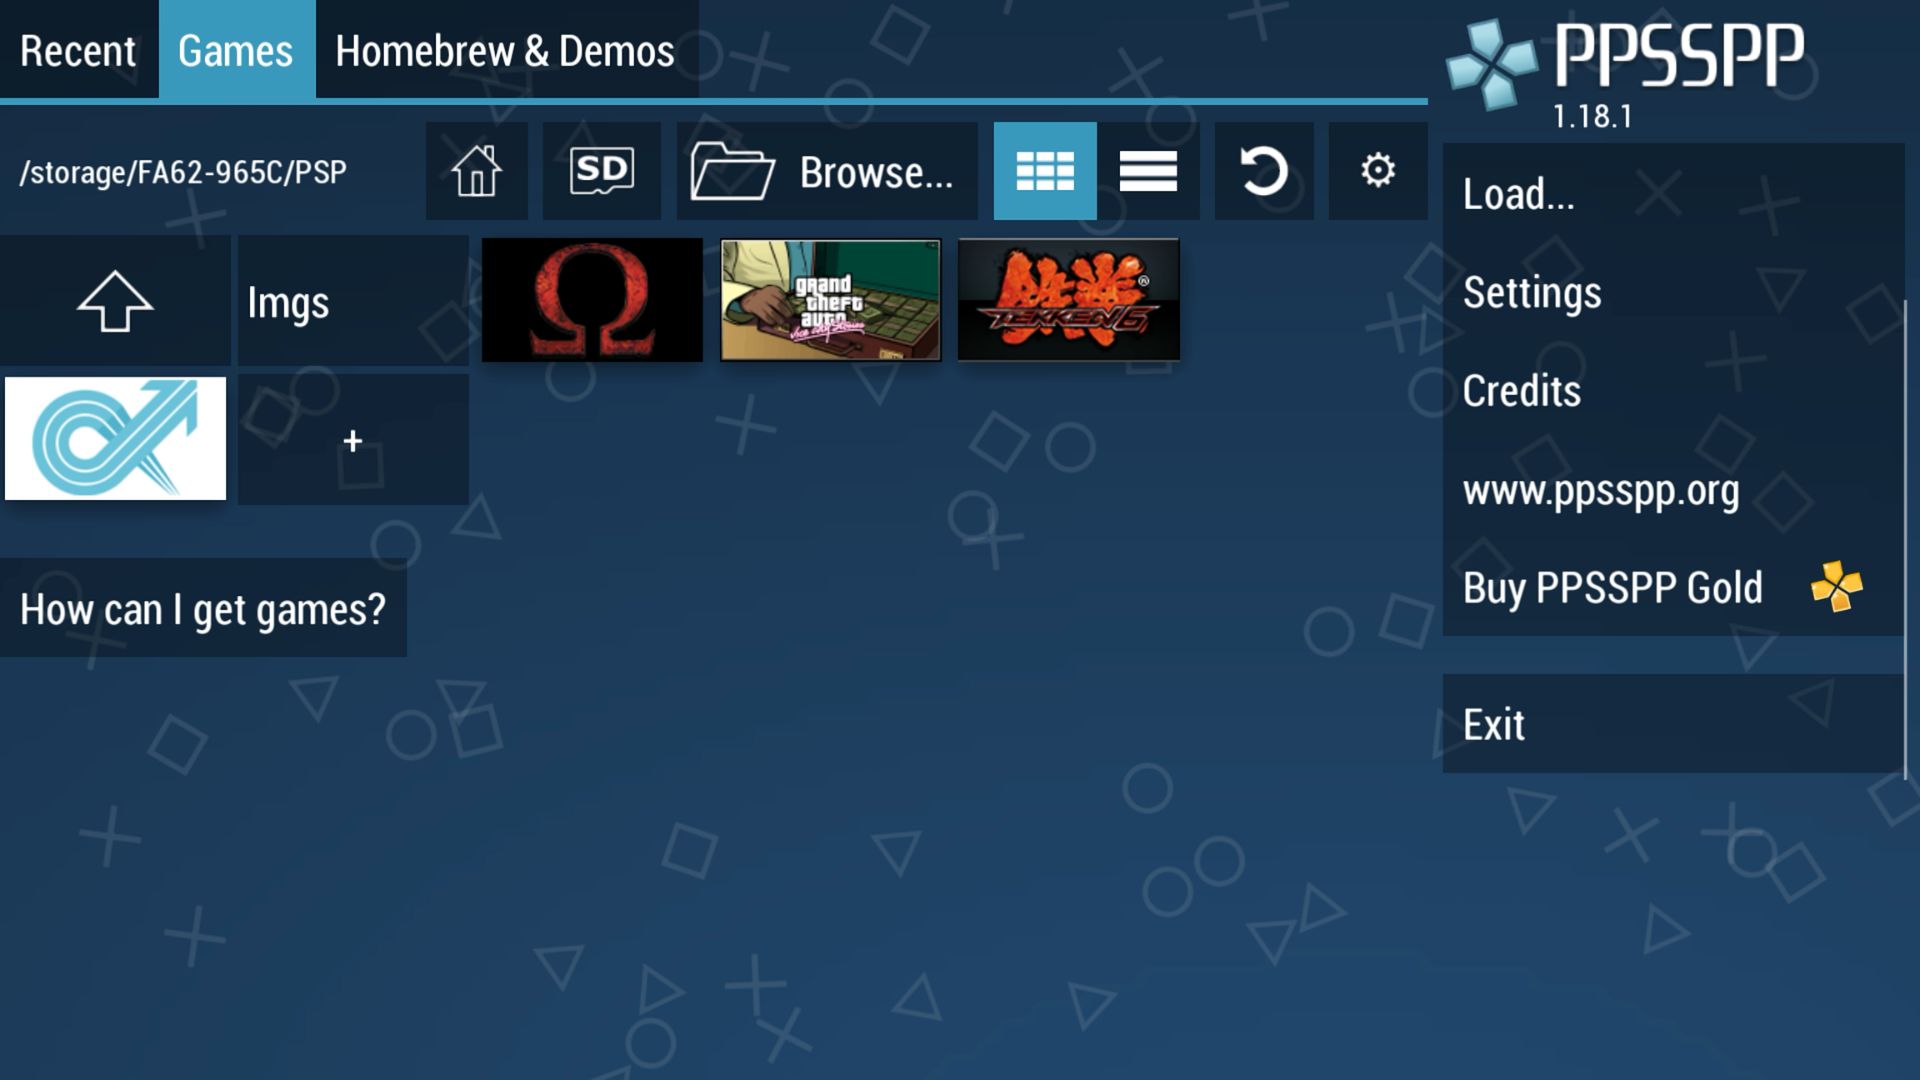
You can also use separately available emulators:
- PlayStation 1 (PS1): DuckStation (Standalone). Highly recommended for its excellent performance, accuracy, ongoing development, and extensive enhancement options. Requires a PS1 BIOS file.
- Nintendo 64 (N64): Mupen64Plus FZ (Standalone – Free/Pro versions). Widely considered the best N64 emulator on Android, offering good compatibility and customization. RetroArch cores like Mupen64Plus-Next or ParaLLEl are alternatives. N64 emulation can still be tricky, with performance varying per game.
- PlayStation Portable (PSP): PPSSPP (Standalone – Free/Gold versions). The definitive PSP emulator, offering outstanding performance and compatibility, available directly on the Play Store.
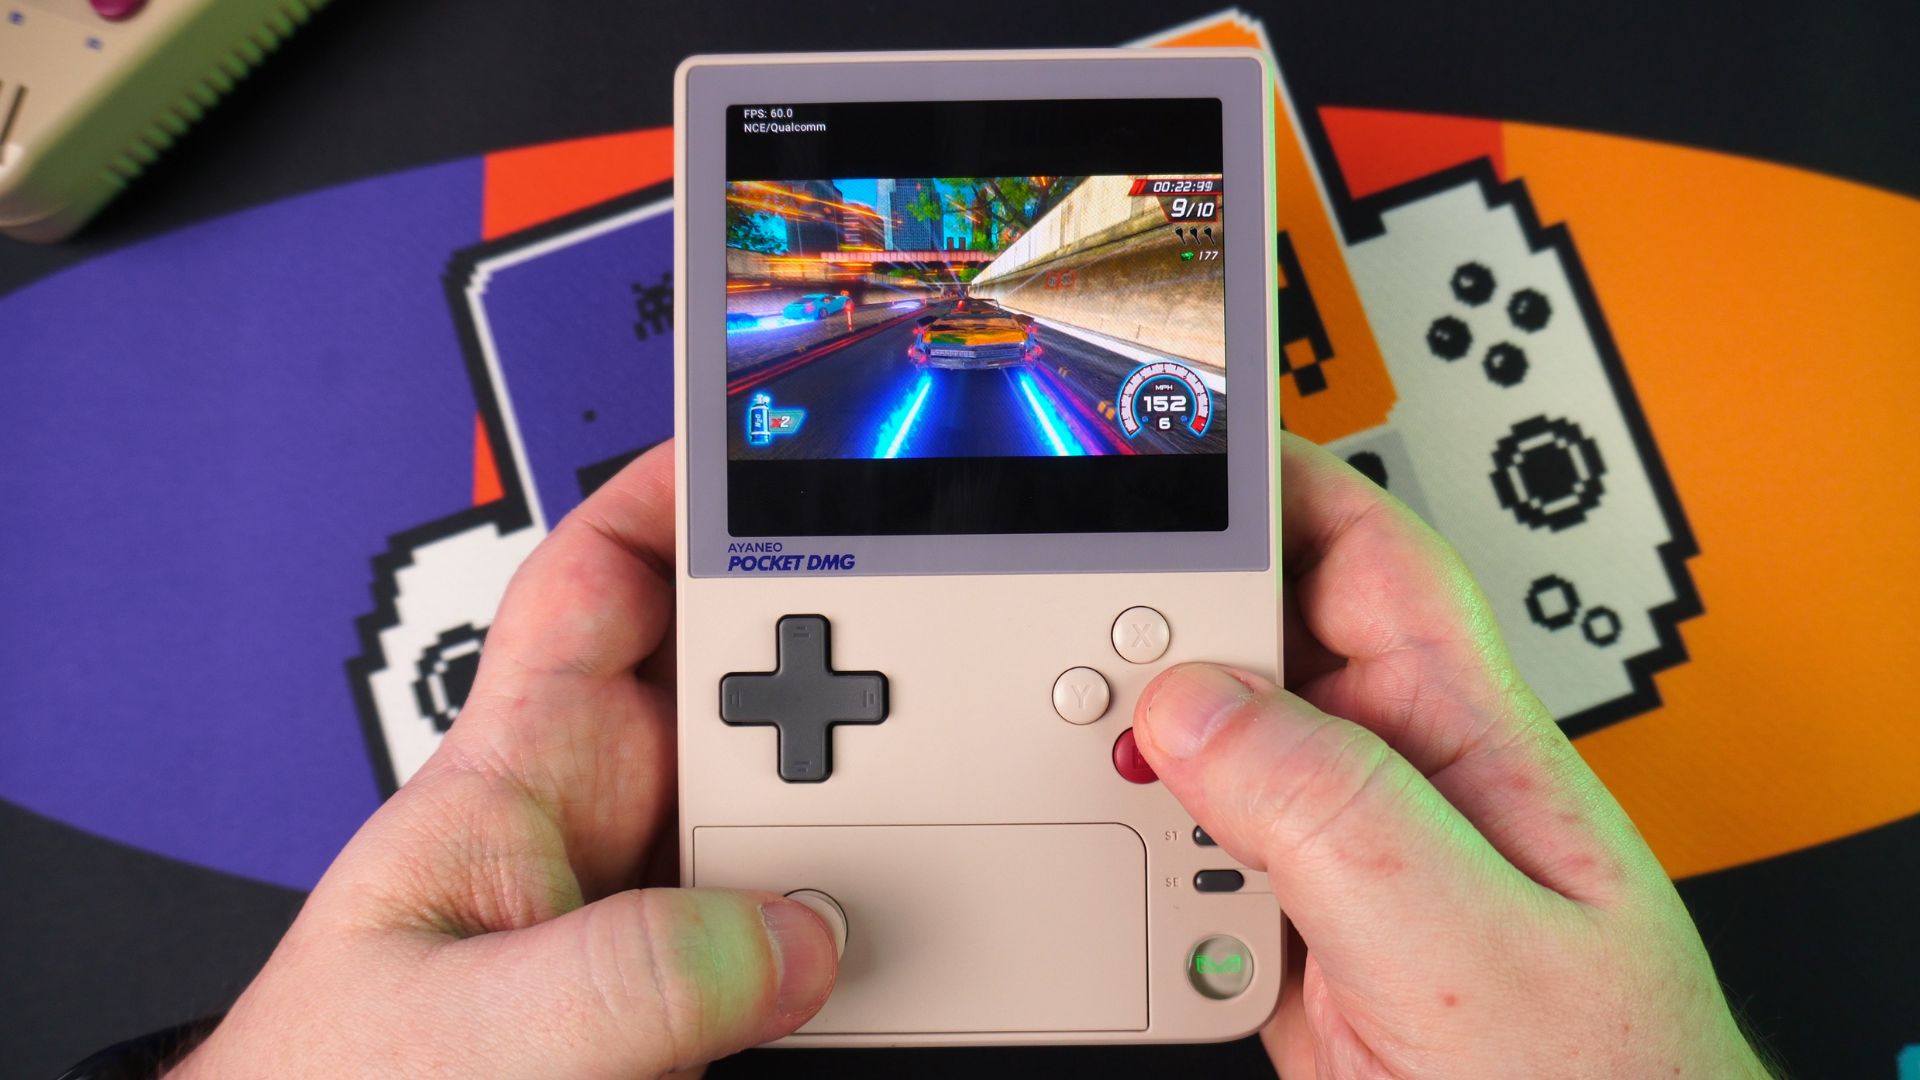
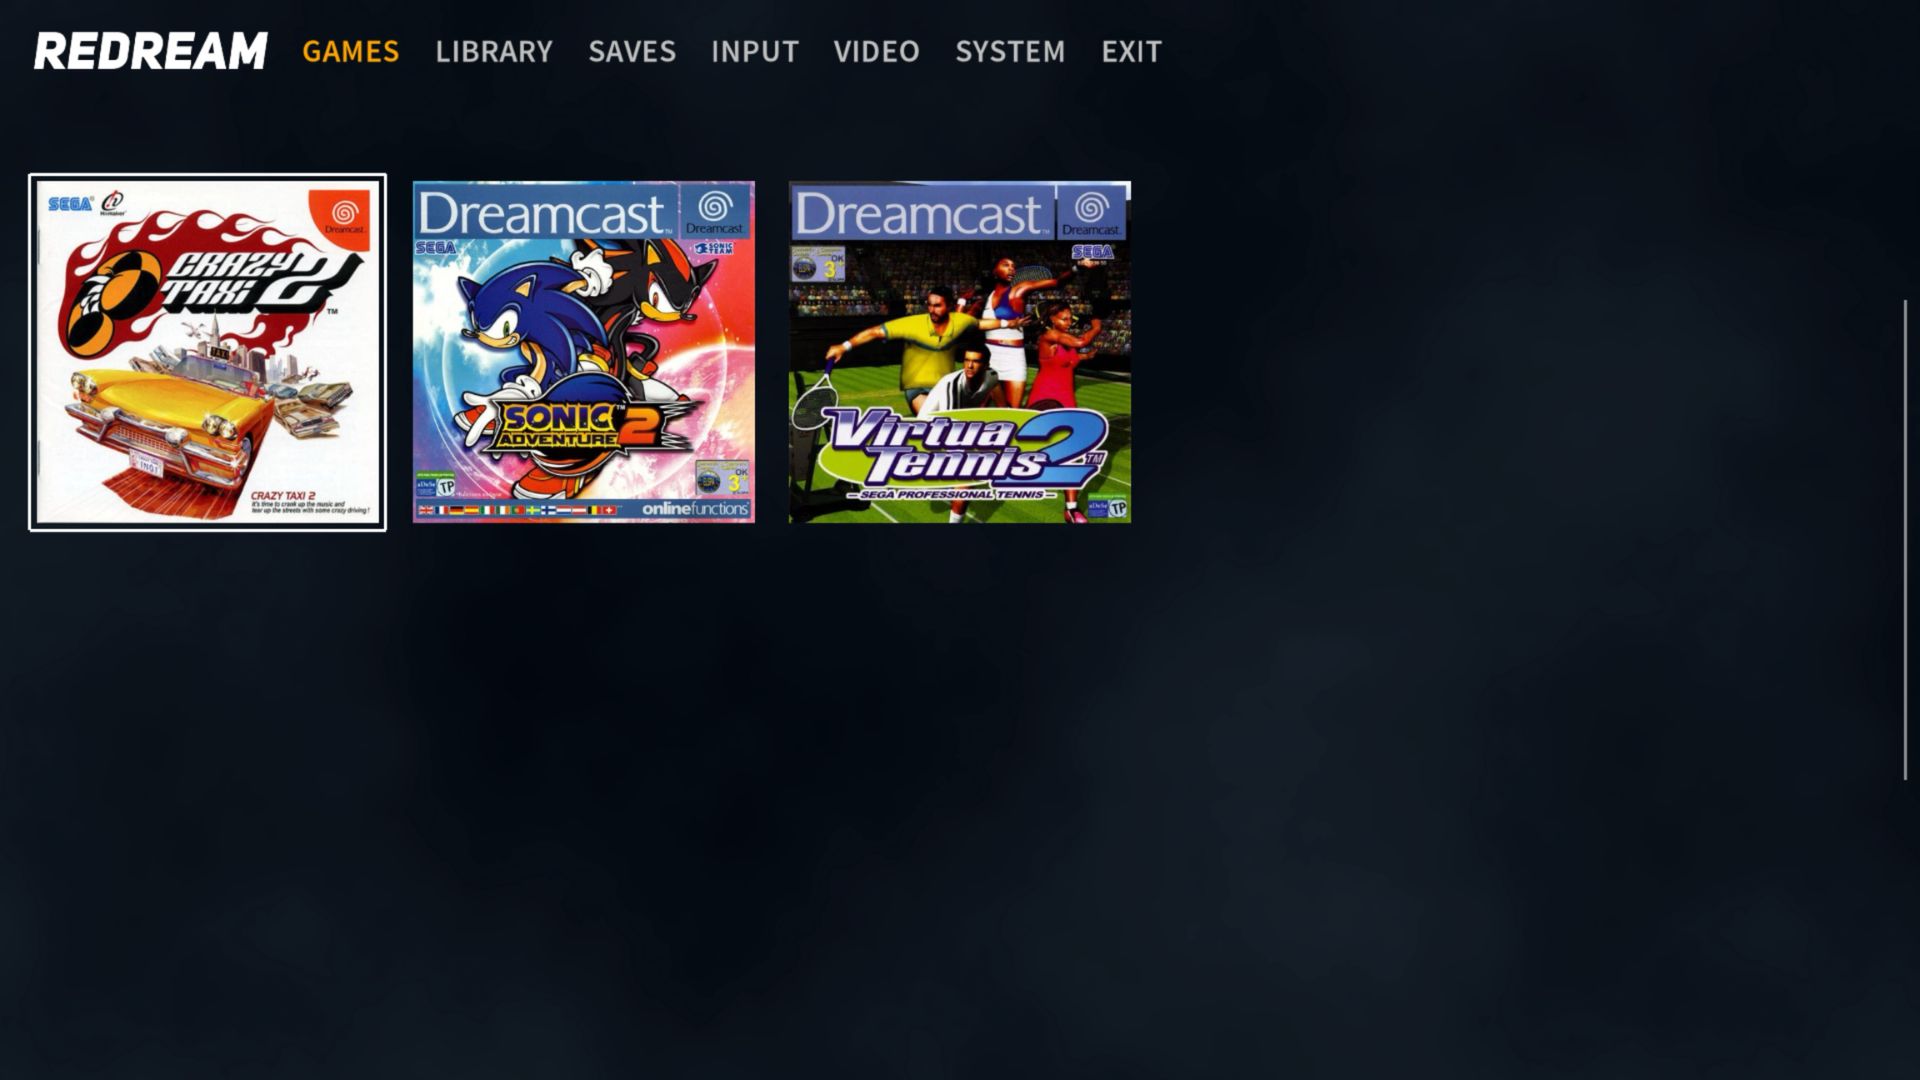
- Dreamcast: Redream (Standalone) is known for ease of use and good performance. RetroArch’s Flycast core is another strong option.
- Nintendo DS: DraStic (Standalone – Paid) is now discontinued but you may be able to find it online. It’s often preferred for its high performance and features. MelonDS (Standalone/RetroArch core) is a capable free alternative.
Read our how to install and setup RetroArch guide here. It may look daunting, but our guide is step by step guides you through the process.
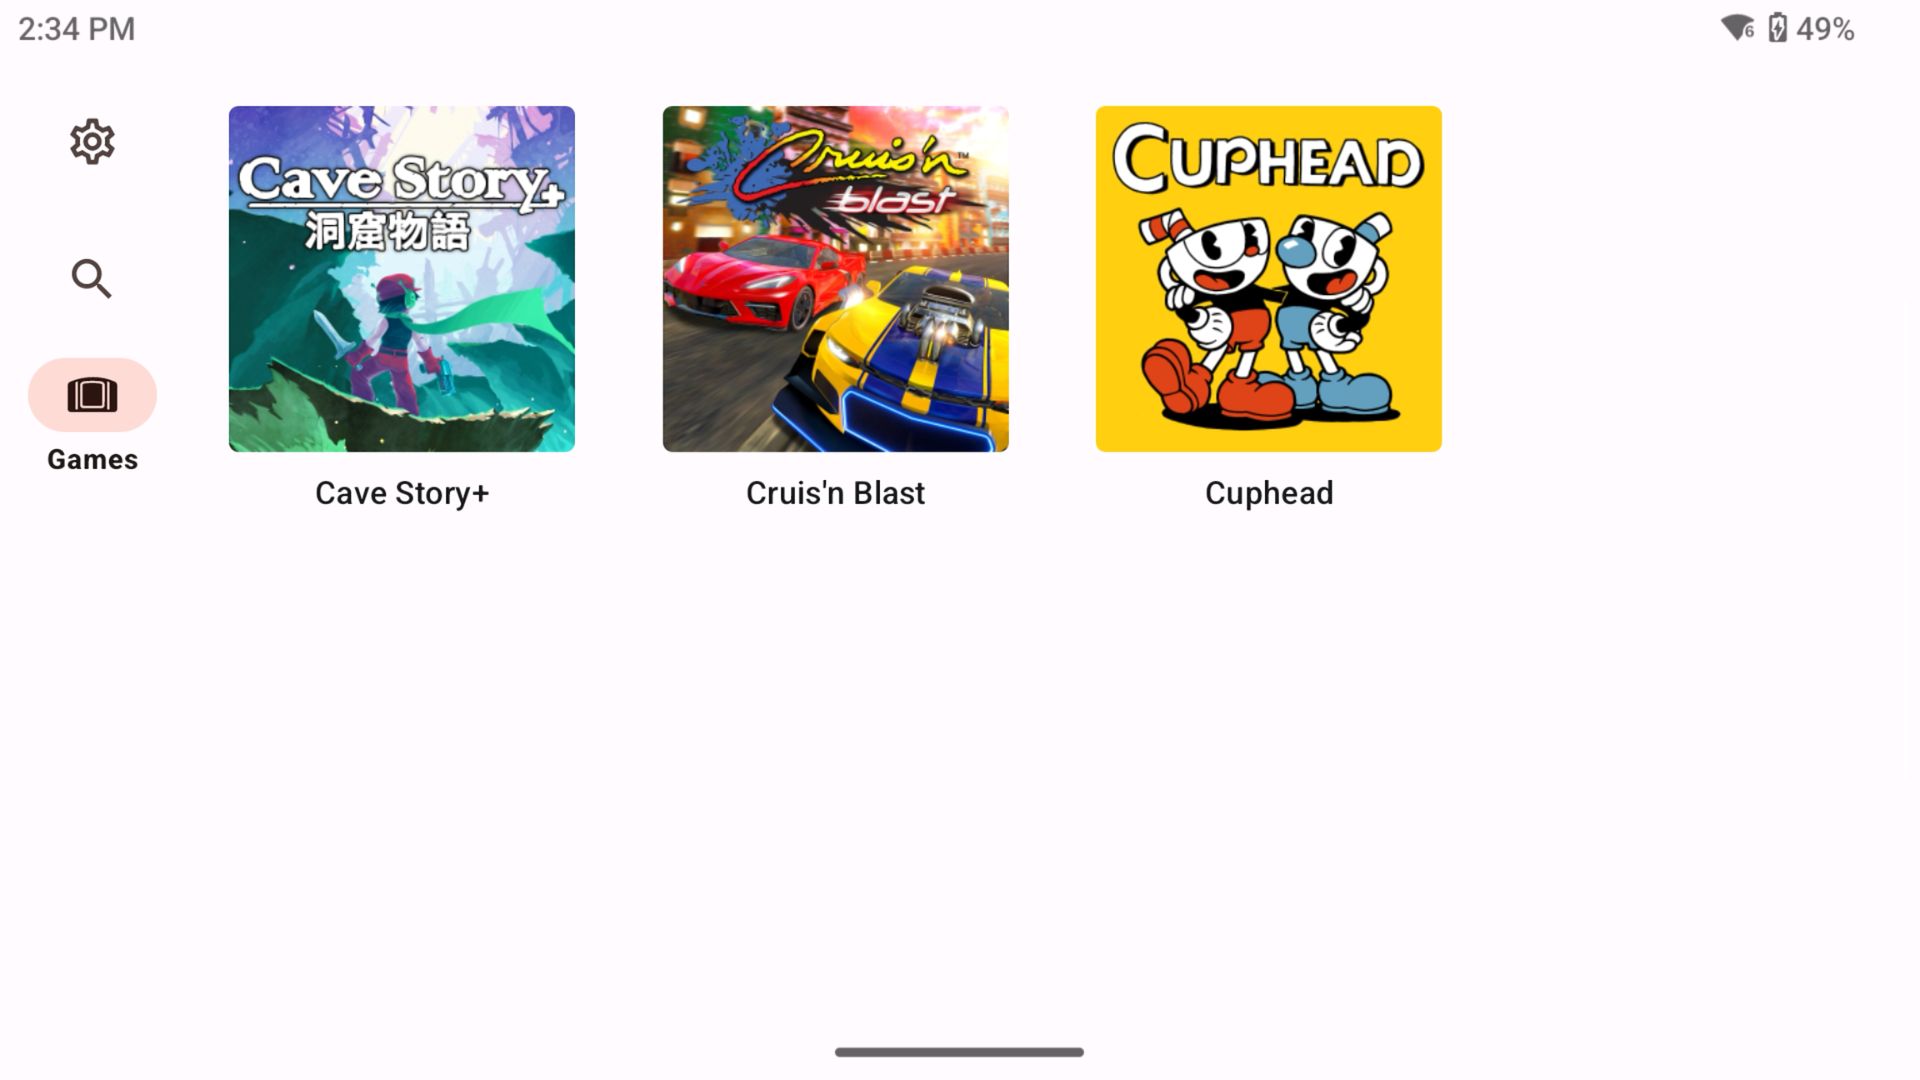
Higher-End Systems (Requires Powerful Hardware like Odin 2 / Pocket S):
- GameCube/Wii: Dolphin (Standalone/Development Builds).
- PlayStation 2: AetherSX2 (Discontinued but archive versions exist) or its community fork NetherSX2. Requires a PS2 BIOS file.
- Nintendo 3DS: Citra (Standalone/Development Builds). (Discontinued but archive versions exist)
- PS Vita: Vita3K (Standalone). Requires firmware and keys dumped from a Vita.
- Nintendo Switch: Yuzu (Standalone/Forks). (Discontinued but archive versions exist) Requires prod.keys dumped from a modded Switch. Setup for these newer systems is often more complex.
Obtaining Game Files (ROMs/ISOs) and BIOS Files
This is the most critical point regarding legality. Video games, including their code and assets, are copyrighted intellectual property.
ROMs/ISOs
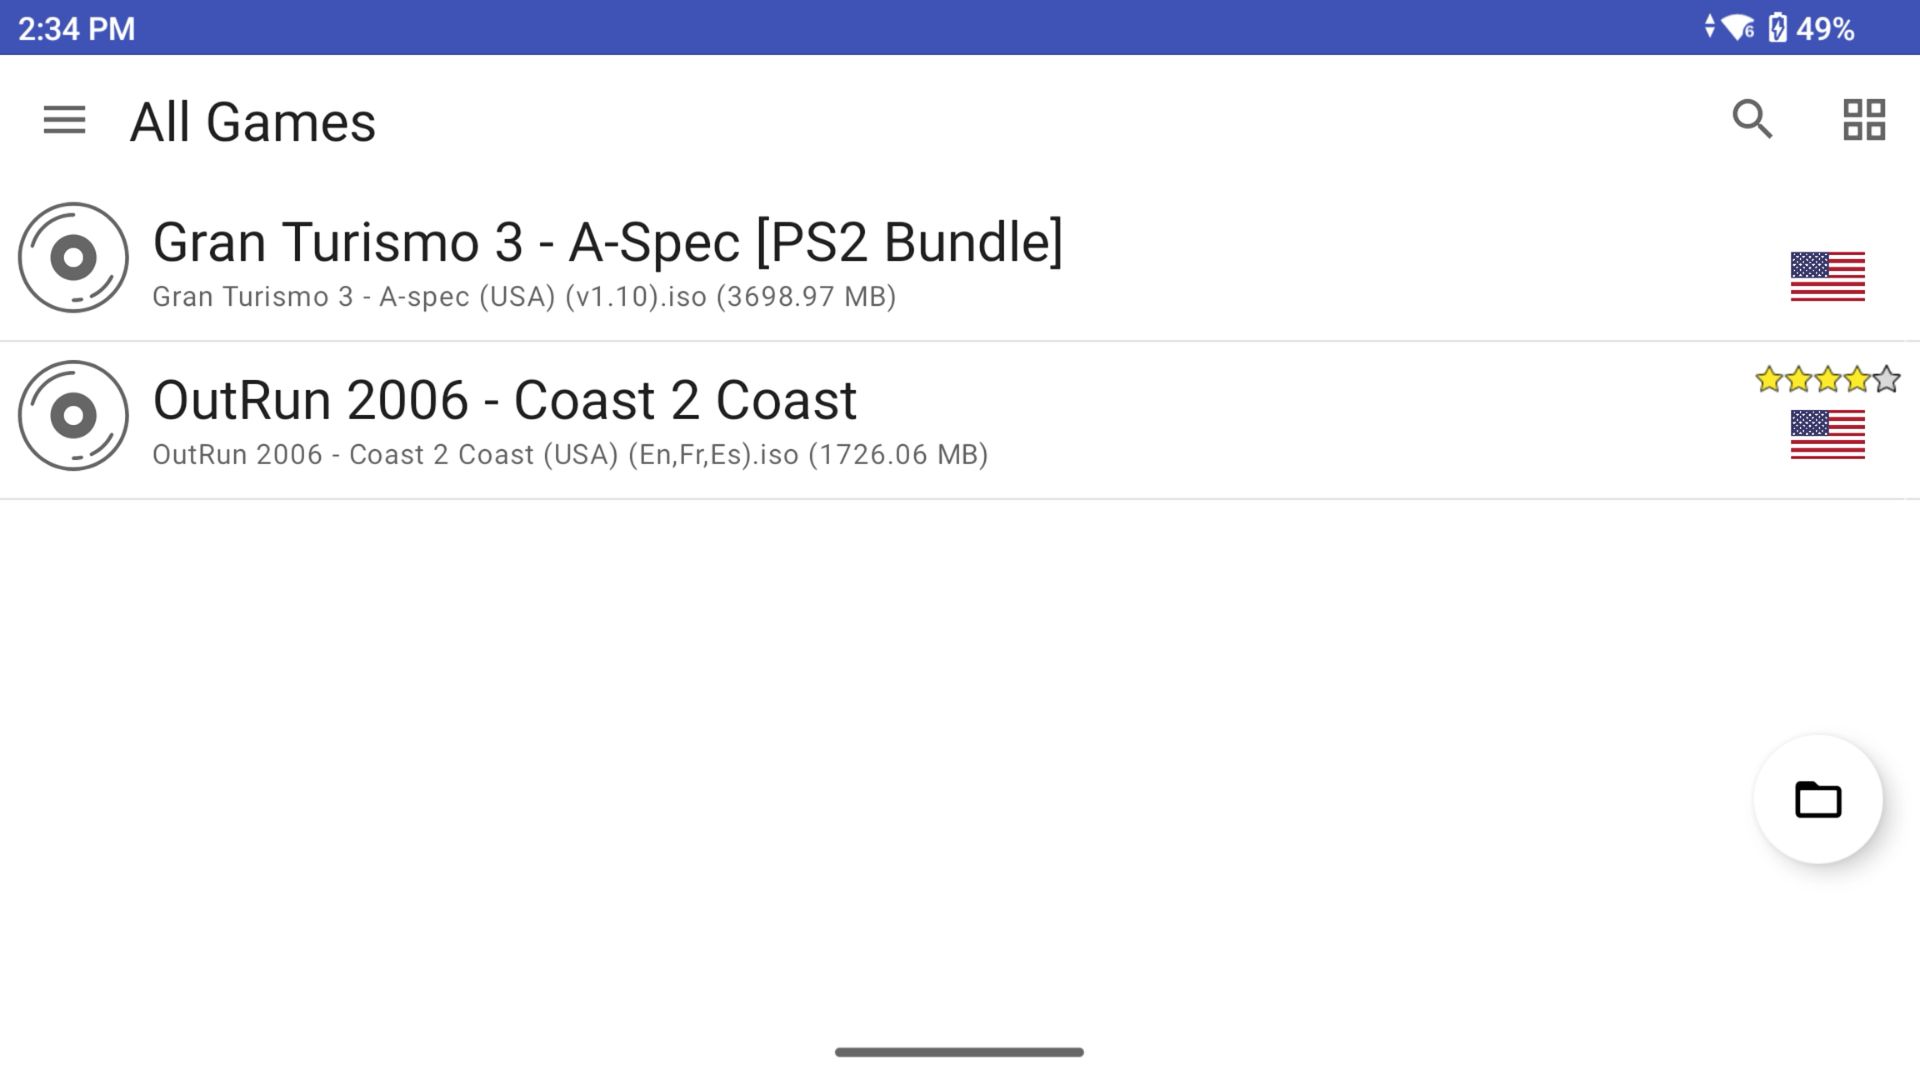
These are digital copies of game cartridges/discs. Downloading copyrighted ROMs/ISOs from the internet for games you do not physically own is illegal copyright infringement in most countries. Reputable guides and communities will not provide links to ROM download sites. This Ultimate Android Handheld Emulation Guide strongly advocates for legal and ethical emulation practices. The only guaranteed legal method to obtain ROMs/ISOs is to dump them from original game cartridges or discs that you personally own using specialized hardware and software. While tools exist for this, the process is technical and beyond the scope of this starter guide.
BIOS Files
Some emulators (notably for PS1, PS2, Saturn, Sega CD, etc.) require Basic Input/Output System (BIOS) files extracted from the original console hardware to function correctly. These BIOS files are also copyrighted software. Downloading BIOS files from the internet is legally questionable and potentially infringing. The legitimate way to obtain them is to dump them from your own console hardware. A known method exists for legally extracting PS1 and PS2 BIOS files from specific PlayStation 3 firmware updates, provided you own a compatible PS3.
General information on BIOS requirements can often be found in emulator documentation or resources like the Libretro docs. The need for these copyrighted BIOS files, and the difficulty in legally obtaining them without technical expertise or specific hardware, represents a significant point of friction for users aiming for fully legitimate emulation.
IV. Optimizing Performance and Controls
Default emulator settings often strike a balance between accuracy and broad compatibility. However, to achieve the smoothest gameplay – especially on mid-range hardware, when emulating demanding systems, or when pushing visual enhancements on powerful devices – diving into optimization settings is often necessary. This process of active tuning, rather than passive consumption, is inherent to maximizing the potential of Android Handheld Emulation, and this section of the Ultimate Android Handheld Emulation Guide provides the keys.
Performance Enhancement Settings
Most emulators offer a suite of options to tweak performance:
Resolution Scaling
This allows rendering the game at a higher (and sometimes lower for increases in performance) internal resolution than the original console (e.g., 2x, 3x native resolution). The result is significantly sharper, less pixelated graphics, especially noticeable on high-resolution handheld screens. However, this comes at a potentially significant performance cost. It’s advisable to experiment, starting at 1x (native) and increasing gradually. Emulators like DuckStation, Mupen64Plus FZ, PPSSPP, and Dolphin offer this feature.
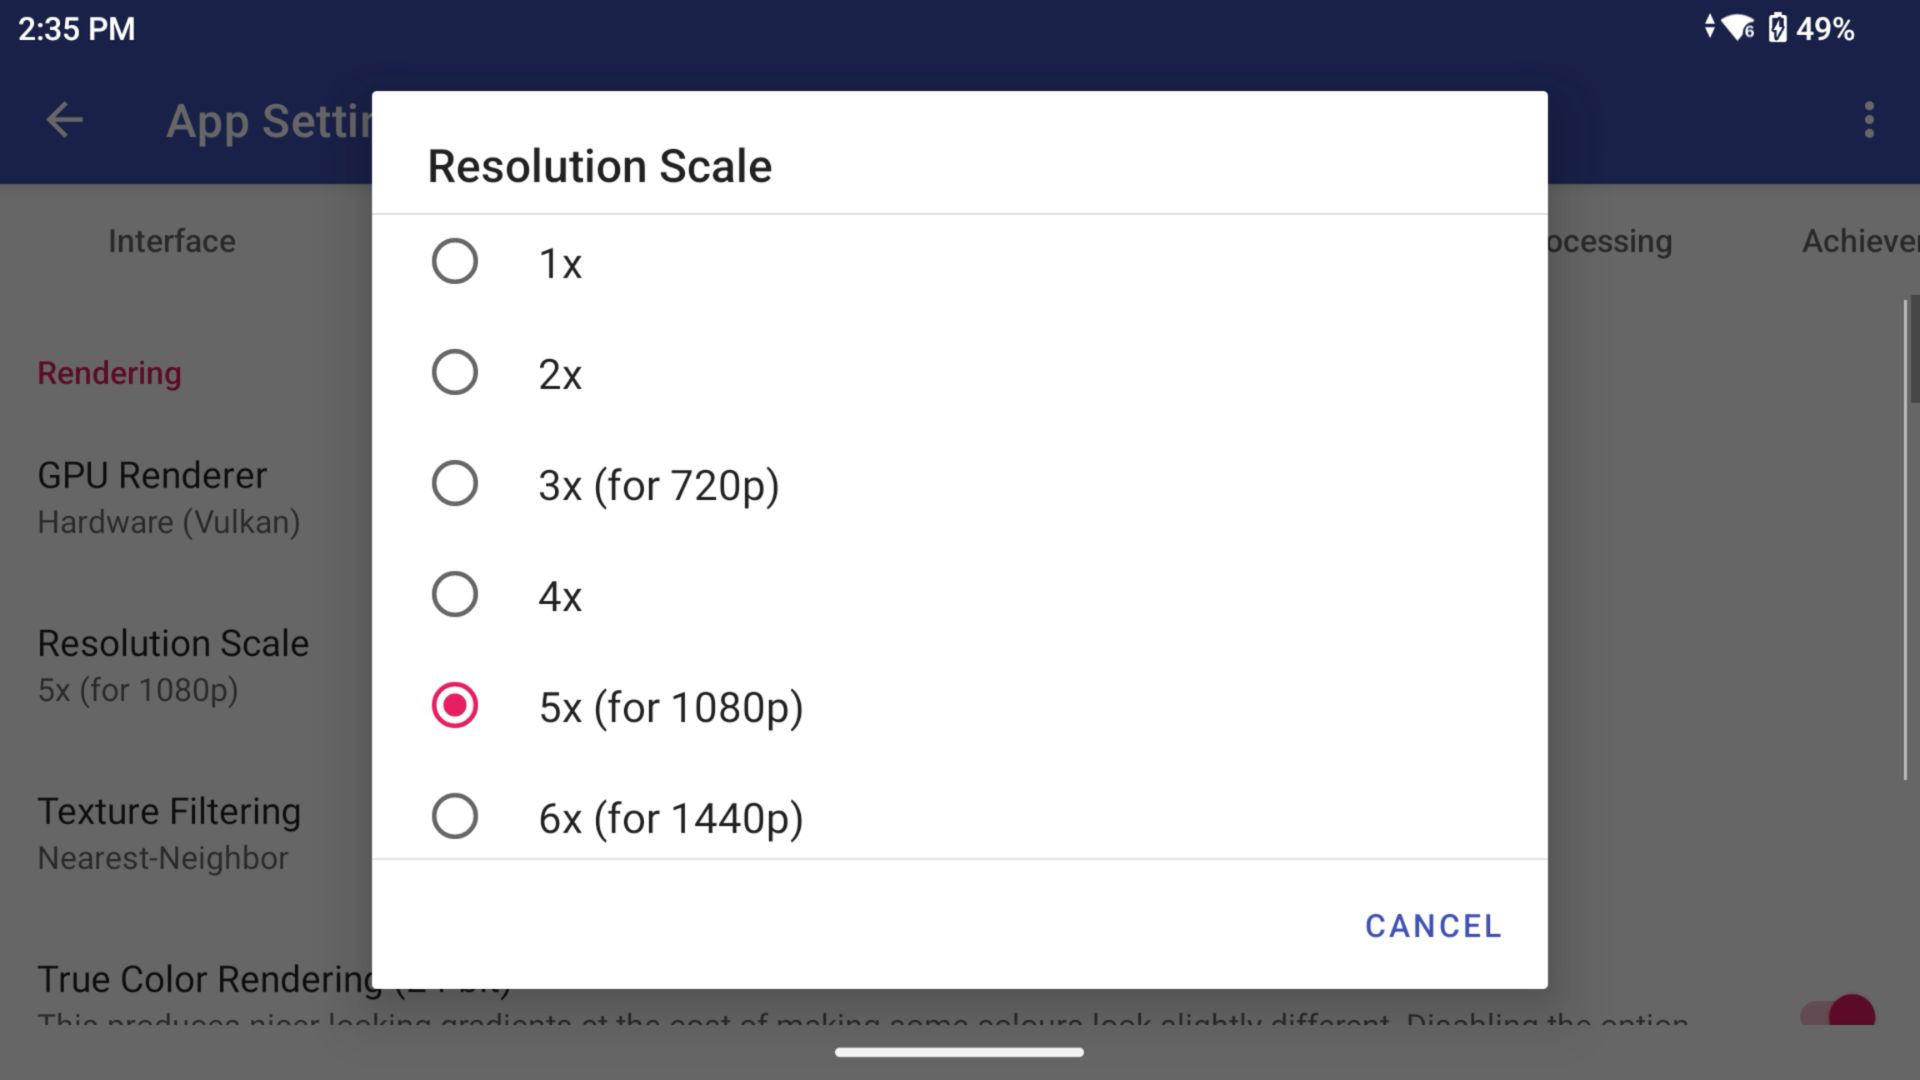
Avoid setting the internal resolution higher than your device’s actual screen resolution, as it provides no visual benefit and wastes resources. For lower-end devices tackling demanding systems like PS2 or GameCube, using PAL region ROMs (which run at 50Hz) instead of NTSC (60Hz) can sometimes ease the performance burden.
Frame Skipping
If a game isn’t running at full speed, frame skipping tells the emulator to skip drawing some frames to keep the game logic running closer to real-time. This can make unplayable games playable but can also introduce visual stutter or an inconsistent “yo-yo” effect (speeding up and slowing down).
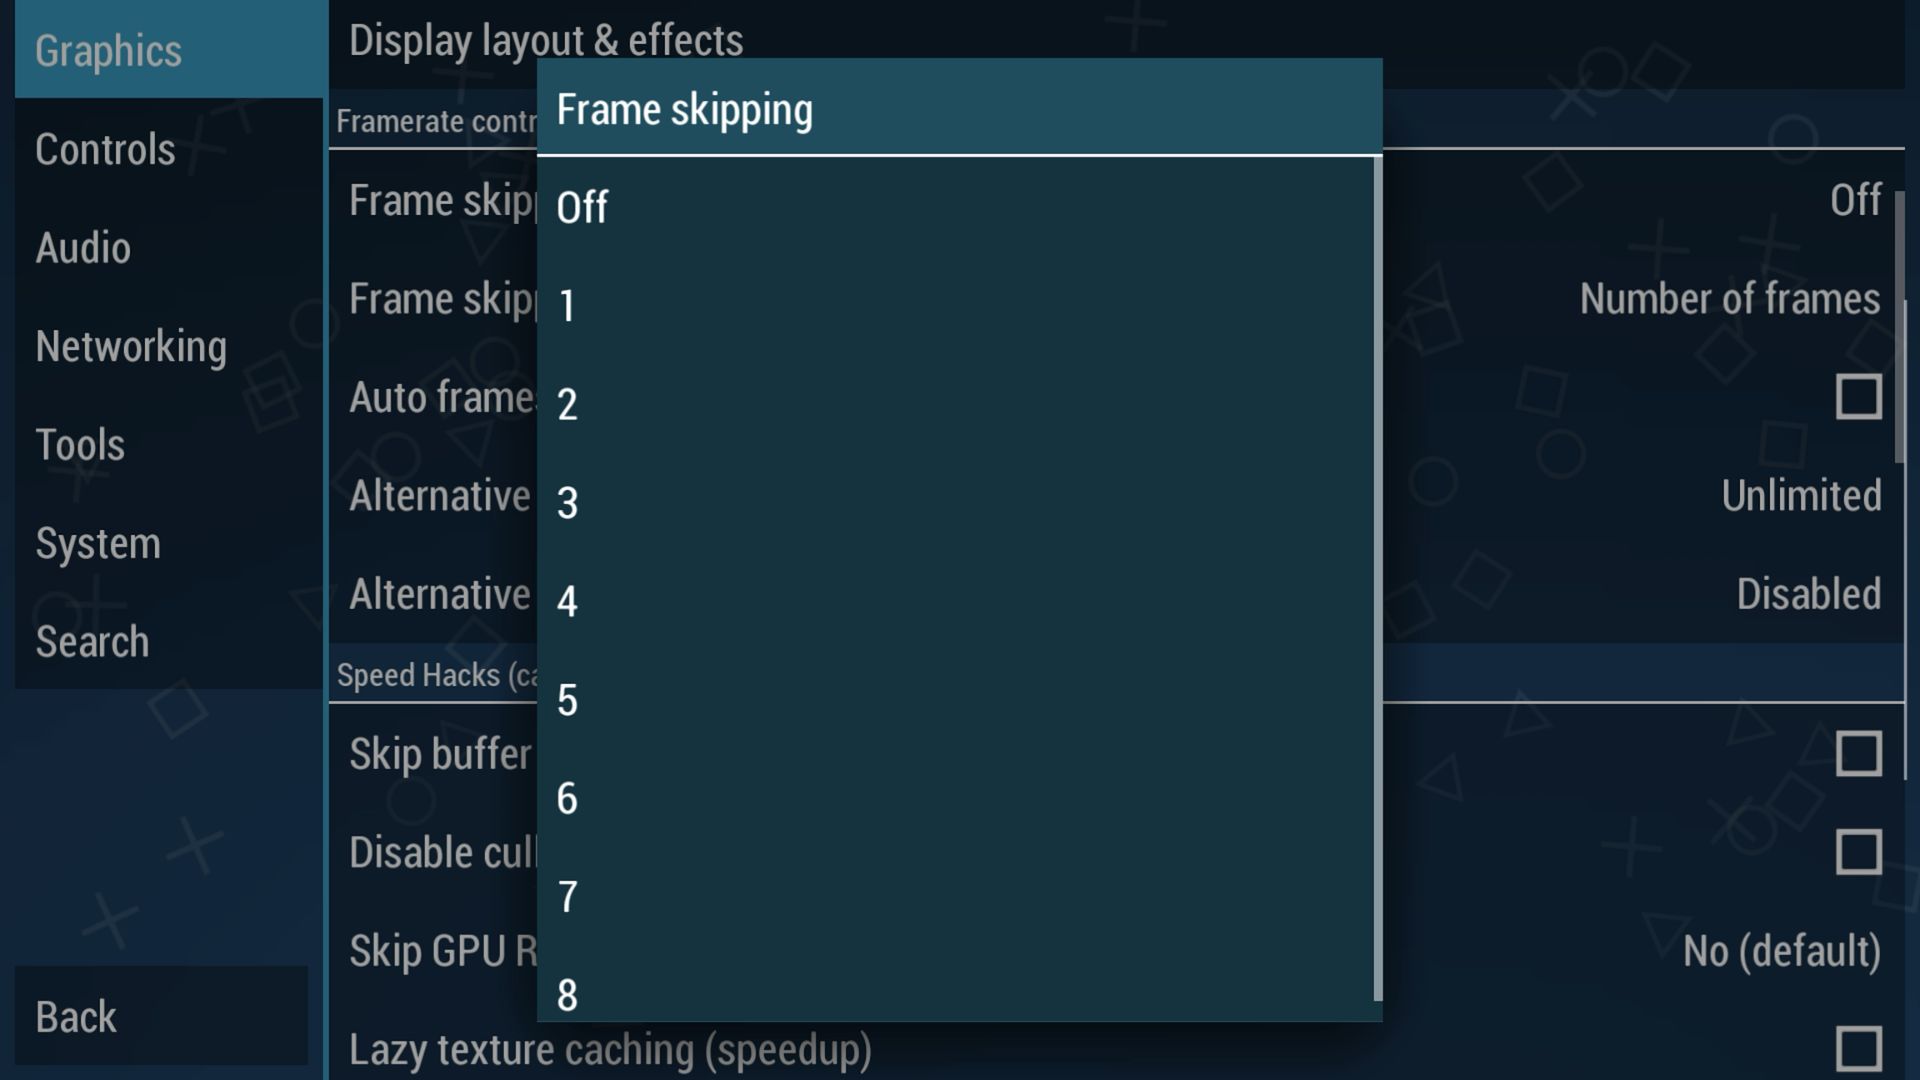
Auto frameskip options (available in PPSSPP and Redream, for example) attempt to apply this dynamically, but results can vary. Using a fixed frame skip value (e.g., skip 1 frame) might provide a more consistent, albeit less smooth, experience on very low-end hardware, but it’s generally best avoided if possible.
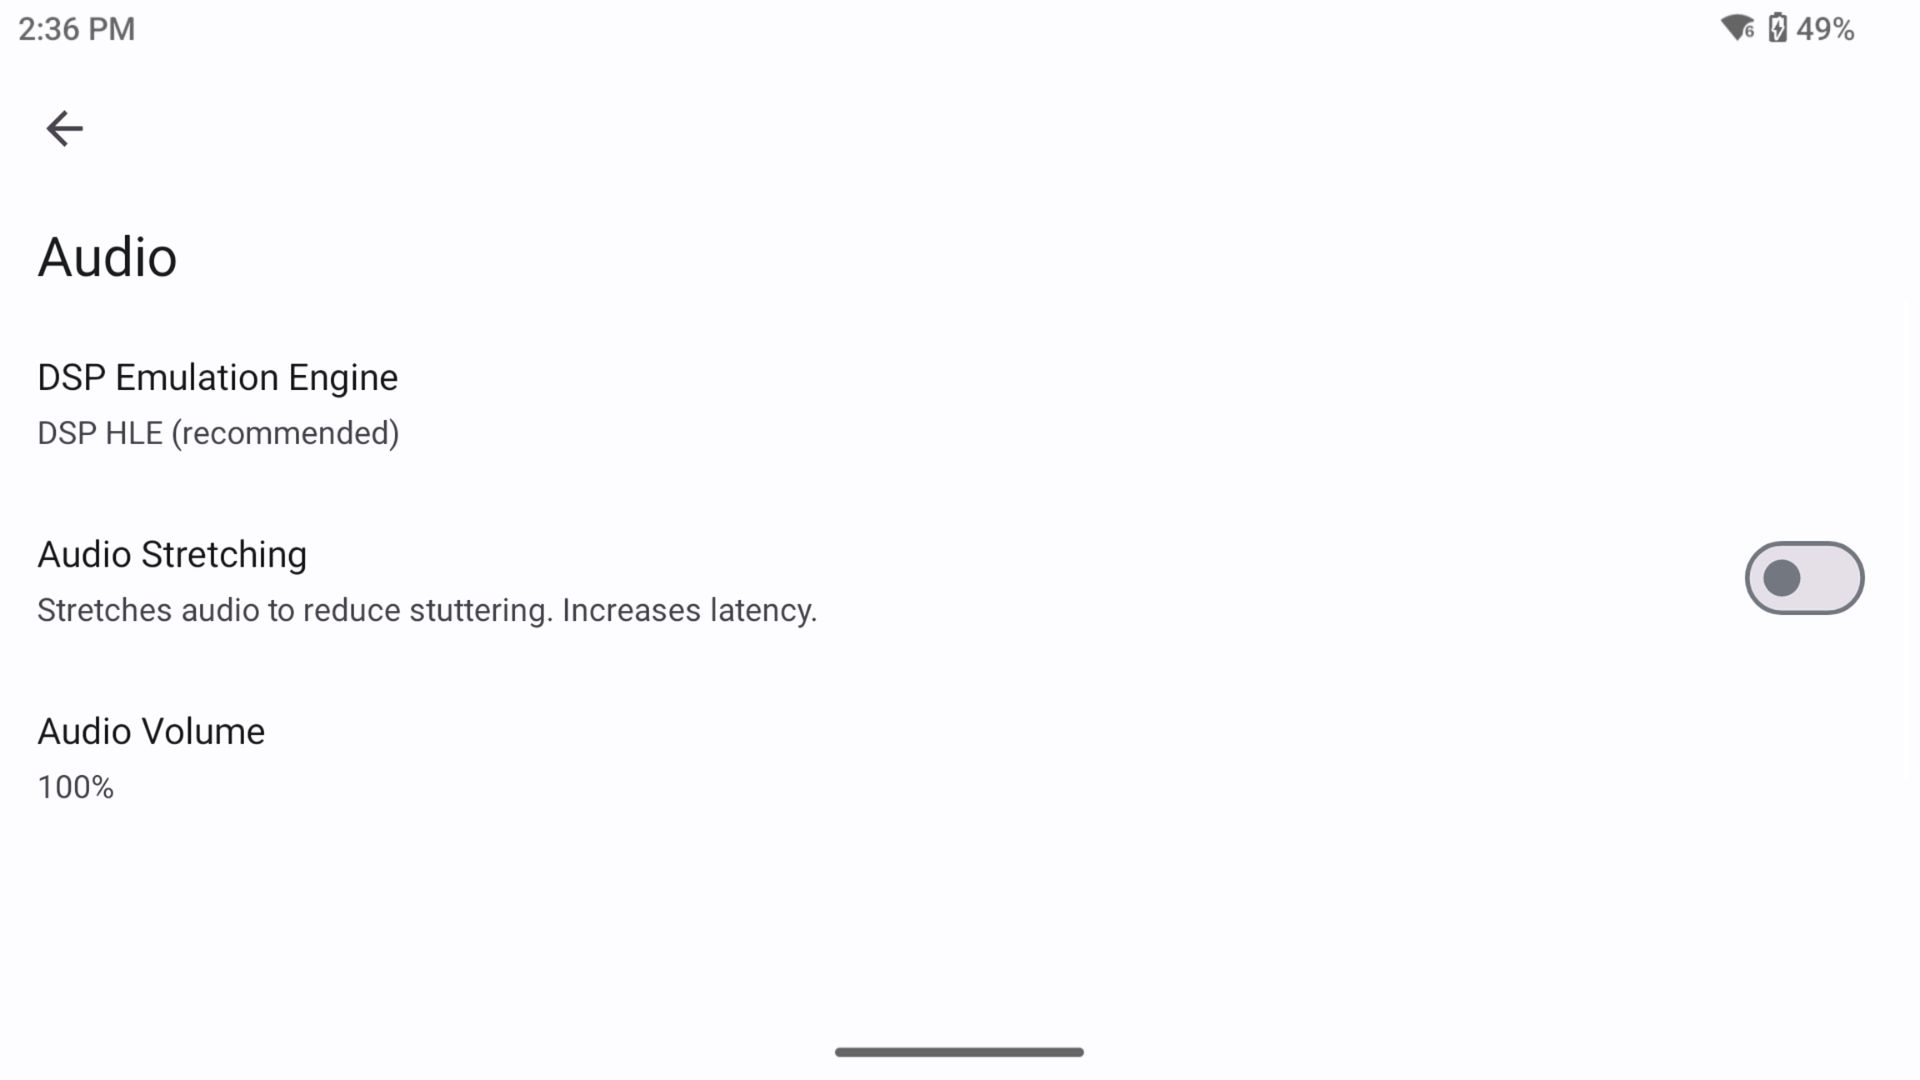
Audio Settings
Options related to audio synchronization (sync/async), buffer size, or backend APIs can sometimes impact performance or resolve issues like audio crackling or delays. Experimenting here might yield improvements in specific cases.
Shaders and Filters
These post-processing effects alter the final image. Filters can apply simple scaling algorithms (like bilinear filtering to smooth pixels), while shaders are more complex programs that can replicate CRT scanlines, apply color correction, or create other visual styles. While primarily cosmetic, they usually incur a performance hit. However, some specific shader-related settings in certain emulators might improve performance or compatibility (e.g., the “Computer Shader” option in Yaba Sanshiro 2 for Saturn, or Dolphin’s “Shader Compilation Mode” set to “Hybrid Ubershaders” on less powerful devices).
Emulator-Specific Hacks and Settings
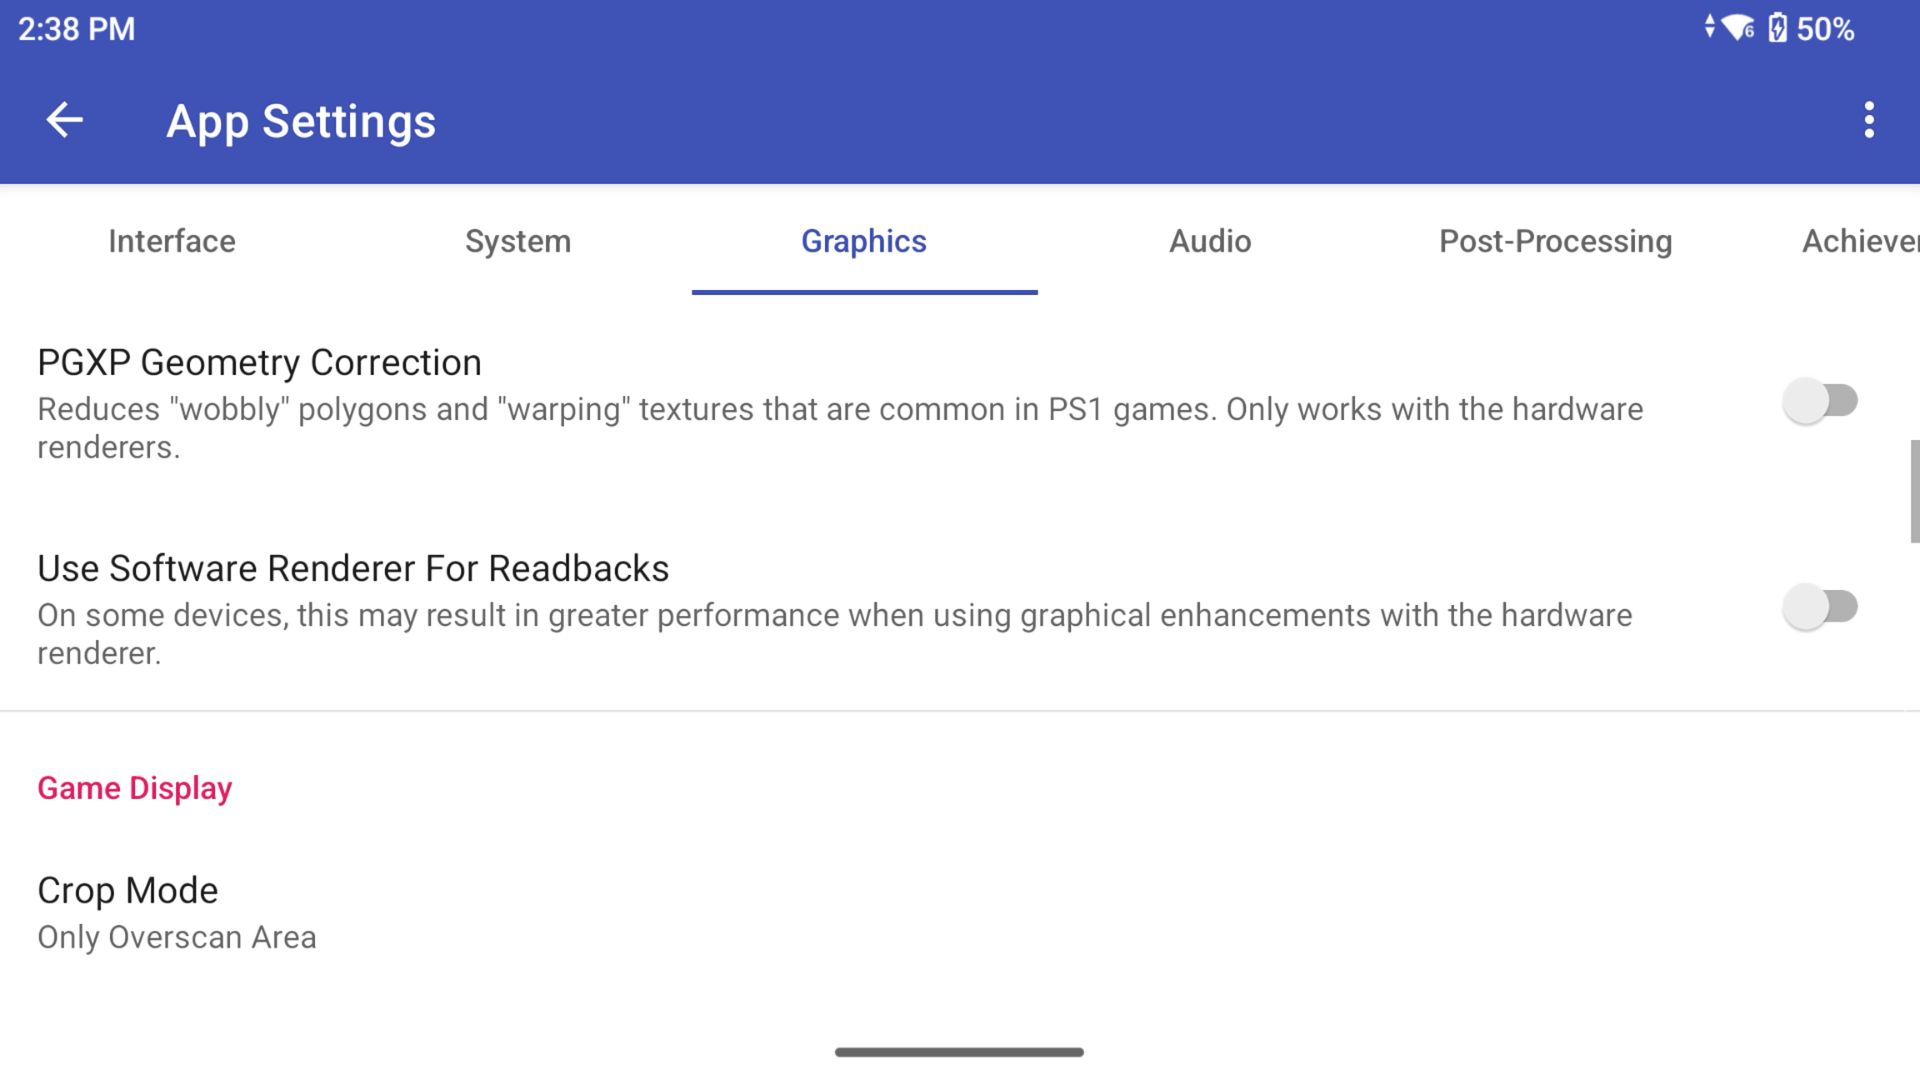
Many emulators include options designed to improve speed or fix specific game issues, often at the cost of emulation accuracy. Examples include:
- DuckStation: PGXP Geometry Correction reduces polygon wobble but can impact performance.
- Mupen64Plus FZ: Different emulation profiles exist; ‘Glide64-Accurate’ is often recommended for a balance.
- Redream: ‘Polygon sort accuracy’ can be lowered (‘per-strip’) for a speed boost on less powerful hardware.
- Dolphin: Development builds may offer a ‘VBI Skip’ option that can significantly reduce audio stutter and improve speed on lower-end devices for some games. Turning off ‘Use Panic Handlers’ is also suggested for weaker hardware.
- NetherSX2 (PS2): Specific tips include disabling ‘Multi-Threaded VU1’ on devices with fewer high-performance CPU cores and enabling ‘Fastmem’ and ‘Affinity Control’. Always consult the emulator’s documentation or community forums for guidance on these advanced settings.
Graphics Drivers (Advanced – Snapdragon Devices)
For handhelds equipped with Qualcomm Snapdragon SoCs (like the AYN Odin 2 series and AYANEO Pocket S), installing custom, open-source graphics drivers called Turnip drivers can sometimes yield substantial performance and compatibility improvements in specific emulators, particularly Dolphin (GameCube/Wii), Citra forks (3DS), Vita3K (PS Vita), and Yuzu forks (Switch). These community-developed drivers often incorporate optimizations or support newer graphics API extensions faster than official drivers. Finding and installing the best Turnip driver version often requires experimentation and is considered an advanced tweak. The need for such third-party solutions suggests that official drivers may prioritize stability or power efficiency over the cutting-edge API support sometimes required by emulators, necessitating community efforts to bridge the gap on compatible hardware.
Configuring Controls
Getting the controls right is crucial for an enjoyable experience.
Button Mapping
Every emulator allows you to map the physical buttons, D-pad, and analog sticks on your Android handheld to the corresponding inputs of the original console controller. Most emulators prompt for this on first launch (like DuckStation) or have a dedicated section in their settings menu. This process often involves thoughtfully translating the original, sometimes unique, controller layouts (like the N64’s trident or the Saturn’s six face buttons) onto the more standardized button arrangements found on modern handhelds. Creative mapping might be needed for optimal playability.
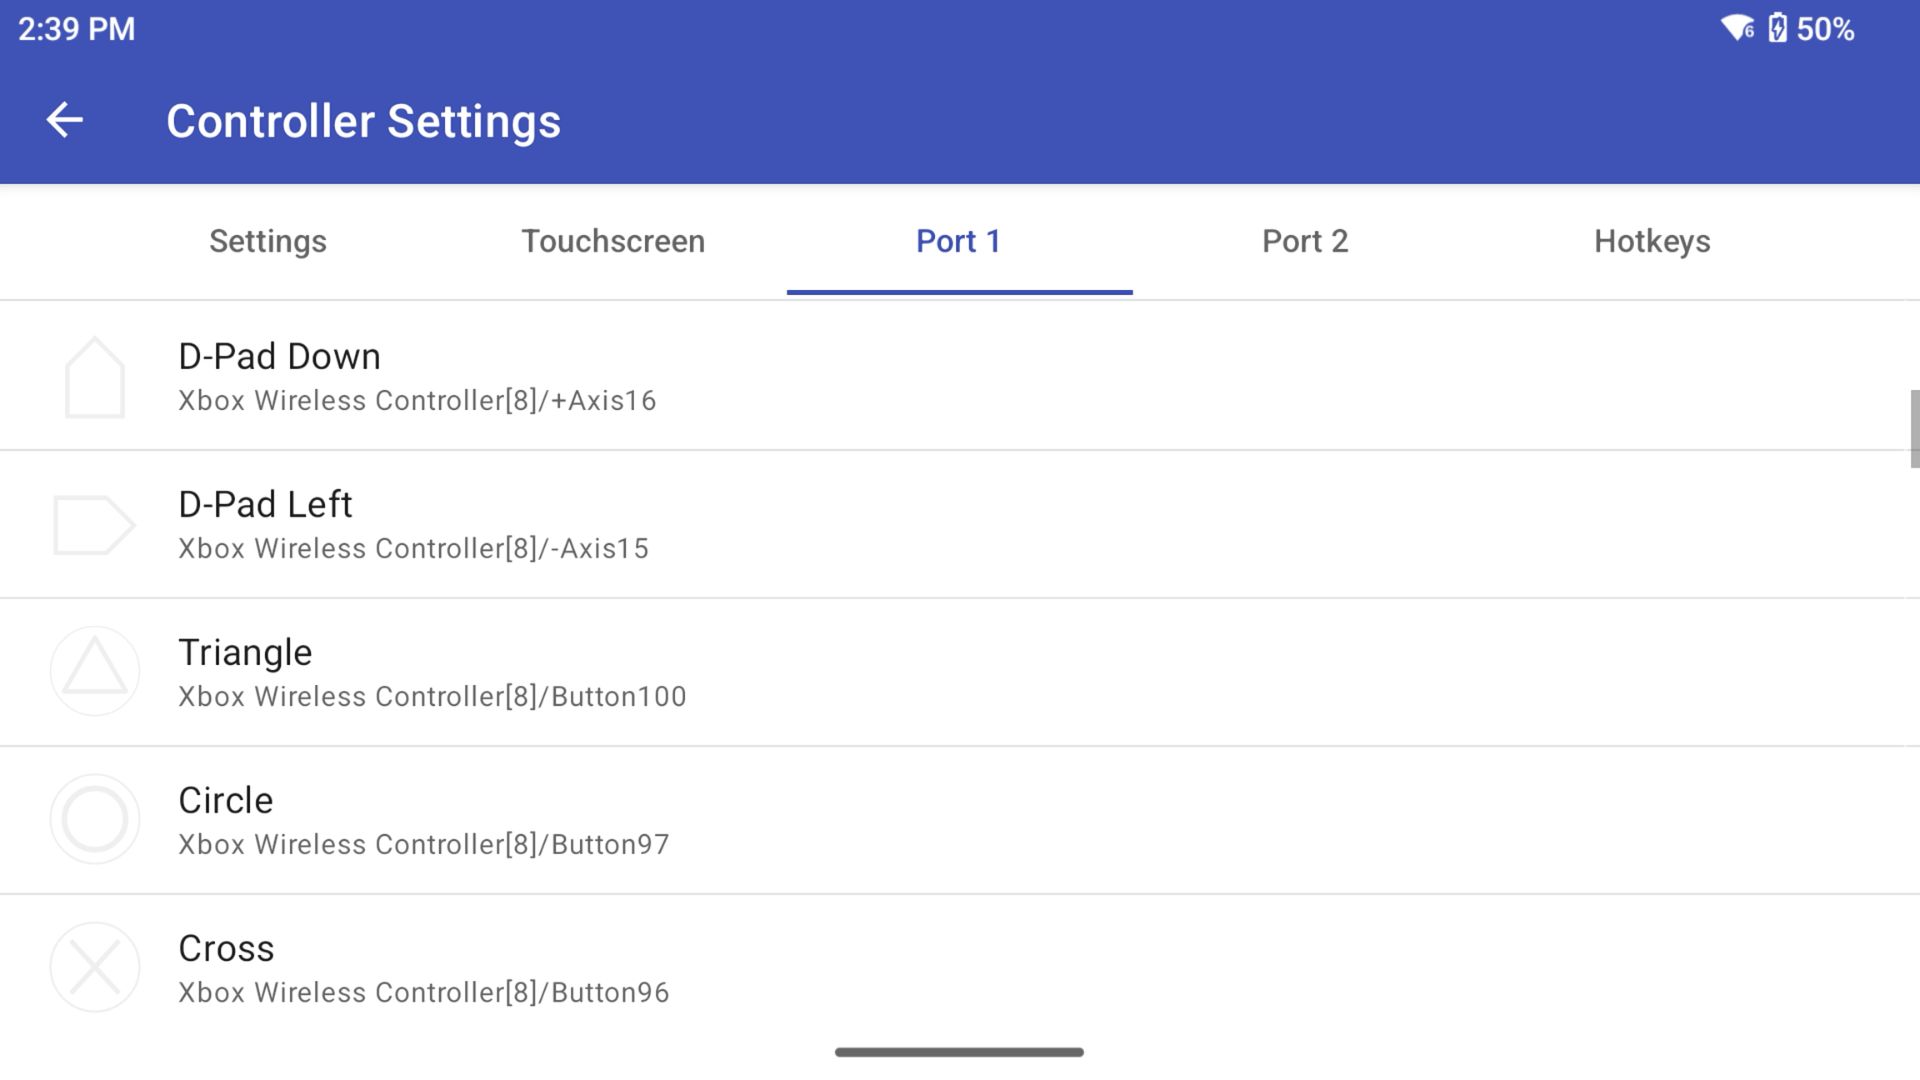
For instance, mapping the N64’s single Z trigger button to multiple physical buttons (like L1 and R1) can make it easier to access in various games. Specific recommendations sometimes exist, such as setting L2/R2 mode to “Both” in device settings for Yaba Sanshiro 2 (Saturn) or mapping PPSSPP controls to closely mimic the original PSP layout.
Touch Controls
While physical controls are superior for most retro gaming, touch control overlays can be configured in most emulators. These can serve as a backup or be useful for systems that relied heavily on touch input, like the Nintendo DS.
External Controllers
Most Android handhelds support connecting external Bluetooth or USB-C gamepads. This can be useful for multiplayer gaming (if the emulator supports it) or if you simply prefer the feel of a full-sized controller.
Hotkeys
A powerful feature is mapping emulator functions to button combinations (e.g., Select + R1). Common hotkeys include Save State, Load State, Fast Forward toggle, Open Emulator Menu, and Exit Emulator. Setting these up allows quick access to these functions without interrupting gameplay(e.g., Mupen64Plus FZ’s gesture menu for save/load, Redream’s exit shortcut recommendation).
Troubleshooting Common Issues
Slow Performance
Revisit optimization settings (lower resolution, enable safe speed hacks, check frameskip). Ensure no demanding apps are running in the background. Check if the device is overheating (potentially throttling performance). Try a different emulator core or version if available.
Graphical Glitches
Experiment with different video renderers (e.g., OpenGL vs. Vulkan) or graphics plugins within the emulator settings. Disable any enhancement settings, shaders, or hacks one by one to isolate the cause. Ensure you have the correct ROM version (sometimes specific regions or revisions work better). Update the emulator and graphics drivers (including Turnip if applicable).
Controls Not Working
Double-check the button mapping within the emulator. Ensure the correct controller profile is selected. If using an external controller, check its connection in Android’s Bluetooth/USB settings.
Emulator Crashes
Update the emulator to the latest stable version. Reset emulator settings to default. Ensure any required BIOS files are present, correctly named, and not corrupted. Check online forums for known issues with the specific game or emulator version.
Check out Page 3 for Legal and Ethical Considerations and ways you can expand your emulation experience.

Bringer of videos, text and images! AKA the social media guy at DROIX. Massive retro gaming fan and collector, with a far too large collection of consoles and computers from 1970's to modern. Contact me at [email protected]
Questions & comments
0
Every question gets an answer. Ask before you buy — DaveC and the team reply within one working day, and answers stay public so they help the next reader too.