You will need
A 8GB or larger MicroSD Card
Mini Tool Partition Wizard – https://www.partitionwizard.com/free-partition-manager.html
Win32 Disk Imager – https://sourceforge.net/projects/win32diskimager/
Custom Firmware – The latest version can be found at https://www.droidboxforums.com/forums/bittboy-and-pocket-go-retro-gaming-handheld.145/
Game ROMs – We do not provide any downloads for games. You will need to find these yourself.
Preparing The MicroSD Card
Download and install Win32 Disk Imager and Mini Tool Partition Wizard.
Extract the custom firmware archive file. You should have a file with the filename extension of .img. For example PocketGo.V1.2_CFW_1-08-2019.img
Insert your MicroSD Card into your PC and load Mini Tool Partition Wizard.
Identify and double check that you can see the MicroSD Card and then select the MicroSD Card by clicking on it once. Click on the text for the card to select all of the card.

Right click on the card and choose Format
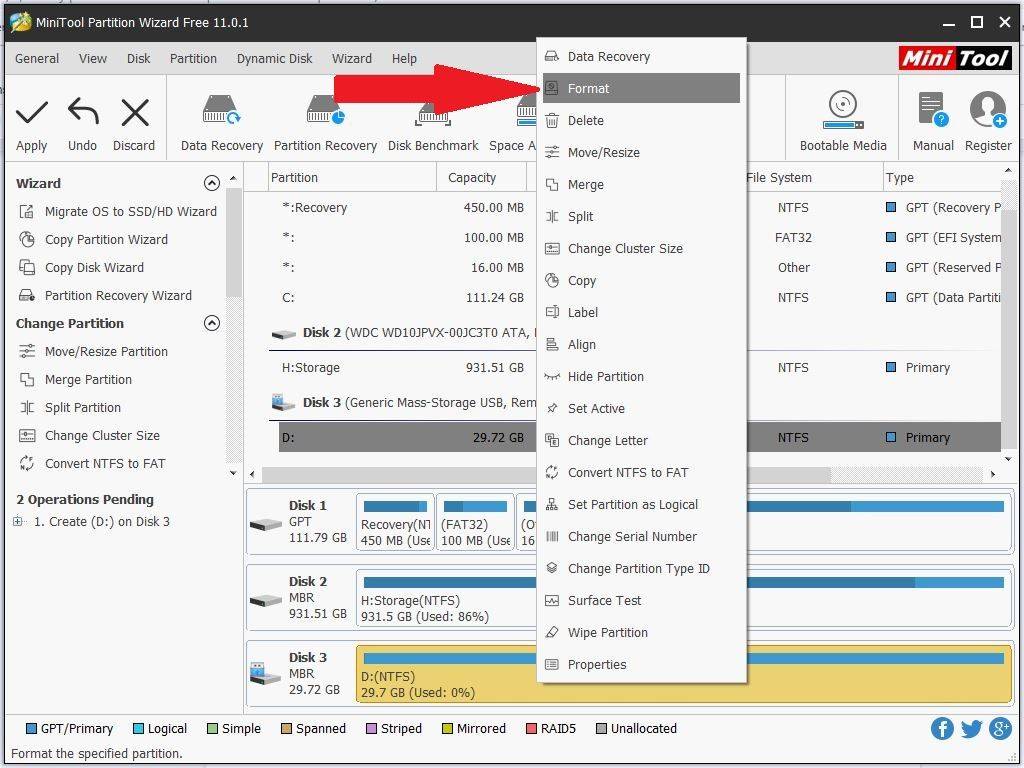
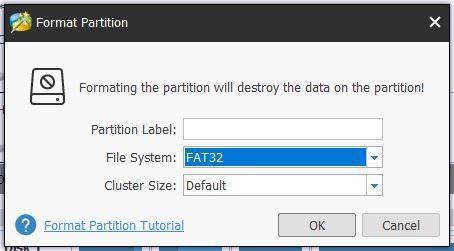
On the File System, choose FAT32 then press OK.
Click on Apply in the top left corner.
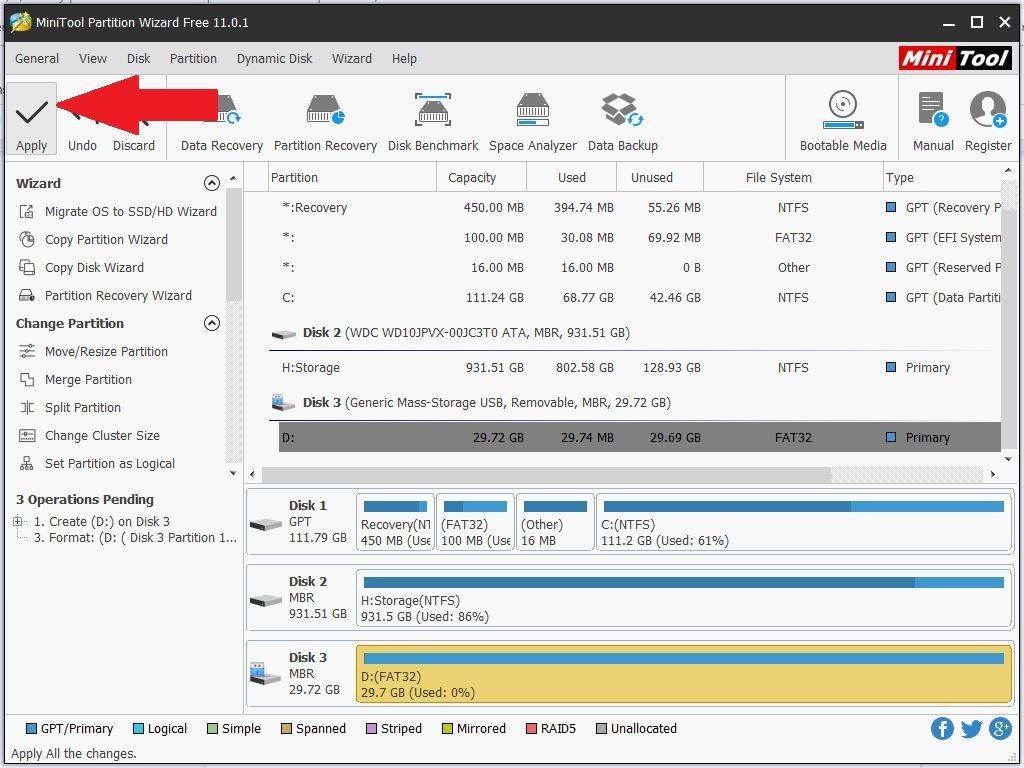
The software will now format the MicroSD card to FAT32 which can take a few moments to complete.

Once completed, you can close the Mini Tool Partition Wizard software.
Writing the custom firmware to the MicroSD Card
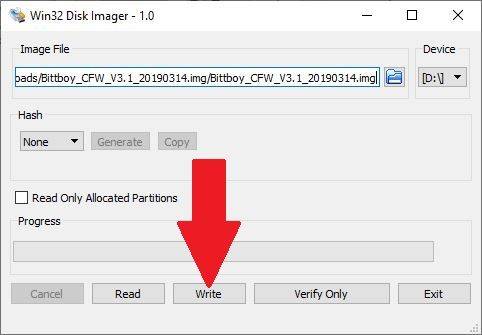
Next, load Win32 Disk Imager
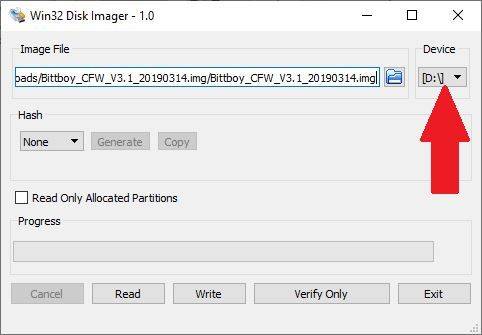
Click on the Blue Folder icon and locate the custom firmware image file, for example PocketGo.V1.2_CFW_1-08-2019.img

Next, double check that the drive letter is the correct one for your MicroSD card. Be 100% sure it is correct otherwise you may overwrite your PC hard drive. If it is not correct, click on the drive letter and choose the correct one.
Double check again you have selected the correct drive letter and then click on Write
A prompt will appear to be 100% sure again, if all is good then press Yes to begin writing the custom firmware to the SD Card.

The software will now write the custom firmware to the MicroSD Card. It will take a short period of time to complete.
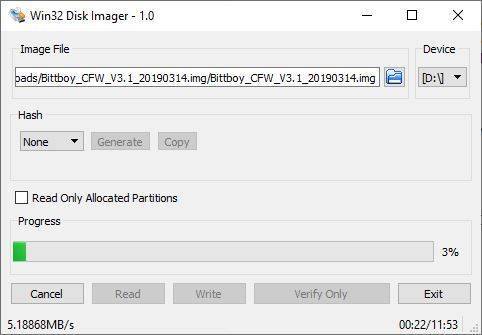
Once the software has finished writing you may get some popup notifications to format a drive, click Cancel to ignore them as we do not want to format the drive. You can now close the Win32 Disk Imager software.
Expanding the available drive space for games
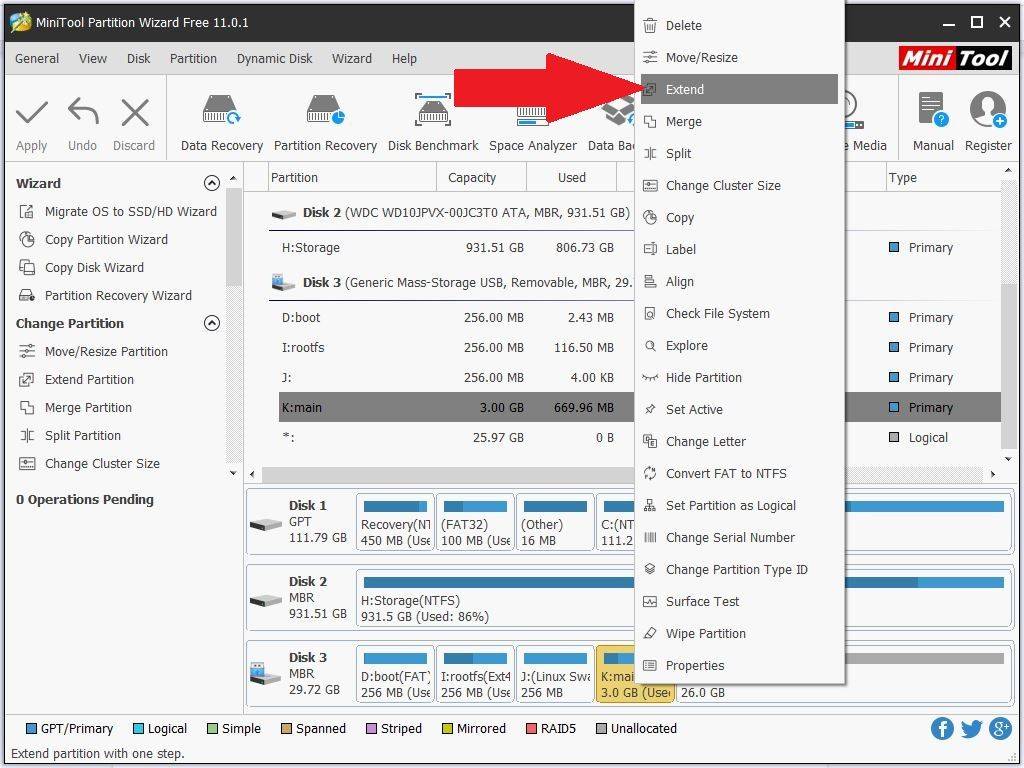
Load the Mini Tool Partition Wizard software. You will now see that there five partitions on the MicroSD Card.
Note: If the partition named ‘main’ does not have a drive letter, Right click on it and choose Change Letter and then assign it one.
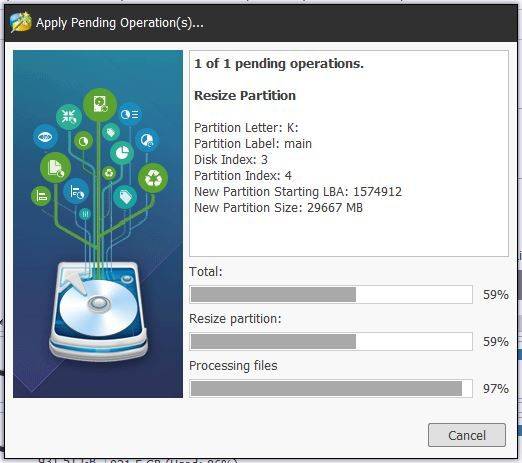
We now want to expand the partition named ‘main’ to use the remaining available space. Right click on the ‘main’ partition and choose Extend
Drag the slider all the way to the right to fully allocate all the space to the ‘main’ partition. Click on OK.
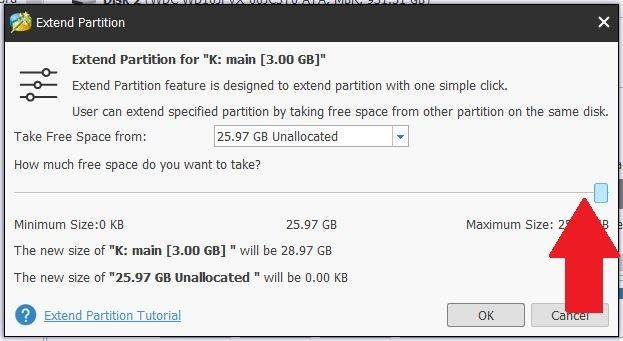
Click on Apply in the top left to start allocating the free space to the ‘main’ partition. This may take some time depending on the size of your MicroSD Card
Once complete, you can now exit the Mini Tool Partition Wizard software.
Adding games to your MicroSD Card
If you open Windows File Explorer (Win key + E) you will see four new drives, two of which are Unnamed, one called ‘boot’ and one called ‘main’. Do not delete, format or change any drives or files on any other drive apart from the drive named ‘main’. This is where you can store your game files.
Open the ‘main’ drive and you will see a folder named ‘roms’ You can go ahead and copy your games here but we recommend keeping things organised
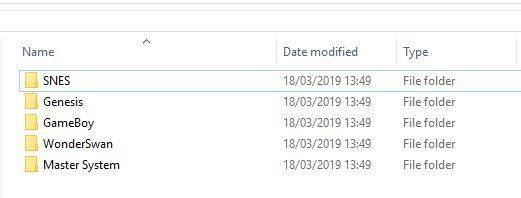
We recommend keeping an organised folder structure if you are planning to add many games. By making folders for each system it allows for easier finding of games and also faster loading times. Make a folder for each of the systems you plan to add games for.
If you have a large number of games for a system, you can organise it further into sub-folders such as A-F, G-L, M-S, T-Z. This makes it faster to load the list of games, and also saves time for you scrolling to get to a game beginning with M for example.
Copy over any files in to their respective folders. Once you are done you can insert the Micro SD Card into your BittBoy Pocket GO.
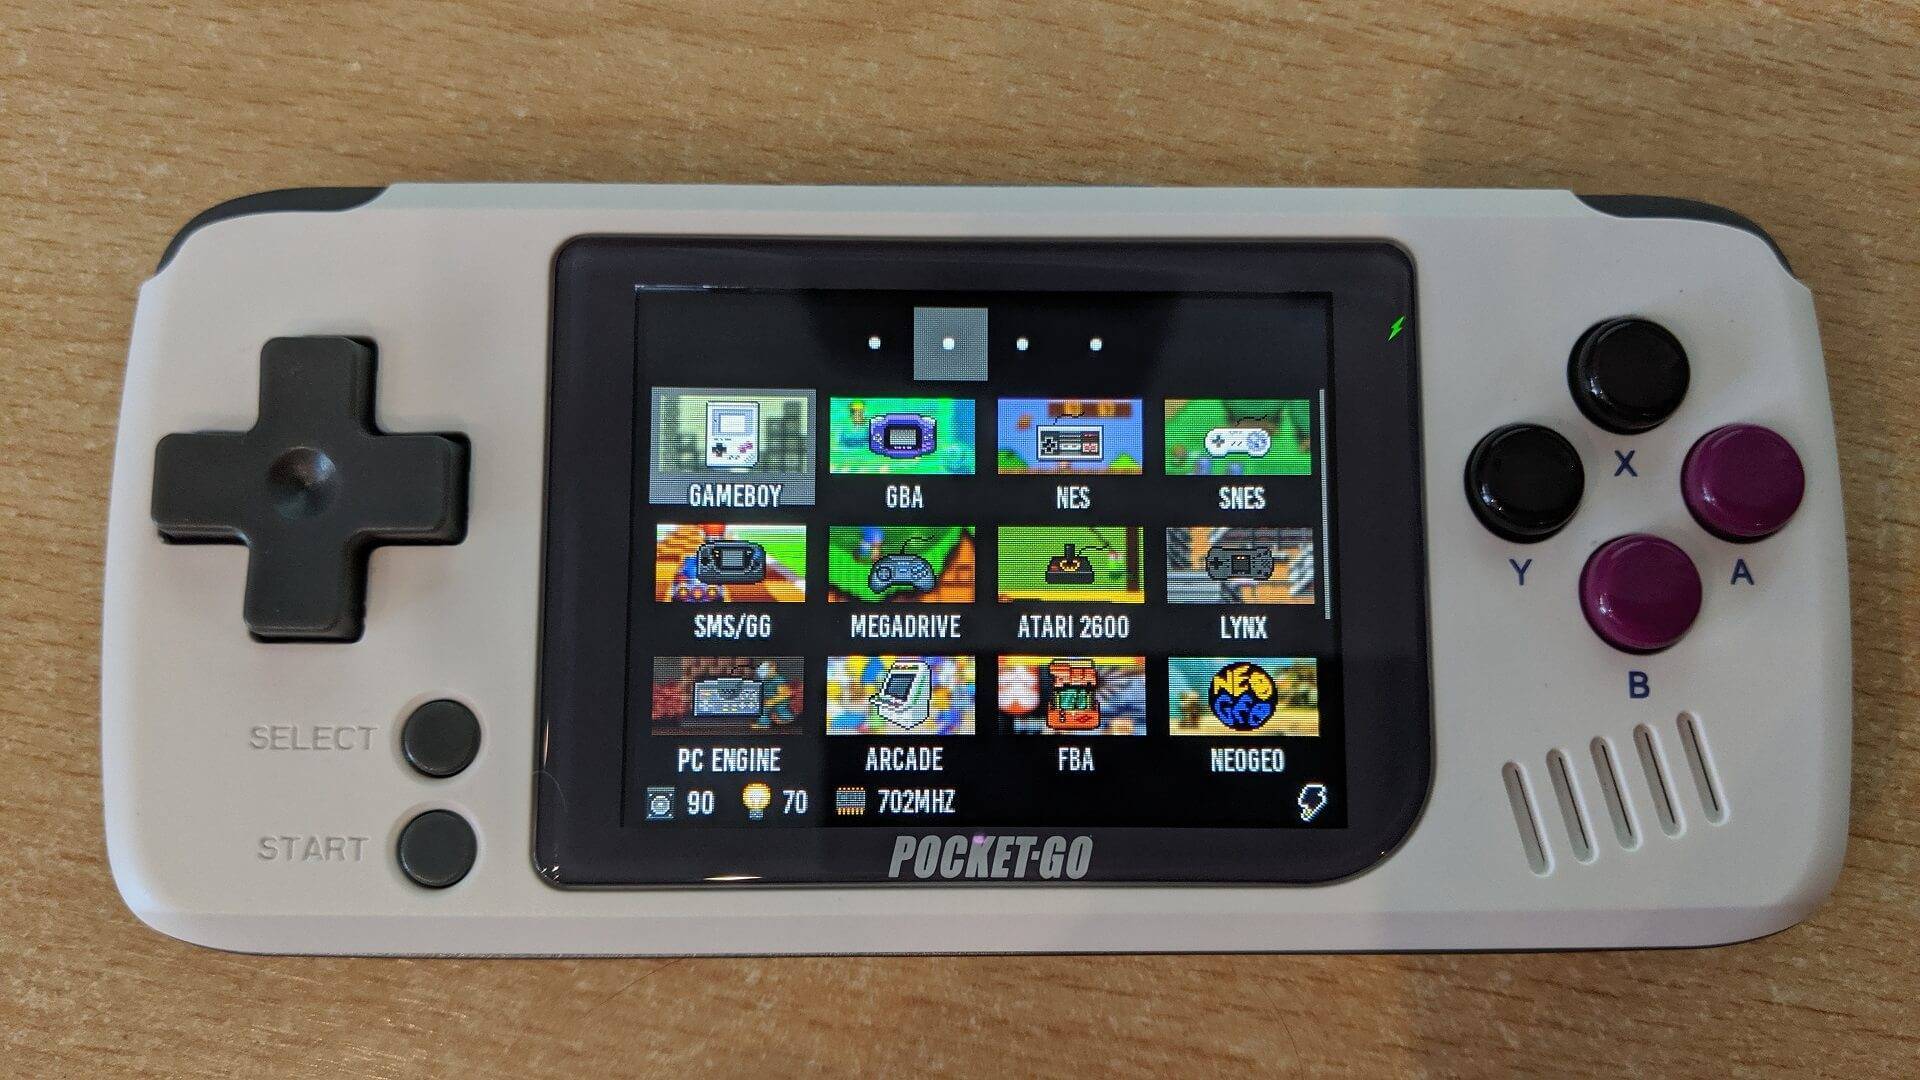
Switch on your BittBoy Pocket GO and it will take a few seconds to boot the the menu software. You are now ready to play!
Questions & answers