Congratulations on purchasing your portable monitor. We have prepared a getting started guide which we highly recommend looking over. It contains what to check, and how to set up and use the monitor.
If you have any issues or questions about your portable monitor
At DroiX we pride ourselves on our high level of before and after-sales customer service. If you have any questions or issues with any purchase from us, please do contact us. We are here and more than happy to answer any questions and get any issues resolved as soon as possible.
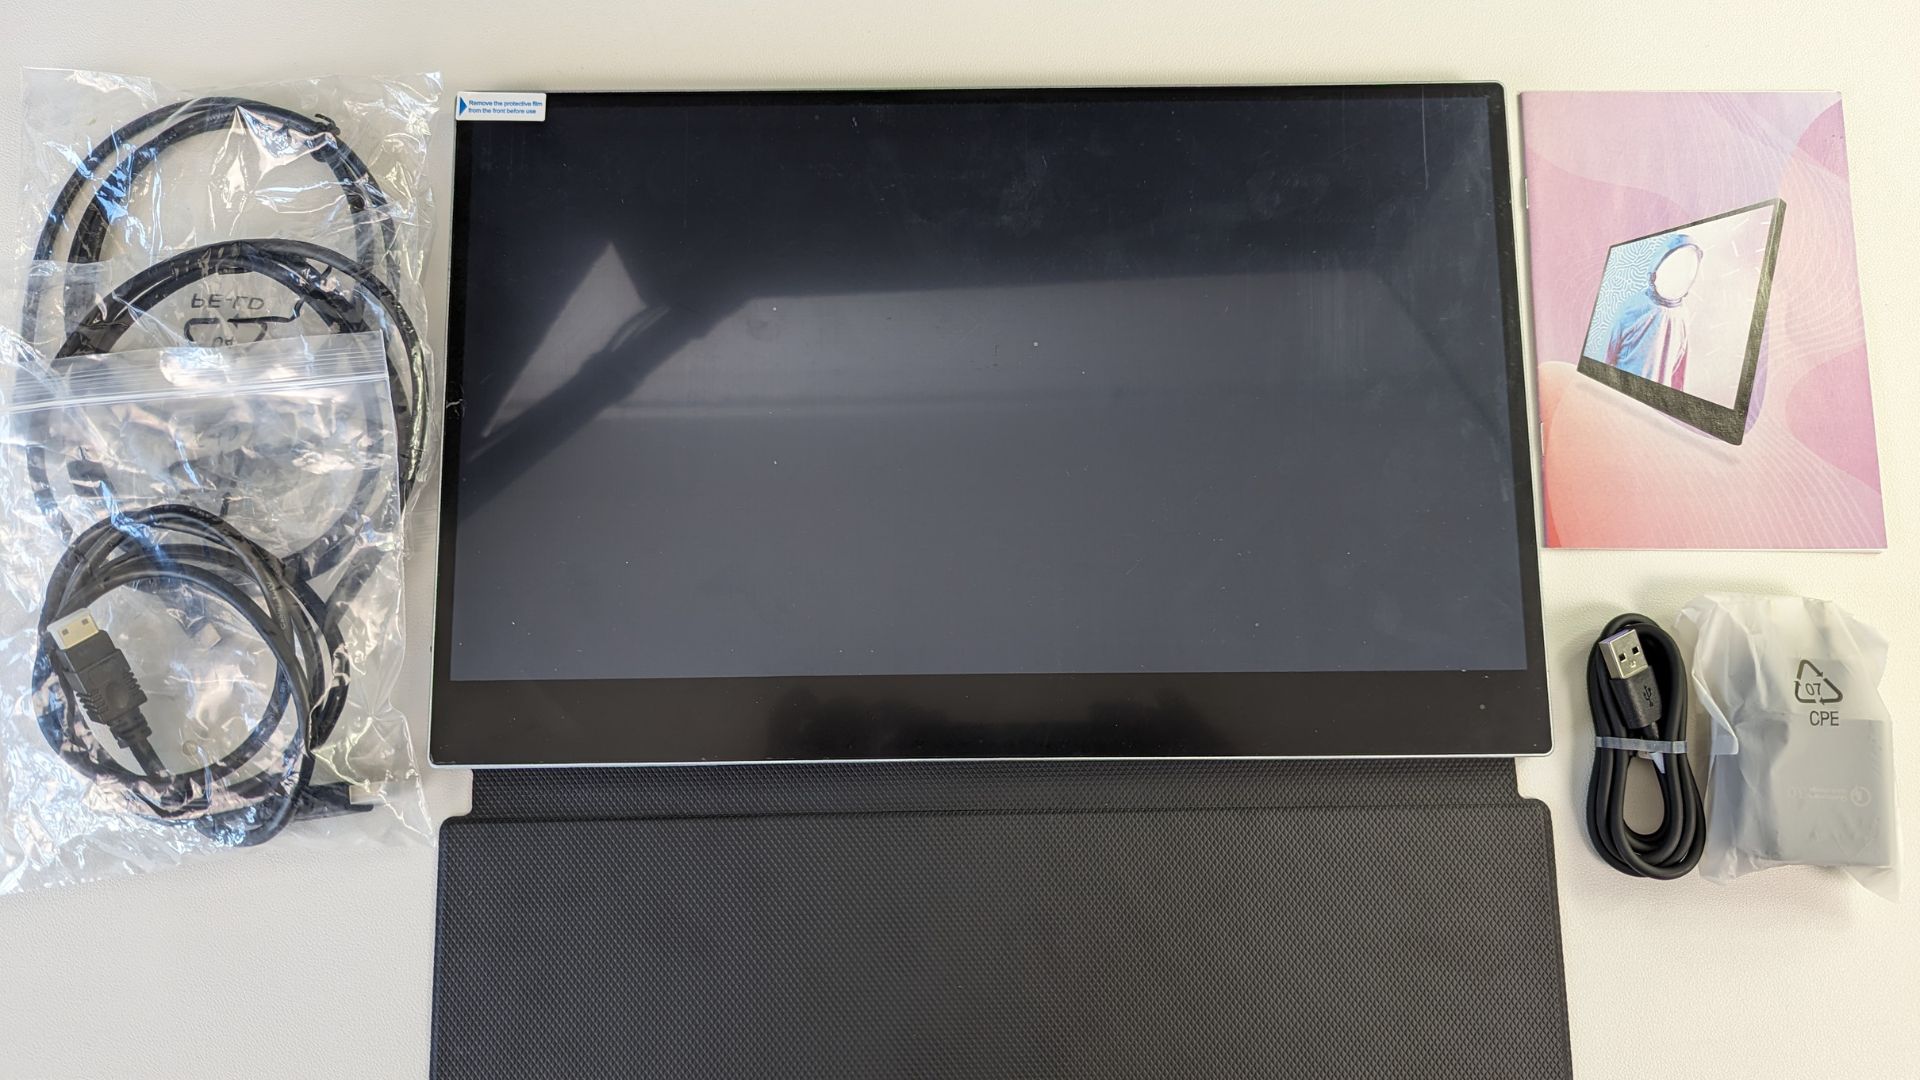
Checking the contents
Before using your portable monitor, check that all the contents that should come with it are present. This may vary between models, check the Box Contents section on our product listing for your portable monitor to ensure everything is present with yours.
If something is missing or you are not sure, please contact our customer service and we will be happy to assist.
Portable Monitor Videos
DROIX 15.6″ 4K Portable Monitor with Adobe RGB support connection guide
DROIX 15.6″ 4K Portable Monitor with built-in battery connection guide
DROIX 15.6″ 4K Portable Monitor with no battery connection guide
DROIX 15.6″ 4K Portable Monitor with stylus support connection guide
Using the 15.6” 4K Portable Monitor with Battery / Touchscreen / Adobe RGB
We have variations of the 15.6” 4K Portable Monitor with Touchscreen but generally, the operation of them is the same.
Before using the monitor, please remove the protective film covering the monitor if it is present. This may cause some issues using the touchscreen if not removed.
Powering the monitor
If you have the battery variant of the portable monitor you can use this to power it. You can also recharge it from the USB port.
If you have a variant without a battery (or do not wish to use the battery) there are two different methods you can use.
- You can use the included USB Type-C charge cable and power supply to power the monitor
- A device such as a mini PC or handheld gaming PC with USB 3.0 or above should be able to both power and display on the monitor via the USB cable from the device to the monitor. Please check your device for compatibility.
Connecting a device to the portable monitor
There are two methods of connecting your device to the portable monitor; HDMI and USB Type-C. This will depend on what output your device supports.
- HDMI allows you to connect just about any modern device. This is the most common way and the most compatible. You can use the included HDMI to Mini HDMI cable to connect it from your device to the monitor.
- USB Type-C is an excellent method to connect compatible devices such as a mini PC or handheld gaming PC to a portable monitor. Please refer to your device’s user manual to see if it supports video output via the USB Type-C port, You may have two or more ports and only one for example may support it. You may also have the added benefit of powering the monitor via your device with the same USB cable.

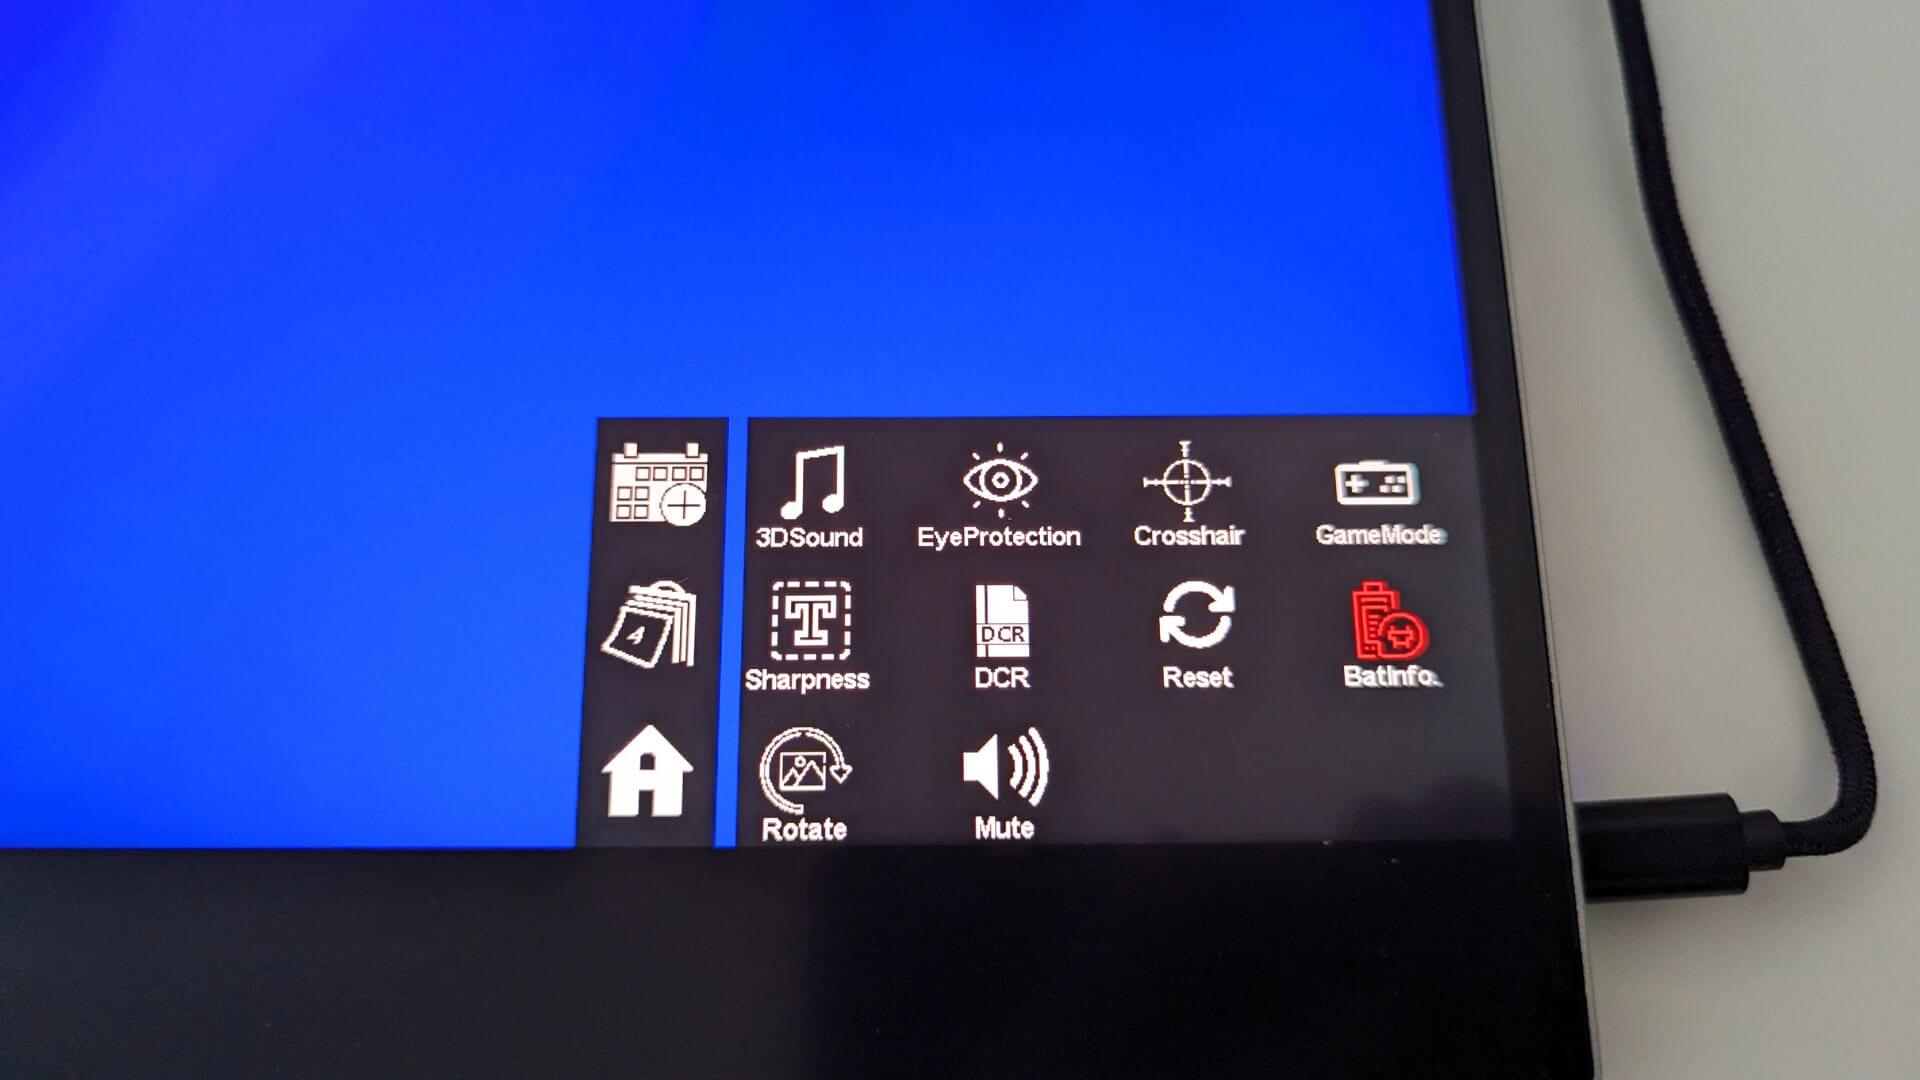
Navigating the portable monitor menus
You can access the portable monitor menu by pressing the rocker on the left side. The menus can be interacted with the rocker and tapping the power button, or far easier to touch the screen itself.
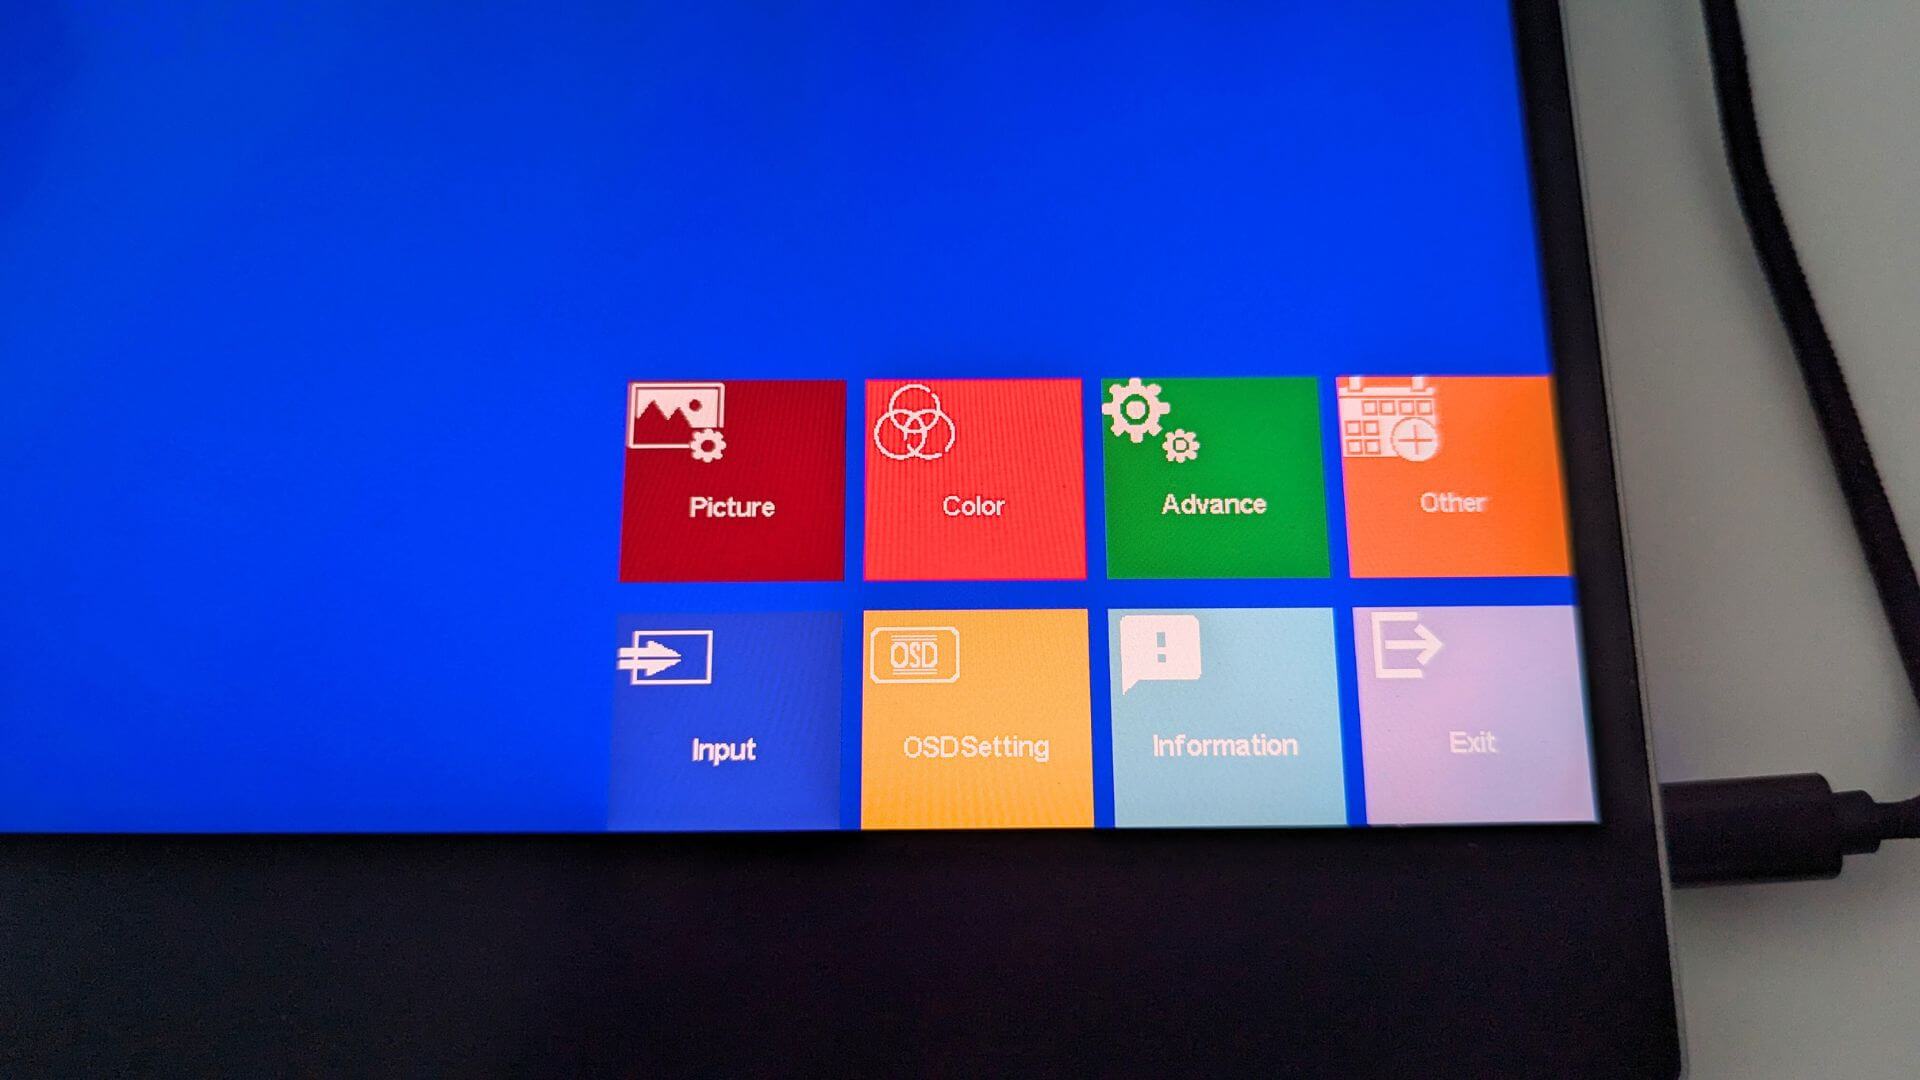
You can navigate the menus by pressing their respective boxes on the screen and configure the portable monitor to your own preferences.
Using data cables to communicate with your device
The included USB Type-C to Type-C / USB-A cables allow you to communicate with your supported device such as a Windows mini PC or handheld gaming PC. This will enable touchscreen support with your Windows device.
If your device supports USB Type-C you can simply use the same cable to power, display and enable touchscreen support.
If you are using HDMI, you can connect the included USB Type-C to USB-A cable to your device’s USB port to enable touchscreen support.
With a micro USB breakout cable (not included) you can also connect this to the monitor via the micro USB port. You can then connect peripherals such as a mouse or keyboard to it and they will work as if directly connected to your device when connected via USB Type-C.
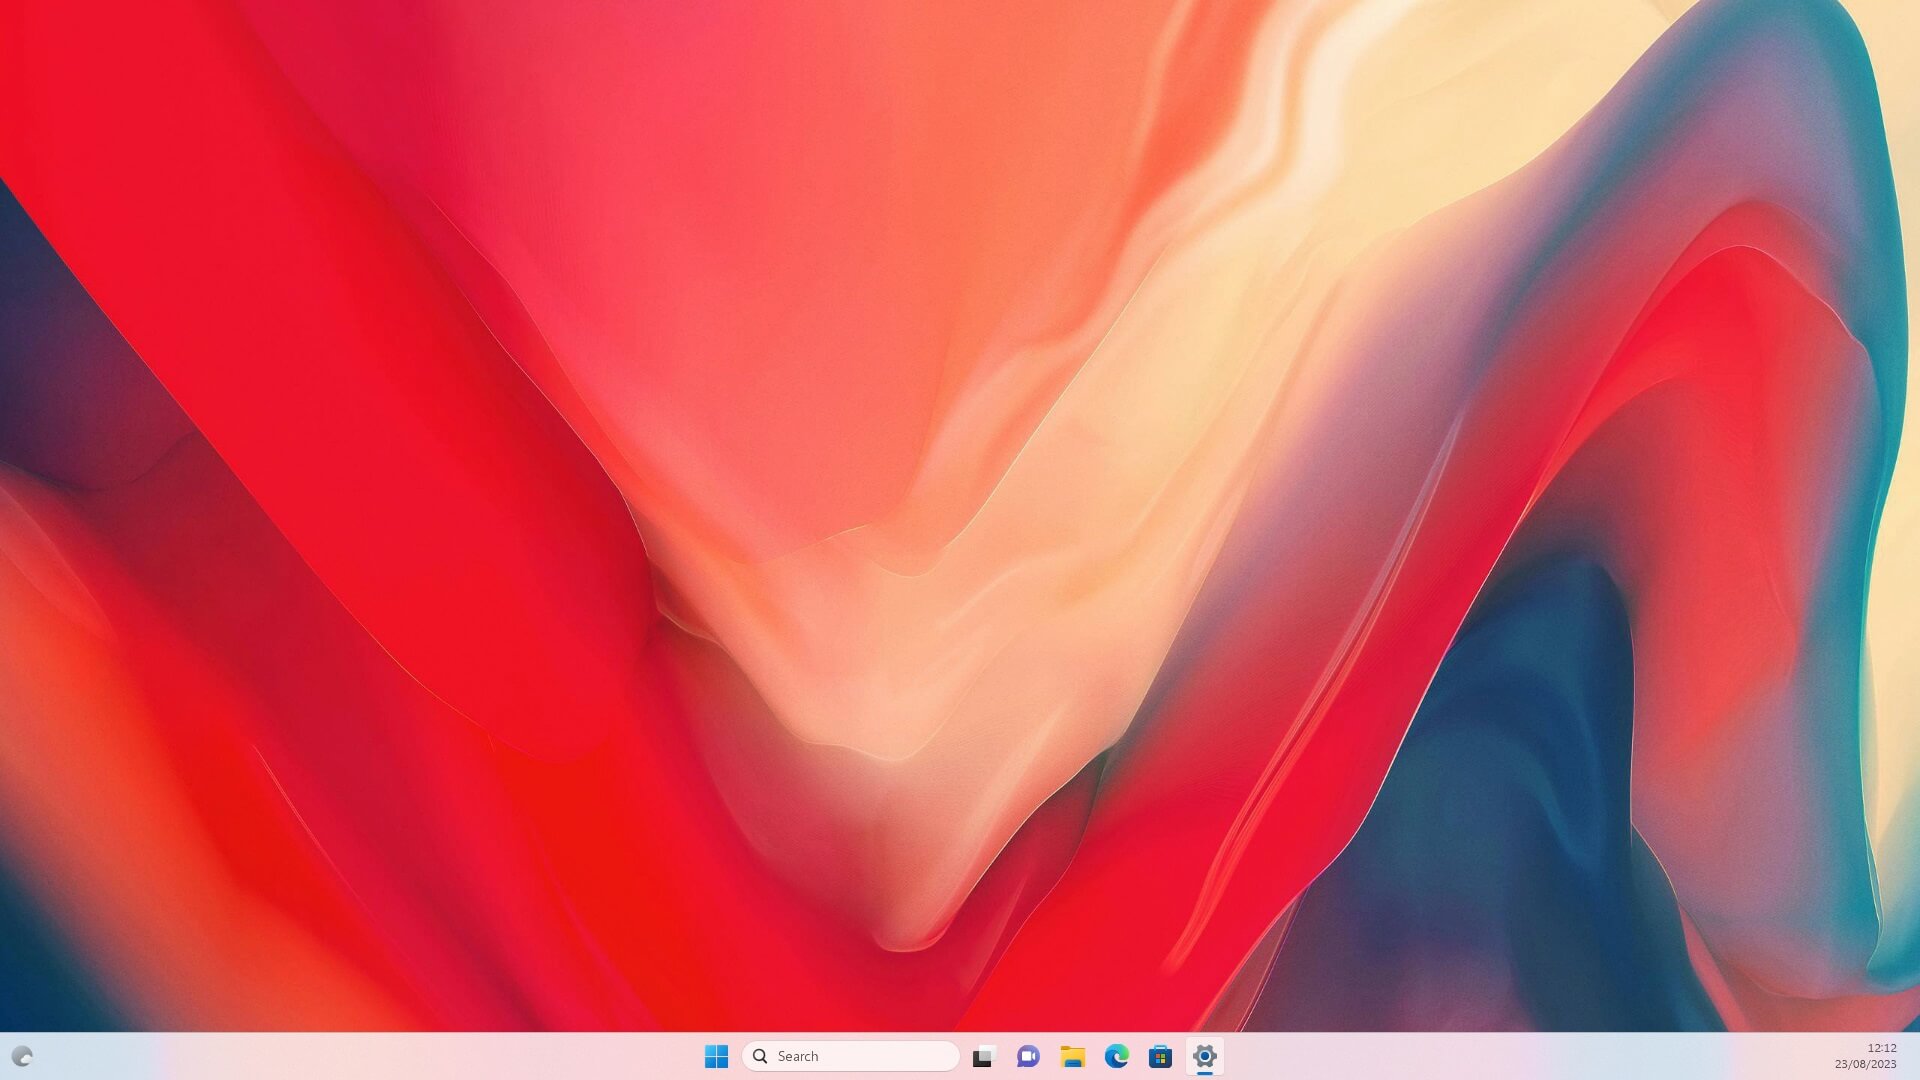
Windows Display Settings
A common question we receive is that the display looks lower quality than expected. This is almost always due to the wrong screen resolution being used. The portable monitors support up to 4K resolution, so using a 720P resolution will not look high quality for example.
To change the display resolution, on the Windows search bar, type in Display Settings, and choose it from the results.
If the monitors’ settings are showing as “Duplicate these displays” then we recommend changing this to Extend the displays (have your desktop split across two monitors), or Show only on the portable monitor (usually display 2) for the best resolutions.

Once you have chosen how to display, the monitor may show a black screen for a short period while switching resolutions. It will then show either your usual desktop if showing only on the portable monitor, or an empty desktop if extending the displays.
As this is a 4K monitor, you can now change the screen resolution up to the highest your device supports.

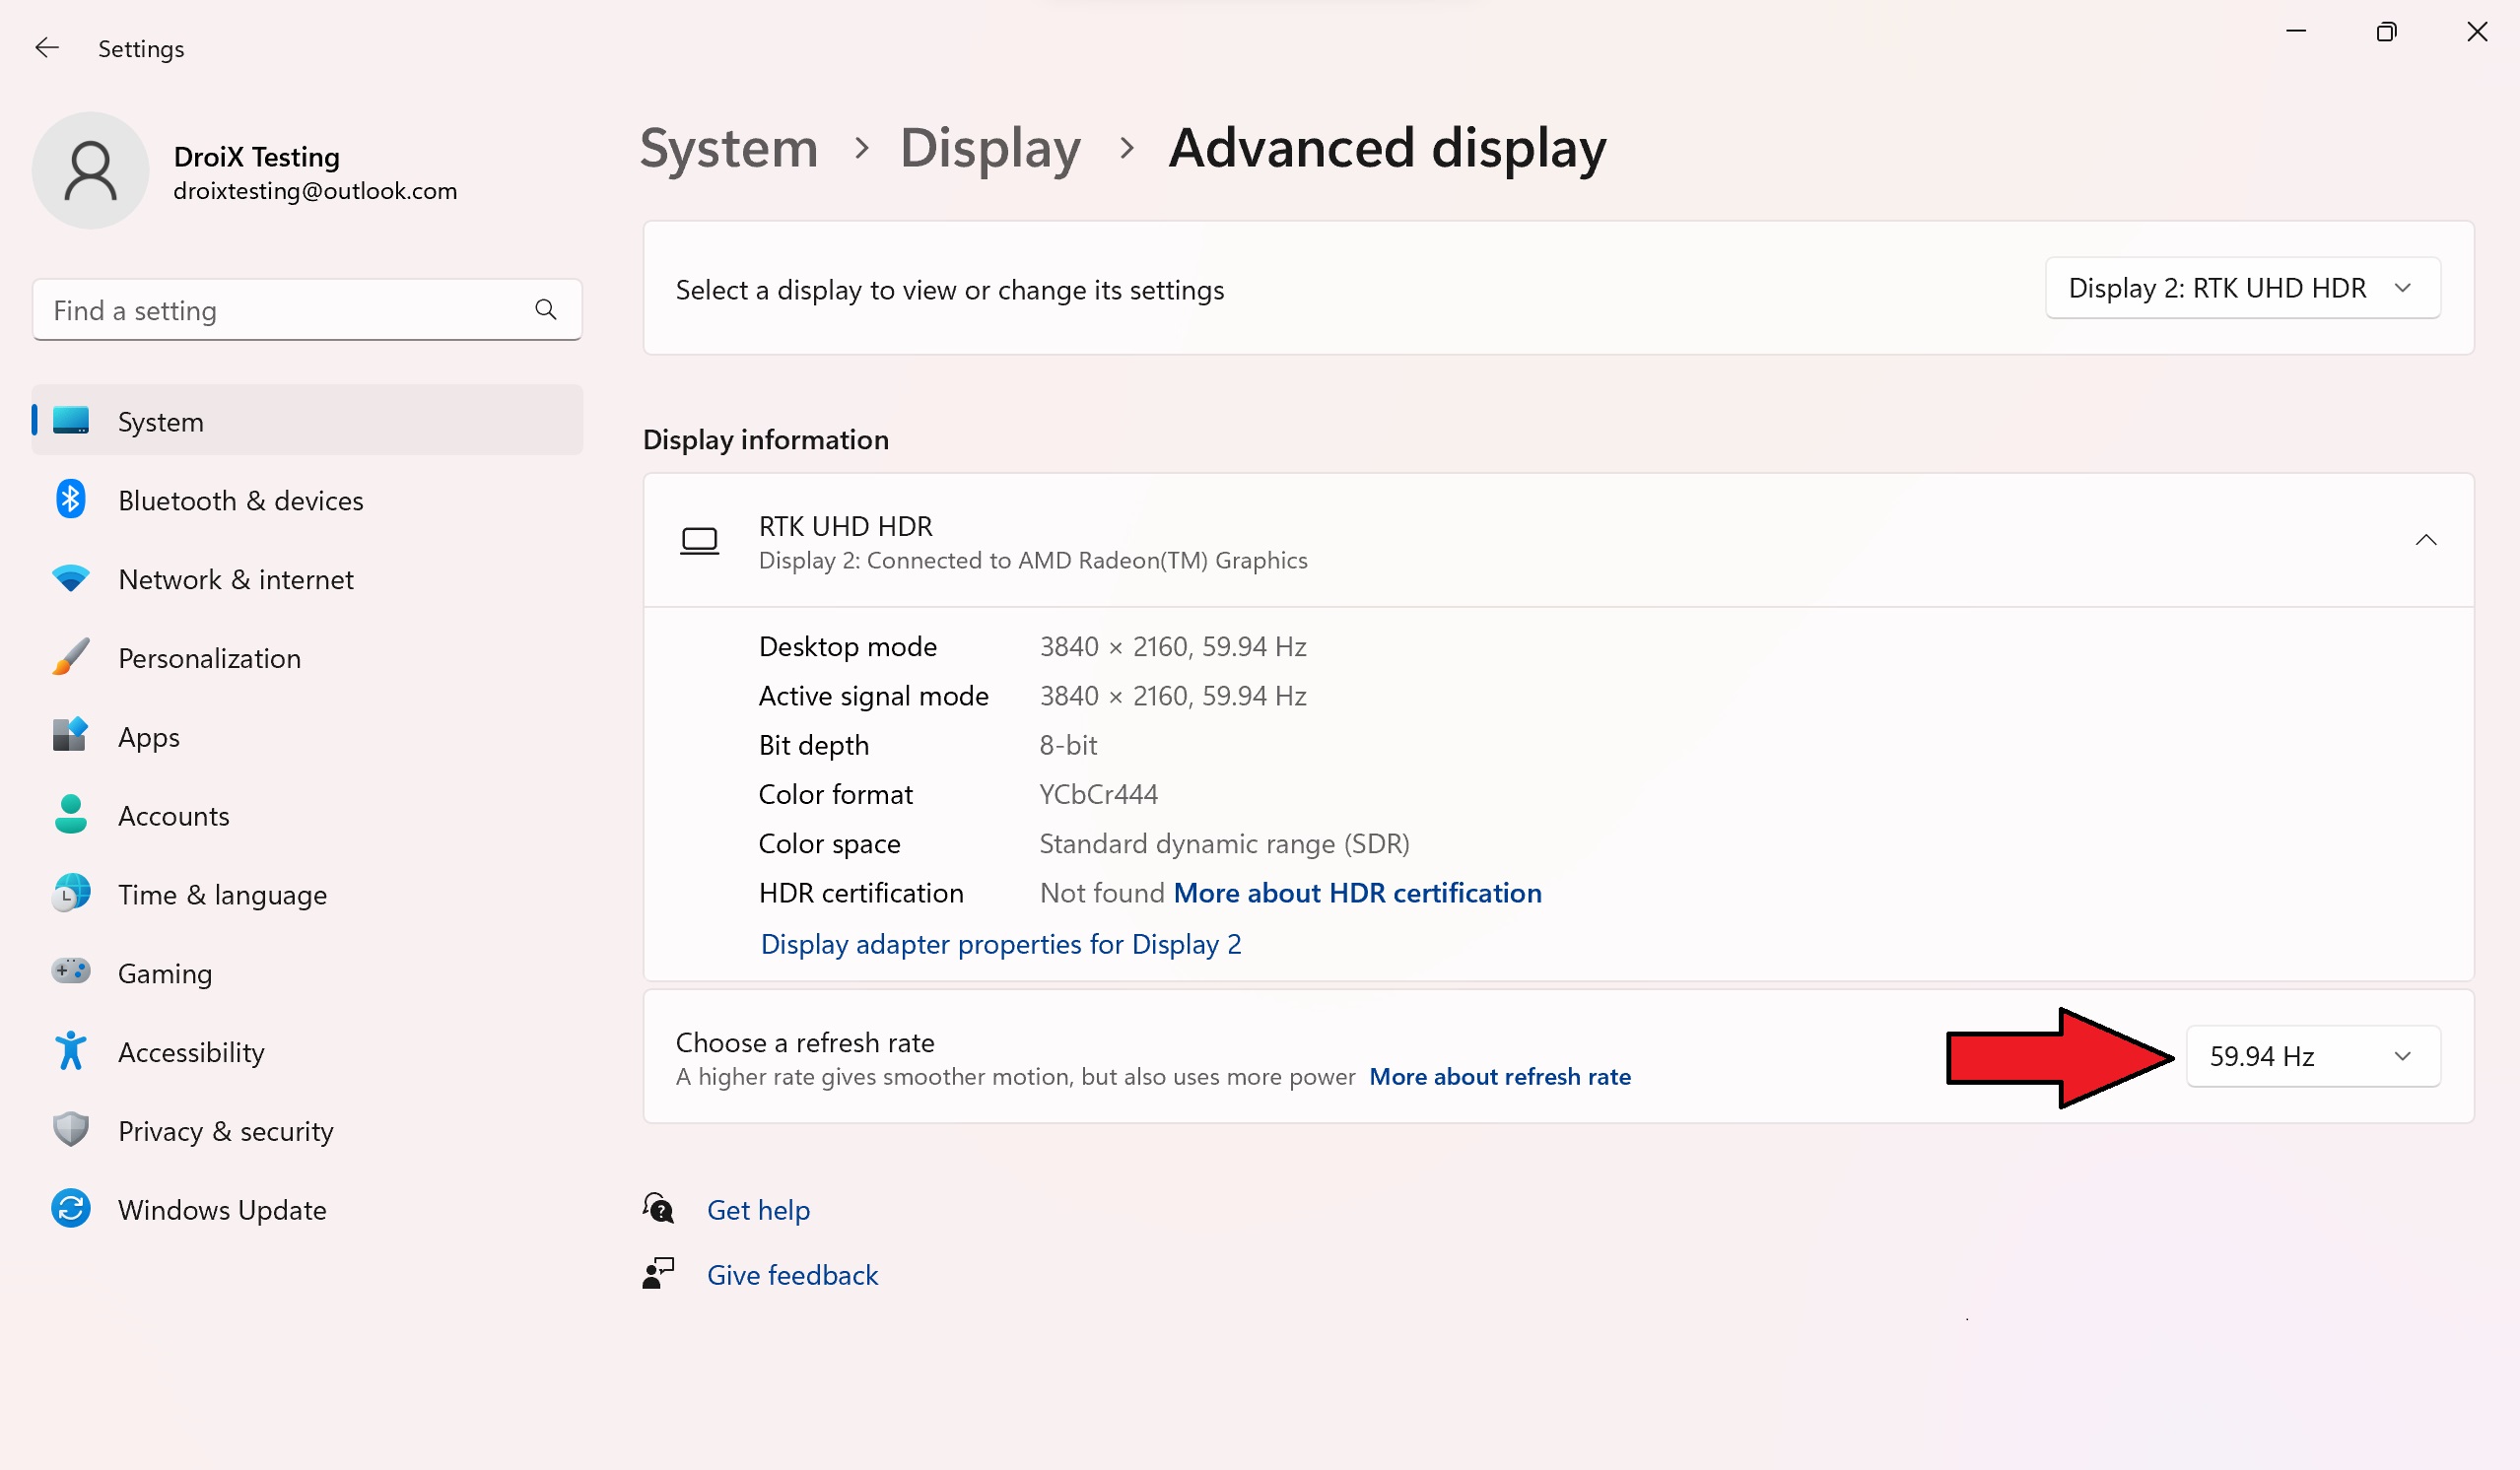
If you are having any display issues we recommend checking the refresh rate in case it is not set to 30 or 60Hz. You can do this from the Advanced Display menu option, then change the refresh rate to 60.00 Hz for example.
Display Troubleshooting
If the monitor is flashing, black or on standby, the common issue is a lack of power being supplied to the monitor. Please ensure enough power is being supplied to the monitor. If the issue persists, we recommend contacting DroiX Customer Support for quick and easy assistance.
When connected to a phone, ensure that the Monitor is connected to the power adapter provided.
Portable Monitor without Battery
Since this variant of the portable monitor cannot be charged, it requires a supply of power to be functional. There are two dedicated ports with respective cables for supplying power and transferring data (such as video and audio). Please ensure the correct cables are being used to supply power and transfer data. The different cables are shown below:
- The USB-A to USB-C cable supplied is for supplying power and cannot transfer data.
- The USB-C to USB-C cable supplied is for data transfer such as video.
| Device | Power | Data | Result |
|---|---|---|---|
| PC | – | HDMI | Doesn’t Work |
| PC | Power Adapter | HDMI | Works |
| PC | USB-C to USB-C | HDMI | Doesn’t Work |
| PC | USB-A to USB-C | HDMI | Works |
| PC | USB-A to USB-C | USB-C to USB-C | Works |
If there is no power supply, a mobile device may supply power to the display if the device has enough power. We recommend using the provided power supply when a mobile phone is connected to the monitor.
Screen Brightness
The initial brightness of the display is set to 30%. To adjust the brightness or volume above 70%, ensure the monitor is connected to an external power supply of at least 5V/2.0A.
Questions & answers